Archive | blueberries RSS feed for this section

Fun Friday: Baked Apple Oatmeal

31 Jan

This was so delicious on a cold winter day.

It’s the weekend and there’s something so great about having a nice, homemade warm breakfast on a weekend morning. Today’s recipe is a perfect one for this weekend or any day.

We originally had this for breakfast earlier this month on Martin Luther King Jr. Day. Being a Monday morning, I knew we could eat it that day and then have it leftover for breakfast or snacks after school during the week too. and baked oatmeal is something my family requests frequently so I knew they’d enjoy waking up to the smell of this baking in the oven on their day off from school.

My initial plan had been to make the same baked oatmeal recipe I always do, substituting in frozen blueberries for the strawberries. But, we were out of blueberries. Then I thought we had frozen peaches, but we didn’t have enough. So, I started searching for a baked apple oatmeal, since I knew we had a few apples on hand. I’m so glad that I did, as this recipe was completely different than the usual one and everyone loved it. I’d definitely do it again. I did one and one-half of this in order to make it fill a 9×13 baking dish and it was a perfect amount.

We opted to add whipped cream on top (we have both regular and dairy-free whipped cream on hand) and I also tried it with maple syrup on top and that was great too. The oats I used were gluten-free and we used soy milk to make it dairy-free but I’ve also used almond milk to make allergy-friendly oatmeal in the past as well. This recipe also calls for walnuts but we don’t usually keep nuts on hand so I didn’t put any in. I happen to also really like pecans and I think chopped pecans would’ve been a good addition to the recipe as well.

I found the recipe on this site, called Once Upon a Chef, and it’s described as a traditional Amish breakfast casserole, which was a perfect description. It was such a great comfort food and it took about an hour total to prep and bake. I encourage you to check out the site itself because it includes all of the nutrition information also, but the ingredients and instructions for a single recipe are copied here as well. I hope you’ll head on over and see some of their other recipes too.


I made one and one-half recipes in order to have enough for breakfast and for leftovers.

INGREDIENTS

  • 2 cups old-fashioned rolled oats (not instant)
  • 3/4 cup light brown sugar
  • 1 cup chopped walnuts or pecans, divided
  • 1/2 cup raisins
  • 1 teaspoon baking powder
  • 2 teaspoons cinnamon
  • 1/2 teaspoon salt
  • large eggs
  • 2 cups milk
  • 1 teaspoon vanilla extract
  • 4 tablespoons unsalted butter, melted, plus more for greasing the dish
  • 2 tart yet sweet baking apples, such as Honey Crisp, peeled and cut into 1/2-inch chunks (about 2 cups)

INSTRUCTIONS

  1. Preheat the oven to 325°F. Grease an 8 or 9-inch baking dish with butter.
  2. In a medium bowl, combine the oats, brown sugar, 1/2 cup of the nuts, raisins, baking powder, cinnamon and salt. Mix well.
  3. In another bowl, break up the eggs with a whisk; then whisk in the milk and vanilla until well combined.
  4. Add the milk mixture to the oat mixture, along with the melted butter.
  5. Scatter the apples evenly on the bottom of the prepared baking dish. Pour the oatmeal mixture over top and spread evenly. Sprinkle remaining 1/2 cup nuts on top. Bake for 40-45 minutes, until the top is golden and the oats are set. Serve warm or at room temperature.


Fun Friday: Dairy-free cream cheese filling for crepes

11 Jan

This was a great new option for our crepe fillings!

TGIF! It’s Friday and it was our first full week back to school. For me personally, it wasn’t a bad week, but for the kids, it was exhausting to be full-on, back at it again after the break.

For today’s Fun Friday post, I thought I’d share a cream cheese filling that I made for our New Year’s Day brunch here at home. We don’t entertain guests that morning, but we generally do a very special breakfast just for our own little family to celebrate the new year. This year we opted to do crepes. We usually put out a variety of fillings including eggs/ham/cheese, bacon, berries, Nutella, peanut butter, bananas, and sometimes we’ll make a hot compote of apples and raisins. This year we also made a chocolate fondue on New Year’s Eve night while we waited for the ball to drop, so we were strategic when shopping for our dipping items for that treat so we’d have some fruits leftover for the next morning’s fillings.

This was a brand I’d already come to trust with a few other products, so that’s how I chose the cream cheese for my recipes.

When I made our Christmas cookies this year, I had one cookie I was particularly nervous about because it had a cream cheese filling and I had yet to try out a dairy-free option for cream cheese. When I bought my cookie-baking ingredients I had yet to do a “trial run” of these cookies, so I just purchased a cream cheese substitute that came from a brand whose products I already liked, and I crossed my fingers, hoping the filling would come out well, and it did. Everyone raved about these cookies, and I was just thrilled. And, relieved.

The cream cheese filling came out so well in fact, that I thought that I would try making a new filling for our crepes, since Nutella is not dairy-free and therefore, it eliminated one of the filling options for some of us.

I went back to the store and I picked up another package of the Daiya cream cheese spread, and I looked up a recipe online for a cream cheese filling for crepes. I assumed it would be pretty similar to the cookie filling, and it was. I found the recipe here, which included the recipe for the crepes themselves as well, and I used just the filling ingredients as my guide, not including berries, although I did have them ready to go:

For the Filling:
  • 1/2 cup granulated sugar
  • 8 ounces cream cheese
  • 1/2 cup powdered sugar
  • 1/2 teaspoon vanilla extract

    When the time came, we had a lot of filling options for our crepes.

    That morning’s brunch was delicious, and I was so pleased with the filling. It worked out very well, and I’d definitely use it again. I am happy with the Daiya cream cheese substitute. They also have a flavored one that I would consider using in my recipes as well, which replaces a staple for one of our favorite chicken recipes over the years, and it’s a recipe I haven’t made in the past year or so.

    I hope you’ll give this cream cheese filling a try too. If you’re not in need of a cream cheese replacement, the recipe is one that ordinarily uses regular cream cheese, so you don’t need to do anything different.

    Have a wonderful weekend and I hope you too, have a Fun Friday!

    You can add a little whipped cream to the top of your crepes, dairy-free or not, and you’ll have quite the treat!

What’s for dinner Wednesday: Gluten Free (and fat free and shellfish free)

2 Dec
Suddenly, we were adjusting to a member of our family who was now gluten free.

Suddenly, we were adjusting to a member of our family who was now following a gluten free diet. It was not our first time at the menu modification rodeo. I have a shellfish allergy, and my older daughter has an intolerance to fatty foods.

Happy December!

Have you missed me? It’s been two weeks (at least) since I last wrote, and what a busy two weeks it’s been!

My last post was a new muffin post for Peanut Butter Pumpkin muffins, and then…nothing! Well, a lot has been going on over here in the past weeks, and it’s taken me some time to process and organize it all, and to be able to share it with you.

First, Happy Thanksgiving! We had a great holiday and I hope you all did too! We got to visit with family and it was wonderful. I was a bit under the weather with a cold that did me in and took away my voice for much of that week, but overall it was a great holiday and a much needed school break.

The break provided us with some time to catch up a little bit. We slept a lot, we shopped very little, and we got ourselves organized at home a little bit too. We’d recently been told to try our youngest daughter on a gluten free diet as a trial, to see if it would alleviate her chronic stomach issues that had been plaguing her since the springtime. Normally, any stomach problems we’d encountered had responded to medication, but for the first time ever, adjusting her medications hadn’t done the trick. We spent the end of the school year and our entire summer, even as we criss-crossed the country on our Cross Country Adventure of 2015, trying to make heads or tails of her constant, chronic stomach pain. We could not alleviate it and we could not figure out the cause of it. Our oldest suffers from an intolerance to fatty foods, and we saw some similarities, but yet not exactly. All of our three have dealt with, and our youngest continues to deal with, abdominal migraines, but yet that didn’t seem to be it either, and the medications for it didn’t seem to be helping anymore.

When we returned from our trip she begged me to call the doctor again.

“I can’t go back to school like this,” she said. “I ended last year like this, I don’t want to start the new year like this.”

She was right, and so I placed another call to him and this time we went in. I explained that the last few things we had tried through the spring and summer weren’t working. He offered out a couple of new things to try, and each time we’d have a follow-up visit in three more weeks. Each time we’d go back with not much better news from whatever we’d tried over the three weeks. Finally, he handed me a meal plan to try with her, a “low FOD Maps” plan. You can explore that here, or google it for more information. As he handed it to me and we went through it, it mentioned gluten free items here and there, and he said, “Or, you can try gluten free, too.”

When I went home, it took me a few days to sit and look through the new diet and to consider my options. As I looked at the low FOD Maps list, there wasn’t a ton on it that she didn’t already do, and as I looked at the foods to avoid on the high FOD Maps list, there wasn’t a ton on there that she ate. It didn’t seem worth figuring out for such little change. I decided to explore the gluten free diet. I figured we’d try it for one week. I knew from past experience that if you didn’t feel a difference by then, you weren’t going to. And if it worked, you’d feel the difference even sooner.

My daughter and I went shopping and picked up just a few things to get us started. It was enough stuff for dinner that night, some breakfast, lunch and snack items for the next day.  That night for the first time in months and months, she went to bed without a stomachache after her first gluten free dinner. She woke up the next morning without a stomachache. I packed her a gluten free lunch, planned after school snacks that were gluten free, and off we went. Day two, still stomachache free. I couldn’t believe it. I had not expected it to work. We’d been down that path with my other daughter and had seen no difference in the two weeks we’d tried it. Each day or so I picked up a few new things in my travels and began to think ahead as well. Thanksgiving was a week away. Luckily, my sister-in-law was coming in to visit, and she was also on a gluten free diet, so my mom and dad had her dietary needs in mind, and they were hosting the holiday, so that would work for Alex too.

It’s now been two full weeks and she’s doing great. We visited the doctor the other day for our three week check-up and he gave us the okay to continue on the gluten free diet from here on in. We have since had a major holiday, we’ve eaten out, we’ve eaten in, and hosted a big event out of the house ourselves, and we’ve pretty easily incorporated her needs into all of our plans. Our next big event is Christmas, and looking for Christmas Cookie recipes or changing our own is obviously at the top of my list. They now need to be low in fat for one daughter and gluten free for another.

Keeping everything in one spot in our pantry so we don't have to go searching for the gluten free ingredients and snacks.

I’m keeping everything in one spot in our pantry so we don’t have to go searching for the gluten free ingredients and snacks.

In the weeks we’ve been doing this, I’ve already gotten to experiment and to organize our pantry and freezer a bit in order to make it easy for everyone to see what she can and can’t have, even if I’m not here, and I’ve tried out some great recipes and foods that she’s liked. We also have pantry shelves in our garage and we’ve allotted a section of that space for just gluten free foods too.

Over the next weeks and months, I’ll be posting what we’ve been up to on this new adventure, whenever I can, and as we go along I’ll be able to make more and more, and try out new things. I’ve taken lots of pictures of the foods we’ve bought and the foods she’s liked as well as the recipes I’ve had a chance to make. As always, and I welcome your ideas and comments as well!

This has been a great ingredient for our pantry. We've already used it for two different recipes.

This has been a great ingredient for our pantry. We’ve already used it for two different recipes.

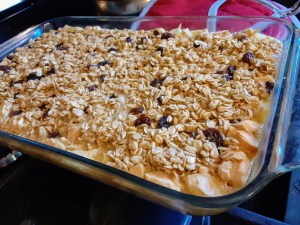
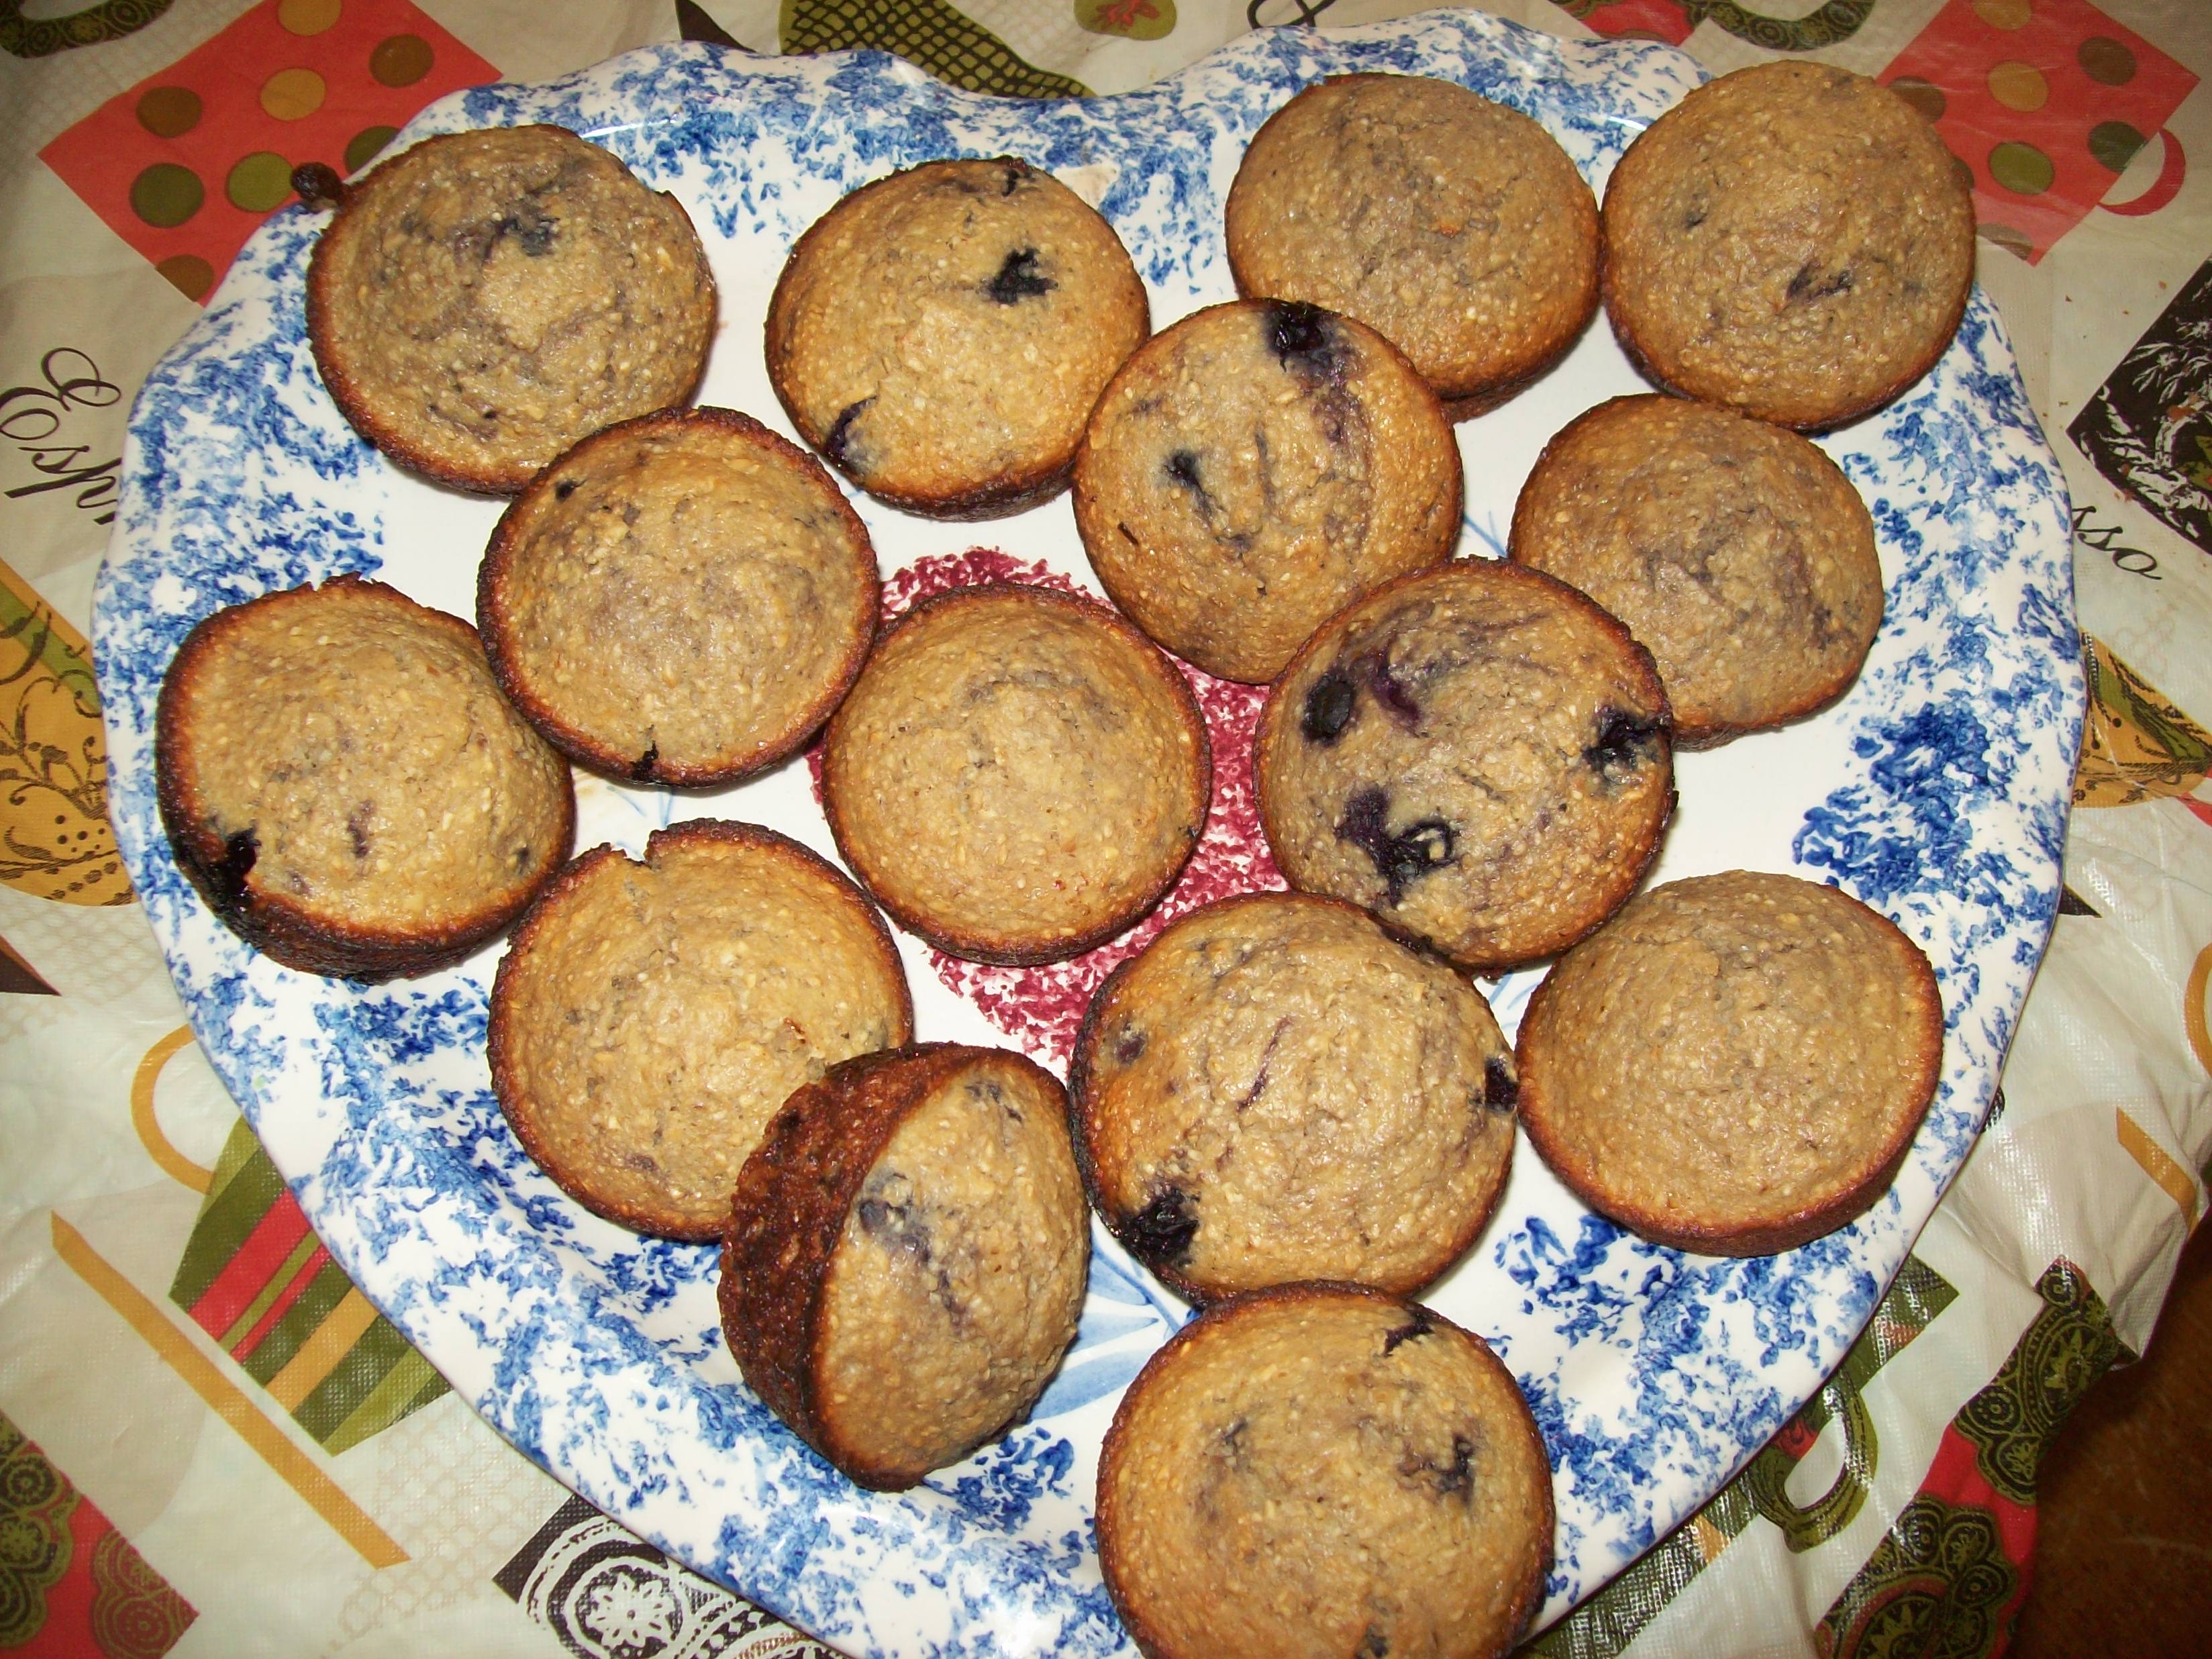
For today, I’m starting at the beginning. One of the first dinners we had was a quick “breakfast for dinner” of pancakes with blueberry compote. The compote was homemade and you can find the recipe here. It was already gluten free. The pancakes are something we often make homemade, but on this night we were using a “just add water” boxed mix for our own, and that’s what I used for Alex’s too. I had already bought the gluten free Bisquick which had recipes on the side and back of the box for waffles, pancakes, biscuits and pizza dough. Bisquick is a familiar and trustworthy name in my opinion, and I thought it was a good first choice for my pantry. The recipe made enough pancakes that we could save some leftover for another day. By cooking for just one person, I’ve been able to make a lot at once and freeze ahead so that we can pull out what we need for her as we go, rather than starting from scratch every time. Alex liked these pancakes a lot, and had no problem having them again later in the week for breakfast.  The meal was a win-win for everyone.

Alex's pancakes looked just like ours and she said they tasted just as good.

Alex’s pancakes looked just like ours and she said they tasted just as good.

I hope you’ve enjoyed my first (of many, I’m sure) posts about eating and cooking for a gluten free diet. Do you or anyone in your family follow a gluten free diet? What kinds of tips and tricks can you share?

Fun Friday: Blueberry Crisp in a mug for one

23 Oct
I loved this fruit crisp recipe from Rumble in the Kitchen!

I loved this fruit crisp recipe from Rumble in the Kitchen!

It’s Friday night and we’ve all survived another week! I think that we all deserve a treat to celebrate our successful completion of Monday through Friday, don’t you?

I’m a big fan of desserts in a mug, and I’ve shared the Nutella Mug Cake recipe with you in the past. Today however, I am going to share a new dessert in a mug recipe with you. It’s one I tried one night at the very end of the summer. My whole family was gathered around the fire pit for one last fire before the start of school. They were enjoying the typical summer treat, S’Mores. I don’t like S’Mores, but I didn’t want to miss out on the fire pit time together so I sat and didn’t eat. The entire time though, my wheels were turning, trying to think of what I could eat later on that would satisfy my dessert cravings.

Enter Rumble in the Kitchen’s Selfish Fruit Crisp by Rumble in the Kitchen, a dessert crisp in a mug for one. I had most of the ingredients on hand and what I didn’t have I could do without.

It was going to be just enough for me!

We had gone blueberry picking recently and I had frozen several bags of blueberries to last us for a few months. I decided to make my fruit crisp a blueberry crisp. I couldn’t wait.

In fact, as I type this I am realizing that I still have blueberries in my freezer right now!!

In her recipe, the author of Rumble in the kitchen gives you some choices:

Bread crumbs, or oatmeal plus flour, or an oatmeal packet. I chose the oatmeal plus flour.

It also called for a cereal to be used along with some flour, but I did not include those items.

The rest I pretty much followed as written, but the great thing about a crisp dessert is that you can almost never have too many oats, too much butter, or too much brown sugar (within reason!) It’s always delicious!

So if your mouth is watering right now the way mine is, I encourage you to check out the recipe over at Rumble in the Kitchen and make yourself a nice fruit crisp for dessert and celebrate another week down!

Hungry yet?

Hungry yet?


Fun Friday: Blueberry Crisp

12 Sep
We had the most perfect day for our blueberry picking trip!

We had the most perfect day for our blueberry picking trip!

At the end of the summer we had the opportunity to go blueberry picking just over the state line with my cousin Val and her husband Bob. I have been wanting to go blueberry picking for years. The last time I went, my oldest daughter was two and a half years old and I had a newborn in a front pack. All I remember about that day was that it was incredibly hot.

This summer we were able to check both strawberry picking and blueberry picking off of our list of things we’ve wanted to do.

I have used this cookbook for years and years.

I have used this cookbook for years and years.

That day when we came home I knew immediately what I wanted to make with my blueberries: Blueberry Crisp from my favorite Blueberry cookbook that my parents gave us years and years ago. I use it every summer.

Once I put aside those berries for baking, I divided the rest and bagged them up to freeze so that as the summer turned to fall I’d have extra berries for cooking. As of now, I have one bag left.

In my cookbook I have marked the inside front cover with all of my favorite recipes and their page numbers. Blueberry Crisp is on page 82. I always mark the date that I tried the recipe, on the page that the recipe appears on. I first made this recipe on 6-27-99.

1999!!!

At the time I was four months shy of having my first baby. That was a hot summer, and I bet this dessert made an incredible treat!

The recipe is simple and quick, perfect for summer, and it’s delicious with ice cream on top. I especially love chocolate frozen yogurt on top of my homemade blueberry crisp.

If you have some blueberries in your freezer, I hope you’ll give this recipe a try!

Delicious topped with chocolate frozen yogurt!

Delicious topped with chocolate frozen yogurt!

Blueberry Crisp

INGREDIENTS

4 cups blueberries

2-4 Tablespoons sugar

2 tsp. lemon juice

1/4 cup butter or margarine (I use I Can’t Believe It’s Not Butter)

1/3 cup packed brown sugar

1/3 cup flour

1/4 tsp. cinnamon

Dash salt

3/4 cup quick oats or old fashioned rolled oats


DIRECTIONS

Place blueberries in buttered 8×8 square baking dish; sprinkle with 2-4 tablespoons sugar and lemon juice. In a medium bowl mix together butter, brown sugar, flour, cinnamon and salt until mixture is crumbly. Stir in rolled oats, sprinkle evenly over blueberries. Bake 375 degrees 35-40. Serve warm with whipped cream.


Fun Friday: In honor of National Chocolate Chip Day…Chocolate Chip Fruit Pizza

16 May
fruit pizza

This was such a great recipe, it got all thumbs up, all the way around!

This week I received an email message from a fellow cast member from last week’s Listen To Your Mother. The message was letting me know that today was going to be National Chocolate Chip Day!

I do believe that every day should be National Chocolate Chip Day and at my house, I celebrate on almost a daily basis.

Conveniently enough, I’d just tried out a new recipe from Skinnytaste, one of my favorite blogs for lowfat recipes. I’d received it in my inbox earlier this week and knew it was a “must try” recipe for sure.

The recipe was for a fruit pizza, and it looked so refreshing. We had some unusually hot weather on Sunday and Monday and I knew that Monday afternoon the kids would be looking for a nice cool snack when they came home Monday afternoon.

When I looked at the recipe for the fruit pizza, I had everything for it except for white chocolate chips. I decided that instead, I would use my semisweet chocolate chips, making the crust a chocolate chip cookie crust. It was perfect! I had a good mix of fruit, although slightly different options than she used on hers: I used blackberries, strawberries, blueberries and kiwi. I actually had more than enough, so that I ended up doing a side dish of all the extra fruit and they ate that as much as they ate the fruit pizza. I love seeing my kids eating so much fresh fruit, especially this time of year when the weather is warm and the delicious fruits are plentiful.

I am posting the recipe here just as it appears on the Skinnytaste blog. I do hope you’ll visit the blog however, I always find great things there. In fact, just last night I made one of her chicken recipes, and my daughter said, “I just love when you make this chicken!” So do check the Skinnytaste blog out!

Here’s the Skinnytaste Fruit Pizza recipe. I have just two minor modifications other than the semisweet chocolate chips vs. white chocolate chips: I bake with I Can’t Believe It’s Not Butter, and I used nonfat plain yogurt instead of applesauce. Other than that, I followed her recipe as is. Everyone loved it, and it made a great after school snack recipe. I had enough that it lasted us for two days. I’d definitely make this again!

Fruit Pizza
Skinnytaste.com
Servings: 30 • Size: 1 bar  • Old Points: 3 pts • Points+: 4 pts
Calories: 140 • Fat: 5 g • Carb: 24 g • Fiber: 1 g • Protein: 2 g • Sugar: 17 g
Sodium: 72 mg • Cholesterol: 10 mg

Ingredients:

  • 2 cups all purpose unbleached flour (Gold Medal)
  • 1/2 tsp baking soda
  • 1/4 tsp salt
  • 1/8 teaspoon ground cinnamon
  • 2/3 cup granulated sugar
  • 2/3 cup brown sugar, unpacked
  • 1/4 cup melted unsalted butter
  • 2 large egg whites
  • 1/4 cup unsweetened apple sauce
  • 2 tsp vanilla extract
  • 2/3 cup white chocolate chips or chopped white chocolate

For the Frosting:

  • 8 oz 1/3 less fat cream cheese, softened
  • 1/2 cup powdered sugar
  • 1 teaspoon vanilla

To Assemble:

  • 1 large mango, diced
  • 3 diced kiwis
  • 1 cup sliced strawberries
  • 1 cup blueberries
  • 1 cup raspberries

Directions:

Preheat oven to 350°F.  Lightly spray a 9 x 13 x 1.375 inch non-stick baking pan (quarter sheet pan) with cooking spray.

In a large bowl, combine the flour, baking soda, salt and cinnamon and stir to blend.

In another bowl, whisk the sugars with the butter, egg whites, applesauce and vanilla until light and fluffy.

Fold the dry ingredients into the wet ingredients with a spatula in two additions until the batter is very well blended. If the batter looks more “crumbly” than smooth, add just a drop of water at a time (ONLY if needed) until it smooths out. Fold in the white chocolate chips.

Spread the batter onto the baking pan using the back of a measuring cup to smooth evenly.

Bake 14 to 16 minutes, until the edges are golden and a toothpick inserted comes out clean. Don’t over-bake or your bars will be dry. Let it cool completely on wire rack.

Meanwhile, prepare the frosting; in a large bowl, use an electric mixer to beat the cream cheese, powdered sugar and vanilla until well-blended.

Cut the bars into 15 large squares (5 cuts by 3 cuts with the knife). Then cut each square in half diagonally to create triangles. Spread the frosting in a thin, even layer over the surface of the cookie, leaving a small margin around the edges. Layer the fresh fruit over the frosting. Store in the refrigerator until ready to serve.


A great summer snack: Honey Yogurt Fruit Dip

15 Jul
This is a great dip for a summer day!

This is a great dip for a summer day!

The summer is flying by! I can’t believe the Fourth of July is well past us and it’s mid-July already.

We have been super busy, celebrating the holiday, Elizabeth’s birthday, spending time with family and even celebrating Christmas in July last week.

My blog posts have been sporadic, as promised!

But, I wanted to take some time to share with you a new dip that we tried out recently. A while back I’d posted a similar dip but it used 1/4 cup of sugar, which I always found to be a lot. It was delicious, don’t get me wrong…I’d eat it with a spoon if I could, but it was a lot of sugar nevertheless.

Recently I found this dip in the April 2013 issue of Good Housekeeping, which uses honey instead of sugar and the flavor is similar. We tried it out with some summer fruits and it was wonderful. I thought I’d share it with you today so that you can give it a try also.

I hope that you are enjoying your summer as much as we are!

HONEY YOGURT FRUIT DIP

3/4 cup plain yogurt  (we use fat free or low fat yogurt)

3 TBSP. Honey

1/4 tsp. vanilla

Serves Four

Fun Friday: Blueberry Banana (no flour) Muffin

3 May
These made a great , healthy after school snack!

These made a great , healthy after school snack!

I love it when I find new recipes to try out. I follow so many foodie pages on Facebook that I’m always getting great ideas for new things to try.

A few weeks back, I came across a post from The New Modern Mama blog where she talked about trying some new muffins at her house. They sounded good to me and I had everything for them so the next day I tried them at my house. They were great!

I made them for an after school snack and then there were leftovers for the next morning as well. I made a few changes:

*I used nonfat vanilla yogurt, not greek yogurt.

*I used Truvia rather than Stevia and followed the measurement guidelines on the Truvia package.

*I had both “quick” Steel Cut Oats and the regular kind. The quick kind are softer and I thought they’d blend easier, so I used those.

*Although I used my blender, if I made them again, which I hope to, I’d use a food processor. My blender had a hard time.

They were good, they were something new and different and everyone loved them. This recipe is a keeper for us, for sure. I hope you’ll try it too! I know that you can try other fruits in the recipe besides blueberries, so next time I just might do that!

Thanks to the New Modern Mama for sharing!

Next time I'd try these in the food processor instead of the blender.

Next time I’d try these in the food processor instead of the blender.

Blueberry Banana No Flour Muffins
From The New Modern Mama

Ingredients:

  • 2 overly ripe bananas
  • 2 eggs
  • 2 1/2 cups steel cut oats
  • 1 single serving cup, low fat, greek yogurt {I used vanilla}
  • 1 cup of blueberries
  • 3/4 cups of sugar or stevia
  • 1 1/2 tsp baking powder
  • 1/2 tsp baking soda

Method:

  1. Preheat the oven to 400 degrees.
  2. Put all of the above ingredients into a blender except for the fruit.
  3. Blend ingredients until smooth {you may have to scrape down the sides and do this several times}.
  4. Pour blended ingredients into a bowl and stir in blueberries.
  5. Pour muffin mix into greased tin.
  6. Bake for 20 minutes.

This made exactly 12 muffins.

Happy Veteran’s Day

12 Nov

Patriotic waffles as we remember our soldiers today!

As I type this, it is Sunday, Veteran’s Day 2012.

It’s a day to remember our veterans, those who have served so that we can be free.

I attended a wonderful Veteran’s Day ceremony on Friday at one of the schools I visited and I literally had goosebumps as the whole room pledged allegiance to the flag.

We often take our freedoms for granted, and I am grateful today for the opportunity to remember why we are free.

Thank you to all who serve and all who have served!

Since I’m posting a picture of our patriotic waffles, I will re-post a recipe for waffles that I posted a while back, too.

Enjoy them as you remember why we have the day off today!

All-American Waffles

serves 2-3

INGREDIENTS

1 egg, separated (put yolk in two quart bowl and white in small bowl.)

1 cup plus 2 TBL milk

1 tsp. vanilla

2 TBL canola or vegetable oil ** I recently earned that you can substitute the same amount of nonfat plain yogurt for the oil!

1 cup plus 2 TBL flour

4 tsp. sugar

2 tsp. baking powder

1/2 tsp salt

DIRECTIONS

Separate the egg,  putting egg white aside in small bowl.

In larger bowl, combine the egg yolk, milk, vanilla and oil. Blend together, by hand, with wire whisk.

Add flour, sugar, baking powder and salt to the liquid ingredients and blend with wire whisk. (There will probably be some lumps.)

Beat the egg white with electric mixer until stiff. Fold into the batter with wire whisk until just blended.

(Do not beat egg whites into batter,  just fold in.)

When waffle iron is ready, drop batter into the four squares and use according to directions.

My Last Post Before The Trip: Blueberry Crumble

17 Aug

Caroline makes a killer Crumble!

On Sunday Caroline and are are getting up in the very wee hours of the morning and boarding a plane for our whirlwind trip to Washington DC.

This will be my last post until after we return from that trip.

Given the upcoming trip, I thought I’d feature Caroline in the kitchen for today’s post. When she was being interviewed earlier this week, the reporter asked her what else she likes to make in the kitchen. She talked about making scrambled eggs for her sisters, and then she said, “I make Crumble.”

I started a list in the inside of this book called “So Far So Good” since the cookbook has so many recipes and I wanted to keep track of the ones I’ve tried out that were “keepers.”

And she does. She makes a really good Crumble topping which we’ve used to make both Blueberry Crumble and Peach Crumble this summer. The Crumble topping requires patience and attention to detail and I work too quickly to make mine come out as well as hers does.

The recipe for Blueberry Crumble came out of The Maine Wild Blueberry Cookbook, and so far in that cookbook everything I have tried has been delicious, but we’ve found the recipe for Blueberry Crumble to be fast, easy, delicious and adaptable to more than just blueberries.

Here’s the recipe for you. Enjoy it, and be thinking of us this weekend as we take our trip of a lifetime!

BLUEBERRY CRUMBLE

Anything with this crumble topping is so delicious!

INGREDIENTS

1/3 cup sugar

some extra sugar for sprinkling

5 Tablespoons Butter

Juice of one lemon (I sprinkled lemon juice from a bottle)

2/3 cup of flour

2 pints of blueberries

DIRECTIONS

Put washed berries in small shallow baking dish.

Sprinkle with lemon juice and sugar

In a separate bowl blend in butter, flour and 1/3 cup sugar

Sprinkle topping over berries.

Bake at 350 degrees for 30 minutes.

Serve warm with ice cream or whipped cream or both!

Hot out of the oven!

Yum!

An alternative use for the crumble topping: Peach crumble. I had less peaches so I used a smaller dish but the same amount of topping.