Archive | strawberries RSS feed for this section

Fun Friday: Dairy-free cream cheese filling for crepes

11 Jan

This was a great new option for our crepe fillings!

TGIF! It’s Friday and it was our first full week back to school. For me personally, it wasn’t a bad week, but for the kids, it was exhausting to be full-on, back at it again after the break.

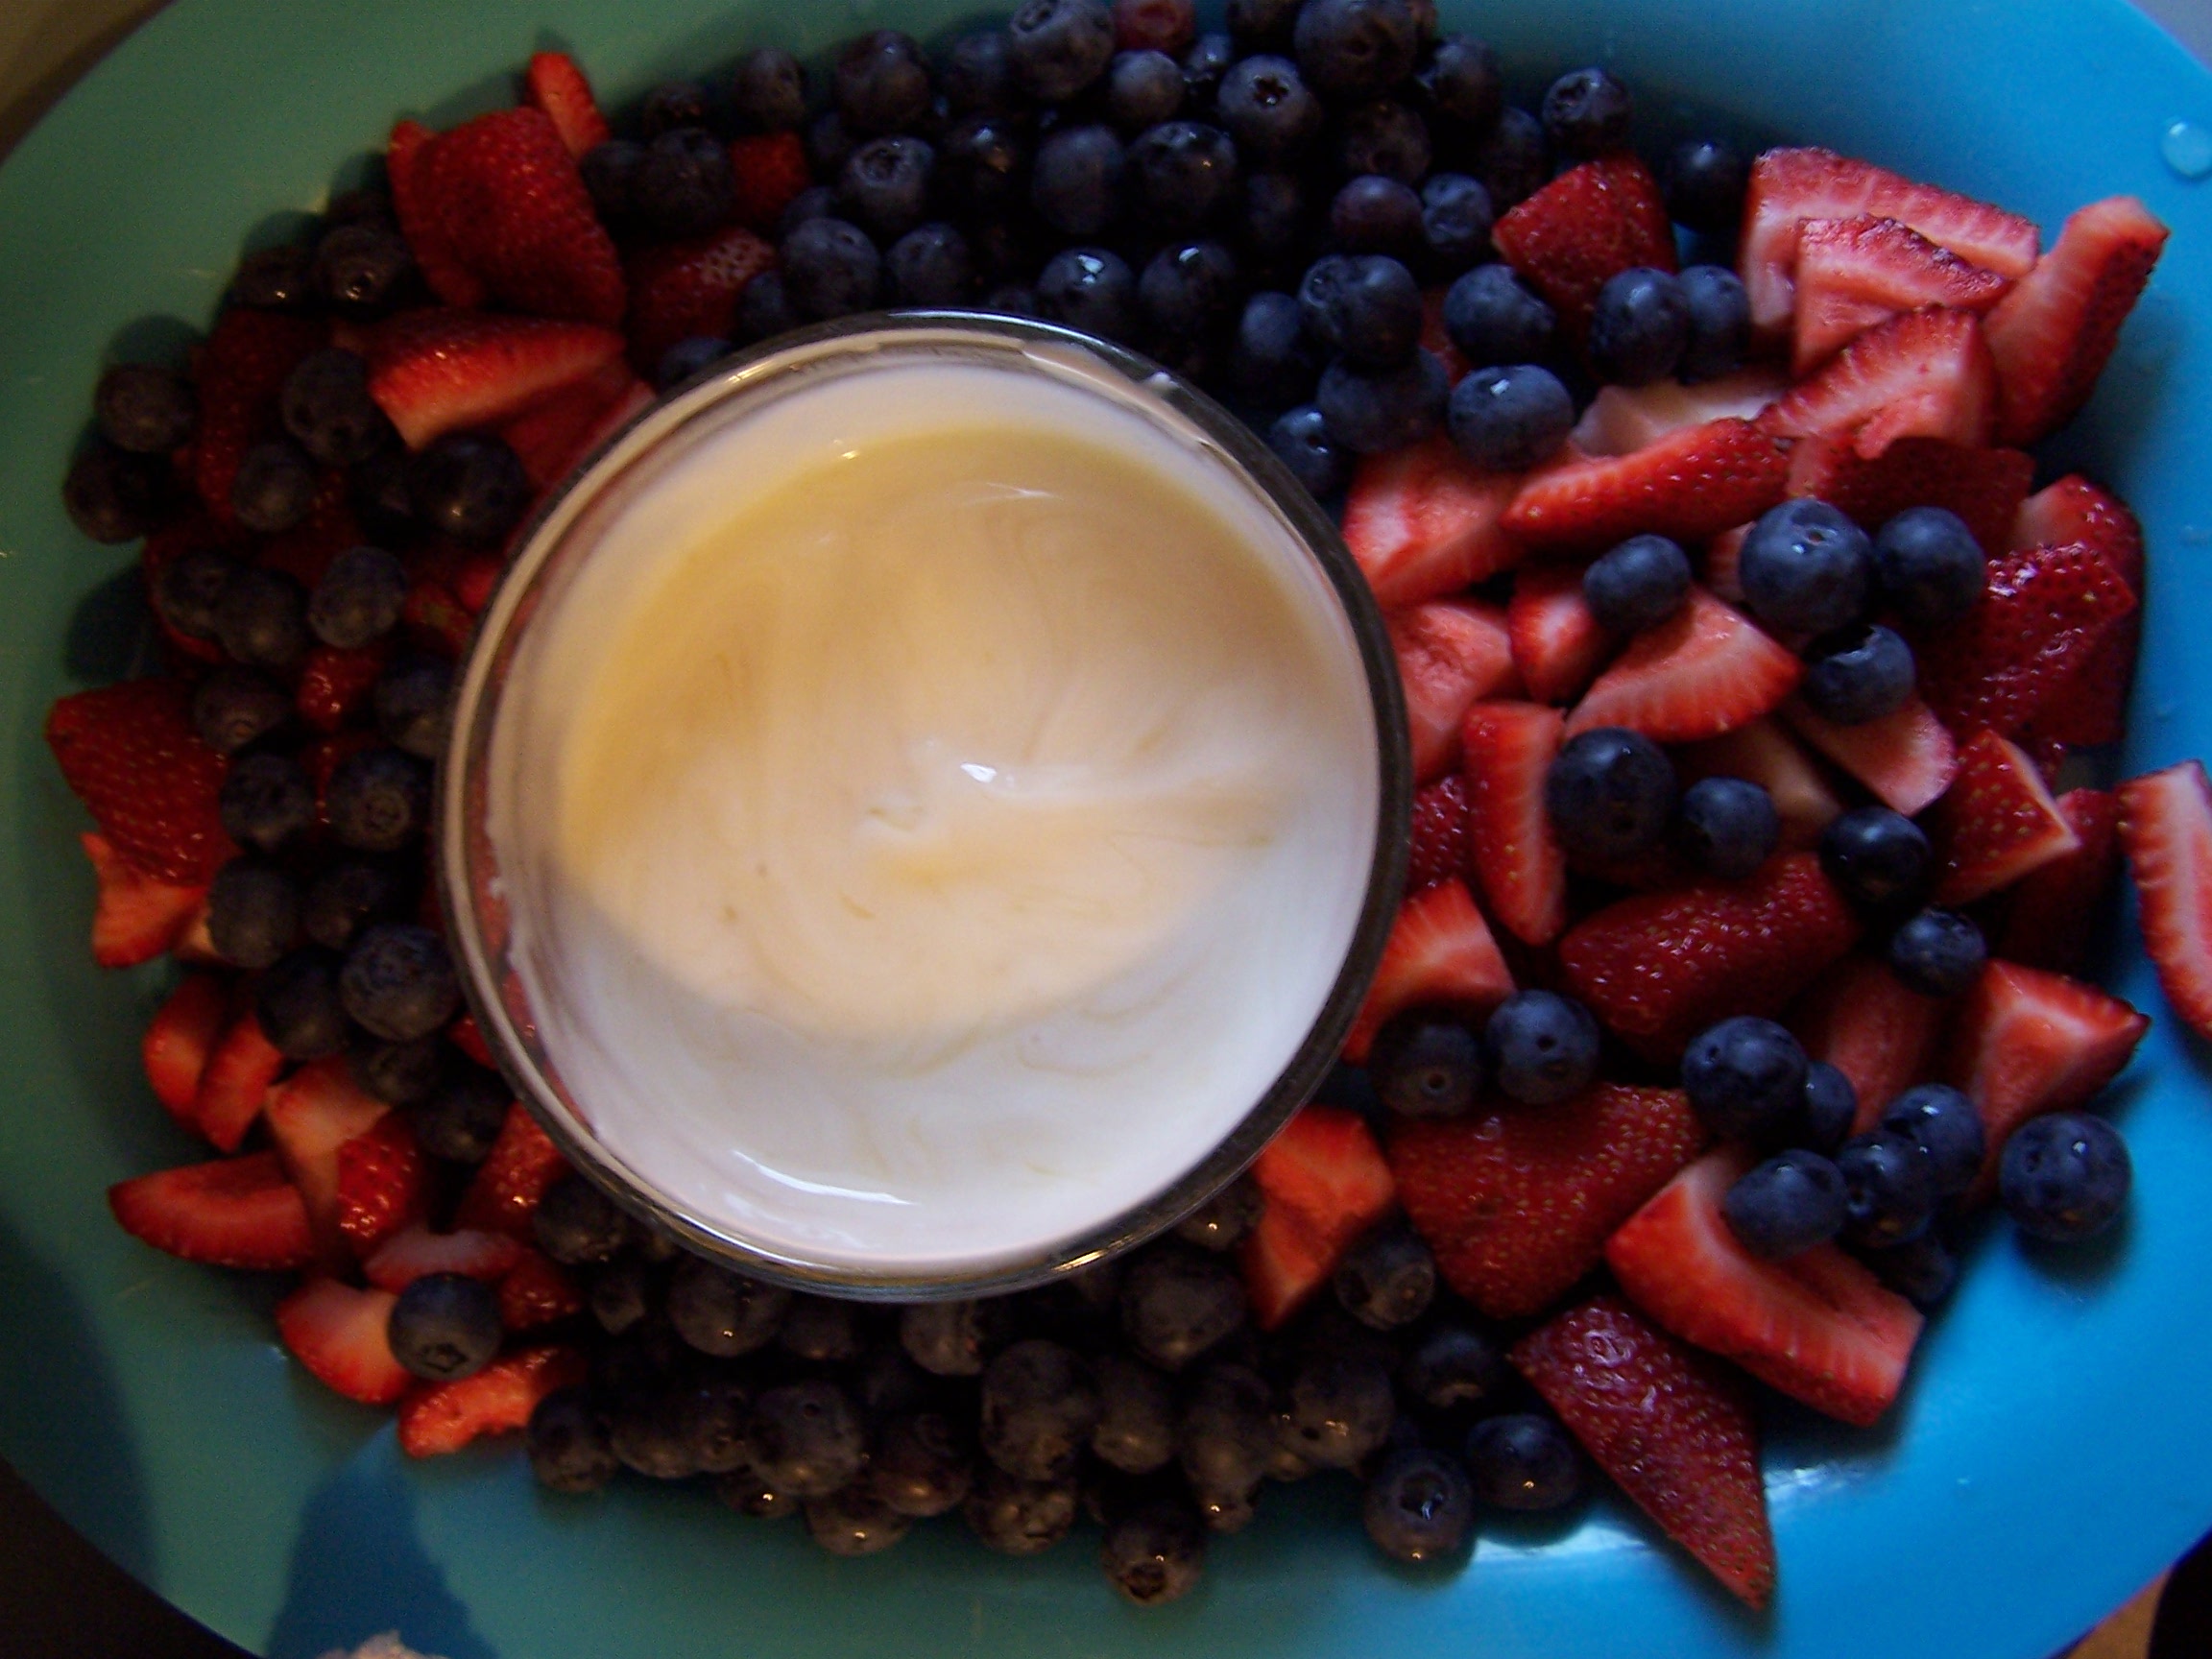
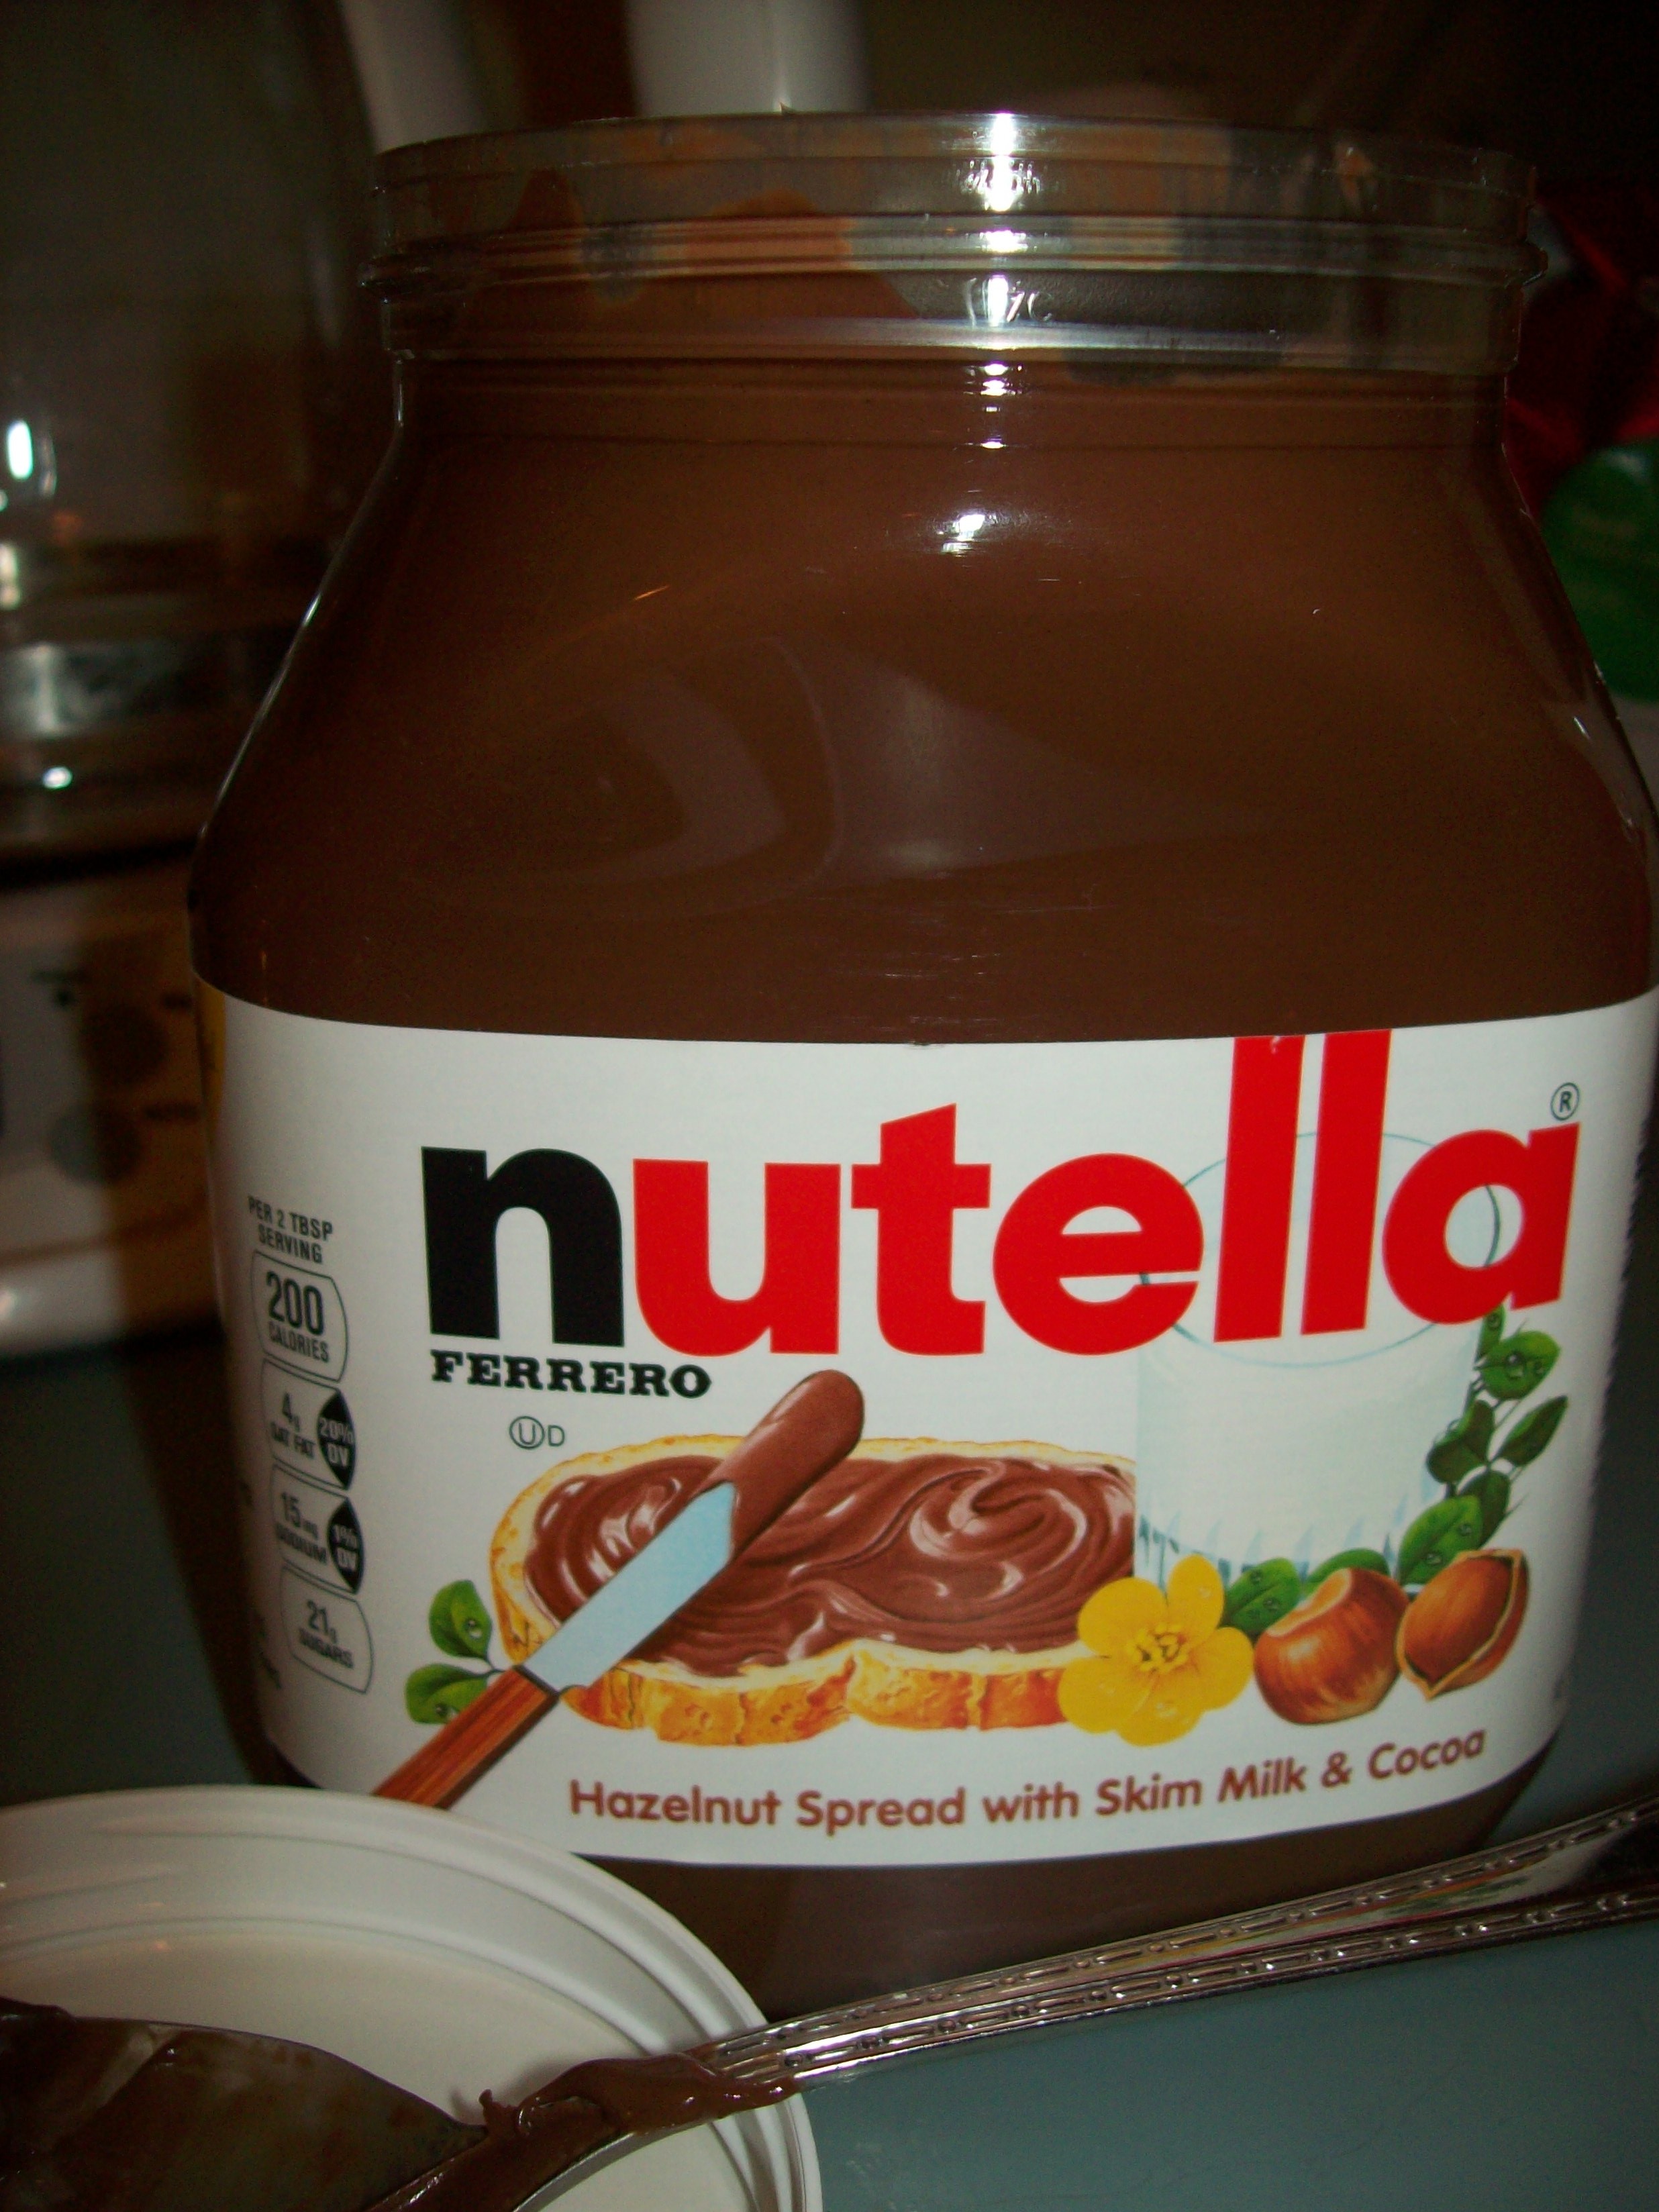
For today’s Fun Friday post, I thought I’d share a cream cheese filling that I made for our New Year’s Day brunch here at home. We don’t entertain guests that morning, but we generally do a very special breakfast just for our own little family to celebrate the new year. This year we opted to do crepes. We usually put out a variety of fillings including eggs/ham/cheese, bacon, berries, Nutella, peanut butter, bananas, and sometimes we’ll make a hot compote of apples and raisins. This year we also made a chocolate fondue on New Year’s Eve night while we waited for the ball to drop, so we were strategic when shopping for our dipping items for that treat so we’d have some fruits leftover for the next morning’s fillings.

This was a brand I’d already come to trust with a few other products, so that’s how I chose the cream cheese for my recipes.

When I made our Christmas cookies this year, I had one cookie I was particularly nervous about because it had a cream cheese filling and I had yet to try out a dairy-free option for cream cheese. When I bought my cookie-baking ingredients I had yet to do a “trial run” of these cookies, so I just purchased a cream cheese substitute that came from a brand whose products I already liked, and I crossed my fingers, hoping the filling would come out well, and it did. Everyone raved about these cookies, and I was just thrilled. And, relieved.

The cream cheese filling came out so well in fact, that I thought that I would try making a new filling for our crepes, since Nutella is not dairy-free and therefore, it eliminated one of the filling options for some of us.

I went back to the store and I picked up another package of the Daiya cream cheese spread, and I looked up a recipe online for a cream cheese filling for crepes. I assumed it would be pretty similar to the cookie filling, and it was. I found the recipe here, which included the recipe for the crepes themselves as well, and I used just the filling ingredients as my guide, not including berries, although I did have them ready to go:

For the Filling:
  • 1/2 cup granulated sugar
  • 8 ounces cream cheese
  • 1/2 cup powdered sugar
  • 1/2 teaspoon vanilla extract

    When the time came, we had a lot of filling options for our crepes.

    That morning’s brunch was delicious, and I was so pleased with the filling. It worked out very well, and I’d definitely use it again. I am happy with the Daiya cream cheese substitute. They also have a flavored one that I would consider using in my recipes as well, which replaces a staple for one of our favorite chicken recipes over the years, and it’s a recipe I haven’t made in the past year or so.

    I hope you’ll give this cream cheese filling a try too. If you’re not in need of a cream cheese replacement, the recipe is one that ordinarily uses regular cream cheese, so you don’t need to do anything different.

    Have a wonderful weekend and I hope you too, have a Fun Friday!

    You can add a little whipped cream to the top of your crepes, dairy-free or not, and you’ll have quite the treat!

Fun Friday: Mini Strawberry Cheesecakes

9 Jun

If you’re looking for a new summertime dessert, this one comes highly recommended!

We don’t entertain often, but when we do, I like to try out new things. We are generally among friends and family so the “never try out new things for guests” rule gets bent a little bit, if I think it’s a new thing that I can pull off relatively easily.

Last Wednesday I shared our Burger Bar post from the previous Sunday’s get-together and I promised I’d share two other recipes. Today’s is one and I’ll still have another one for you coming up in a future post as well.

I was looking for a summery dessert to serve that Sunday, something different than brownies or cookies. I came across this recipe by Life, Love and Sugar and thought it would be different and something I could make gluten free, which is always a consideration. My grandmother has always made mini cherry cheesecakes which are my absolute favorite, and this reminded me of those. Additionally, they were summery and a little bit patriotic looking, which was an added bonus.

I had gluten free graham cracker crumbs on hand and I also had gluten free graham crackers in the freezer if I had needed to use them to make my own crumbs, which I didn’t need to do. I had enough left in my box to make a set of gluten free cheesecakes and a regular box to make a set of non-gluten free. I had colored cupcake liners in red, pink, orange and green in my cabinet too, so I made the red and pink liners the gluten free cheesecakes and the orange and green the non-gluten free cheesecakes so everyone could easily tell which was which.

These cheesecakes have multiple layers of deliciousness, and they’re able to be made gluten free to boot!

What I loved about this recipe was that it had layers to it: a layer of crumbs, a layer of fresh strawberries, a layer of cheesecake, more strawberries and some whipped cream. They were mini, but they were fancy and multi-faceted.

The thing to pay attention to in the recipe is the baking and cooling times. You need to pre-bake the crumbs for a few minutes, and the temperature for baking changes. The time and locations for cooling are specific as well. It’s not hard, but if you’re someone who doesn’t read a recipe all the way through to start, or who just skims and will wing it along the way, I encourage you to take the time to read it through first.

The entire recipe is easy, and the dessert was delicious, well-received by everyone and I would most definitely do it again. I like that it fed so many people. I had two trays of mini cheesecakes, minus just a couple. For my ingredients, I chose to substitute low fat sour cream instead of full fat and 1/3 fat cream cheese instead of full fat, and to use I Can’t Believe It’s Not Butter for my butter, which we always do. I also increased the recipe slightly, in order to make more mini cheesecakes, and increased my ingredients all accordingly. I also cheated and used a squirty whipped cream instead of making it homemade, given our time constraints.

I hope you’ll give this recipe from Life, Love and Sugar a try, and many thanks to them for sharing it!

*Tip: If you’re looking for gluten free graham cracker crumbs, I found these at a Super Walmart, but you can also make your own by using a blender or food processor to grind whole gluten free graham crackers into crumbs.*

Fun Friday: So Many Strawberries!

4 Jul
What to do with more than ten pounds of strawberries?

What to do with more than ten pounds of strawberries?

We went strawberry picking!!

I had not been strawberry picking since I was a child. Each year it seems, we’d miss the season between the end of school and the start of summer. This year, when a friend posted her picture of her strawberries on Facebook, I decided that I was going to go that same week. I knew my kids would love it and I knew there was lots that I could do with fresh-picked strawberries.

We went on a beautiful, picture-perfect day. There were just a few clouds in the sky, the sun was bright and the temperature was an even 75 degrees; not too hot, not too cold. We couldn’t have asked for a better day.

Within an hour we had picked a basket full of strawberries. I was beyond excited!

As we drove home, I began to consider that full basket of berries that was sitting in the back of my car. I could smell them.

I started to think of all the things I wanted to do with all those berries. I knew that although it seemed like there would be a never-ending supply, I’d have to be strategic and prioritize because eventually they’d run out. I also knew that the berries were fresh and “ready,” which meant they’d turn quickly. I only had a day, two at most, to make use of them.

Right off the bat when I got home, I sliced the berries and put sugar and orange juice on them for strawberry shortcake. I used this recipe from Taste of Home for my biscuits and my berries, but I did add more sugar to my biscuits after taking a quick taste of the batter. I like mine sweet! That would be our dessert for that very night.

This recipe from Caramel Potatoes was so delicious!

This recipe from Caramel Potatoes was so delicious!

Next, I started prepping a dessert recipe I’d seen just days before, on the Caramel Potatoes blog for Strawberry Crumble Pie. I get their email every day and the recipe for the pie looked right up my alley. I happened to have a pie crust in the freezer and I now had plenty of berries.

The pie chilled overnight and we cut into it the next night for dessert. It was amazing!

From there, I needed to think ahead. I knew that part of my goal was to have plenty of berries on hand frozen for smoothies, since that’s something we use a lot of all year long. I had no idea the best way to freeze them, so I Googled how to freeze fresh-picked strawberries and found simple instructions for freezing both whole and sliced from Taste of Home, once again. I decided to do both. The whole would be for smoothies, and the sliced would be for a future strawberry compote, maybe even on July 4th for our breakfast!

The following day I picked one more recipe that I wanted to make as I tried to stretch my berries just a little further: my mother in law’s recipe for Strawberry Bread, one which has always been a favorite of mine. I love that it makes two breads, and we usually freeze one and eat one. This time I put chocolate chips in the one we ate that day and left them out of the one we froze.

There are so many things you can do with strawberries, and the summertime is the very best time to do them. Although picking season is just about done for strawberries, eating season can be all year long between using frozen and fresh, if you can find them. Now that we’ve frozen some, we’ll have the taste of summer once again in the fall or winter, if we can hold off that long!

If you’re looking for additional strawberry recipes, you can find several more here on my blog, just by searching Strawberries in the search bar. There are recipes for desserts, breakfasts, shakes and even a strawberry salad!

And then, before we know it, it’ll be blueberry picking season!

Fun Friday: Welcome Back Summer Timeline, I missed you!

27 Jun
I couldn't do it alone this year.

I couldn’t do it alone this year.

If you’ve been a regular reader of my blog over the years, you’re familiar with our Summer Timeline that I started a few years back. It was my version of a clothesline timeline I’d seen on a blog one day years ago that I’d decided to adapt for a project at our house that summer of 2012. It was a huge success. We easily filled our timeline with pictures and events from our summer and at the end of it all we had a great way to look back on all the fun things we’d done. Later on that fall we put the pictures and labels into a scrapbook to preserve the memories forever.

Last summer we did it again, extending our timeline around the room and being quite liberal with the photos we added, knowing that we’d be adding to the summer scrapbook from the year before. We loved the timeline of 2013 and left it up for a long time.

And then, we left it in a pile on the floor in the corner of my bedroom for the next ten months.

It’s still there.

I was out of 12×12 scrapbook page sleeves to do the newest pages. I had no double-sided tape to add the photos in. I’d get some. Soon. Next time I went to the craft store when I wasn’t spending a lot of money on something else that I needed right away.

In my free time.

We had an incredibly hectic school year this year, probably the most difficult yet, since all three started school. The time never quite made itself available to us, and the timeline and scrapbook were never a priority. It kept going on the “some day” list and before I knew it, it was summer again.

And so, the burning question: Do we do another summer timeline?

It didn’t really matter what the answer was, ultimately, because at the end of the school year I didn’t have a single spare second to put it up. It doesn’t take forever, but it takes a little bit of time, and we were out flat with commitments at the end of the year right up through the night of the last day of school when three kids had to be in three different places at the same time all by 5pm, with me as the sole driver. The timeline greeting my kids on the last day of school as they walked through the door just wasn’t going to happen.

Well, it was a nice idea while it lasted. Fun when we did it. Maybe some other time we’d do it again.

But, that first week of summer, I already missed it. We ate out one night after a full day of dance recital rehearsals (with lots of photo opps) grabbing dessert at a dairy farm where there were cows and chickens and gorgeous farm scenery. I was snapping away, taking loads of pictures.

We went strawberry picking for the first time ever since I was a kid. It was a gorgeous, sunny day. The berries were red and ripe, the leaves of the plants bright green and there wasn’t a cloud in the sunny blue sky. It was picturesque.

We went letterboxing for the first time of the season. The letterbox was in a location that had a historic memorial garden. We toured it, taking photos of World War II Quonset Huts and war memorial statues and plaques, an amazing letterbox for our first find of 2014.

Water slides, light houses, lunches out at local hot spots.

Pictures, pictures, pictures.

I missed our timeline.

Luckily as things usually go for us, we had a sick day one day shortly after the water slides and light house day. We had some down time, time when we were stuck at home.

I noticed the blank wall in our hallway, a nice, long stretch of space that would make a great summer timeline spot for 2014. It wasn’t a spot we’d used before, but it looked inviting.

And so, up it went on that afternoon, but this time, I had some help. Alex was going a bit stir crazy that day, not being the one who was not feeling well, and looking for something to do. I had her help me, and although giving up a sense of perfection is hard for me, giving up all creative control isn’t something I do well, I turned the whole project over to her. We put the paper up together and put the strip down the middle together because those are the two hardest things to do.

“Mommy,” she said. “How did you DO this all by yourself before?” she asked.

Good question.

“Can I decorate it a little bit?” she asked.

Sure, why not?

“Can I put our name on it? Can I put ‘by Alexandra’ on it?”

And so she went to town, occupied for a good half hour at least, adding a sky, some blue and purple tones to it, some happy faces, hearts and flowers.

She had a blast.

My hands were free, my worries about to do or not to do the timeline were gone, and it’s up on the wall.

Yesterday I bought refill sleeves for last year’s photos and I bought a pack in advance for this year’s.

It’ll all get done. It doesn’t really matter when, in the grand scheme of things.

I stand by the fact that anything we can accomplish in the memory preserving category is more than nothing, and that’s something.

We love our summers most of all, the time we spend together and the fun activities we do, and once again this year, we’ll have the summer time line from 2014 to look back on when we enter the rat race of the 2014-2015 school year.

And really, that’s all that matters.


Fun Friday: Baked Oatmeal: It’s not just for breakfast

6 Jun
100_3245

I’d eat this for breakfast, lunch or dinner!

ORIGINALLY POSTED MAY 10, 2013: The other day I came across a great new recipe for baked oatmeal. It was on Skinnytaste.com, a blog I follow on Facebook. I love all kinds of oatmeal from steel cut to overnight to baked.

This recipe also had a fruity combination that I love: strawberry and rhubarb. I didn’t have rhubarb, but I noticed that it had bananas in it, and strawberry and banana is another top favorite combination of mine so I decided to make it without the rhubarb.

Besides the fact that I skipped the rhubarb, the other thing about this recipe is that I made it as an after school snack, not for breakfast! It was so good, and everyone had seconds, everyone loved it and there was very little left over.

I would definitely make this recipe again and if I had rhubarb, I’d throw it in there, but it was also fine without!

Without further ado, here, from the Skinnytaste Blog
For the fruit filling:

  • 2 1/2 cups strawberries, hulled and quartered
  • 3/4 cup rhubarb, cut into 1/2-inch pieces
  • 1 medium ripe banana, sliced thin
  • 1 tbsp cornstarch
  • 1/3 cup honey
This snack was quick to put together with simple ingredients.

This snack was quick to put together with simple ingredients.

For the Oats:

  • 1 cup uncooked quick oats (use GF oats if Gluten Free)
  • 1/3 cup slivered almonds
  • 1/2 tsp baking powder
  • 1/2 tsp cinnamon
  • pinch of salt
  • 1 tbsp honey
  • 3/4 cup fat free milk (or any milk you desire)
  • 1 large egg
  • 1 tsp vanilla extract

DIRECTIONS
Preheat the oven to 375° F.  Lightly spray a 9 x 9″ ceramic baking dish with cooking spray; place banana slices on the bottom of the baking dish and set aside.

Combine the strawberries and rhubarb in a large bowl. Add honey, sprinkle with cornstarch and toss until fruit is well coated and place in prepared baking dish over the bananas.

In a medium bowl, combine the oats, half of almonds, baking powder, cinnamon, and salt; stir together.  In a separate bowl, whisk together the remaining honey, milk, egg, and vanilla extract, then add to the oats.

Pour the oat mixture over the strawberries and rhubarb, making sure to distribute the mixture evenly.  Sprinkle the remaining almonds over the the top.

Bake the oatmeal for about 40 minutes, or until the top is golden brown and the oatmeal has set. Serve warm from the oven.

Fun Friday: In honor of National Chocolate Chip Day…Chocolate Chip Fruit Pizza

16 May
fruit pizza

This was such a great recipe, it got all thumbs up, all the way around!

This week I received an email message from a fellow cast member from last week’s Listen To Your Mother. The message was letting me know that today was going to be National Chocolate Chip Day!

I do believe that every day should be National Chocolate Chip Day and at my house, I celebrate on almost a daily basis.

Conveniently enough, I’d just tried out a new recipe from Skinnytaste, one of my favorite blogs for lowfat recipes. I’d received it in my inbox earlier this week and knew it was a “must try” recipe for sure.

The recipe was for a fruit pizza, and it looked so refreshing. We had some unusually hot weather on Sunday and Monday and I knew that Monday afternoon the kids would be looking for a nice cool snack when they came home Monday afternoon.

When I looked at the recipe for the fruit pizza, I had everything for it except for white chocolate chips. I decided that instead, I would use my semisweet chocolate chips, making the crust a chocolate chip cookie crust. It was perfect! I had a good mix of fruit, although slightly different options than she used on hers: I used blackberries, strawberries, blueberries and kiwi. I actually had more than enough, so that I ended up doing a side dish of all the extra fruit and they ate that as much as they ate the fruit pizza. I love seeing my kids eating so much fresh fruit, especially this time of year when the weather is warm and the delicious fruits are plentiful.

I am posting the recipe here just as it appears on the Skinnytaste blog. I do hope you’ll visit the blog however, I always find great things there. In fact, just last night I made one of her chicken recipes, and my daughter said, “I just love when you make this chicken!” So do check the Skinnytaste blog out!

Here’s the Skinnytaste Fruit Pizza recipe. I have just two minor modifications other than the semisweet chocolate chips vs. white chocolate chips: I bake with I Can’t Believe It’s Not Butter, and I used nonfat plain yogurt instead of applesauce. Other than that, I followed her recipe as is. Everyone loved it, and it made a great after school snack recipe. I had enough that it lasted us for two days. I’d definitely make this again!

Fruit Pizza
Skinnytaste.com
Servings: 30 • Size: 1 bar  • Old Points: 3 pts • Points+: 4 pts
Calories: 140 • Fat: 5 g • Carb: 24 g • Fiber: 1 g • Protein: 2 g • Sugar: 17 g
Sodium: 72 mg • Cholesterol: 10 mg

Ingredients:

  • 2 cups all purpose unbleached flour (Gold Medal)
  • 1/2 tsp baking soda
  • 1/4 tsp salt
  • 1/8 teaspoon ground cinnamon
  • 2/3 cup granulated sugar
  • 2/3 cup brown sugar, unpacked
  • 1/4 cup melted unsalted butter
  • 2 large egg whites
  • 1/4 cup unsweetened apple sauce
  • 2 tsp vanilla extract
  • 2/3 cup white chocolate chips or chopped white chocolate

For the Frosting:

  • 8 oz 1/3 less fat cream cheese, softened
  • 1/2 cup powdered sugar
  • 1 teaspoon vanilla

To Assemble:

  • 1 large mango, diced
  • 3 diced kiwis
  • 1 cup sliced strawberries
  • 1 cup blueberries
  • 1 cup raspberries

Directions:

Preheat oven to 350°F.  Lightly spray a 9 x 13 x 1.375 inch non-stick baking pan (quarter sheet pan) with cooking spray.

In a large bowl, combine the flour, baking soda, salt and cinnamon and stir to blend.

In another bowl, whisk the sugars with the butter, egg whites, applesauce and vanilla until light and fluffy.

Fold the dry ingredients into the wet ingredients with a spatula in two additions until the batter is very well blended. If the batter looks more “crumbly” than smooth, add just a drop of water at a time (ONLY if needed) until it smooths out. Fold in the white chocolate chips.

Spread the batter onto the baking pan using the back of a measuring cup to smooth evenly.

Bake 14 to 16 minutes, until the edges are golden and a toothpick inserted comes out clean. Don’t over-bake or your bars will be dry. Let it cool completely on wire rack.

Meanwhile, prepare the frosting; in a large bowl, use an electric mixer to beat the cream cheese, powdered sugar and vanilla until well-blended.

Cut the bars into 15 large squares (5 cuts by 3 cuts with the knife). Then cut each square in half diagonally to create triangles. Spread the frosting in a thin, even layer over the surface of the cookie, leaving a small margin around the edges. Layer the fresh fruit over the frosting. Store in the refrigerator until ready to serve.


What’s for Dinner Wednesday: Strawberry English Muffin Fruitwiches

24 Jul
English muffins: not just for breakfast!

English muffins: not just for breakfast!

A while back I posted about Elizabeth’s cookbook and I posted one of the recipes we’d tried at the time, a tuna salad recipe. Since then we’ve had it for lunch and even for dinner!

Today, I thought I’d post another recipe from that same cookbook, one that we have had for lunch and for dinner this summer, and one that we’ve also modified slightly to meet everyone’s different taste buds. It’s a great summer meal because it is cool, doesn’t involve using an oven, and uses a great summer fruit: fresh strawberries.

The ingredients for this are simple, no matter which way you choose to make it. You need:

Fresh sliced strawberries

an English Muffin

Strawberry jam

Goat cheese, cream cheese, or peanut butter

Elizabeth's cookbook of choice

Elizabeth’s cookbook of choice

The directions are even more simple!

“Split an English Muffin and lightly toast the halves. Spread the cut side of the bottom half with softened goat cheese or plain whipped cream cheese (we also have done peanut butter). Top with a thin layer of strawberry jam, followed by a layer of thin strawberry slices. Cover with the top half of the muffin, jam side down, and press gently.”

We prefer to do open-faced sandwiches, in order to have more fresh strawberries! This sandwich has been a hit every time we’ve served it, and it’s easily modified for everyone.

Next time you’re looking for a summery lunch or a cool dinner (or maybe even a yummy summer breakfast,) give these English Muffin Fruitwiches a try!

A great summer snack: Honey Yogurt Fruit Dip

15 Jul
This is a great dip for a summer day!

This is a great dip for a summer day!

The summer is flying by! I can’t believe the Fourth of July is well past us and it’s mid-July already.

We have been super busy, celebrating the holiday, Elizabeth’s birthday, spending time with family and even celebrating Christmas in July last week.

My blog posts have been sporadic, as promised!

But, I wanted to take some time to share with you a new dip that we tried out recently. A while back I’d posted a similar dip but it used 1/4 cup of sugar, which I always found to be a lot. It was delicious, don’t get me wrong…I’d eat it with a spoon if I could, but it was a lot of sugar nevertheless.

Recently I found this dip in the April 2013 issue of Good Housekeeping, which uses honey instead of sugar and the flavor is similar. We tried it out with some summer fruits and it was wonderful. I thought I’d share it with you today so that you can give it a try also.

I hope that you are enjoying your summer as much as we are!

HONEY YOGURT FRUIT DIP

3/4 cup plain yogurt  (we use fat free or low fat yogurt)

3 TBSP. Honey

1/4 tsp. vanilla

Serves Four

Fun Friday: Mozaik 48 Piece Mini Dessert Set

17 May
These were so much fun I just had to feature them for a Fun Friday post!

These were so much fun I just had to feature them for a Fun Friday post!

A few weeks ago we hosted our daughter’s First Communion at our house. Besides cake, we had several other desserts and today I wanted to feature one of them.

My friend Paula had sent me this cute little 48 piece mini dessert set in the mail,  a set from Mozaik. When she saw it in a store near her, she said she thought it would be perfect for First Communion, and she was right.

Around the same time, the girls and I had attended an event at our local library that I covered for the newspaper. Advertised as a Teen Cooking Challenge, the kids had to each create their own healthy trifles, using pudding, whipped cream, and fresh fruit.

Trifle picture

I never imagined that I’d find my First Communion dessert at a kids’ cooking event at our local library!

When I saw the kids’ trifles, I knew I’d found my dessert, simple as it was, for First Communion.

And when I say simple, I mean really.simple.

The desserts I made were in two variations: Jello Sugar Free, Fat Free instant cheesecake flavored pudding or chocolate flavored pudding, prepared using skim milk, and topped with a low fat topping from Aldi’s that’s like Cool Whip. I topped the cheesecake desserts with fresh strawberries and the chocolate desserts with fresh blackberries.

Yup. That’s it!

Each little cup has a matching little spoon, which made for a really cute, yet seemingly elegant, healthy dessert! They were such a hit, there were just a couple of them left over at the end of the day.

There are so many cute ideas that you could use this set for, both desserts and appetizers. Picture a healthy veggie dip in the bottom with a few celery, zucchini and carrot sticks sticking out, or picture individual shrimp cocktail sauces with a few shrimp. Perfect, right?

Right.

And that, my friends, is my Fun Friday post for today!

Enjoy your weekend!

My new addiction: Four Ingredient Nutella Mug Cake

26 Apr
Nutella is not new, but there's this great little treat that I make with it, which I'm addicted to!

Nutella is not new, but there’s this great little treat that I make with it, which I’m addicted to!

For the longest time, I knew that Nutella existed, but I never bought it.

Yes, seriously. It was not on my all-the-time shopping list.

That was in my old life. My pre-Nutella addicted life.

Recently, Elizabeth came home and said how her good friend had a Nutella sandwich for lunch at school. It got me thinking. There’s so many things you can make with Nutella, and it might be a great treat for the kids’ lunches and mine, on occasion.

Let me just say, it’s a slippery slope, that Nutella. One lunchtime treat has led to many jars of Nutella in my shopping cart.

I love it for breakfast, for lunch, with strawberries, with bananas, with peanut butter and for a late night snack.

I think about it all the time.

And I keep finding bigger jars of it. I first started out with a small jar. I’d buy two at a time. Then I found an even BIGGER jar at Target. I’m on my second one of those. But I hear there’s an EVEN BIGGER jar available at BJ’s. I’m afraid to go see. I’d join just to buy it.

So one day, my friend Paula sends me a link she’d found to a Four Ingredient Nutella Mug Cake. She found it on a blog called Kirbie’s Cravings.

Four ingredients. One of them being Nutella.

Check.

Check. Check. Check.

I had all four ingredients.

I’ve made a mug cake before from a different recipe for a coffeecake, and didn’t love it. Never posted it.

This, I love.

I think I’ve made it four times in two weeks or so.

It takes all of five minutes to mix up, if that.

It takes all of one minute and 30 seconds to cook in my microwave.

I kid you not.

So today, for my Friday post I share with you my newest addiction: the Four Ingredient Nutella Mug Cake from Kirbie’s Cravings.  Now pay attention when you read her blog post about this cake. She has taken a lot of ingredients out of her original recipe, which used to be over 1000 calories. Now it’s just over 500 calories. That’s still a lot. But knowing it *used* to be more, doesn’t that make it sound like a bargain?

Yes!! It does!

And she recommends sharing it.

I don’t choose to go that route.

She also recommends waiting to eat it until it cools.

I don’t do that either. I can barely get it out of the microwave and I’m getting my spoon.

I recommend topping it with whipped cream or something like that. My whipped cream is fat free. In fact, most of what we eat is low fat or fat free, so I don’t really feel terrible eating this on occasion.

Multiple occasions.

Here’s the recipe. Try it out!

Four Ingredient Nutella Mug Cake

from Kirbie’s Cravings

Ingredients:

4 tbsp flour
1/4 tsp baking powder
1/4 cup Nutella
3 tbsp fat free milk

Directions:

Combine all ingredients into an oversized mug. Mix with a small whisk until batter is smooth. Cook in microwave for about 1 minute. Sharp knife inserted should come out clean and top of cake should look done rather than gooey. If cake is not cooked in one minute, add an additional 20 seconds. Let cake cool in mug completely before eating.

Totally Addicting.

Totally Addicting.