Archive | Shopping on a budget RSS feed for this section

What’s for Dinner Wednesday: Pizza-stuffed chicken from Clean Eating Magazine

22 Jan

This was a savory new recipe that we can’t wait to try again.

We have had the chance to try out lots of new recipes over the past year or so and this one was a family favorite. It’s somewhat similar to the one I posted a few weeks ago, in that it’s pizza-themed and it’s also one from Clean Eating Magazine, but it’s been on my mind so I wanted to share it. We actually have a whole binder of clean eating and gluten/dairy-free recipes we’ve ripped out of various magazine issues over the past year to try out, and this one is one we tried early in October.  It was particularly good as leftovers too, once all the flavors had really had a chance to set in for a couple of days. We’ve actually had success with just about all the new recipes we’ve tried and it’s nice to have new things to try.

The recipe was simple and had easy ingredients that we usually have on hand. It can also be tailored to the things you like or don’t like. We made a gluten-free/dairy-free version and a regular version so that we all could enjoy the new meal.

The magazine feature actually recommends prepping this meal on Sunday and then it’ll be ready to eat later in the week, and it recommends grilling the chicken. We baked ours in the oven.

Here is the recipe as found on the pages of Clean Eating Magazine.


Ingredients

  • 4 6-oz boneless, skinless chicken breasts, patted dry
  • 1¼ cups marinara sauce, divided
  •  mozzarella cheese, shredded
  • 12 slices uncured pepperoni
  • 2 tsp dried basil
  • 1 tbsp dried oregano, divided

Preparation

Prep Ahead

1. Cut each breast through the middle to form a 2- to 3-inch pocket, taking care not to cut all the way through. Spread 1 tbsp sauce on inside of each pocket. Divide mozzarella, pepperoni, basil and ½ tbsp oregano among pockets. Close pocket and use a toothpick to secure. Cover and refrigerate for up to 2 days.

The Day Of

2. When ready to cook, preheat grill to medium-high. Pat chicken dry. Brush chicken with oil; season all over with salt, pepper and remaining ½ tbsp oregano.

3. Place remaining 1 cup marinara sauce in a small pan; warm over medium-low heat. Grill chicken until cheese has melted and chicken is cooked through (a thermometer inserted into thickest part of a breast should read 165ºF), 4 to 6 minutes per side. Transfer chicken to a cutting board; tent with foil and let rest for 5 minutes. Serve chicken with warmed marinara on the side.

New year, new recipe: Eggplant Pizzas from Clean Eating Magazine

6 Jan

These have been a delicious new addition to our menus.

Happy New Year!

We are five days into 2020 already. Are you used to writing the new year on everything yet? I’m slowly getting there.

I have a brand new recipe for you this week since it’s a new year. It’s one we tried out last year and loved and we’ve made it a couple of times, so it’s worth sharing out.

Last year our middle daughter subscribed to Clean Eating Magazine. We already receive Gluten-Free Living Magazine and we get a lot of recipe inspiration from them, in addition to all the things we see and try online, we’ve tried many recipes from these two magazines as well.

Today’s recipe for Eggplant Pizzas is from Clean Eating Magazine and you click right through to see it. It’s relatively simple to make and it’s definitely a healthier option than regular pizza. It’s also not expensive to make, making it budget-friendly. As with any kind of pizza recipe, this one allows you to tailor your pizzas to how you like them so if you don’t like pepperoni or roasted red peppers, you can skip them. It’s easy to switch up the ingredients as you wish. I like artichoke hearts, pepperoni, olives and roasted red peppers on mine.

You can tailor the ingredients to include the ones you like and leave off the ones you don’t.

Done and ready to eat!

Meal Inspiration: Where do you find yours?

16 Jan

This salad wasn’t even on our radar until I saw a similar one pictured in a magazine.

Do you ever find you’re stuck in a meal-planning rut? I know that I easily tire of planning “the same old thing” week after week, and we try to mix it up every two-week meal menu. Therefore, I’m always looking for inspiration for our menus. We love cooking, we love eating and we love trying new things all the time.

Recently, I was thumbing through an issue of the Gluten-Free Living Magazine that had come in over the vacation week or sometime in that mad rush of weeks and I came across an advertisement for their newsletter.

It wasn’t the idea of the newsletter that struck me, however, but more so the salad pictured on the page in front of me. We love a good salad at our house and often times we will schedule a grilled chicken Caesar salad or a taco salad as one of our meals. Recently though, we’ve been loving fresh spinach, so when I saw it pictured in the advertisement, I stopped and paid attention.

I quickly ripped this ad out of the magazine and started to plan our next meal.

I am definitely a person who is drawn to food photos and videos, and I get a lot of my inspiration in this way. I took a long look at the salad in the picture, checked out what was in it and then made a note at the top of the page of the ingredients and what else we could add to it to make it even better and more to our family’s liking. When I showed the page to my family four out of five of us thought it looked great, so we planned it for a night the fifth one of us was not going to be home.

The original ingredients were spinach, craisins, pomegranate seeds, crumbled cheese, quinoa, and nuts. To that list, I also added in grilled chicken and crumbled bacon. During our most recent shopping trip we bought it all and on Monday night we laid it all out in a make-your-own salad bar style.

Initially, we forgot to put the quinoa out, but when I pulled out the original magazine photo to compare pictures, I quickly realized it and we added it in after the photos had been taken.

The good thing about this meal besides the flavor and the fact that it’s a healthy choice is that it was fast and had a simple cleanup. The nuts were pre-crumbled, the chicken was Perdue Shortcuts, and the bacon was pre-cooked. Quinoa is easy to cook and I cooked it ahead of time that afternoon so it could chill. The hardest thing was cutting and seeding the pomegranate, and although I know that they come already done for you, the store we were at didn’t have them that way at the time we were there, so we grabbed a whole one and enjoyed figuring that process out. Otherwise, it was quick and easy. There were almost no leftovers and everyone had two bowls. For dressings, we put out a bottle of Panera Fuji Apple that my parents recently introduced us to and which is gluten and dairy free, and a Balsamic Vinaigrette which is also gluten and dairy free. I had the apple, but either would have been good.

This was a completely different salad than what we normally would’ve thought of on our own, and we all raved about it. We’d definitely make it again and it’ll be a staple in our menu cycles going forward. It looked pretty, tasted great and cleaned up well. All in all, a successful meal.

Spinach salad has quickly become a favorite of ours.


Saving My Sanity Holiday Chex Mix

7 Dec
This Chex Mix recipe literally saved me this year.

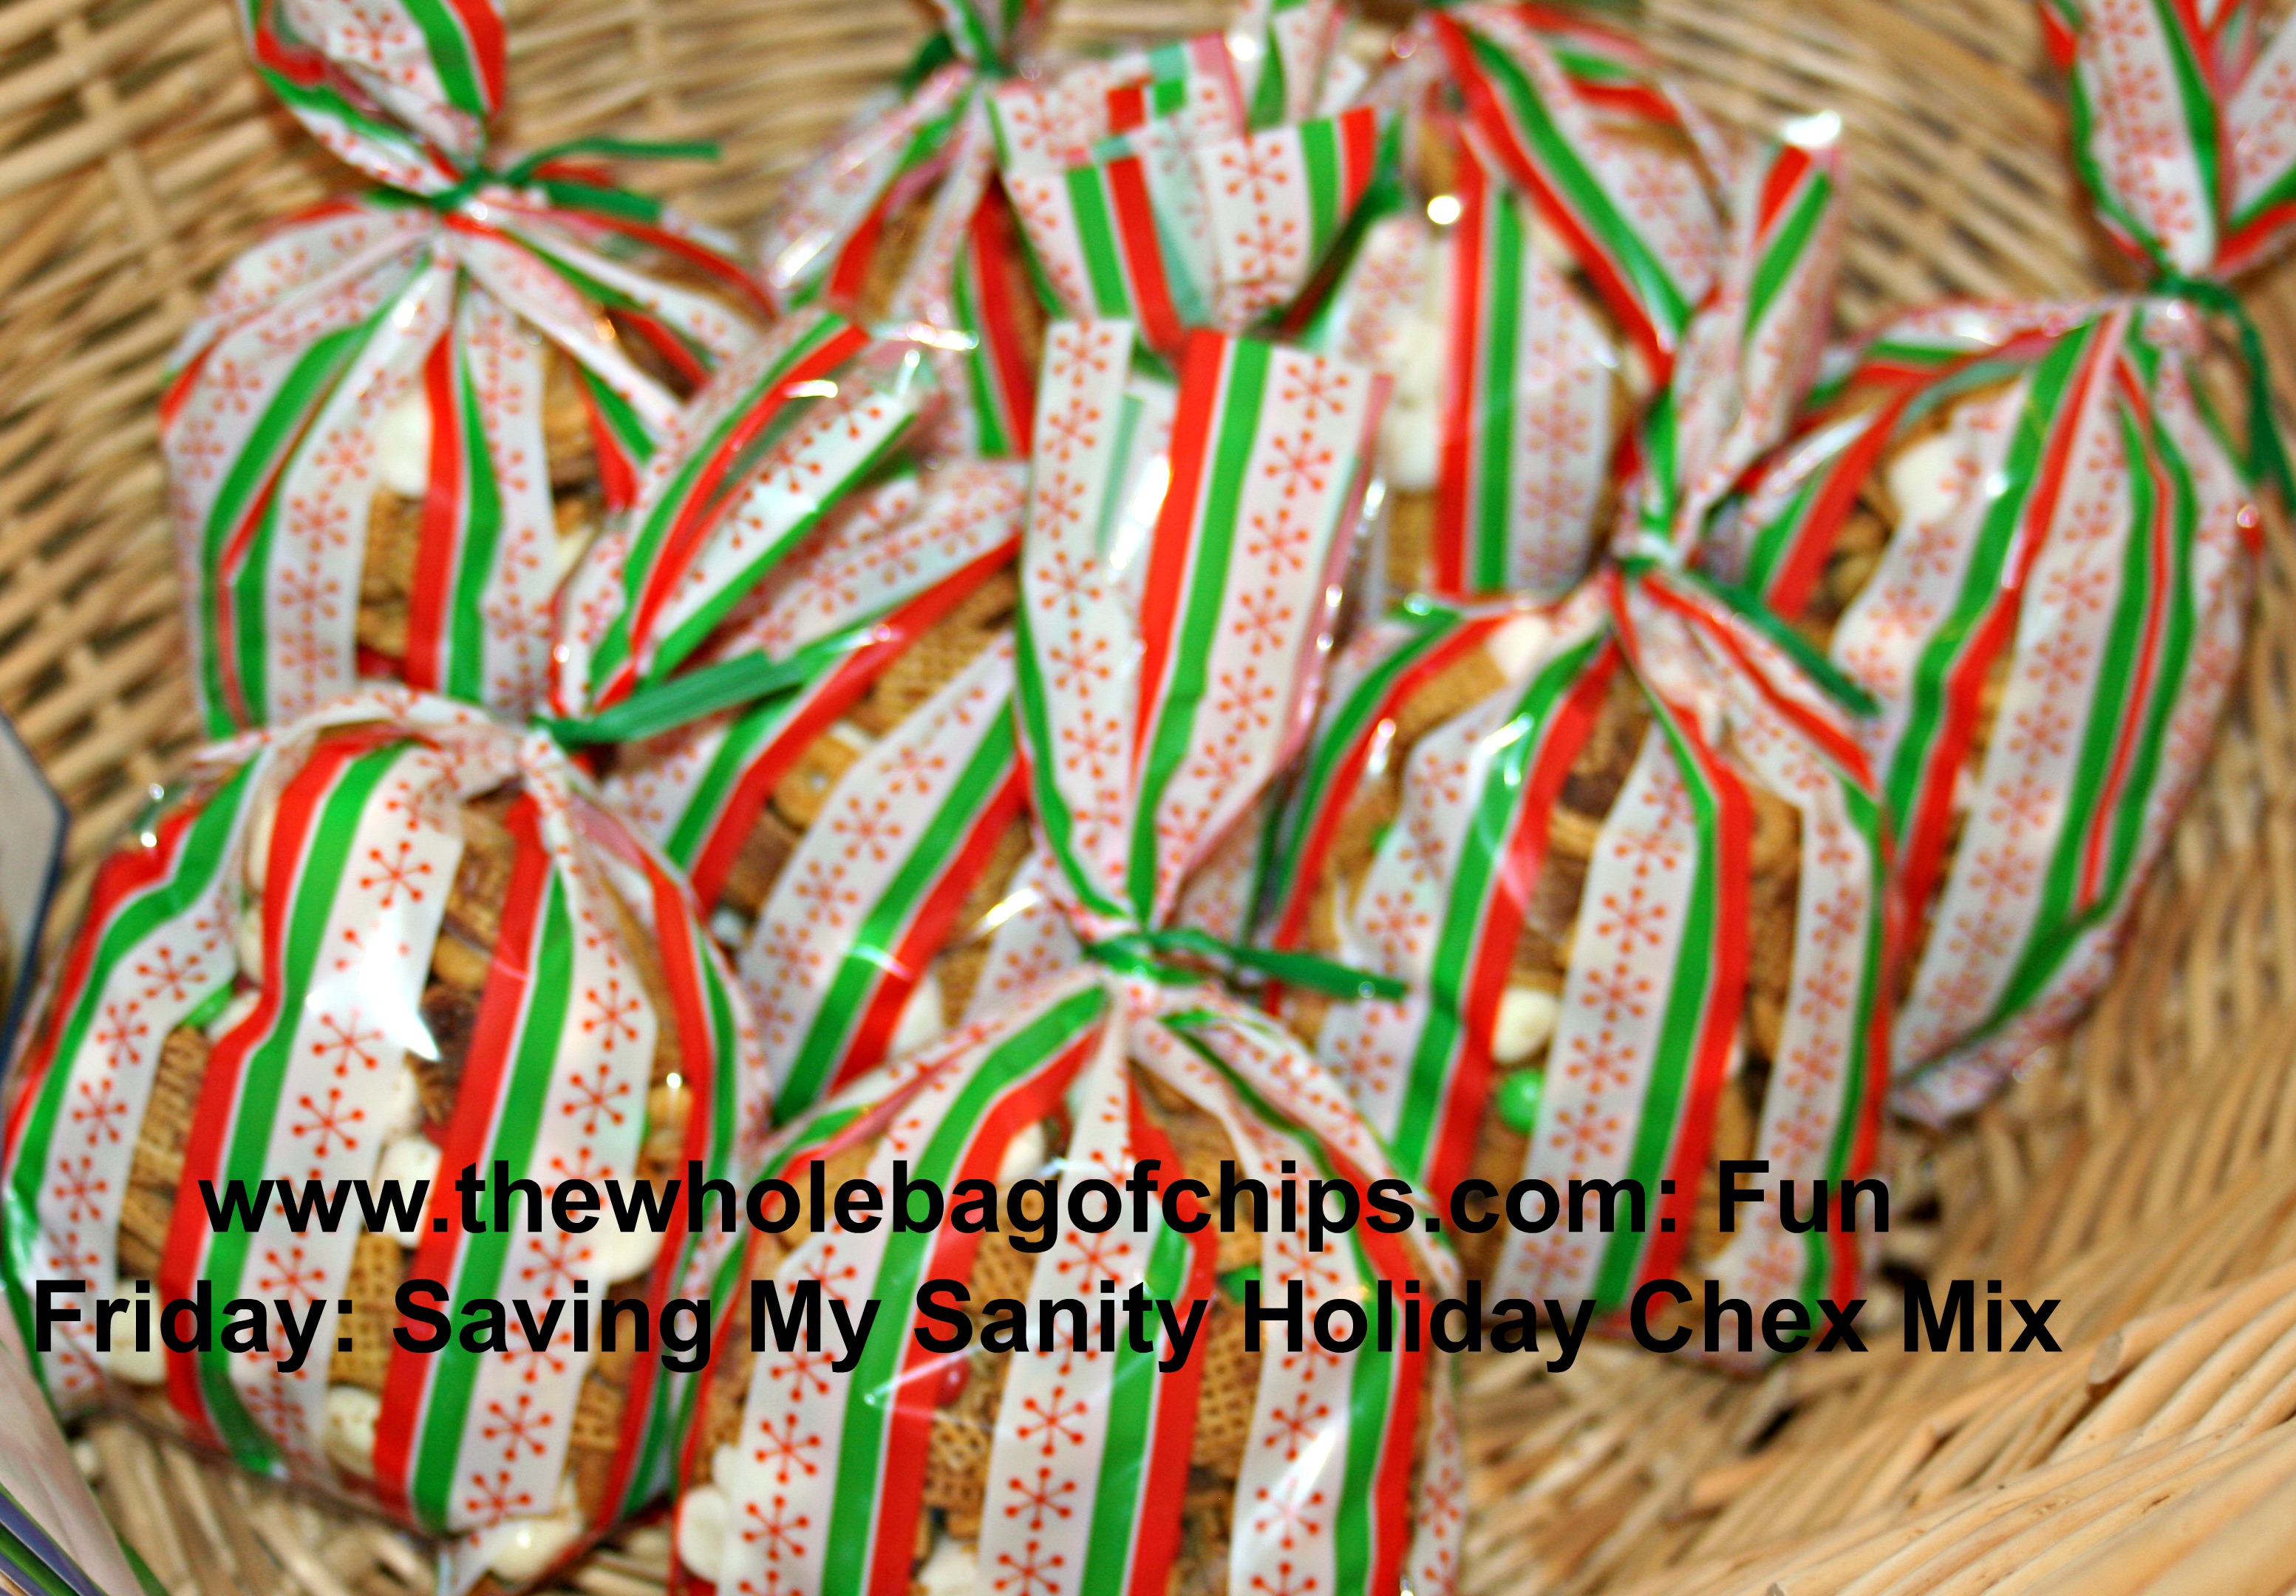
This Chex Mix recipe literally saved me this year. I filled an entire laundry basket with gift bags, plus a Tupperware Cake Taker full of the mix itself.

ORIGINALLY POSTED DECEMBER 20, 2013:

I think we’d all agree that the holidays are much more enjoyable when you’re not totally and completely stressed out.

Agreed?

Agreed.

That being said, this school year, the holidays and the treat-giving season that goes along with them, had the potential to put me right over the edge. And really, as a working mom of three this time of year, that edge is awfully close most of the time anyway, so I really didn’t have far to be pushed.

Normally, I’m a cookie baker at Christmastime. Between my mom and I, we bake over a dozen different types of cookies, creating cookie trays for our family and friends.

As a mom of three, I have always given all of our kids’ teachers a cookie plate at Christmastime. I also have given one to the secretary, bus driver and bus monitor, teacher aides, principal and I make a tray for the faculty room. I also treat the staff at my husband’s school to a tray of cookies in the teachers’ room, and then I make them for our family as well.

It seemed doable when my oldest was first in school, and even when two were in school. It started to get a little tougher when all three were in school, as well as my husband at his own school, but I continued on.

Then last year came middle school.

SEVEN TEACHERS. A whole new set of office staff. A principal AND an assistant. TWO secretaries.

A lot of people will say, “Oh, in middle school that all ends. No gifts for those teachers anymore.”

I’m not sure where that theory came from, but I will say I used to BE a middle school teacher, and I love cookies, but more than that, I liked being thought of at this time of year just as much as when I was an elementary teacher.

My daughter didn’t want to stop our treat-giving tradition, and I couldn’t find a good reason why she had to. And she didn’t want to leave any of her teachers out. So we didn’t.

This year, my husband has a new job at a larger school.

With 90 staff members.

I knew something had to give. I was not going to be able to do it. There wasn’t any way that I could possibly make enough cookies for all of the teachers and staff in all three schools and my family, and keep my job. Or my sanity. I’d be baking all hours of the day and night for weeks to make that happen.

There had to be another answer.

Simple, affordable ingredients, few dishes to wash. A win-win!

Simple, affordable ingredients, few dishes to wash. A win-win!

Enter The Tailgateista and her Homemade Crock Pot Apple Cinnamon Chex Mix.

That’s right. I said CROCK POT.

That was the answer to my problem, thanks to my Crock Pot partner in crime, Gina, who was also searching for another solution to the gift-giving issue. She’s the one who found this recipe and sent it to me.

We both decided to go with Chex Mix gifts this year, although we each chose a different mix to make, and today, as I type this three days before the last day of school before the vacation, I can honestly say that this saved my sanity.

My gifts are done. Cooked, cooled, bagged, tagged and ready to be handed out on Friday, the day you’ll be reading this.

And I still have my job and my sanity, thanks to this recipe from The Tailgateista.

I doubled her original recipe and made a few modifications to it, to serve my purposes. I will put her recipe and my modifications below.

I doubled the recipe SIX TIMES.

That’s right, six times. 72 cups of cereal, and the equivalent of 48 two-cup gift bags of Chex Mix.

And the best part of all? Not only is it a very cost-effective gift, but it cooks while you accomplish other tasks!!

For me, a journalist who works from home a good part of the week, I could type all day and my gifts were cooking themselves over in the crock pot behind me as I worked. Or, if I was working away from the house all day, I could throw in a batch at night to cook itself while we worked on homework and showers and cleaned up from dinner. Some days, I did both: a batch in the daytime if I was here, and a batch again in the evening or after school.

Phenomenal.

And delicious.

I’ll still be making Christmas Cookies this weekend, all our favorites, and I’ll still share them amongst our family and some close friends, but I won’t be cooking over the mixer and oven,rolling and frosting, baking and cooling late at night for a week in between working and parenting obligations, and still not  having enough cookies to go around.

We’ve found a way to thank our teachers and staff members for their time, talent and hard work without pushing me over the proverbial edge the week before Christmas.

I even had enough gifts to give out extras to people I have always wanted to give cookies to, but didn't ever have enough!

I even had enough gifts to give out extras to people I have always wanted to give cookies to, but didn’t ever have enough!

Below is the Tailgateista’s recipe and my modifications follow below it.

Give it a try, it’s delicious! Maybe this Chex Mix will be the key to saving your sanity too!

Ingredients

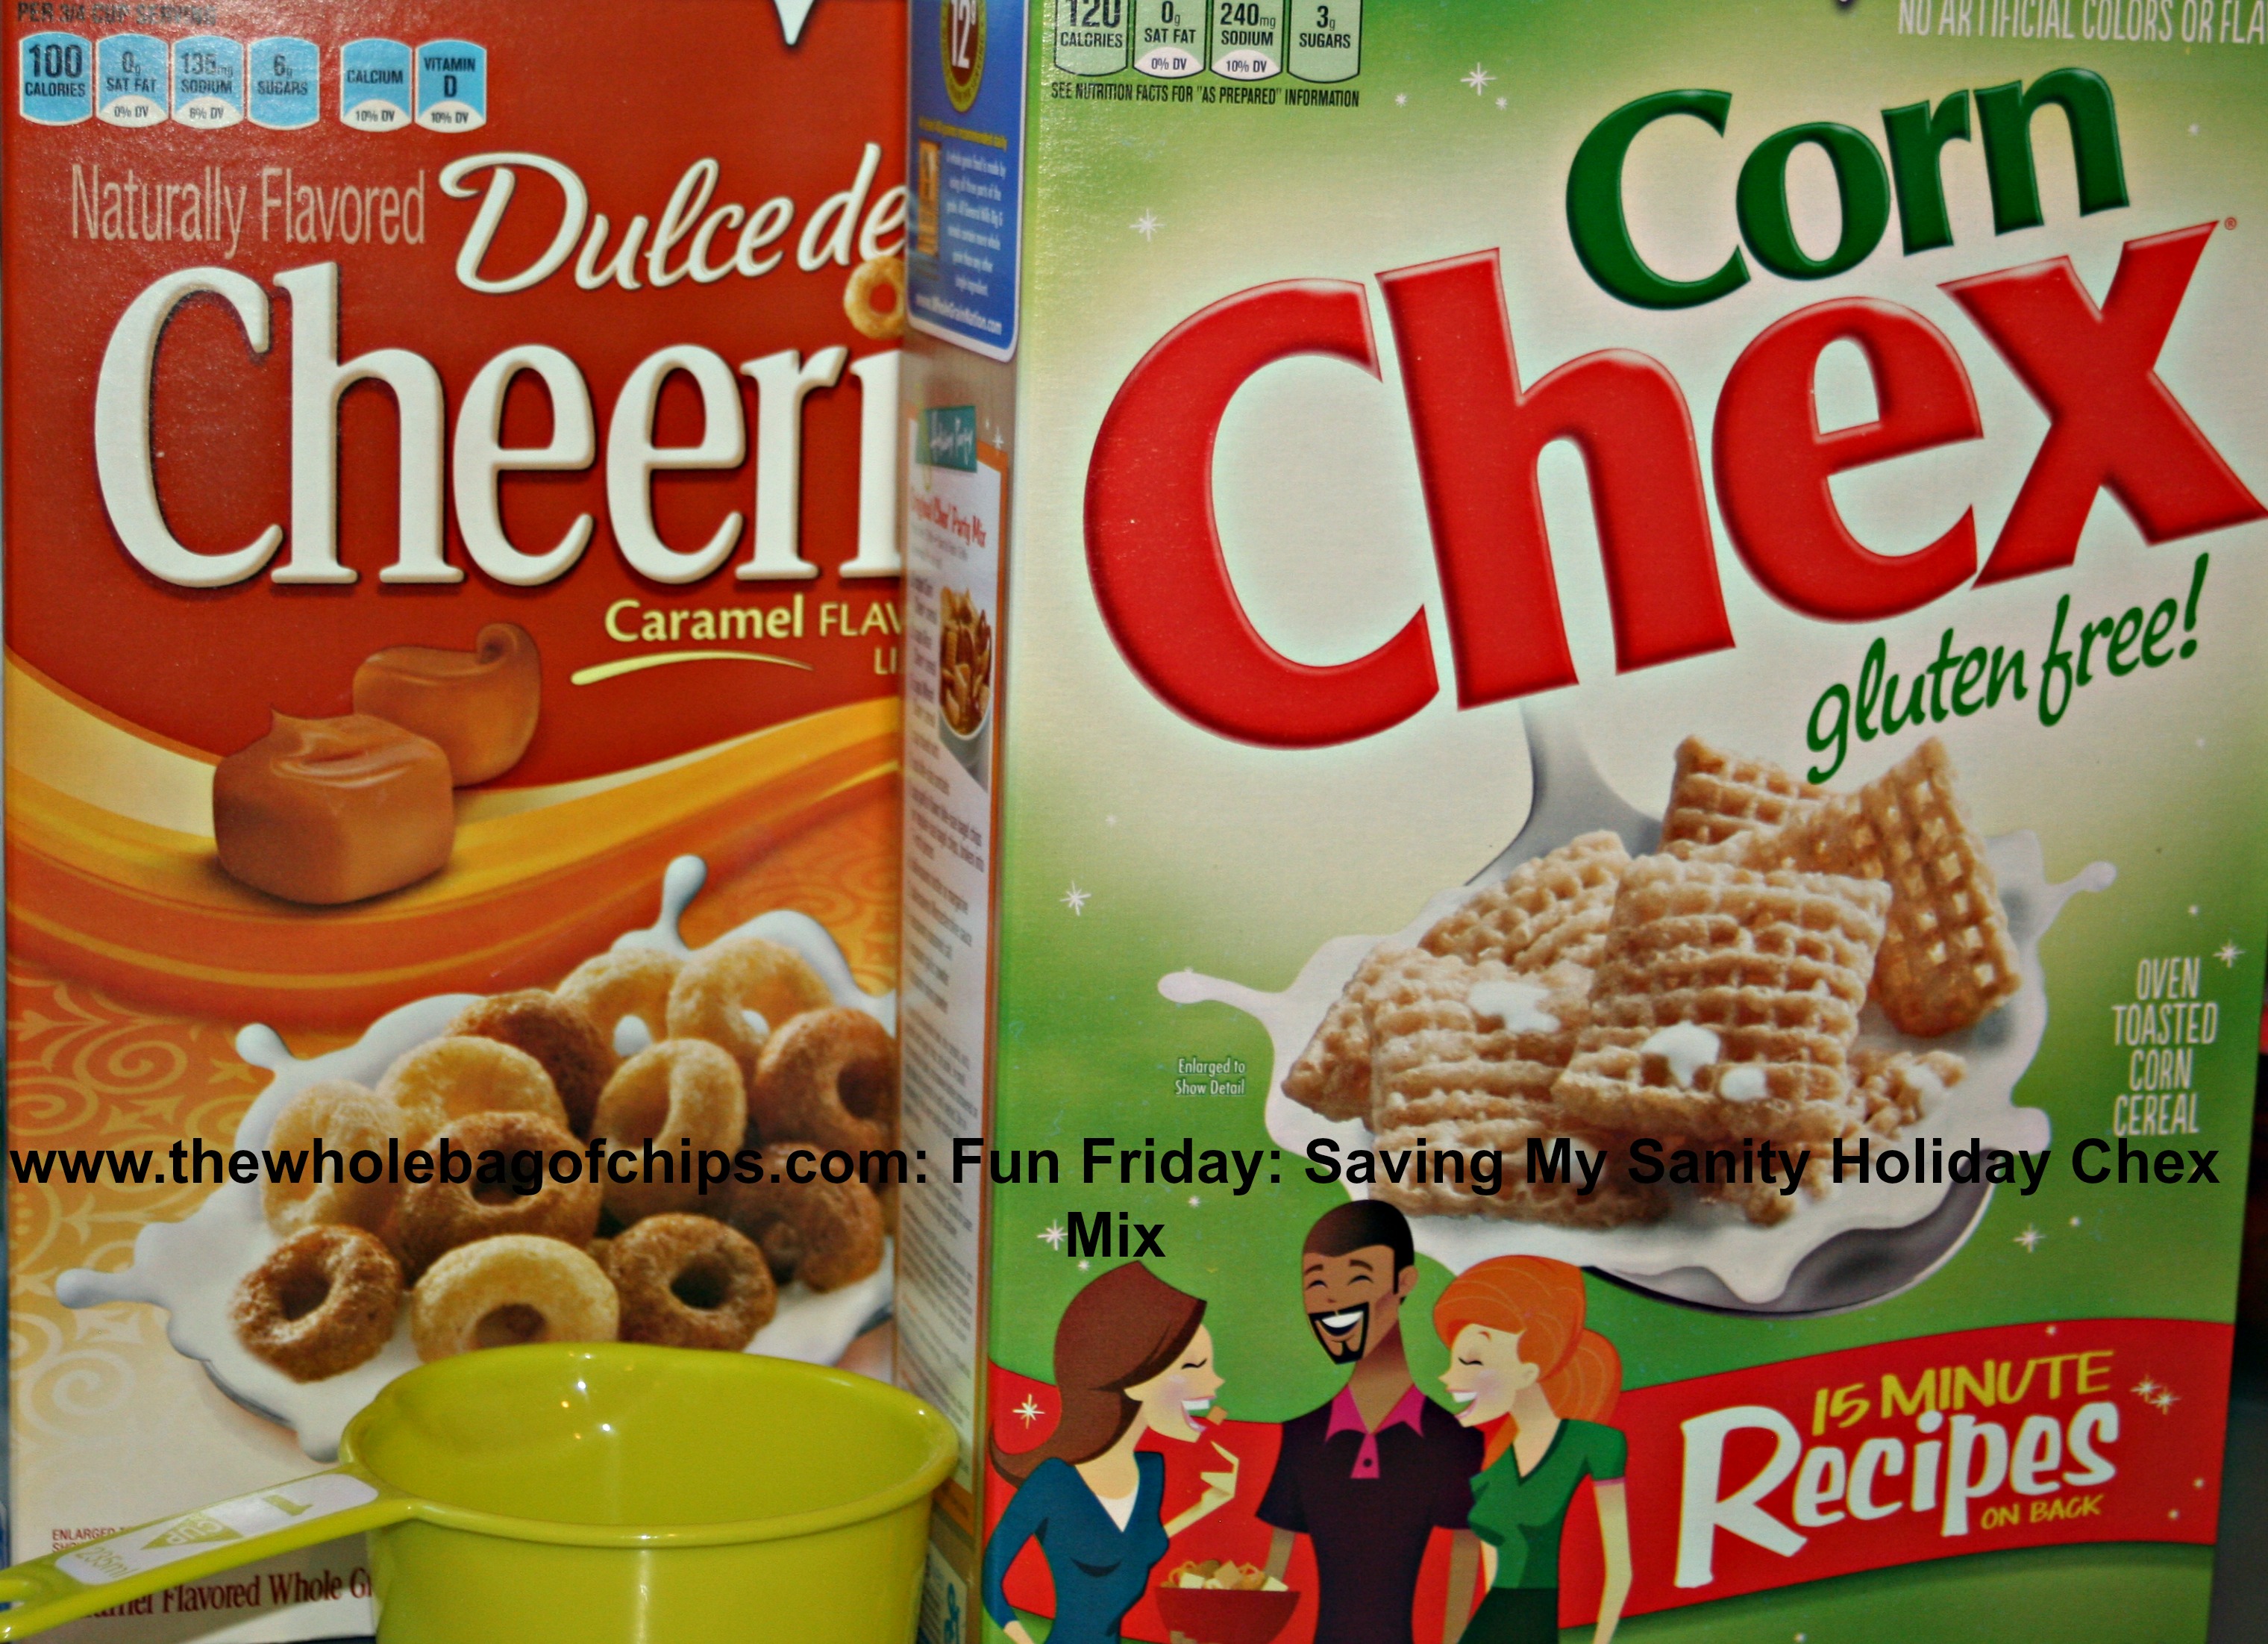
6 Cups Chex Corn Cereal
1/4 Stick Butter
1/2 Cup Brown Sugar
1 Teaspoon Ground Cinnamon
1/4 Teaspoon Ground Nutmeg
1/4 Teaspoon Ground Ginger
1/2 Cup Chopped Dried Apples

***You can also add Pecans, M&M’s, any other candy,dried fruit or nuts!!

Instructions

* In a microwave combine all spices, sugar and butter until it is melted.
* Add the Dry ingredients (cereal, apples) into crock-pot
* Add all melted ingredients into the crock-pot and mix
* Cook in crock-pot on low for 3 hours
* Enjoy!

I used I Can't Believe It's Not Butter instead of real butter, which makes this a bit lower in fat.

I used I Can’t Believe It’s Not Butter instead of real butter, which makes this a bit lower in fat.

MY MODIFICATIONS

1) I doubled this recipe each time, since my crock pot is large enough to hold a double recipe.  ***2014: Another sanity-saving tip I have added in this year is using the plastic bag liners for the crock pot for every batch. The brand I used is an Aldi’s brand, Boulder, and they’ve been amazing. I would not make this again without using the bags.***

2) I substituted the Dulche le Leche flavored Cheerios for one cup of the Chex, (so two cups of Cheerios for a double recipe and ten cups of Chex.)  ***2014: Substituted Frosted Cheerios instead of Dulche le Leche.***

3) The butter should read 1/4 cup for a single recipe, in my opinion, not stick. I used 1 stick per double recipe.

4) I opted not to use the apples, because the first time I did a trial run, they burned.

5) I did not stir the Chex Mix in my trial run, which may be the reason why the apples burned. In every subsequent time however, I stirred the Chex Mix every 45-60 minutes while it cooked for the 3 hrs.

6) For my mix-ins, I used 1/2 bag of mini marshmallows, 1/2 bag of red and green mini M&Ms, and one full bag of white yogurt covered raisins, per double recipe.

7) Each double recipe with my mix-ins filled eight gift bags. For my husband’s school, I filled  a large Tupperware Cake Taker, normally used to carry layer cakes, with an entire double recipe, just for his faculty room. I sent in small plastic drinking cups for them to eat it out of.

Although cost is not always the deciding factor in gift-giving, it’s certainly taken into account. I think most everyone sticks to a budget when shopping for gifts. With each of the six double recipes yielding 8 two-cup bags of mix, and my ingredients costing a total of $40.68 for all six batches (I used coupons for the M&Ms and the cereals), these 48 gifts cost me $.85 per bag to make. I spent just under $2.00 on two packs of 20 gift baggies to put them in. Even still, that cost me less than $1 per gift.

Over 100 people will be enjoying my Sanity Saving Chex Mix this weekend, and I was able to accomplish it relatively stress-free and budget-consciously.

Have a great Christmas everyone!!

Happy Birthday Don and Alexandra!

23 Mar

So what’s the best birthday gift *you* ever gave someone?

ORIGINALLY POSTED MARCH 23, 2012

Today is a very special day.

Today is Alexandra’s birthday.

Today is also Don’s birthday.

That makes me the best wife ever because seven years ago for Don’s birthday at 1:22 am I gave him our third daughter.

I know, I know, best gift ever, right?! It’s hard to top that one though, so I don’t really try. I’m back to t-shirts, pajama pants and stuff like that for his birthday gifts.

Alexandra’s First Birthday 2006

Since sharing his birthday with his daughter, Don has been blessed with getting to have a Snoopy party, a My Little Pony party, a Dora party, a Purple party and this year…Hello Kitty. Technically they’re not his parties obviously, but you see what I mean.

Birthday crowns all around on Alex’s second birthday.

Thankfully, my parents have this neat tradition that they started with us where we celebrate the adult birthday parties at their house each year and we “kids” get to choose our meal and our cake. I choose….well I won’t tell you what I choose until it’s my birthday this summer. But Don chooses a totally opposite type of meal and cake than I would choose, so I guess it’s good that we each get a chance to choose our own, to choose what we like. Don chooses meatball sandwiches (made with my mom’s homemade meatballs and gravy) with lemon cake for dessert. It’s probably the only time all year we have it and he really enjoys it.

Therefore, today I thought I’d share with you the recipe for Don’s birthday cake of choice each year, the lemon cake. It’s really yummy, I particularly love the corners.

***********************************************************************************

LEMON CAKE

A cake *just* for Daddy!

INGREDIENTS

1/4 cup oil

1/2 cup water

2 beaten eggs

Duncan Hines Lemon Cake Mix

1 can lemon pie filling (divided)

DIRECTIONS

In bowl by hand, mix together oil, water, eggs, cake mix.

Add 1/4 can of lemon pie filling into the mix.

Put into greased 9×13 dish.

On top, distribute the rest of the pie filling.

Bake 35-40 minutes at 350 degrees.

When cool, glaze with:
1 cup confectioner’s sugar mixed with 1 Tablespoon lemon juice. Add a little hot water if necessary.

THE BIRTHDAY TWINS CELEBRATING THEIR SPECIAL DAY IN 2016


A new Cave Tools product review: Stainless Steel Wood Smoker Box

28 Jan

My husband ranked these ribs as being some of the best he’s ever had in his entire life.

We recently had the opportunity to try out another product from one of my favorite companies, Cave Tools. This time, my husband was very excited to review the new tool because it was something he’d been wanting to try for a long time. The Large Capacity Stainless Steel Smoker Box allows you to smoke meat and fish on the grill and it was a cooking method we’d never tried but had always wanted to.

Smoking is an interesting method of cooking, and it takes some time, so you need to make sure you can devote the time you need in order for everything to cook properly. Because we live in an area of the country that gets cold and snowy, and it’s wintertime, we also had to make sure we were going to use our grill on a day when there wasn’t a blizzard and it was above freezing. Finally, this past weekend was the perfect day. We chose Saturday as our day to smoke a rack of ribs.

This box was a great size and fit well between our grill grates.

The Stainless Steel Smoker Box is very typical of Cave Tools’ superior product quality. Their products are always solidly made and durable. Cave Tools notes that this particular product has several features that make it stand out from the rest: Its stainless steel is 25% thicker so that it prevents warping. It has a hinged lid and large wood chip capacity for thicker smoke. There are no bottom holes, so the wood chips smolder and don’t catch fire, and its thinner profile fits perfectly between the grill grates and flavorizer bars, if you choose to use them.

As our Saturday dawned bright and sunny, Don spent the early afternoon hours preparing the rack of ribs. He created a dry rub consisting of a cup of brown sugar, a quarter cup of kosher salt, a teaspoon of garlic powder and half a teaspoon of pepper (approximate measures). He rubbed it all in and refrigerated it for four hours. When he took it out at 4:00, he rinsed it off, patted it dry and then placed it on the grill.

Following the directions that were contained in the box, he filled our smoker box with 100% natural hickory wood chips and set it on the grill over the heat, and waited for it to start smoking. He then placed the rack of ribs on the opposite side. It took approximately 15 minutes for the box to start smoking. He never flipped the ribs over, but rather rotated them every so often to make sure they were cooking evenly.

After two hours, barbecue sauce was added to the meat for the final 20 minutes.


As the cook time neared the end, barbecue sauce was added to the meat for the final 20 minutes of cook time.

Throughout the evening, we could smell the smoker cooking the meat outside, and the aroma was heavenly. We could not wait to try the ribs. The anticipation was exciting and we were very much looking forward to our dinner.

As we dug into dinner, we were thrilled with our results. The ribs were incredibly good. My husband ranked them as being among the top five best rib meals he’s had in his lifetime, and that’s saying a lot, as we’ve had a lot of ribs in our time!

The meat came right off the bone and the flavor was just delicious. We savored every bite and we each had seconds. When we finished eating, I was so glad that there were still more ribs left on the tray for leftovers later this week, as I wasn’t ready to say goodbye to them just yet.

If you’re looking to try out smoking on your grill, I highly recommend the Cave Tools Stainless Steel Smoker Box. If you choose to buy it from Cave Tools directly, you can use the code SMOKERBOX15 to get 15% off your purchase and order here. Should you choose to go through Amazon.com, instead, you can use this link.

Like all the Cave Tools products, this product has a lifetime warranty, should you have any issues with it. I know we can’t wait to use ours again!

The meat came right off the bones of the ribs, just as it should.

*Although I was compensated for this review with a free product, all thoughts and opinions are my own.*

Two weeks of meals before the holiday rush

4 Dec

It’s hard to believe, but it’s the first week of December already. There are exactly three weeks until Christmas. Although I’ve been behind in posting some weekly menus, I thought that now might be a good time to provide some meal inspiration as a way to get us through the next three weeks. I also know that in the next two weeks or so, my posts will be filled with Christmas cookie recipes, and although we’d like to just eat those for dinner, most nights we can’t.

This was one we hadn’t had in a while and we devoured it. Not a morsel left.

Below are some meal options to get you through the next few weeks, with links included for every single one, not necessarily even in the order we’ve had them on our menu but more of a list of our past weeks’ “best of” meals that will let you peruse and choose what works for you in any given week.

TWO WEEKS OF MEALS

  1. Taco Bake
  2. Chicken, Broccoli, Cauliflower Casserole
  3. Kielbasa and Cabbage
  4. Parmesan Chicken Cutlets
  5. Instant Pot Chicken Marsala
  6. Beef and Broccoli
  7. Turkey Meatloaf Burgers
  8. Sweet and sour meatballs

    One of my favorite fall meals ever: Cranberry Chicken

  9. Shepherd’s Pie
  10. Instant Pot Macaroni and Cheese
  11. Chicken with White Wine and Mushrooms
  12. Cranberry Chicken
  13. Steak Lettuce Tacos
  14. Pork Tenderloin (instead of brisket) with applesauce and potato pancakes

Pumpkin Palooza…My grand finale: Here’s to friends and pumpkin pie cupcakes

22 Nov

I’m thankful for being able to stay connected to friends from “way back when” who are both near and far.

ORIGINALLY POSTED NOVEMBER 16, 2012

I went to a high school outside of my hometown, with kids from all over my state and a neighboring state. Therefore, I met people there I would not normally have had a chance to meet, had I attended my local high school. Upon graduation we all went our separate ways, but we always tried to keep in touch.

At first we kept in touch by letters and the occasional phone call, but today with technology the way it is, we keep in touch by email and things like Facebook as well.

We’ve attended and/or been in each others weddings, we’ve visited each other when new babies were born, and gotten together when one or another of us were in town, visiting from wherever we had now settled, and even bumped into each other at the occasional swim lesson or scouting events. Each year though, at Thanksgiving, we try to get together to share a meal, whether it’s breakfast or dinner, just to catch up before another year goes by.

The photo here is last year’s picture after our Friday after Thanksgiving breakfast. We have another one scheduled for this year. Pictured here are high school friends Lia, Jenn, Nicole and I. We missed Bethany that year but she’ll be there this year!

A delicious treat!

My friend Nicole is in the fushia sweater, and today’s recipe was posted on Facebook by her, a couple of weeks back. I printed it right away but I only just got the chance to make it this week. She wrote that she’d made these pumpkin cupcakes by Baker Chick for all of the teachers at her school where she is the school librarian. I bet they loved them! I know I did! They got thumbs up from almost everyone here at our house, and I thought they were even better the second day; just like a slice of pumpkin pie in a cupcake wrapper!

The recipe states that these cupcakes puff up when cooked and then shrink back down, which is exactly what they did. Baker Chick also says that the fact that they shrink down is great because it gives you the perfect place to squirt some whipped cream, and she was right about that as well.

This was an easy recipe and didn’t take too long. I found my cook time to be slightly longer than the 20 minutes stated, but I just kept checking them every 2-3 minutes til they were done.

I hope you get a chance to try these out this week! Thanks to Nicole for sharing, I’ll see you soon! Thanks to Baker Chick for a great recipe!

Two bowls, simple ingredients.

PUMPKIN CUPCAKES
INGREDIENTS

2/3 cup all purpose flour

1/4 tsp baking powder

1/4 tsp baking soda

1/4 tsp salt

2 tsp pumpkin pie spice

1 15-oz can pumpkin puree

1/2 cup sugar

1/4 cup brown sugar

2 large eggs

1 tsp vanilla extract

3/4 cup half and half


Cupcakes puff up when they’re first cooked….

DIRECTIONS

Preheat the oven to 350F. Line a 12-cup muffin tin with paper or silicone liners. *If using paper liners, lightly coat them with cooking spray.

In a medium bowl, whisk together flour, baking powder, baking soda, salt and pumpkin pie spice.

In a large bowl, whisk together pumpkin puree, sugar, brown sugar, eggs, vanilla and half and half until well combined.

Add in dry ingredients and whisk until no streaks of flour remain and batter is smooth.

Distribute batter evenly in the muffin tin. (they should be about 3/4 of the way full.)

Bake for 20 minutes. Cool cupcakes in pan. (They will sink as they are cooling.)

Chill cupcakes before serving. Top with lightly sweetened whipped cream.

…..and shrink down when cooled.

Makes 12

Cave Tools Pigtail Food Flipper: a great new tool for summer grilling

30 Jun

We’ll be taking these with us to the campground this summer!

It’s officially summer! Summer means so many things, but one thing it means for us is grilling. Another thing it means for us is camping.When we camp, we grill! Therefore, I was very excited when Cave Tools asked me to try out another one of their fabulous products. I have reviewed several of their other grilling tools and have yet to be disappointed.

The Pigtail Food Flippers arrived on our doorstep just as we were creating our menu for a week’s worth of meals, and we put steaks right on the menu so we could try out our new tool. We would be grilling at home, but soon we will be camping and we’ll be grilling over a campfire. These new tools, a pair of two-one longer and one shorter-seemed to be perfect for all the grilling we do. Although we were doing steaks on this particular night, the tools are great for so many other things, including bacon, chicken, hot dogs and ribs, just to name a few ideas.

The Pigtail Food Flipper was great for grilling steaks, but it has many other uses as well.

When I asked my husband what he liked about the new Pigtail Food Flippers versus using a spatula, a fork or tongs, he said that the shape of the hook which made for easy flipping.

“I liked the way the hook was shaped,” he said. “All you had to do was hook the meat and flip it rather than trying to get a spatula underneath. I also liked that it came in two sizes, I didn’t have to use a big one for a small piece of meat and I won’t have to use a small one for a big piece.”

The tool was super-easy to clean because they’re dishwasher safe, and to store, which is a big plus for a small kitchen. Additionally, the handles fit well into the palm of your hand, much more comfortable than the flat form of a spatula.

You can find this great new tool set in two places and it’s very affordable. It’s on Amazon here, and on the Cave Tools website here. If you choose to order from the Cave Tools site, there is a great 15% off discount available by entering the coupon code PIGTAIL15 at checkout.

As we pack up for camping, we’ll be including our Pigtail Flippers, and I encourage you to check them out too!


***I was given a free product in order to do this review. However, all thoughts and opinions are my own.***


Budget-friendly camping tips from The Penny Hoarder

24 May

Camping on a budget can make you a very happy camper!

It’s the end of May, Memorial Day weekend is just days away. I can almost taste the summertime…if it would just stop raining! We had some hot, 100 degree days last week, and the flip flops and tank tops were out, the sun shining, kids playing in the yard, I could see the lazy days of summer just ahead.

If summertime includes camping for you, as it does for us, you’ll be happy to read the most recent post from The Penny Hoarder’s site, “Get the Vacation You’ve Been Craving on a Budget: Go Camping.” The post contains six tips for budget-friendly travel through camping.

If you’ve been a fan of The Whole Bag of Chips recently, then you know that we purchased a new-to-us camper in 2015 and used it to travel in a budget-friendly manner over the past couple of years, touring the country in 2015 and touring NYC this past spring. We also traveled to Mystic, CT and to Meredith, NH as well as hanging out by the beaches here in the Ocean State in 2015, 2016 and again this coming summer in 2017. Having our own camper is thousands of dollars cheaper than renting a beach house in New England for a week every summer.

I was so thrilled when Lisa Rowan, writer for The Penny Hoarder, reached out to me for some tips to include in their camping post. The only thing that makes me happier than being able to do things because of the fact that we budget, is to be able to help others achieve their own goals by doing things on a budget as well. Stretching a dollar has helped us to achieve so many things, including all of the recent travel that we’ve been doing.

So if you are wishing you could do more traveling, but just don’t have the means, be sure to read the above post, or check out my travel pages #crosscountryadventure2015 and #thecowartstakemanhattan2017 for some tips and tricks for traveling and camping on a budget.