Even though it’s not officially over, it’s over.
I know.
You’re going to say, “But it’s not over yet! It’s not over til it’s officially over!”
It’s over.
Finished. Done.
Gone, but luckily, not forgotten.
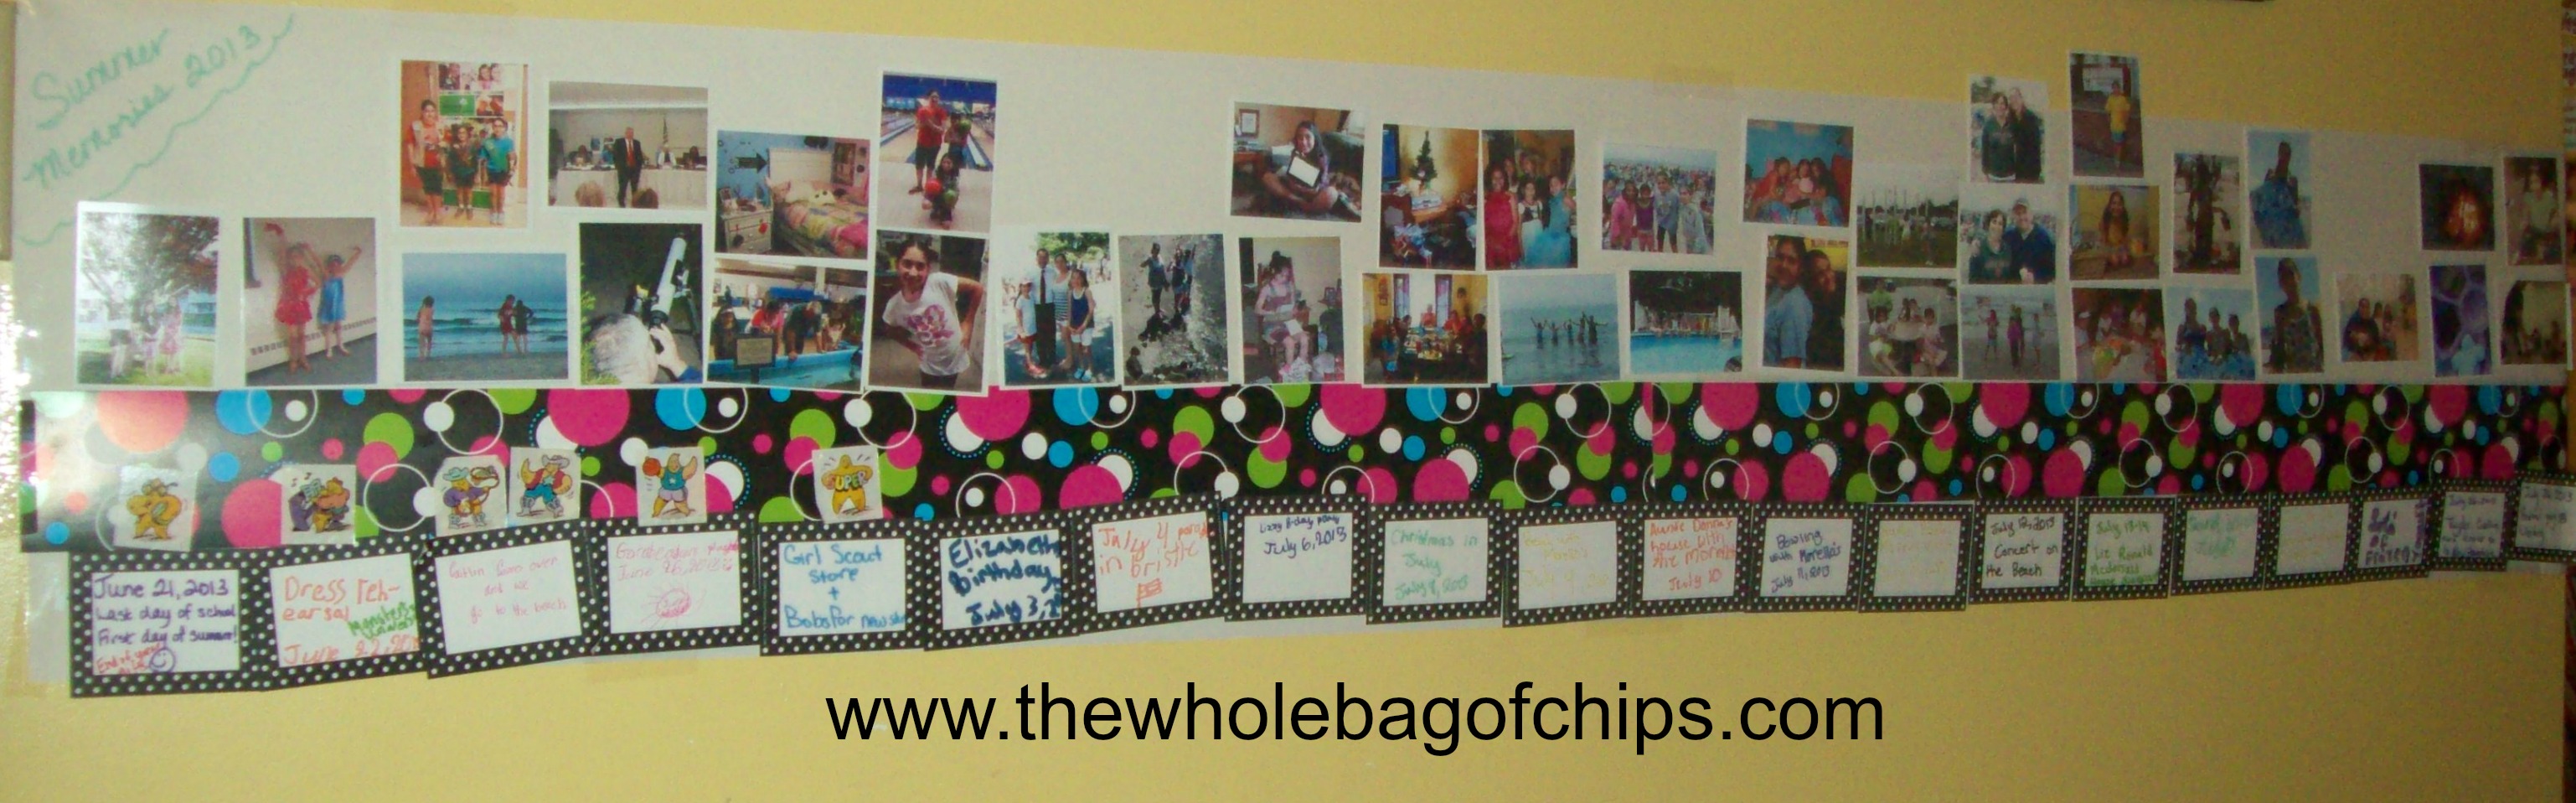
In fact, we spend lots of time thinking about, talking about and remembering all of the fun times we had this summer, thanks to a great new tradition that I started last summer: The Summer Time Line.
If you’re a longtime reader, you might remember when I wrote about last year’s summer time line. I wasn’t sure how it would work out, but it worked out great! And, even better, when we were all done reminiscing about our summer, we used all of the photos and labels to make a great summer scrapbook of memories. It was fantastic.
And we left room for this summer’s memories in that book!
So guess what?
This summer, starting on the last day of school, we began our summer time line for 2013.
On the last day in June, I put my plan back into action. While they were at school I ran out and got what I needed: a roll of doodle paper at Christmas Tree Shop, just like last year, and then I thought long and hard about how I’d utilized my labels last year for our scrapbook. I decided to go to our local learning store and pick up some bulletin board edging with all of their favorite colors to use for my actual line, and some name tags with peel-off backing for my labels. Those served two purposes: 1) they were prettier than the post-it note type of labels I did last year and 2) when it comes time to put them into the scrapbook we can just peel off the backing and stick them on the pages with the photos. Right now they are on the time line with tape. As an added bonus, the bulletin board edging is double-sided, so I can use strips of it from the same bag if I do it next year, just using the other design on the flip side.
Once again this summer, our time line is full of great memories.
When the kids walked in from school, they saw the blank canvas taped up on the wall, labeled Summer Memories 2013. I hadn’t told them I had planned to do it again this year and I wasn’t sure what their reaction would be.
“Oh yay! We’re doing that again,” one of them called out as they were halfway up the stairs.
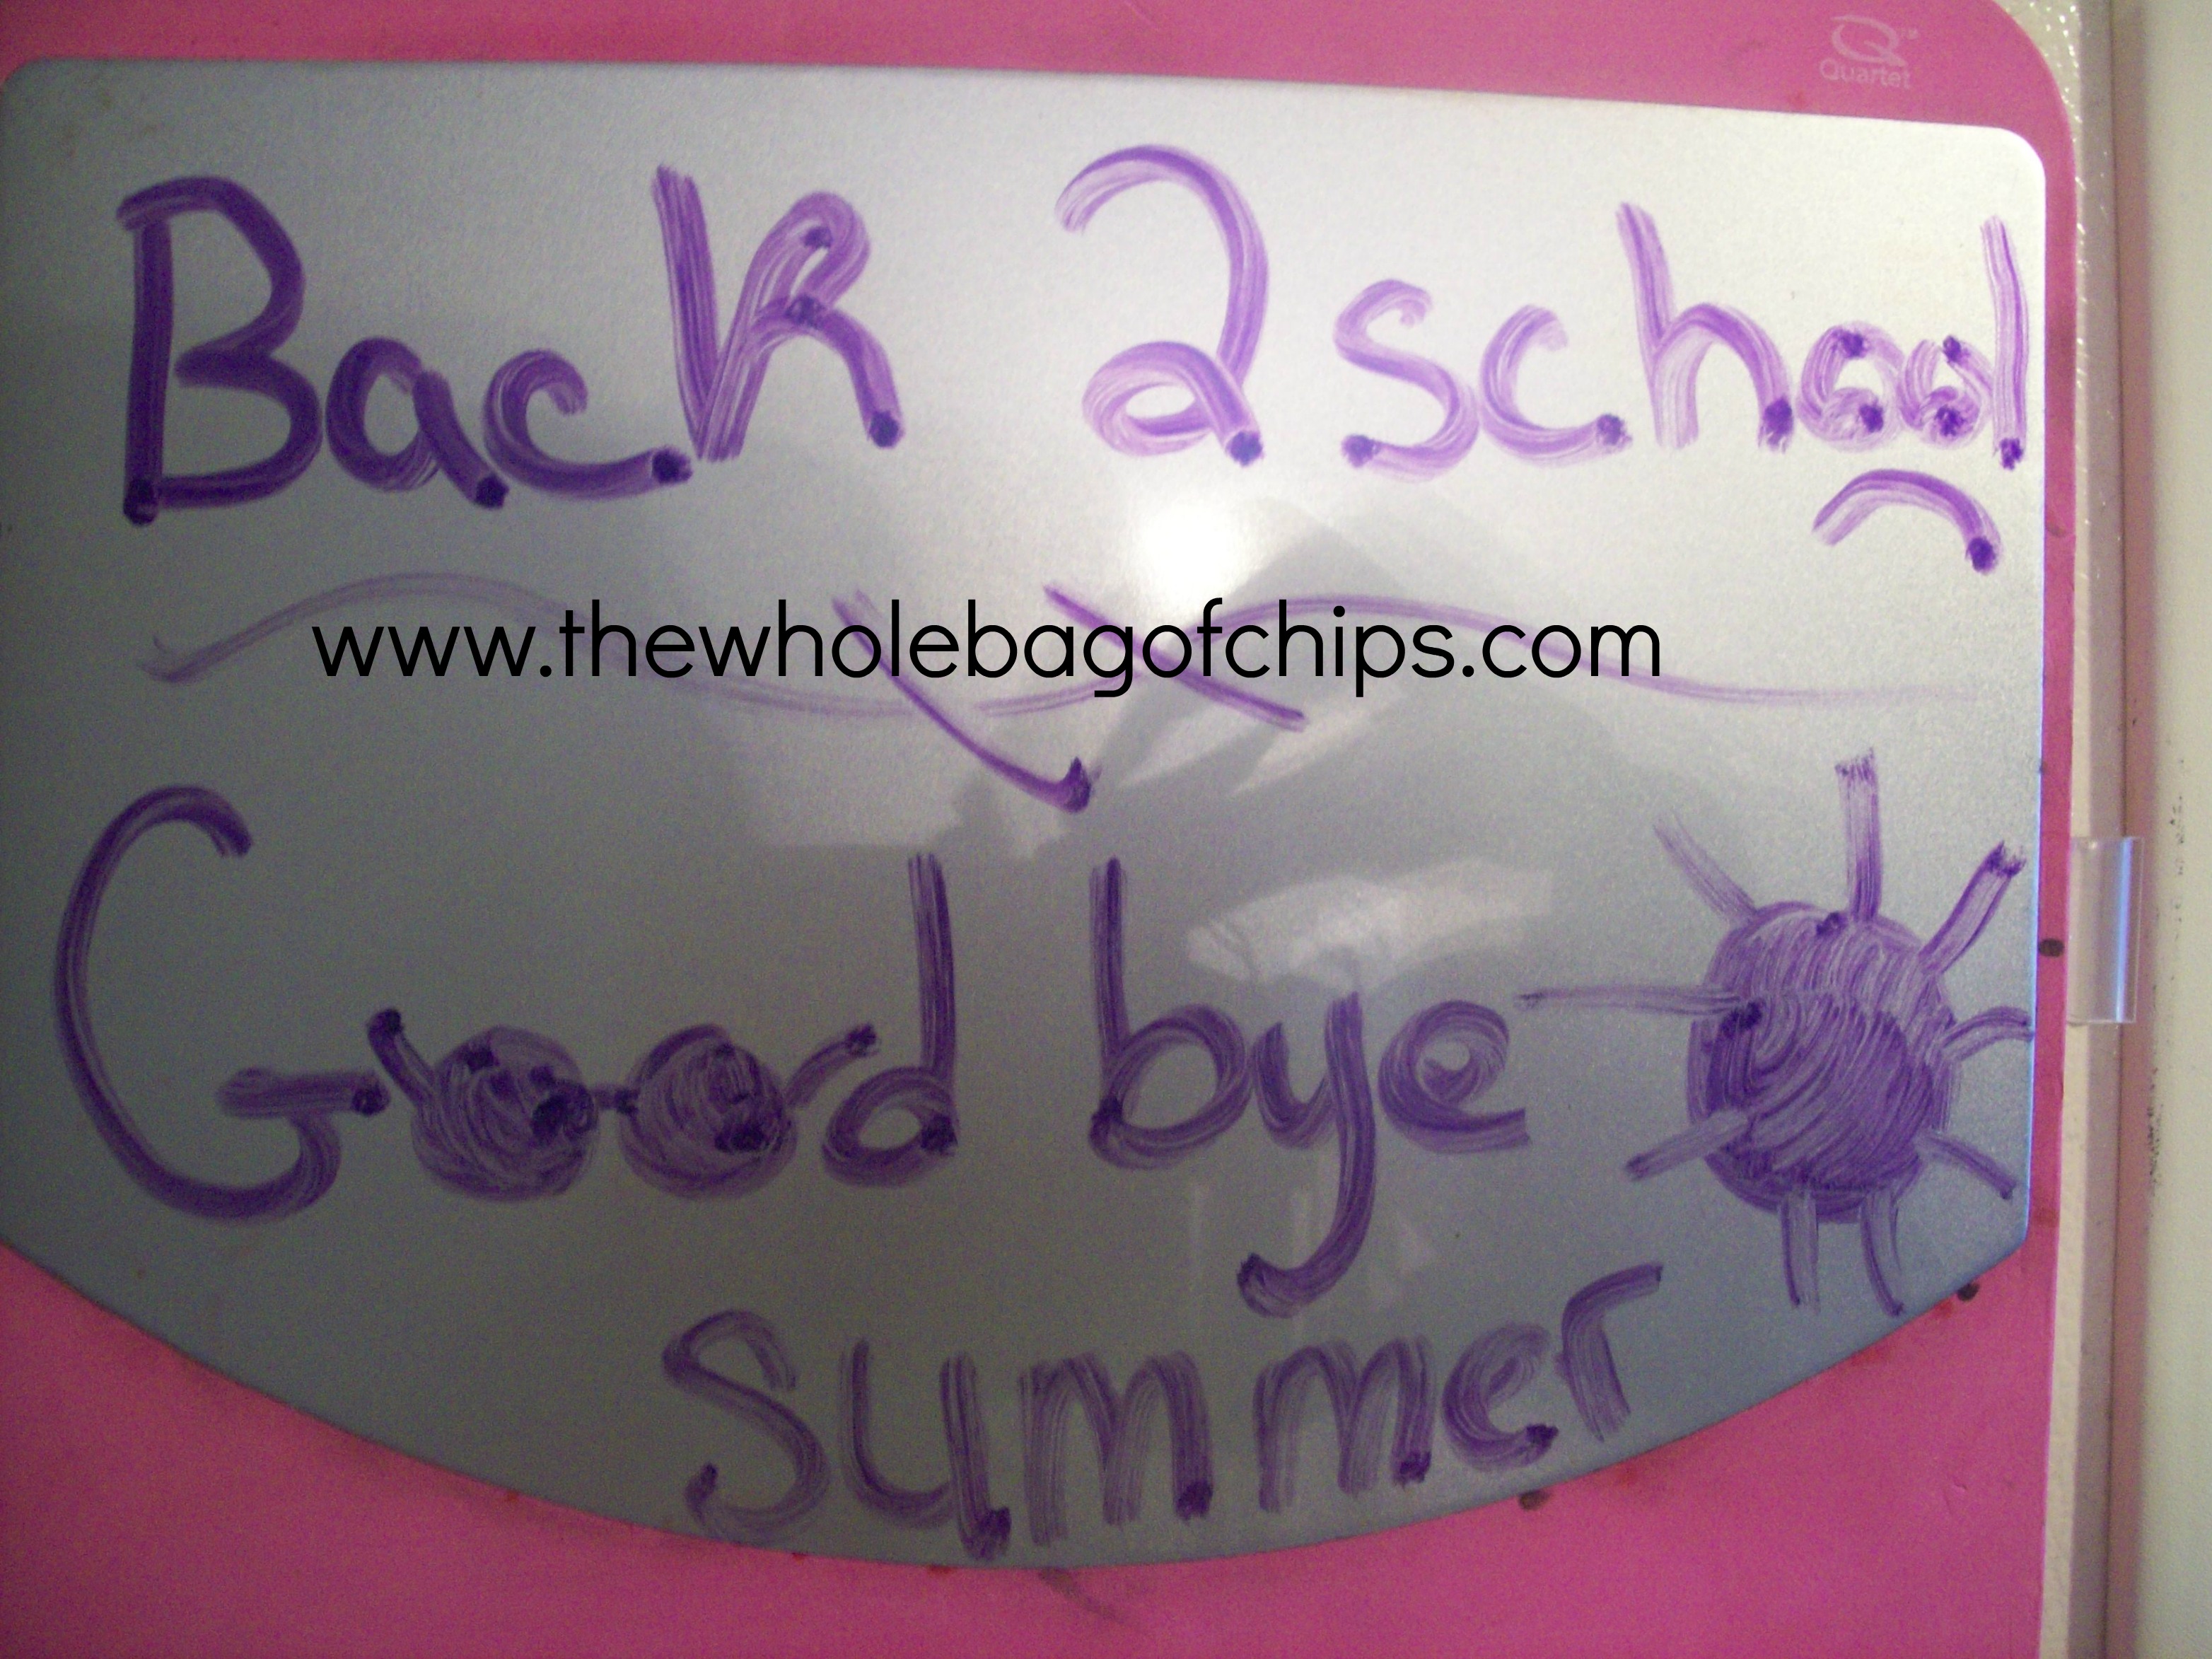
I’d started the time line myself with one label: The Last Day of School. The last day kicks off our first day of summer.
And then it began. Every so often we would write up the labels, and when I could, a few times over the summer, I’d print out my wallet-sized photos. This year I was more liberal about printing out photos, knowing ahead of time that we were making a scrapbook. At one point I was kind of stuck because I didn’t have a printer for a short time. Once I got a new one, I was back on track.
Last year the time line stretched around the corner of the wall from the living room into the dining room. This year it went that same way and then by mid-August we were out of space again. So, we added a new strip of paper onto the opposite dining room wall with more bulletin board edging across it and printed out the rest of our photos from August and Labor Day weekend and week.

This year we spread onto a third wall with our summer memories.
With that, our time line is done.
And now, as the air gets just a little crisper this week, and the sun sets just a little earlier each day, we look all around us at the memories we made this summer.
Soon, but not too soon, we’ll take the time line down and add the pages to our scrapbook from last year.
Maybe in the fall. Or before Thanksgiving.
Definitely before Christmas cards arrive.
But for now, we’re just content to remember what a great, great summer 2013 was and how lucky we are to have our memories.
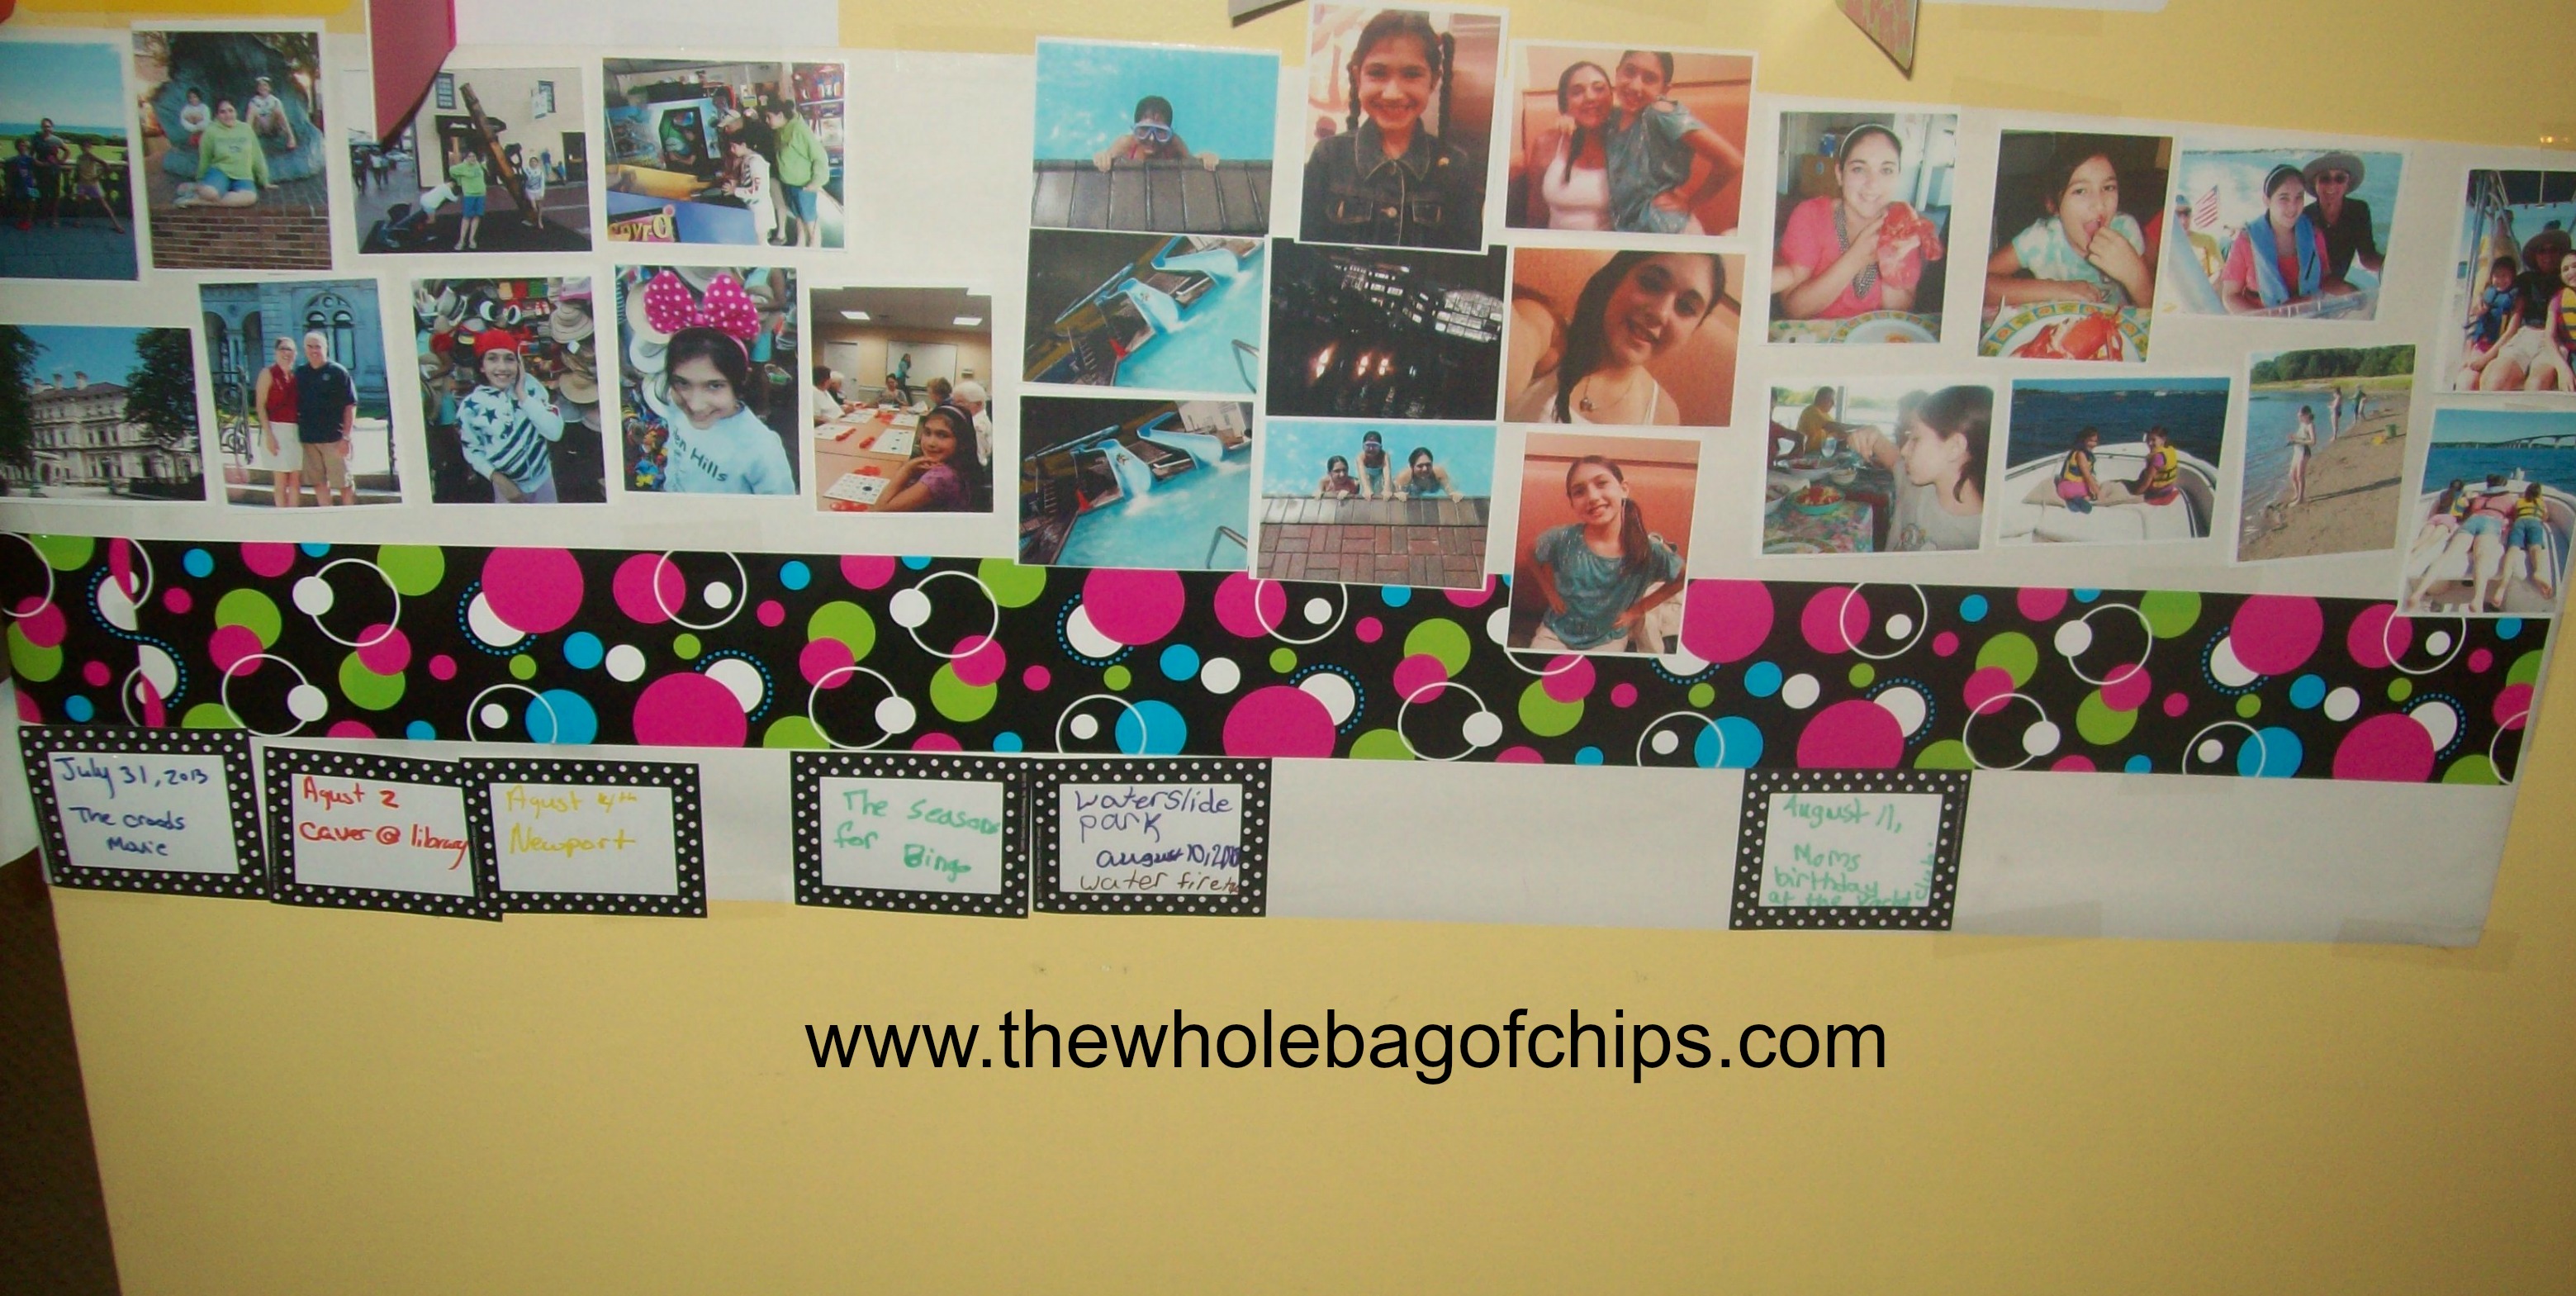
The first two weeks of August filled one whole wall of our time line.