Tag Archives: Healthy Lunchtime Challenge

Back to School Edition: What’s for Dinner Wednesday?? Lunch!

28 Aug
Our newly posted lunch menu. Good idea? We'll find out!

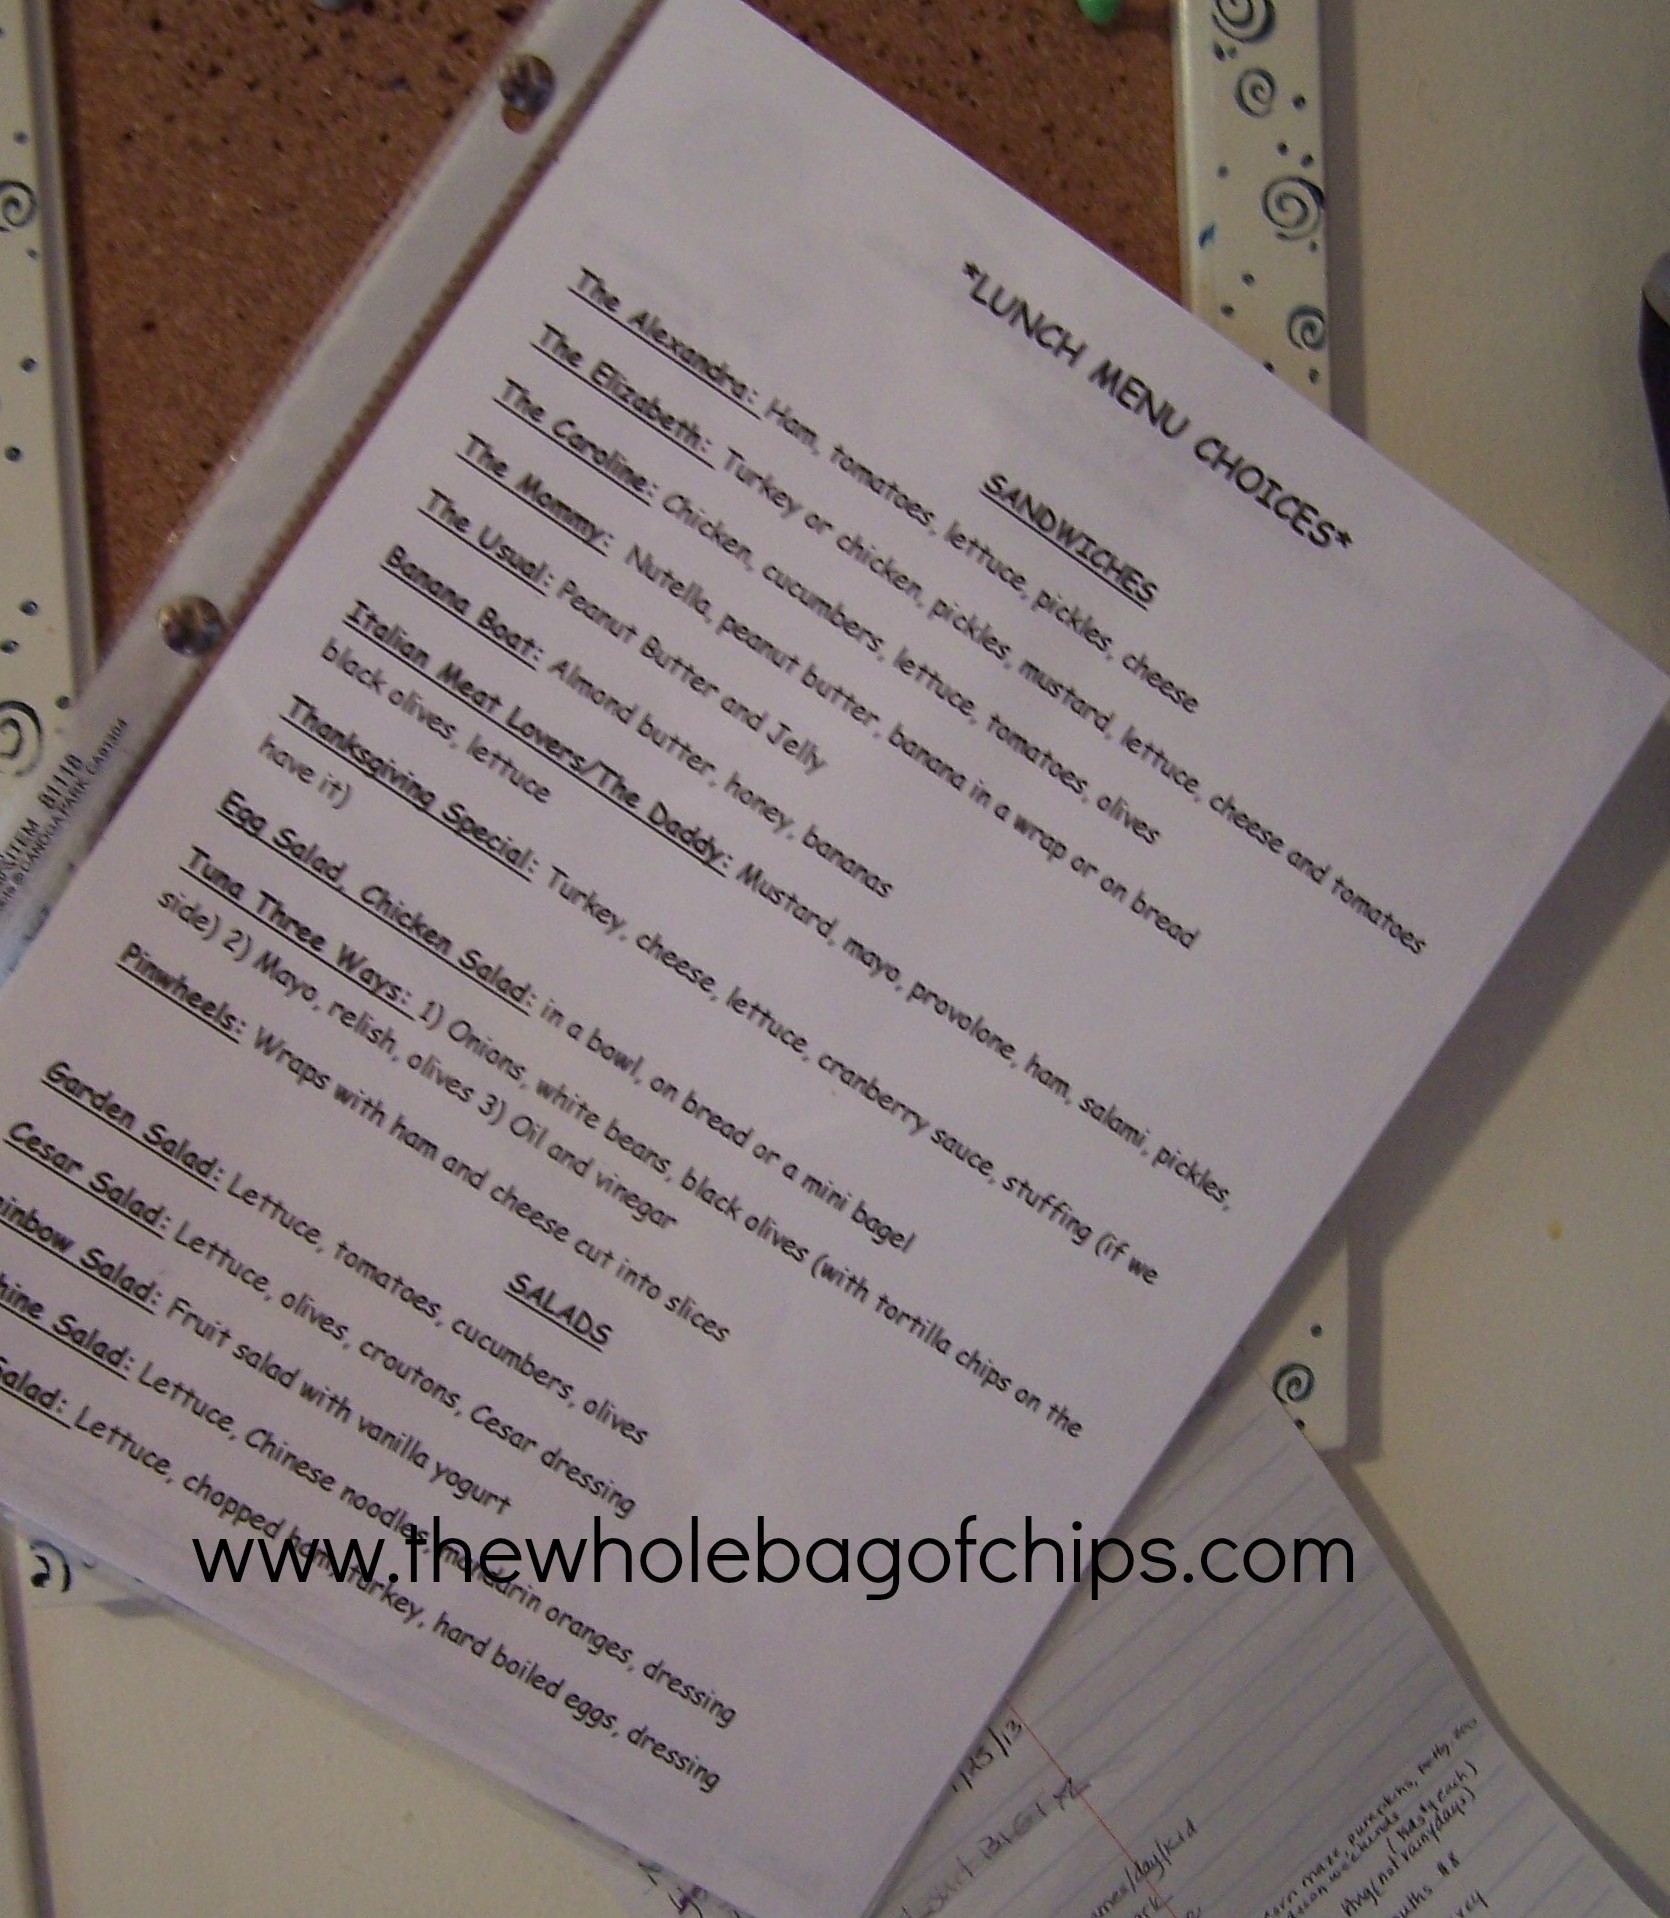
Our newly posted lunch menu. Good idea? We’ll find out!

Lunch.

My nemesis. It always has been, even when my kids were toddlers and preschoolers. I hate lunch. I hated coming up with lunch ideas. I also hated relying too heavily on things like chicken nuggets, hot dogs and mac and cheese. Although all have their place, they couldn’t all be every day occurrences. We didn’t love sandwiches at the time, our choices seemed few.

First kid enters first grade, and it’s time to send in lunches. The other option–buy school lunches.

What to send? Who likes what? Who likes nothing? Who wants to spend $2.25 on school lunches that may be less than stellar?

And so it went, on and on. Each couple of years or so, another child entered full day school and the lunch issue hovered over us. It didn’t consume us, it was just a pain, trying to figure out lunches.

This past school year, I wrote about Elizabeth’s desire for better lunchtime choices and her new cookbook, purchased with her own money, “The Lunch Box.” Last year, Caroline and I won the Healthy Lunchtime Challenge and traveled to DC for the first Kids’ State Dinner, and Alexandra came in second place for the Jr. Chefs Competition in our school district with her Healthy Sunshine Salad.

I felt like this coming school year, we just had to do better.

I thought about it all summer as we tried out different lunches at home from various cookbooks. In the meantime, my kids also changed a little bit in that they all suddenly seemed to love sandwiches. We joked when we were at Subway one day that we could name some of the sandwiches after them, “The Alexandra, The Caroline, The Elizabeth” because they each had their favorites and they’d sometimes order their sisters’ favorites instead of their own.  We started recreating their favorites at home on occasion too, and they’d start ordering them by name, as if on a menu.

That’s when an idea hit me. Good idea, bad idea, we’ll see as the year goes on.

I had the idea to make a list of all the things they loved to eat that I could put into a lunchbox pretty easily, so that similar to the school menu that comes home each month, they could pick and choose what they’d like for lunch from home and as long as I had the items on hand in the house, I could make them some lunches with more variety than what’s now known as “The Usual” (pb&j).

The girls and I sat one day and came up with our lists. We started with our new-found love: sandwiches. Then we added salads, something Alex always loves to take and something easy enough to change up depending on your tastes. We thought about sides–healthy fruits, vegetables and dips/dressings etc. Finally, we added in specials: the things that they get to take only when we have leftovers from the night before–pasta with meatballs, mac and cheese, things like that.

It looked good! I even had my own sandwich, “The Mommy,” which is Nutella, Peanut Butter and Banana on a fat free wrap.

I printed it out. It took up three pages, with all the choices we’d come up with. Is this something I could maintain all year? Something I could manage?

I’m not sure. But, I’m going to try.

Mix and match, grab and go, fast and easy!

Mix and match, grab and go, fast and easy!

Keeping our already-chosen dinner meal plan in mind for leftovers (or “specials”), and knowing that my days are a little more open this first week of school, we came up with a decent list of lunches for each of the kids. Caroline’s newly into braces and still needed something soft the first day because they’d been tightened the day before. Elizabeth chose something that might sound complicated--Baby Quiches, but is fast and easy to prep early in the week and grab and go. Salads made the list for each of them on one of the day; I was thrilled.

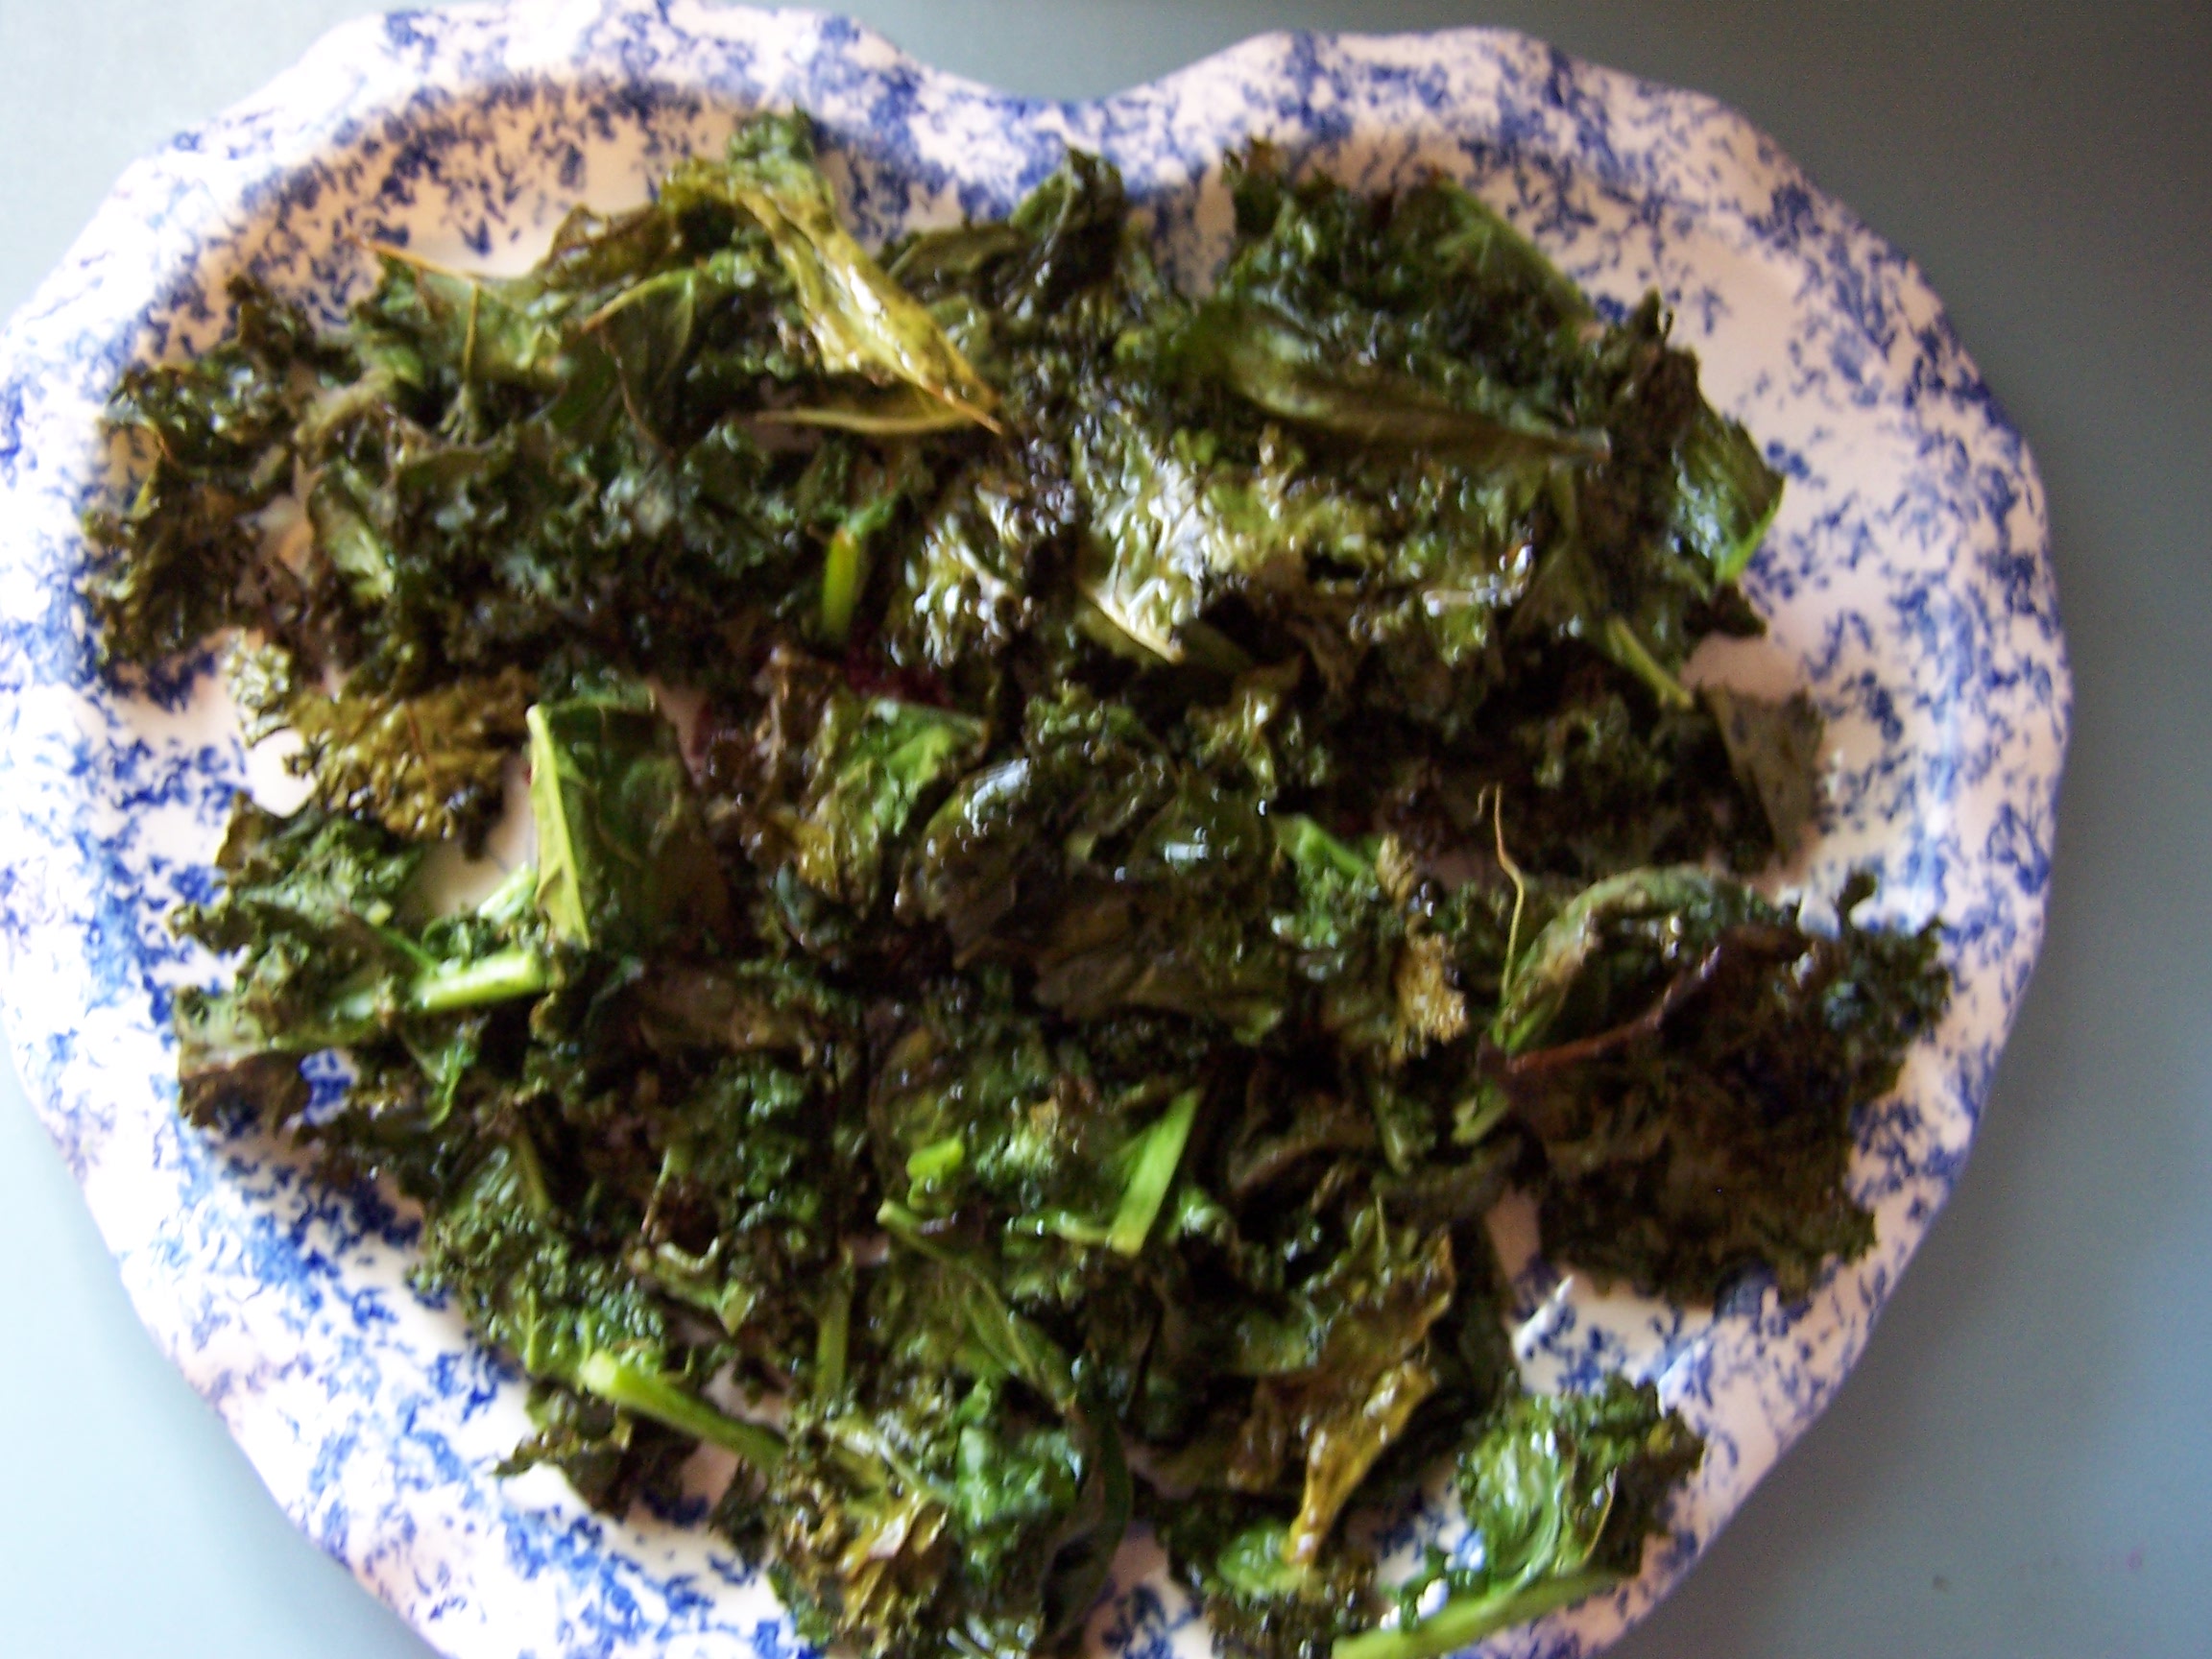
The night before school, I mixed up one dozen eggs in a bowl. I added some milk, and grabbed a muffin tin. Into it I put some spinach and cheese in six of the cups, ham and cheese in six more, and since I still had leftover egg, I did just cheese in three more. 25 minutes later I had 15 mini quiches, or whatever you’d like to call them, for anyone’s taste. I put them into ziploc bags labeled with the chosen variety on them and put all the bags into a bucket in my fridge. Done. Lots of lunches. Both Alex and Liz took those on the first day and they’re scheduled to take them again later in the week, if they last that long.

I don’t know how this new system will work out. I do know how crazy our weeks get, but I feel like at least we’re trying; we’re making an effort to have a good variety of healthy choices for everyone to eat for lunch. And I feel like for every day that we can’t pull it off, and they have to have “The Usual,” there will be so many more days that we can.

I am a keeper of lists. I need to see things in print or I forget about them. I have lists of smaller lists. I now have a list of lunch ideas to keep things creative in our lunchboxes this year.

We’ll see how it goes.

In the meantime, on this first day of school, it’s time for lunch!

Enjoy!

Fun Friday: Kale Chips

21 Jun
These were a fun after school snack!

These really were a fun after school snack!

Kale doesn’t sound all that fun does it?

It really doesn’t. But, I’ve chosen it for my Fun Friday post today for several reasons.

First: We had Kale Chips at the White House for the first Kids’ State Dinner last August. That whole entire trip was fun, including trying the Kale Chips which were from Samuel Wohabe, age 9, from New York.

Second: The newest winners of the Healthy Lunchtime Challenge were just announced yesterday! The Rhode Island winner, Samantha Mastrati, is from Cranston and a friend of ours! She will have so much fun on her trip!

Finally: These were a fun after school snack for the girls to try out. Although Caroline had them and enjoyed them on the trip, no one else had, so I thought this would be a fun snack to share with them.

To make these is super-easy. I bought one bunch of kale for just over a dollar at the store and it made lots of chips!

The prep instructions are minimal and the cook time is quick. Within minutes you have ahealthy, crunchy snack.

Here, according to Samuel’s instructions is the recipe for Kale Chips.

Coat, toss and bake!

Coat, toss and bake!

KALE CHIPS

INGREDIENTS:

1 bunch kale, stems removed and leaves
torn into bite-size pieces
2 tablespoons olive oil
¼ teaspoon salt

DIRECTIONS:

Preheat the oven to 400°F.

On a large nonstick baking pan, drizzle the kale with olive oil, season with salt, and toss until
evenly coated.

Bake until crispy, about 15 minutes.

New friends, new recipe!

25 Feb
An exciting Kids' State Dinner reunion took place on Sunday afternoon at our house!

An exciting Kids’ State Dinner reunion took place on Sunday afternoon at our house!

Yesterday was a very exciting day!

Our new friend Debra, one of the moms from the Kids’ State Dinner, visited us at our house! She was traveling from her home in Virginia to see family in nearby Massachusetts so we were able to reconnect for a couple of hours.

Debra stopped by in time for lunch, so Don cooked up some of his yummy pizzas and a meatball calzone, and I made a new dessert.

I know that in general you shouldn’t try out a new recipe on new guests, but I thought that Debra would be okay with it, being someone herself who cooks and experiments with recipes.

Until about an hour before she arrived and I realized I was going to have to make a change to the recipe, and then at that point I got a little nervous.

But, luckily it all worked out great. We had a wonderful visit, which flew by, and before we knew it, it was time for dessert.

Debra brought us this pretty trivet, which makes a pretty backdrop for our Fudge Meltaways!

Debra brought us this pretty trivet, which makes a pretty backdrop for our pretty Fudge Meltaways!

That too, was wonderful as well.

It all ended much too soon, but luckily Debra has family here, and we have family in Virginia, so we know we’ll get to reconnect again and again.

In the meantime, here is the new dessert recipe for you. I got it from one of my cookbooks and as I write it for you I’ll explain what happened partway through and how I solved it.

Lately, I often go to the internet when I’m looking for something new to cook, but this time I grabbed a cookbook off my rack, opened up to any random page and moved a page or so beyond it, and found one to try. It ended up being a no bake recipe too, which was a bonus.

There were three layers to the recipe, so I’ll write it out and explain it layer by layer for you.

FUDGE MELTAWAYS (from the Betty Crocker Cooky Book)
INGREDIENTS

First layer.....

First layer…..

First layer:

1/2 cup butter (We used I Can’t Believe It’s Not Butter)

1 sq. unsweetened chocolate (one ounce)

1/4 cup granulated sugar

1 tsp. vanilla

1 beaten egg

2 cups graham cracker crumbs

(We did not use the next two ingredients: 1 cup coconut, 1/2 cup chopped nuts)

Second layer....

Second layer….

Second layer:

1/4 cup butter (We used I Can’t Believe It’s Not Butter)

1 tablespoon milk or cream (We used skim milk)

2 cups sifted confectioner’s sugar

1 tsp. vanilla

Third (top) layer....

Third (top) layer….

Third Layer:

This was our issue. The third layer was supposed to be 1 and  1/2 squares of unsweetened chocolate, melted and spread over the top of the second layer. However, the unsweetened chocolate tastes terrible by itself and we couldn’t guarantee it’d taste any better on top of the dessert. At Caroline’s suggestion, I made a half-batch of Chocolate Butter Cream Frosting from my Better Homes and Gardens cookbook instead, and spread that across the top. It was delicious. Essentially it was almost the same as the second layer, but chocolate, but it worked.

So here is the recipe for the top layer, , so for a full recipe, double this one:

2 1/4 cups confectioners sugar

1/8 cup milk (add more as needed)

1/4 cup cocoa powder

3/4 tsp vanilla

DIRECTIONS FOR FUDGE MELTAWAYS

1) Melt 1/2 cup butter and 1 sq. chocolate in saucepan.

2) Blend in granulated sugar, 1 tsp. vanilla, eggs, crumbs (and coconut and nuts if you choose to use them).

3) Mix well and press into 11×7 or 9×9 dish.

4) Refrigerate.

5) Mix 1/4 cup butter, milk, confectioners sugar, and 1 tsp. vanilla. Spread over crumb mixture.

6) Chill.

(I left this overnight before completing the top layer. )

7) Using the Better Homes and Gardens frosting recipe above, combine and spread across second layer.

8) Refrigerate and later serve.

Enjoy, but tell me, what would you have done with that third layer? Would you have served it as is? Or, would you have changed it too?

What’s For Dinner Wednesday: Fish Chowder

30 Jan
I absolutely loved this fish chowder last week!

I absolutely loved this fish chowder last week!

I’m not sure if I’ve ever mentioned this or not, but a few years back I developed an allergy to shellfish. Not all shellfish, but a lot of my faves are no longer on my menu.

To live in New England, a summer oasis of ocean and seafood, it’s terribly sad for me to have this allergy. I have always loved all seafood. Luckily there’s only a handful I can’t eat, and there are still some things I can eat.

Clam cakes and chowder after the beach were one thing that I’d been missing in particular, so my heart did a little leap this summer when I was walking through Washington DC on my way to the Smithsonian Museum of American History, with the winner of the Healthy Lunchtime Challenge from Virginia, Madeleine Steppel and her mom, Debra, while Caroline and I were there as the Rhode Island winners.

Madeleine's recipe was so easy to follow. Caroline made most of it by herself!

Madeleine’s recipe was so easy to follow. Caroline made most of it by herself!

The most common question we all asked each other on that first day of our trip was, “Where are you from and what was your recipe?”

When I asked that question to Madeleine and Deb, I was thrilled by their answer: Fish Chowder. Madeleine had chosen to make a chowder that I could actually eat! When I asked Debra what was in their chowder, she said that any white fish would do. I was so excited!

Unfortunately, it took me five months before I had a chance to try out this recipe, just last week. It was one that Caroline had been asking for also, and she was so excited when I said I had everything for it.

The recipe was super-easy and didn’t take long at all to make. We substituted a couple of items to suit our tastes and our diet, but overall we followed her recipe almost to a T.

And let me tell you….I was in chowder heaven. It has been several years since I’ve been able to have chowder. I savored every.single.bite.

I went to school to work the school book fair after dinner. Then I came back and had a second bowl. That second bowl was all I could think about when I was at the book fair.

I already have plans to bring this chowder with me this summer to our annual Labor Day Weekend cookout, the one that’s almost entirely seafood, so that I too, can partake in the summer yumminess that I’ve been missing terribly.

One of the best things about this recipe was that it was easy enough that Caroline could handle almost the entire thing by herself. I chopped the onions (we both cried), and she did just about all the rest.

Below are the ingredients and directions, along with any notes stating the changes I made for us. I would definitely make this again.

Soon.

And all summer long.

And on Labor Day weekend for our cookout.

And any time in between.

Fish Chowder

By Madeleine Steppel, age 9

Virginia

Madeleine’s page in the recipe book states, “‘Senator Mark Warner’s recipe for ‘creamless’ Asparagus Soup, which I found in the Celebrate Virginia Cookbook, inspired me to create a chowder recipe,” said Madeleine, who used milk in this recipe because it is the State Beverage of Virginia. She would serve this with a fruity salad of spring greens, cherry tomatoes, strawberries, dried cranberries, and a citrus vinaigrette, with whole-grain bread.”

Makes 4-6 servings

Caroline loved being able to make the majority of this herself.

Caroline loved being able to make the majority of this herself.

INGREDIENTS

3 white potatoes (about 12 ounces total) peeled and cut into 1/2″ cubes.

1 pound bag of frozen peas and carrots, thawed (We skip these.)

3 Tablespoons unsalted butter

1 small onion finely chopped

1/4 cup all-purpose flour (we use gluten free Bob’s Red Mill 1:1 flour as of 2015)

4 cups low fat milk (we used skim)

1 1/2 to 2 pounds skinless white fish fillet, such as bass, tilapia, or flounder cut into 2″ pieces (I used 2 one pound bags of frozen flounder from Aldi’s.)

Salt and white pepper

(I also sometimes add in 1/2 tsp dried dill weed for color and flavor, which is what my dad always does when he makes his chowder every summer.)

There's nothing like a pot of hot chowder on the stove!

There’s nothing like a pot of hot chowder on the stove!

DIRECTIONS

1. Place potatoes in large glass microwave safe bowl. Add enough cool water to just cover the potatoes, and microwave on high for 4 minutes. Add the peas and carrots and microwave on high until the vegetables are tender, about 3 minutes. Drain the vegetables and set aside (or boil the vegetables until soft, about 8 minutes).

2. In a large saucepan over moderate heat, melt the butter. Add the onion and the garlic, and saute, stirring occasionally, until golden, 4 to 5 minutes. Lower the heat to moderately low, add the flour, and whisk for 2 minutes to make a roux. Gradually whisk in one cup of milk and stir until hot and creamy, making sure to whisk out any lumps. Gradually whisk in the remaining three cups of milk and cook, whisking, until steaming hot, about 5 minutes.

3. Add the fish and the cooked vegetables, and cook over moderate heat, stirring often, until the fish is cooked through and flaky. Season to taste with salt and white pepper.

What’s for Dinner Wednesday: Paula’s Pumpkin Soup

17 Oct

Fantastic for fall!

I’m actually eating Paula’s Pumpkin Soup as I type this post today. It’s my lunch on this autumn day, and it’s a perfect fall crock pot recipe!

Paula is a new friend of mine from the Washington DC Kids’ State Dinner trip. Many of us have kept in touch since the trip through a Facebook page. Paula has been a great friend and a fan of The Whole Bag of Chips. I’m thrilled to feature her recipe on here today.

It’s fast and easy and it was great for our day this past Sunday, which was filled with an afternoon of family fun at Don’s school, followed by a later afternoon of football, laundry and errands. Having dinner cooking in the crock pot on a day like that, couldn’t have been more helpful. I also threw a beer bread in the oven to go with it, since I can’t picture having a thick, hot soup such as this one, without a slice of beer bread to go along with it.

Here is the recipe for Paula’s Pumpkin Soup. Just to note, I doubled this recipe, using two quarts of stock and a 29 ounce can of pumpkin.

Thank you Paula for passing it along!
Enjoy!

I loved the added flavor that the sausage and onions gave to the soup.

INGREDIENTS

One quart chicken broth (low sodium and low fat)
One can pumpkin puree
1/2 TSP nutmeg
One half an onion
Garlic to your liking
Sweet italian turkey sausage
1 – 1 1/2 cups brown rice and quinoa
DIRECTIONS

Sauté the sausage, onion and garlic in olive oil until the sausage is done.

Put everything but the brown rice and quinoa in the crock pot and cook on low for 6 hours.

Add the cooked brown rice and quinoa 30 minutes before serving.

If you prefer, orzo also makes a nice addition to this recipe.

Nothing like crock pot cooking on a busy day!

My new toy and TWO new recipes!

28 Sep

Isn’t it SO beautiful???

I have a new toy.

I’m *so* excited about it.

It’s something  I’ve wanted for a long, long time. Years and years.

Thanks to the folks at epicurious, I finally have it.

What is it you ask? (See, I always know when you’re asking.)

It’s my new Kitchen Aid Pouring Shield for my stand up mixer.

I know, I know!!!  I’m excited too!

When we went to Washington DC this summer for our White House luncheon, we got a goodie bag from the organizers of the event. There was all kinds of stuff in it, and one of the goodies was a gift card from epicurious! We could spend it however we wanted, on ANYTHING!!

I’d never been on their website before, and omg…there was tons! But, I had a budget of course, and I stayed within $2.85 of that budget. My pouring shield was on sale!! I couldn’t even believe my luck!! Even better…I had a coupon code for being a first time shopper (10% off)…and you KNOW how much I love coupons…I was even able to get a cupcake plunger too (you’ll see that come up on here  eventually too, I’m sure.) It was almost as exciting as meeting Michelle Obama. Well not quite. But you know what I mean.

So now I had to try it out, but I needed to wait for a time when I needed to mix something. You don’t just use a pouring shield every day, you know.

The pouring shield was a dream come true. No baking cocoa all over my counter and wall. Love, love, love it!

On Tuesday when Caroline asked me approximately 47 times if she could bake cupcakes, I knew I had my opportunity. We had a no school day on Wednesday and it would also be a grocery shopping day, so we’d be re-stocked on all the items we needed to make cupcakes, since for every recipe she showed me we were out of something.

We opted to go with Chocolate Cupcakes with Chocolate Butter Cream Frosting.

I know….you had no idea we’d go with the chocolate. Shocker, I’m sure.

Caroline found this new cupcake recipe on the Cookie Madness website. We did not use the no powdered sugar frosting recipe that went with it, however, because we had powdered sugar at our house. I’ll post both recipes  we used, so that you can see what we did for frosting.

This recipe was perfect for testing out my new pouring shield. It worked great every time, not one speck of powdered sugar or cocoa went flying anywhere! I’m in love…

COOKIE MADNESS QUICK CHOCOLATE CUPCAKES

INGREDIENTS

2/3 cup whole milk
2 tablespoons lemon juice
1/4 cup vegetable oil
3/4 cup sugar
1 egg
1 teaspoon vanilla extract
1/4 teaspoon salt
1 teaspoon baking soda
1/3 cup unsweetened natural style unsweetened cocoa powder
1 cup all-purpose flour, sifted after measuring (4.5 oz)

Cool for a few minutes in the pan and then on a cooling rack, before frosting.

DIRECTIONS

Preheat oven to 350 degrees F and line 12 cupcake cups with paper liners.

Mix together milk and lemon juice and set aside to curdle.

Beat oil and sugar with an electric mixer until smooth. Beat in
egg, vanilla, salt, and baking soda until well blended. Beat in cocoa powder. With a large mixing spoon or rubber scraper, stir in the flour alternately with the milk until flour is absorbed.

Divide batter equally between 12 paper-lined cupcake cups. Bake at 350 degrees for 25 minutes or until a toothpick inserted comes out clean.

Cool in pan on rack 20 minutes. Remove to platter to continue cooling.

Each of the three girls got to frost four cupcakes and eat one, saving another for the next day.

CHOCOLATE BUTTER CREAM FROSTING
Better Homes & Gardens

INGREDIENTS***We halved this recipe which was more than enough for 12 cupckaes.***

1/3 cup butter
4 1/2 cups confectioners sugar
1/4 cup milk
1 1/2 tsp vanilla
1/2 cup unsweetened baking cocoa

Milk as needed

DIRECTIONS

In a bowl beat butter or margarine til fluffy.

Add in cocoa.

Gradually add 2 cups of powdered sugar, beating well.

Slowly beat in 1/4 cup of milk and vanilla.

Slowly beat in remaining sugar.

Picasso over here took about five full minutes to frost each cupcake. Each one was perfectly done when she finished.

Beat in additional milk if necessary to make of spreading consistency.

One full recipe makes enough to frost the tops and sides of two eight or nine inch layer cakes.

One each, saved for the next day.