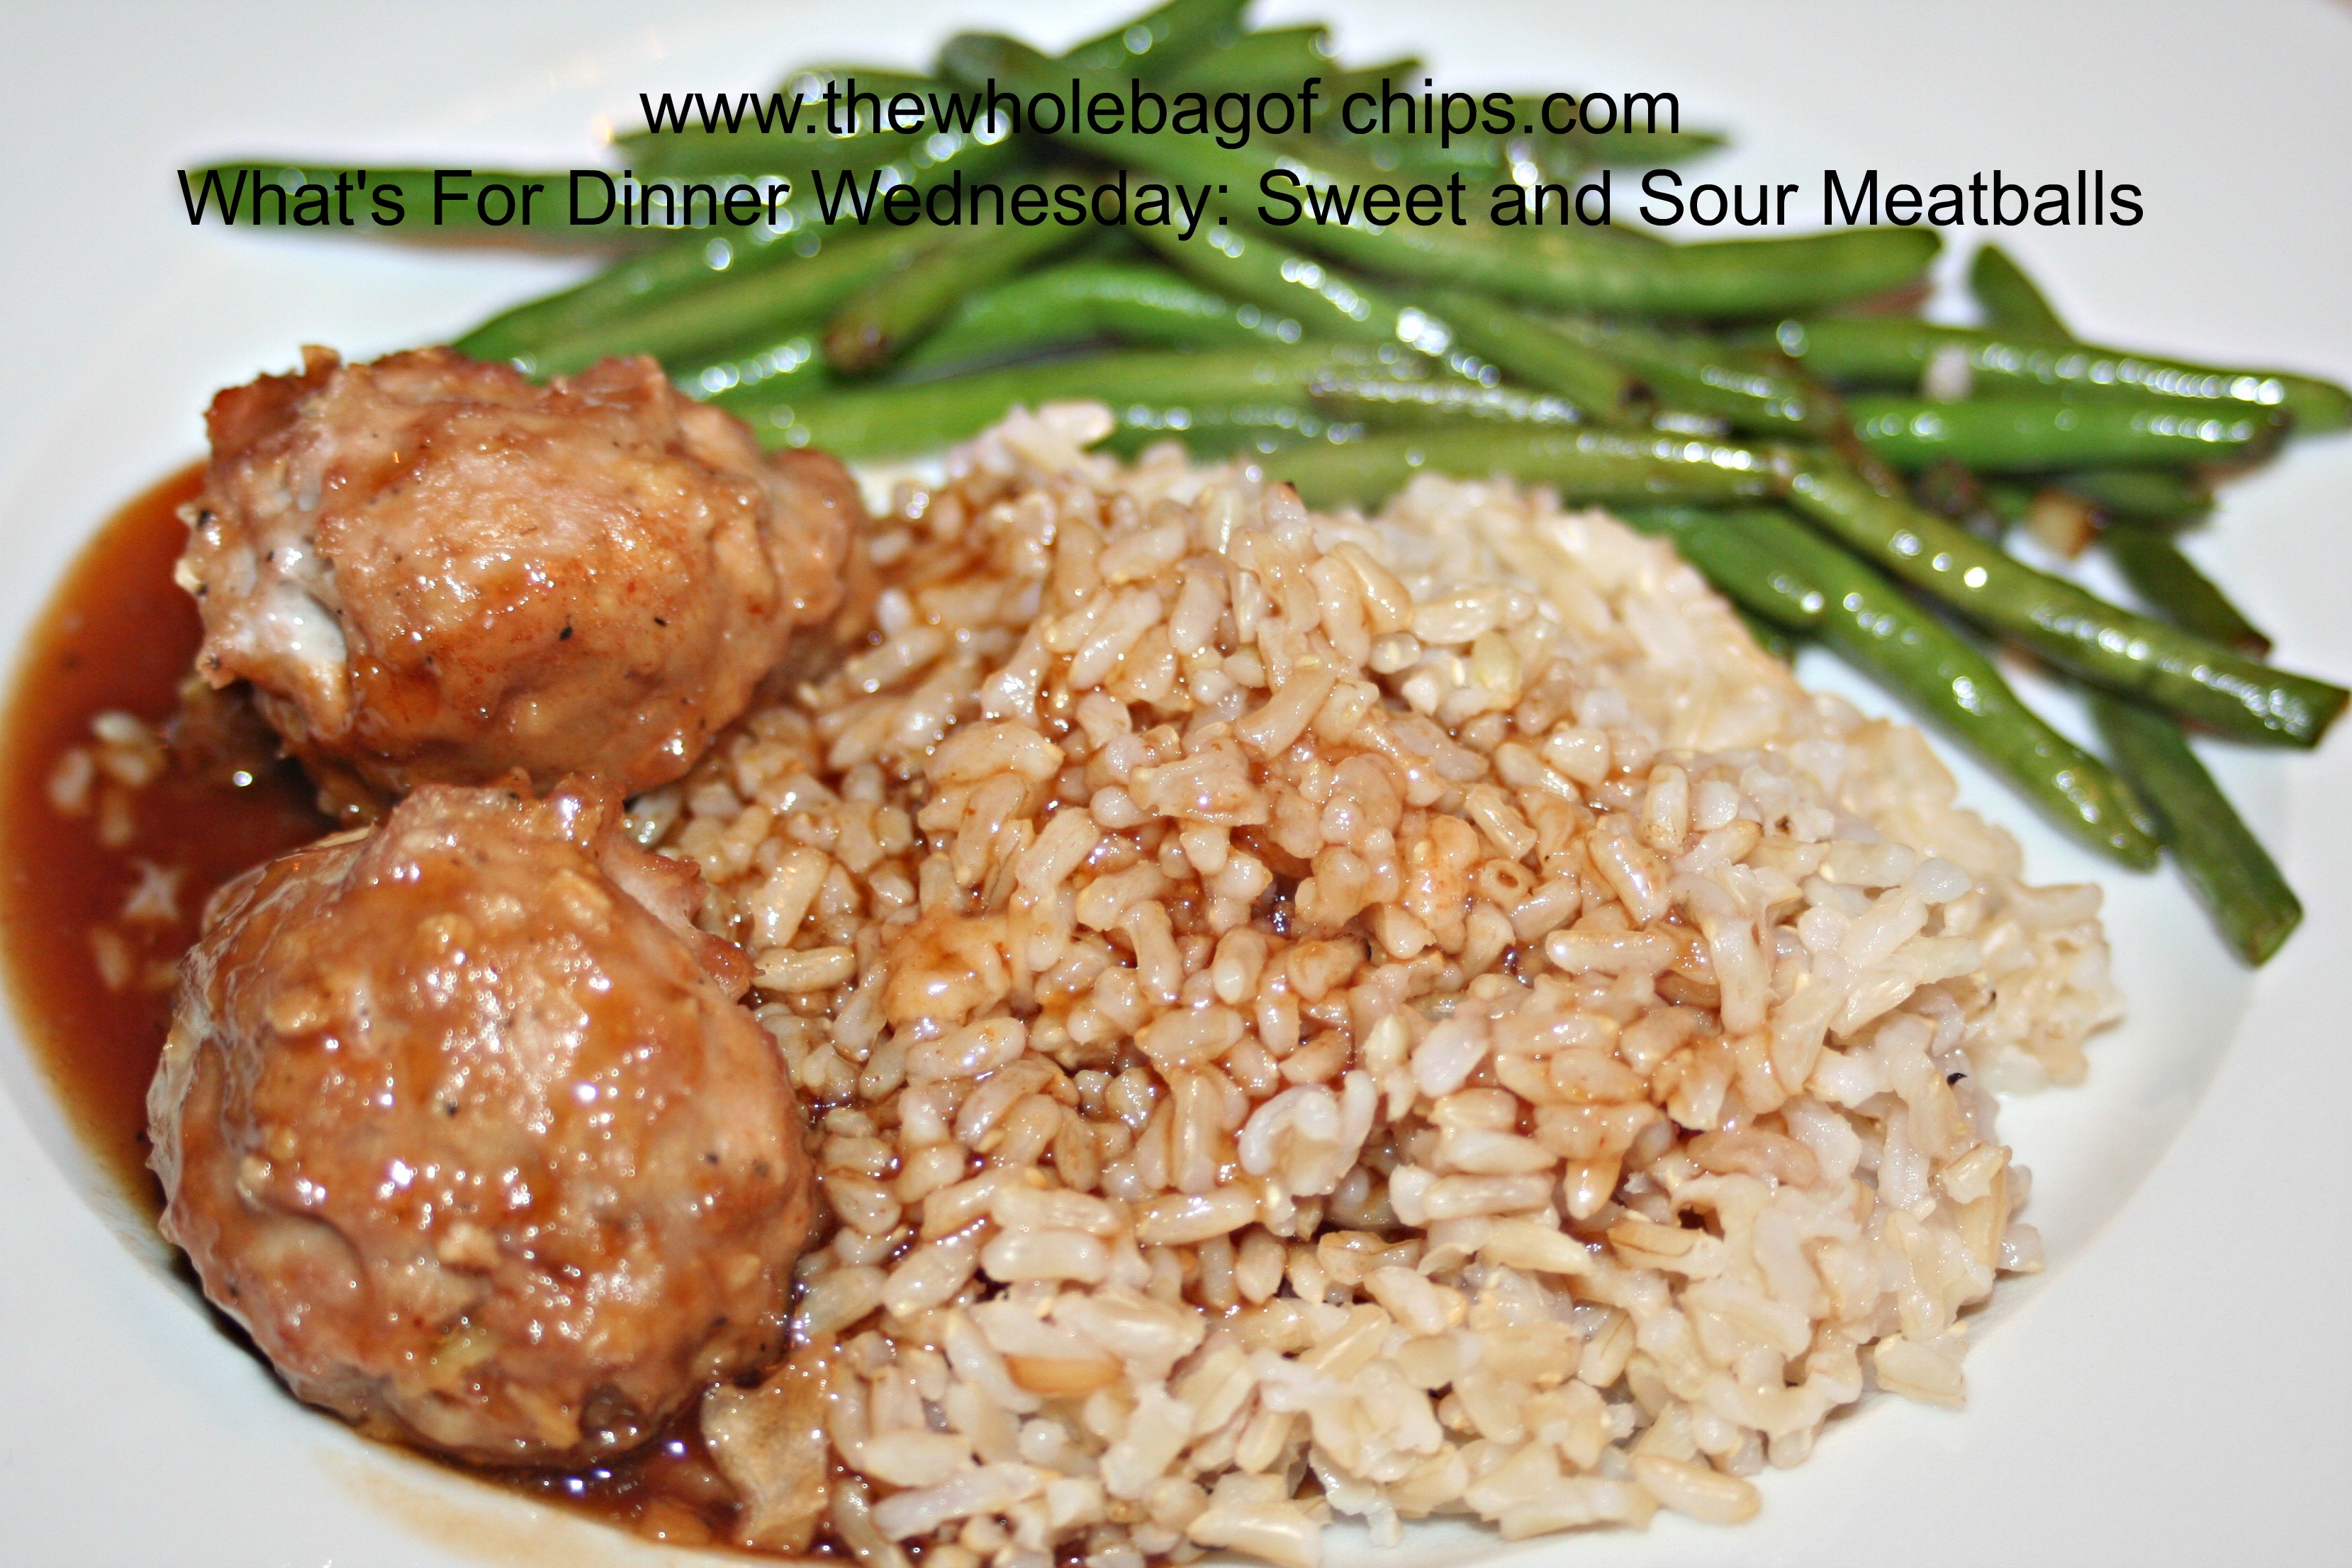
On the table and ready to eat!
It’s back to school time.
Back to sports time.
Back to scouts time.
And of course, back to work time.
That makes cooking dinner time quite complicated.
This fall, for the first time, everyone’s every thing is on every night, with pick ups and drop offs in and around dinner time.
Most nights we can eat together but most nights there is going to be no one home to cook.
As I looked at my schedule for the next eight weeks, I knew I had to come up with a solution, and fast. If I could figure out how to get everyone everywhere and home again, I needed to have a meal waiting when we got here. Eating together is really important to us, and so is eating a home-cooked, healthy meal.
Around the same time I was contemplating my fall schedule dilemma, a friend of mine, Gina, forwarded me a link to the blog whoneedsacape.com, Specifically, to the 40 Meals/Four Hours recipe collection.
I was sold. It looked like exactly what I needed–the ability to prep meals way ahead of time and cook them while I was gone on the days that I needed them. It almost sounded too good to be true.
Very rarely have I found a crock pot meal that we all like, that I’d want to make again. But, with so many options to choose from–more than a dozen recipes, all of which could be prepped ahead, it was worth a try.
I decided that rather than prepping several sets of any one recipe, I’d instead go through the list, see what sounded like things my family might like, and try each one just once. If they were successful, then I’d prep more of the ones we liked for the future.
Elizabeth happened to be around when I first received the link. We clicked through and looked at every photo, every recipe. We came up with a list of those we wanted to try. It seemed doable.
This week alone, I’ve got several of these recipes on my list to try out. The very first one, made on Monday night, was a keeper, according to my family. As I try each one, they’ll appear on future “What’s For Dinner Wednesday” posts if they’re deemed worthy by my family.
Maple Dijon Chicken was the one I chose to try out first. I opted to switch out the chicken thighs that it called for, switching in boneless, skinless breasts instead.
The recipe was simple and quick to prep, which I liked. I could have prepped it ahead and froze it, but this time I didn’t need to. I had some time in the morning to do it. The house smelled great all day long! I love that about crock pot cooking!
Here is the recipe as found on Who Needs A Cape.com, with my few modifications. Give it a try and see what you think! I served ours with brown rice and veggies on the side. Thumbs up all around!

Throw it all in the crock pot and turn it on!
MAPLE DIJON CHICKEN
Ingredients
- 6-8 Chicken thighs (I used boneless, skinless breasts, thawed.)
- 1/2 C Dijon Mustard
- 1/4 C Maple Syrup
- 1 T Rice Wine Vinegar
- 1 can of Sliced Mushrooms, drained* (I used fresh mushrooms.)
- 1 onion sliced* (I used half an onion.)
Instructions
- Spray crock pot with non-stick cooking spray
- Place chicken in crock pot
- Mix together mustard, syrup, vinegar and pour over chicken
- Top with mushrooms and sliced onion
- Cook on low for 6 hours
Tags: 40 meals in four hours, Aldi's, crock pot meals, dinner, eating on a budget, Jennifer L. Cowart, kids, picky eaters, recipes, shopping on a budget, Who Needs a Cape.com