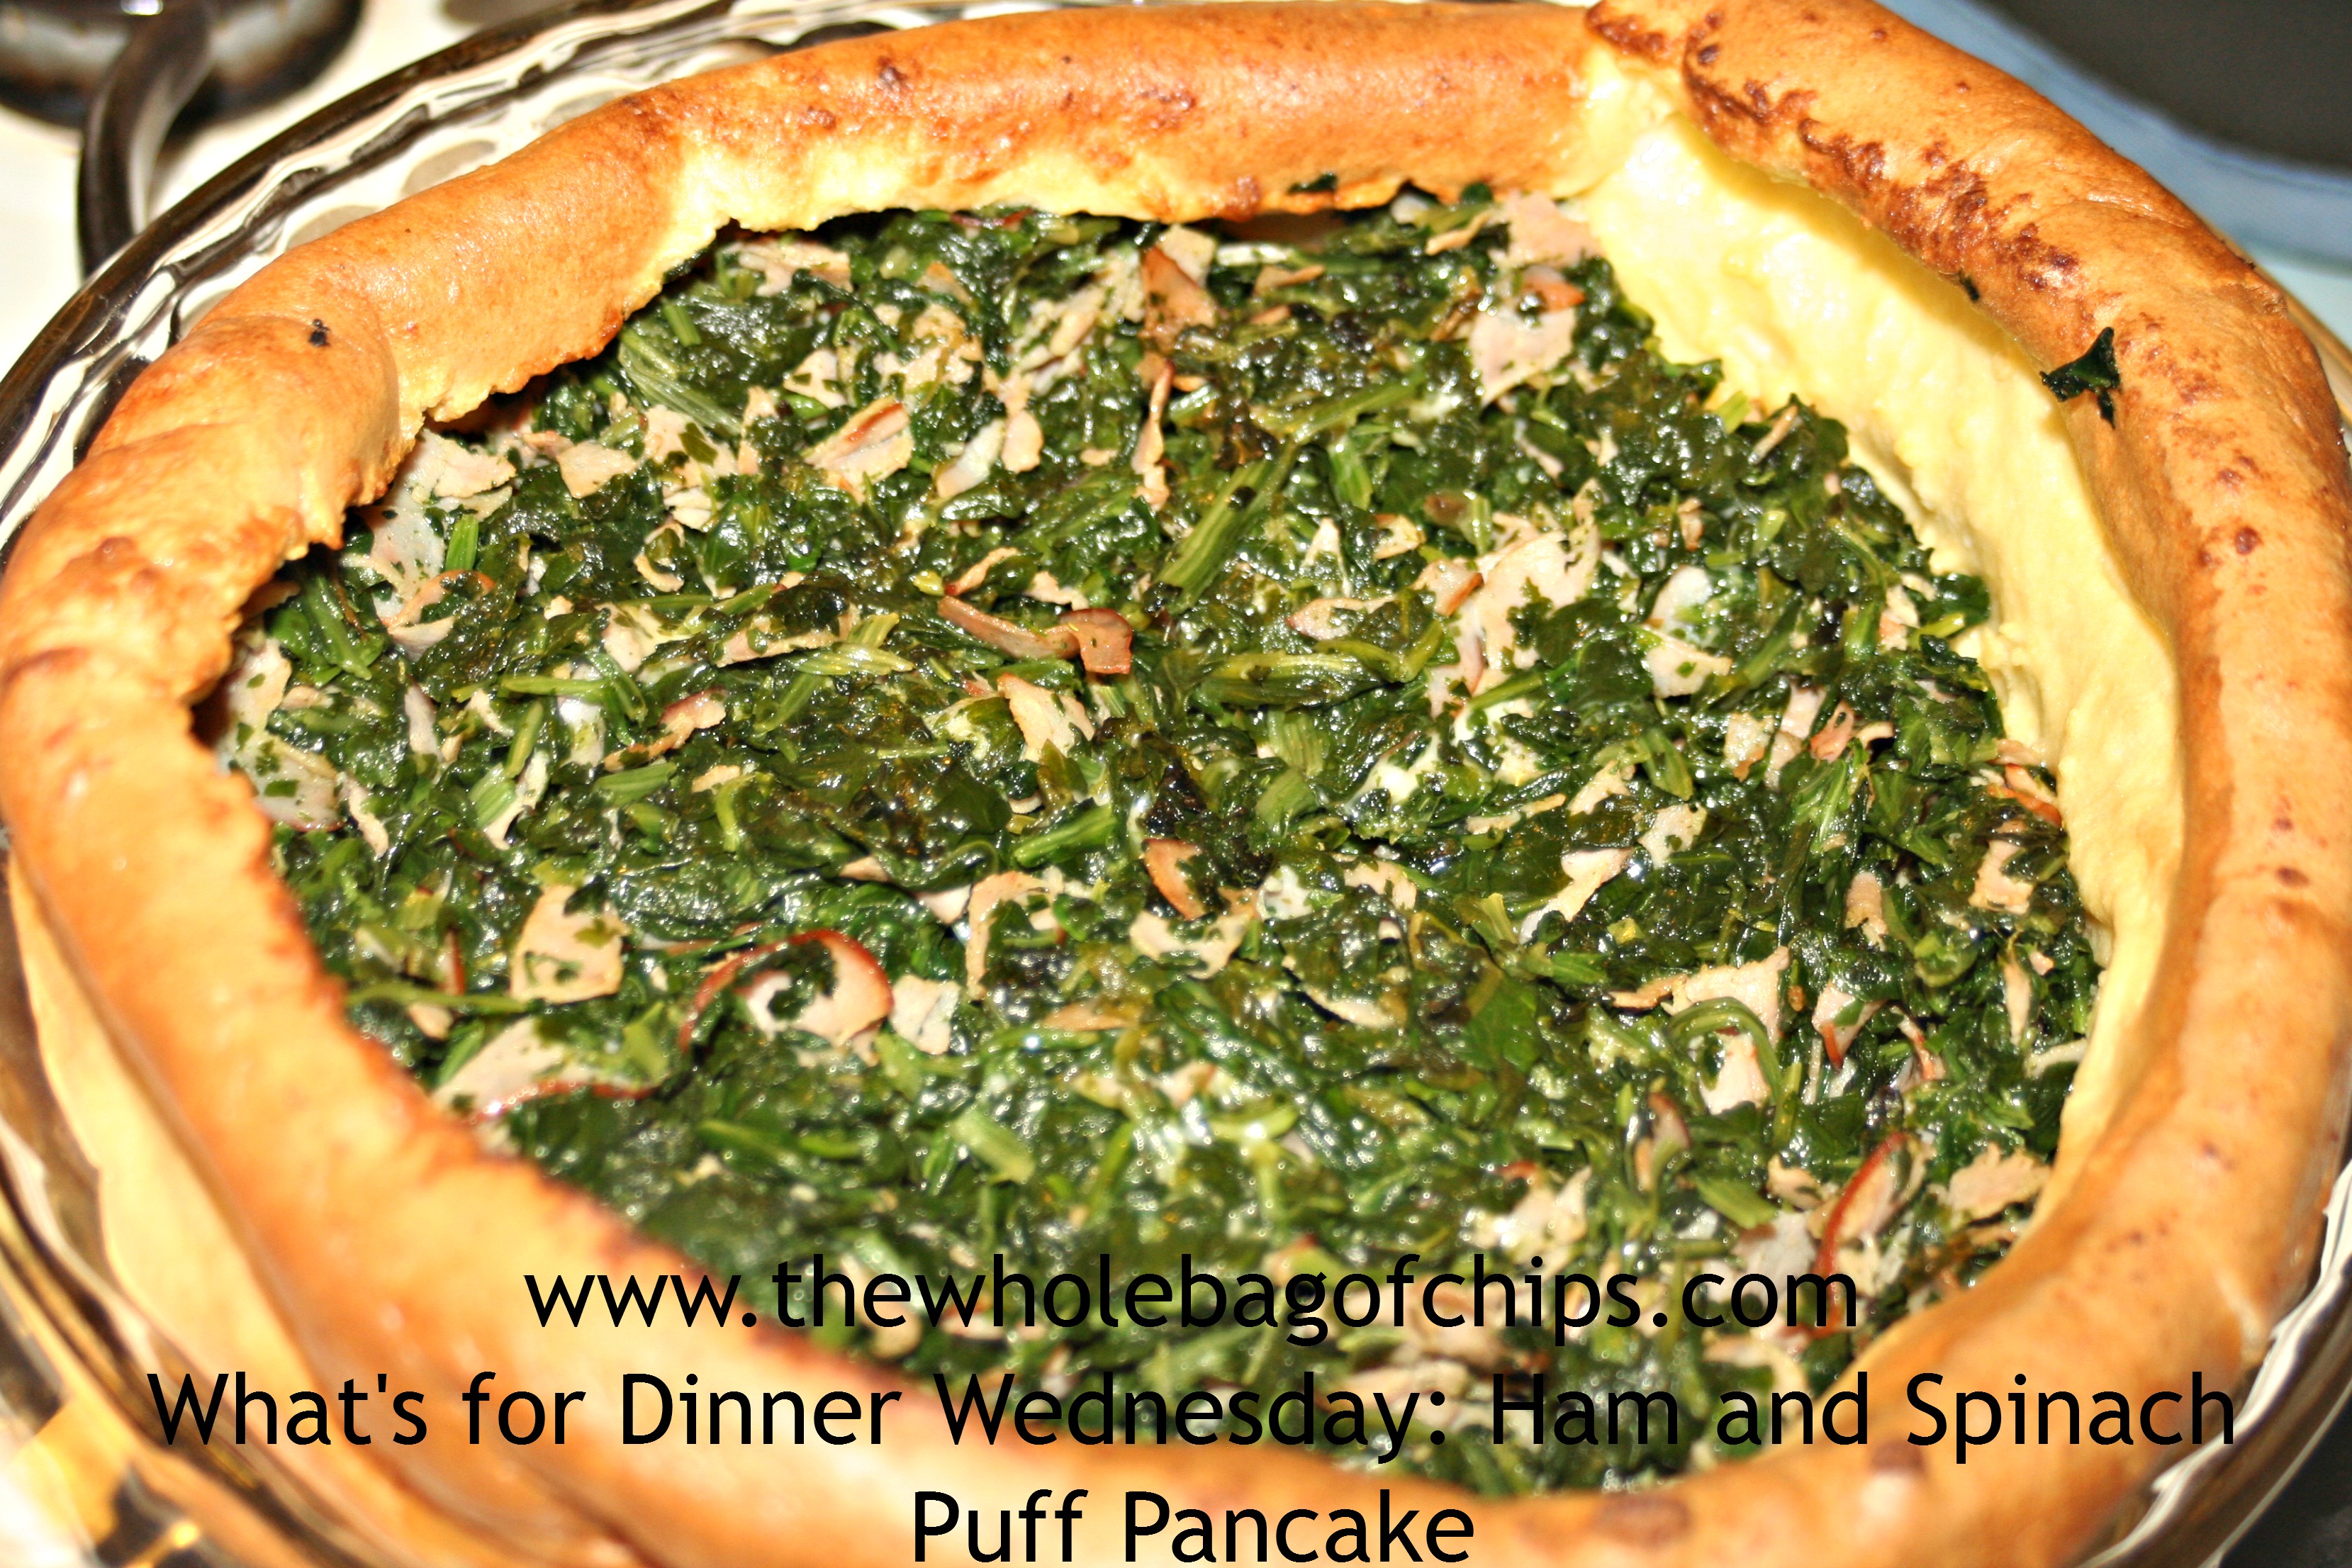
I’d eat this for breakfast, lunch or dinner!
ORIGINALLY POSTED MAY 10, 2013: The other day I came across a great new recipe for baked oatmeal. It was on Skinnytaste.com, a blog I follow on Facebook. I love all kinds of oatmeal from steel cut to overnight to baked.
This recipe also had a fruity combination that I love: strawberry and rhubarb. I didn’t have rhubarb, but I noticed that it had bananas in it, and strawberry and banana is another top favorite combination of mine so I decided to make it without the rhubarb.
Besides the fact that I skipped the rhubarb, the other thing about this recipe is that I made it as an after school snack, not for breakfast! It was so good, and everyone had seconds, everyone loved it and there was very little left over.
I would definitely make this recipe again and if I had rhubarb, I’d throw it in there, but it was also fine without!
Without further ado, here, from the Skinnytaste Blog
For the fruit filling:
- 2 1/2 cups strawberries, hulled and quartered
- 3/4 cup rhubarb, cut into 1/2-inch pieces
- 1 medium ripe banana, sliced thin
- 1 tbsp cornstarch
- 1/3 cup honey

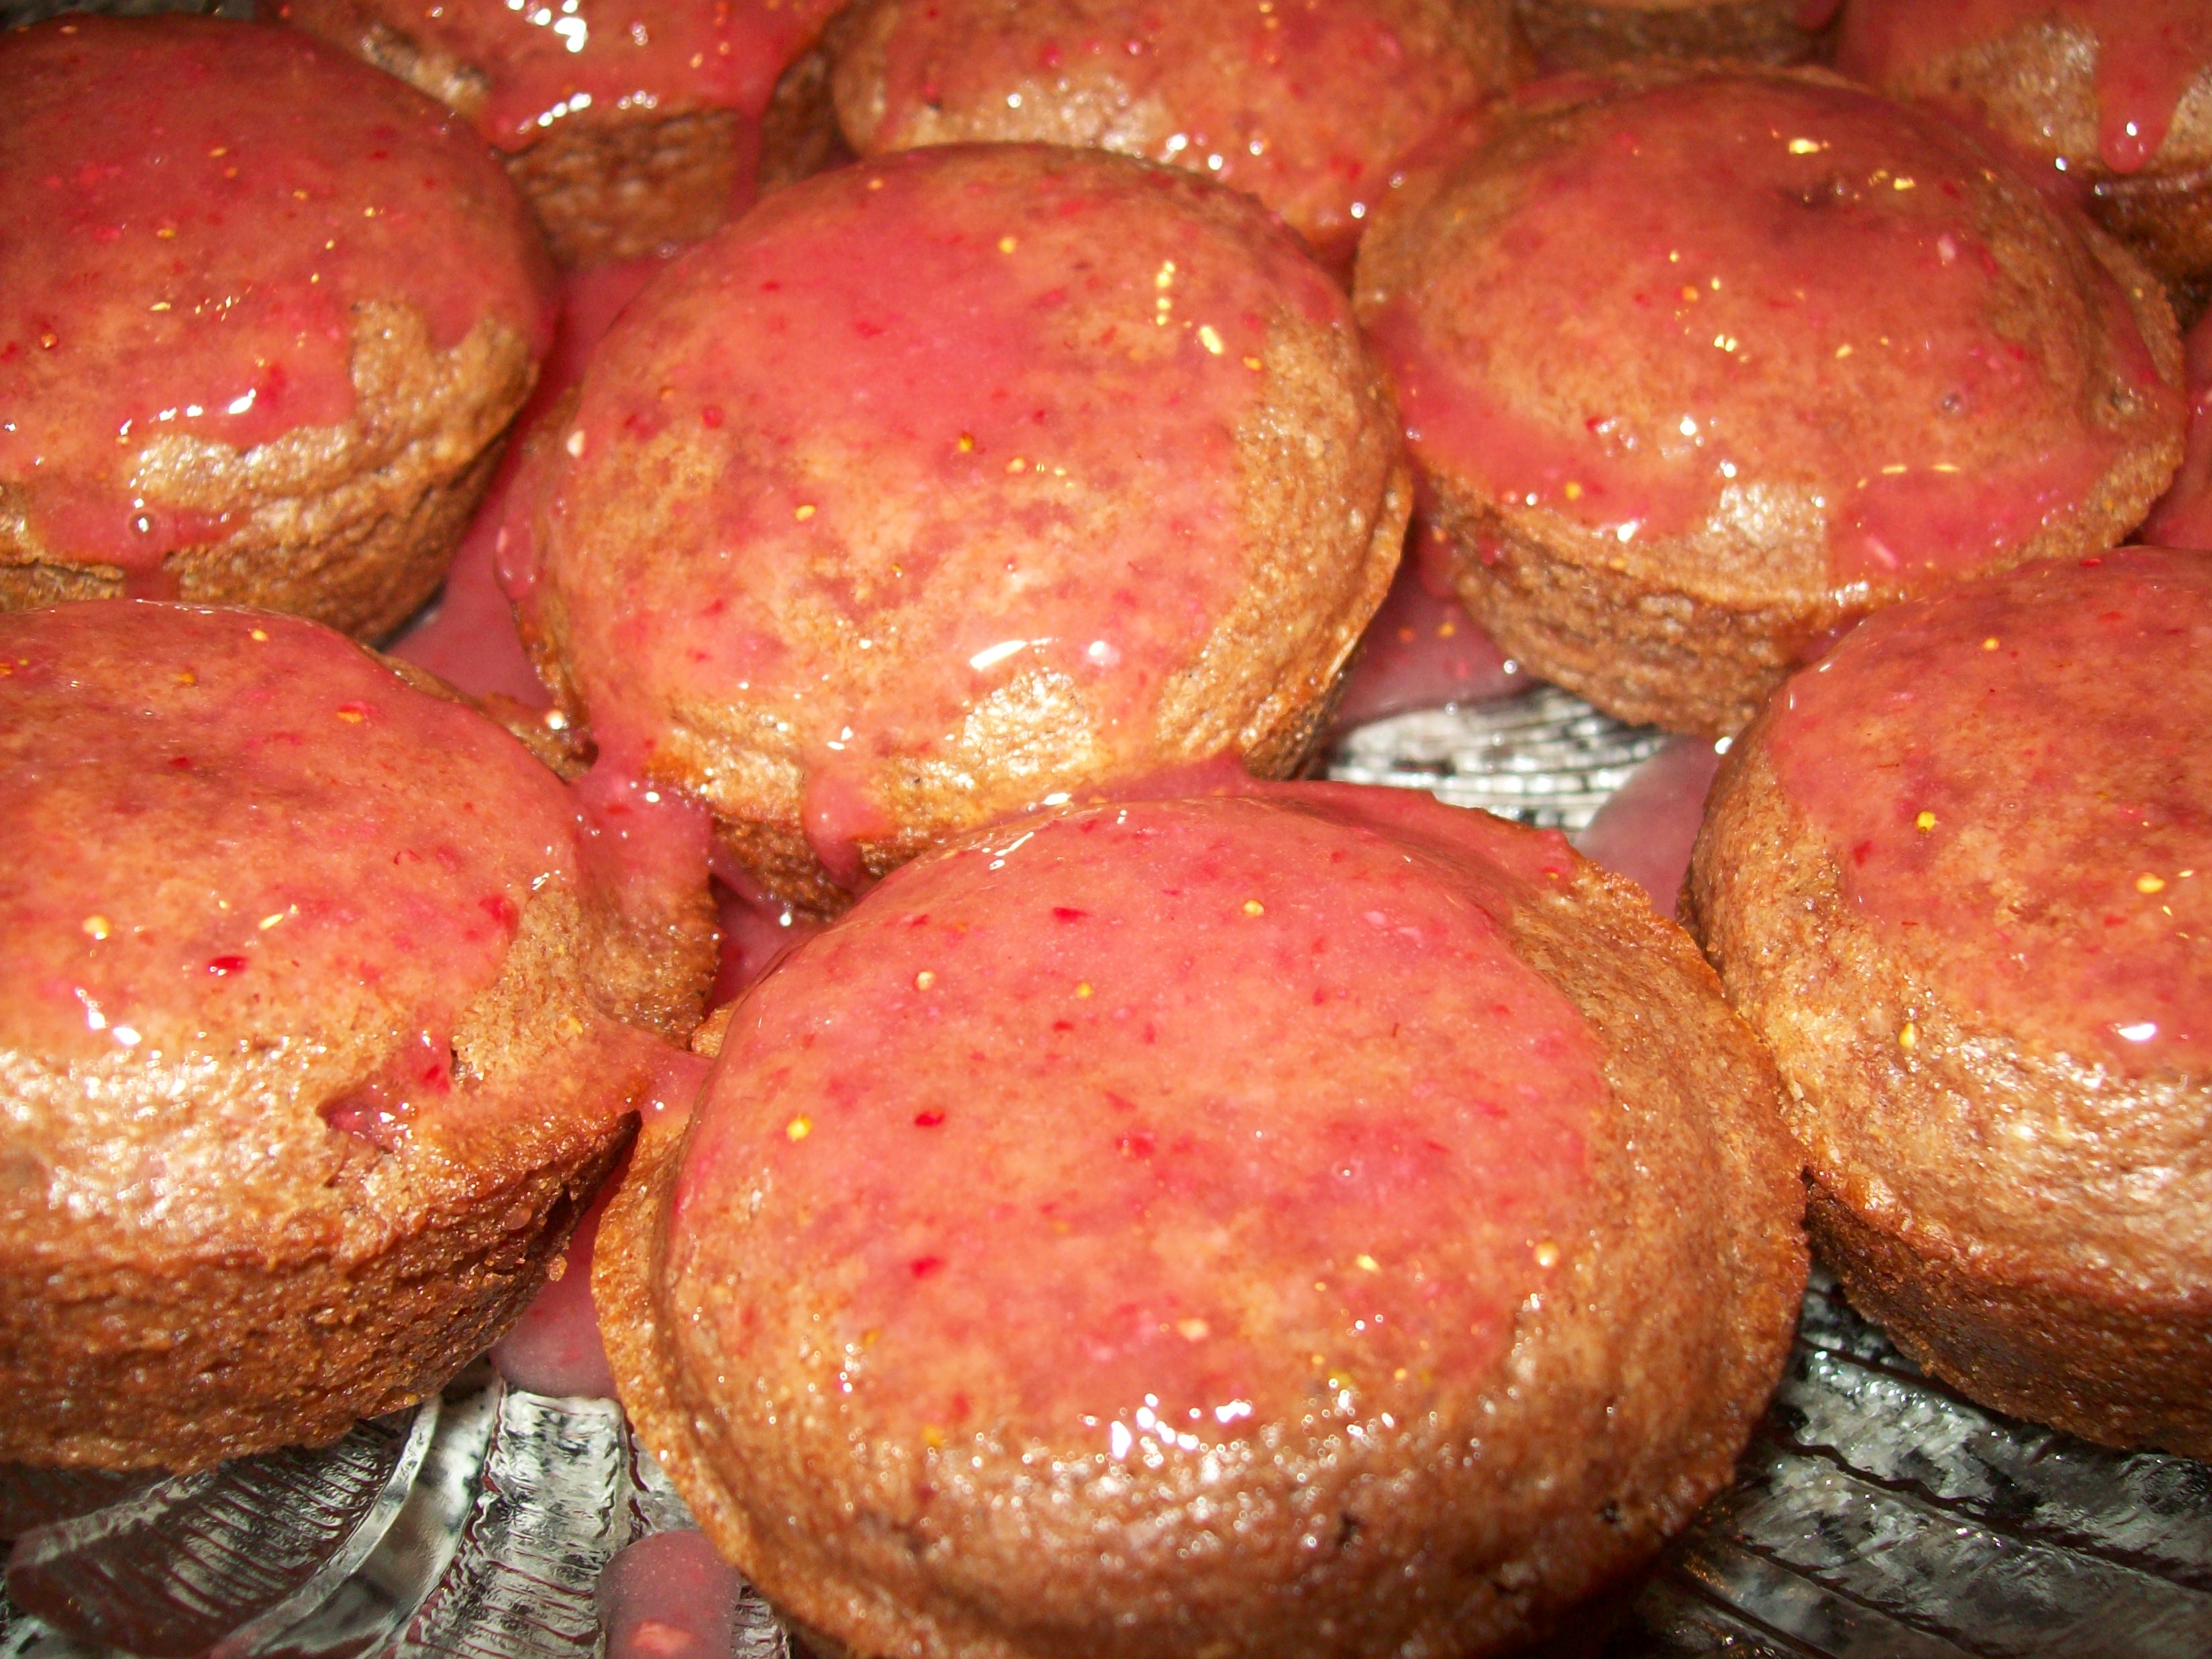
This snack was quick to put together with simple ingredients.
For the Oats:
- 1 cup uncooked quick oats (use GF oats if Gluten Free)
- 1/3 cup slivered almonds
- 1/2 tsp baking powder
- 1/2 tsp cinnamon
- pinch of salt
- 1 tbsp honey
- 3/4 cup fat free milk (or any milk you desire)
- 1 large egg
- 1 tsp vanilla extract
DIRECTIONS
Preheat the oven to 375° F. Lightly spray a 9 x 9″ ceramic baking dish with cooking spray; place banana slices on the bottom of the baking dish and set aside.
Combine the strawberries and rhubarb in a large bowl. Add honey, sprinkle with cornstarch and toss until fruit is well coated and place in prepared baking dish over the bananas.
In a medium bowl, combine the oats, half of almonds, baking powder, cinnamon, and salt; stir together. In a separate bowl, whisk together the remaining honey, milk, egg, and vanilla extract, then add to the oats.
Pour the oat mixture over the strawberries and rhubarb, making sure to distribute the mixture evenly. Sprinkle the remaining almonds over the the top.
Bake the oatmeal for about 40 minutes, or until the top is golden brown and the oatmeal has set. Serve warm from the oven.