My impulse purchase earlier this week has led to some fun after school snacks this week!
It all started earlier this week when I went grocery shopping on an empty stomach.
That’s the worst.
In this case though, it benefited us in that it led to the greatest after school snack experimentation!
While I was at Aldi’s, I found flatbread in their “Fit and Active” line of healthier foods. I was intrigued. One was “original” and one was multigrain and contained flaxseed. Both were reasonably priced and I was pretty hungry so even plain flatbread sounded delicious.
Well, as I walked through the store, I saw some good-looking plum tomatoes and I put them into my carriage also. Seeing them, alongside my flatbread, reminded me of an old Pampered Chef pizza recipe we used to make that had ricotta cheese mixed with Parmesan cheese, topped with sliced plum tomatoes and mozzarella cheese.
I decided that with my new flatbread and tomatoes, along with the nonfat ricotta and mozzarella cheeses I had at home, I would make a variation of that for my lunch. And I did. I cut up two plum tomatoes, spread a little tomato sauce on my flatbread, and layered on my toppings. About 10 minutes under the broiler on low, and I had my lunch.

This was my lunch that day, and the leftovers were just as good!
When the girls arrived home later on, they asked me what was mysteriously wrapped up in foil in the fridge. When I showed them my leftovers, they wanted a flatbread pizza for their after school snack. So I sliced up some more tomatoes, some olives and used the rest of my sauce and mozzarella cheese to make one for them. The entire snack took less than 15 minutes to prep and broil and even less than that to eat.
They loved it!
The following day, my wheels were turning. I remembered a dessert pizza that I had at a restaurant a while back and I decided to make a dessert pizza for the kids based on another recipe I’d seen floating around Facebook lately.
With Elizabeth helping me, I took a flatbread,we spread some peanut butter on it, layered sliced green apples on top of that, and drizzled caramel over them. A sprinkle of cinnamon-sugar over the whole thing, and under the broiler it went.
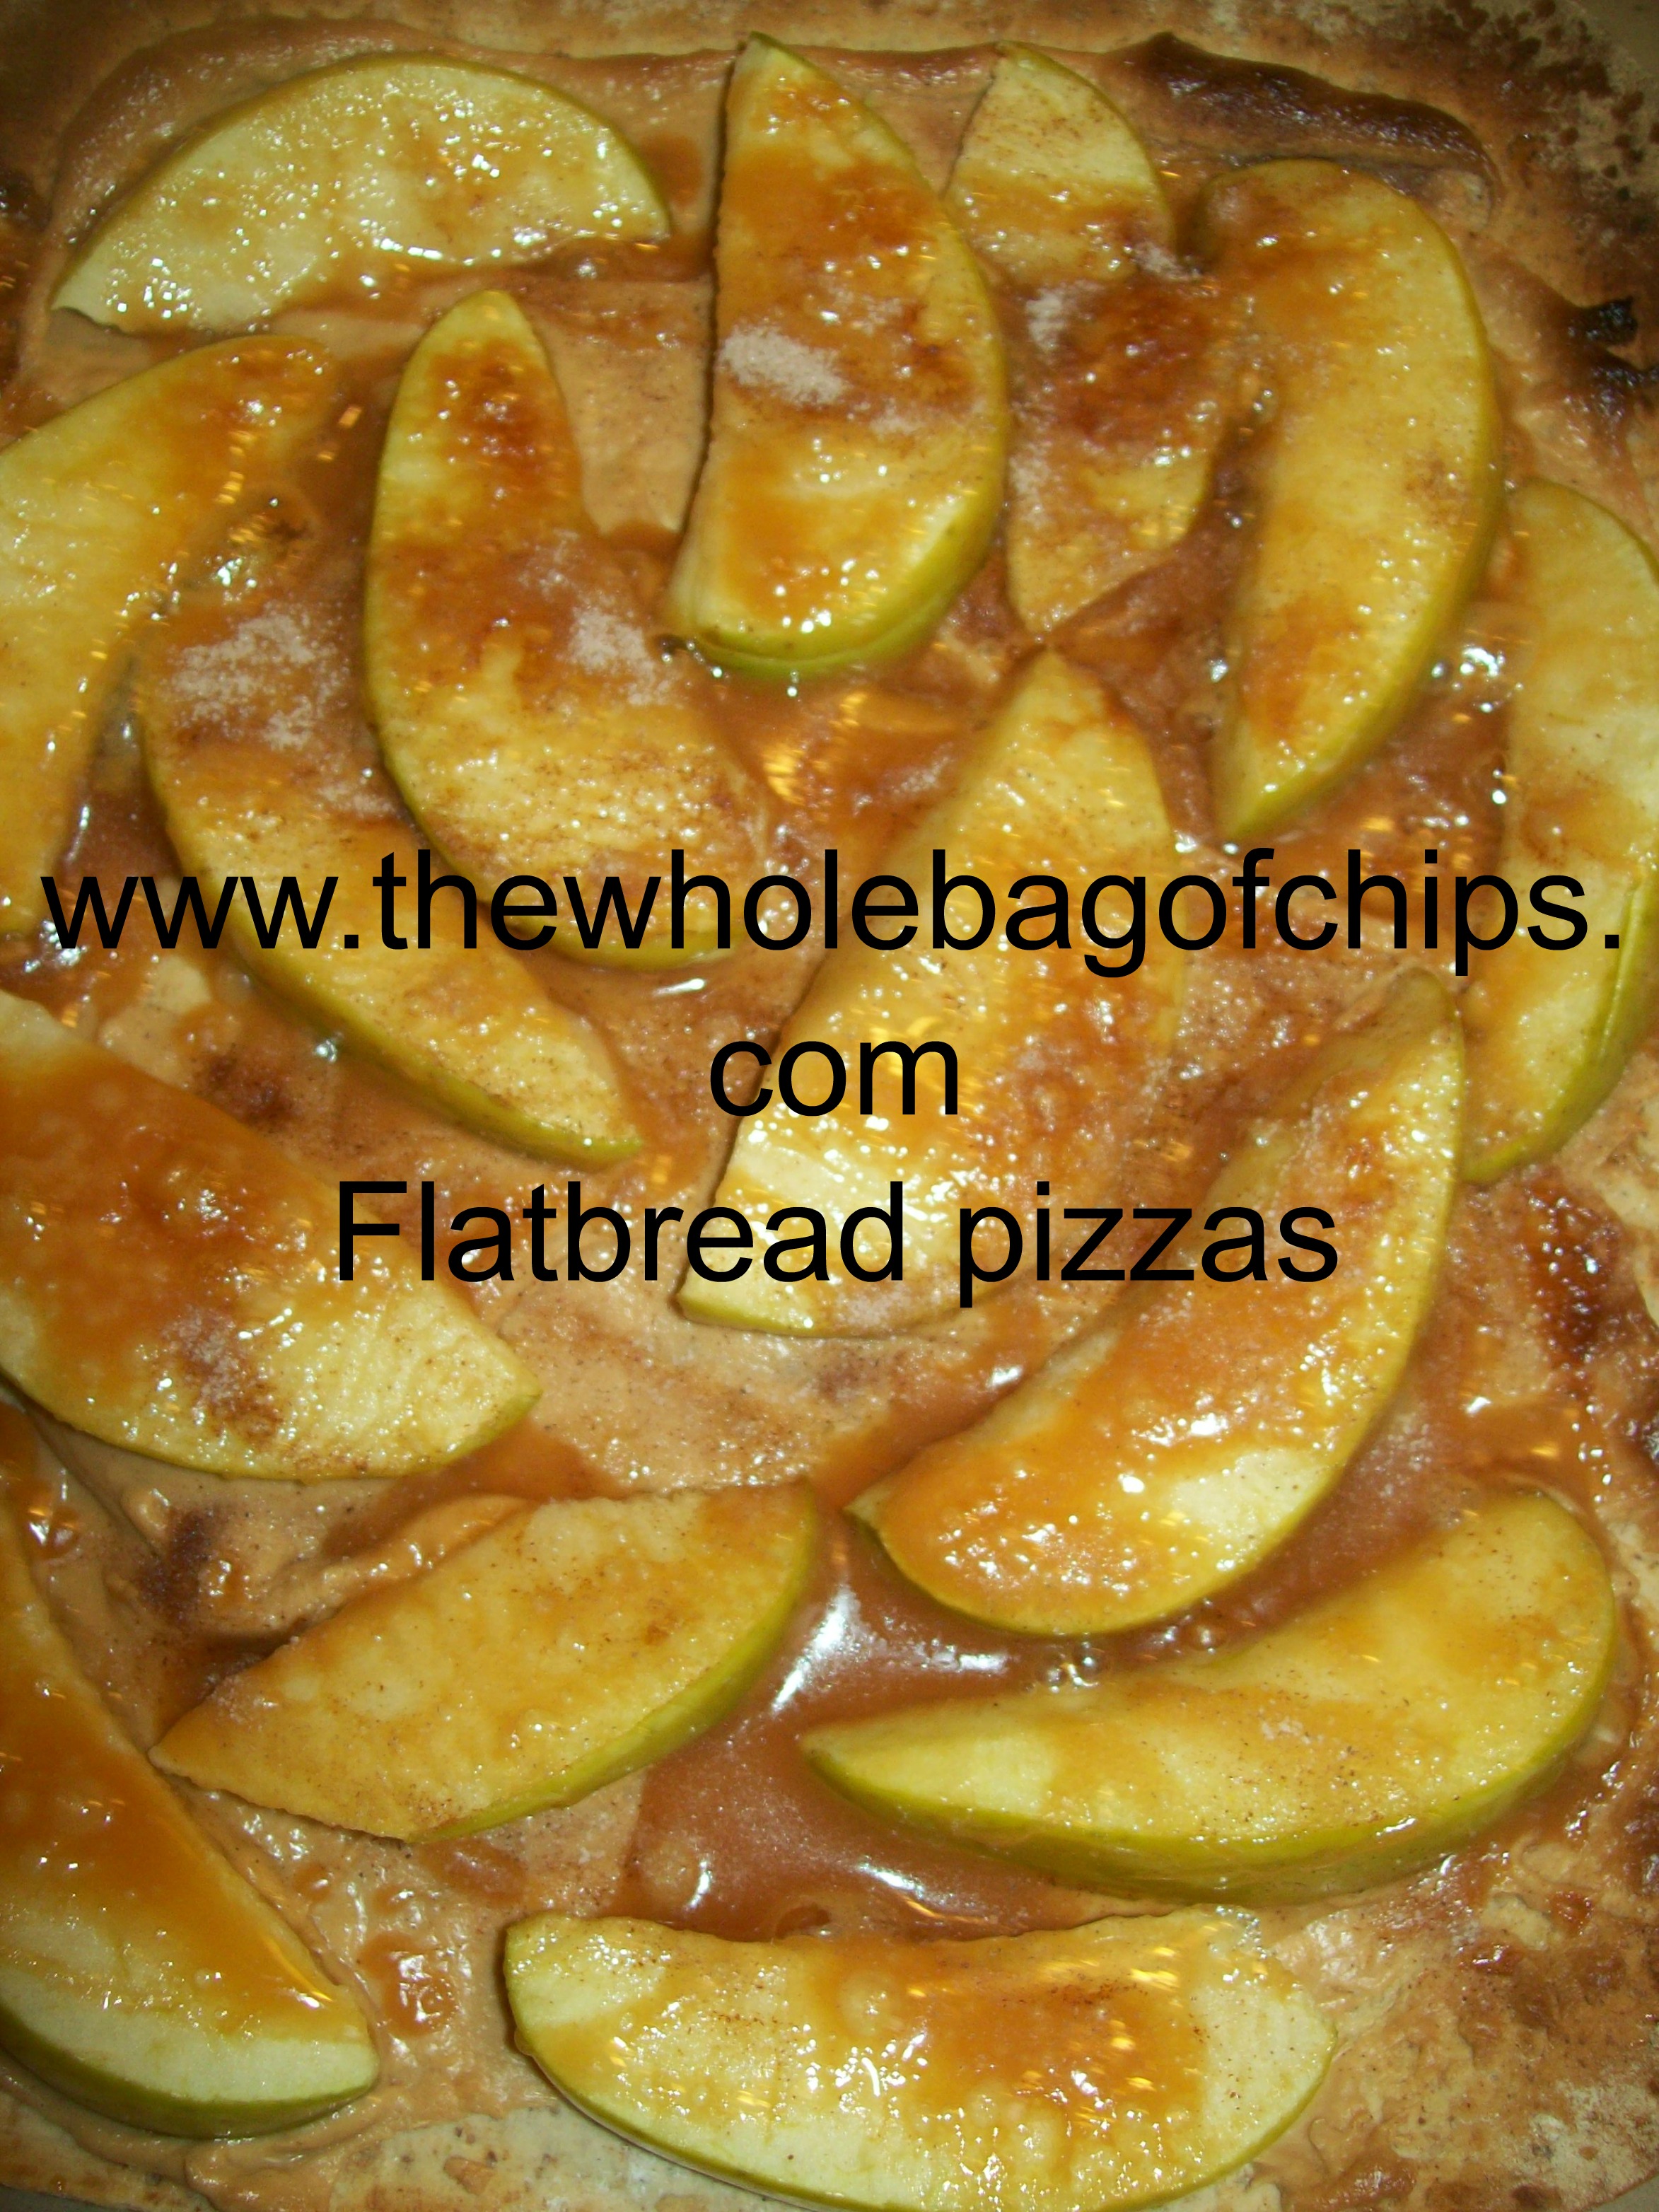
Our first dessert pizza of the week.
DELICIOUS.
Our creative juices were flowing. The next day I made them a peanut butter and Nutella pizza with sliced bananas on top.
As they were eating that one, they came up with the next one: S’Mores flatbread pizzas: Nutella and marshmallows. When I told my friend Gina, she suggested crushing up graham crackers and sprinkling them on the top. What a great idea! For dinner that night, her family was having chicken and broccoli flatbread pizzas.
I was adding that one to my list.
Elizabeth has already requested flatbread pizzas to be added to our lunchbox rotations. As quick as they are to make, I could easily make them up ahead of time and send them in for lunch. Obviously the dessert pizzas would not be our lunchbox pizzas, but they do have their place!
I’m excited for this newest snack option. It gives us some fun and some variety in our choices, and that’s always a good thing! I encourage you to see how many different variations you could come up with!

Another keeper!