I have a new chocolate cookbook that I received from Caroline for Christmas this year. 
It’s fantastic.
I already went through it and tabbed a bunch of recipes, and we’ve already made two of them so far, both were delicious. One of them I am going to share with you today. Elizabeth and I made it together last weekend as a surprise for the rest of the family when they were out.
Overall, many of the recipes in this cookbook are already “healthified,” made with some healthier options. Today’s recipe is one of those healthier option recipes.
In fact, it’s so healthy, I might consider these cookies a “Superfood!”
You laugh (I can hear you) but just look at the ingredients in this recipe, read my post about super foods from last week and read the following blurb that I just read *today* in the March 13 issue of Better Homes and Gardens magazine, that supports my superfood cookie claim:
“When you think ‘superfood,’ you probably picture kale or blueberries. But potent plant goodness comes in liquid form, too. Coffee is the nation’s number one source of antioxidants, accounting for 40% of our overall intake, according to research from the University of Scranton.”

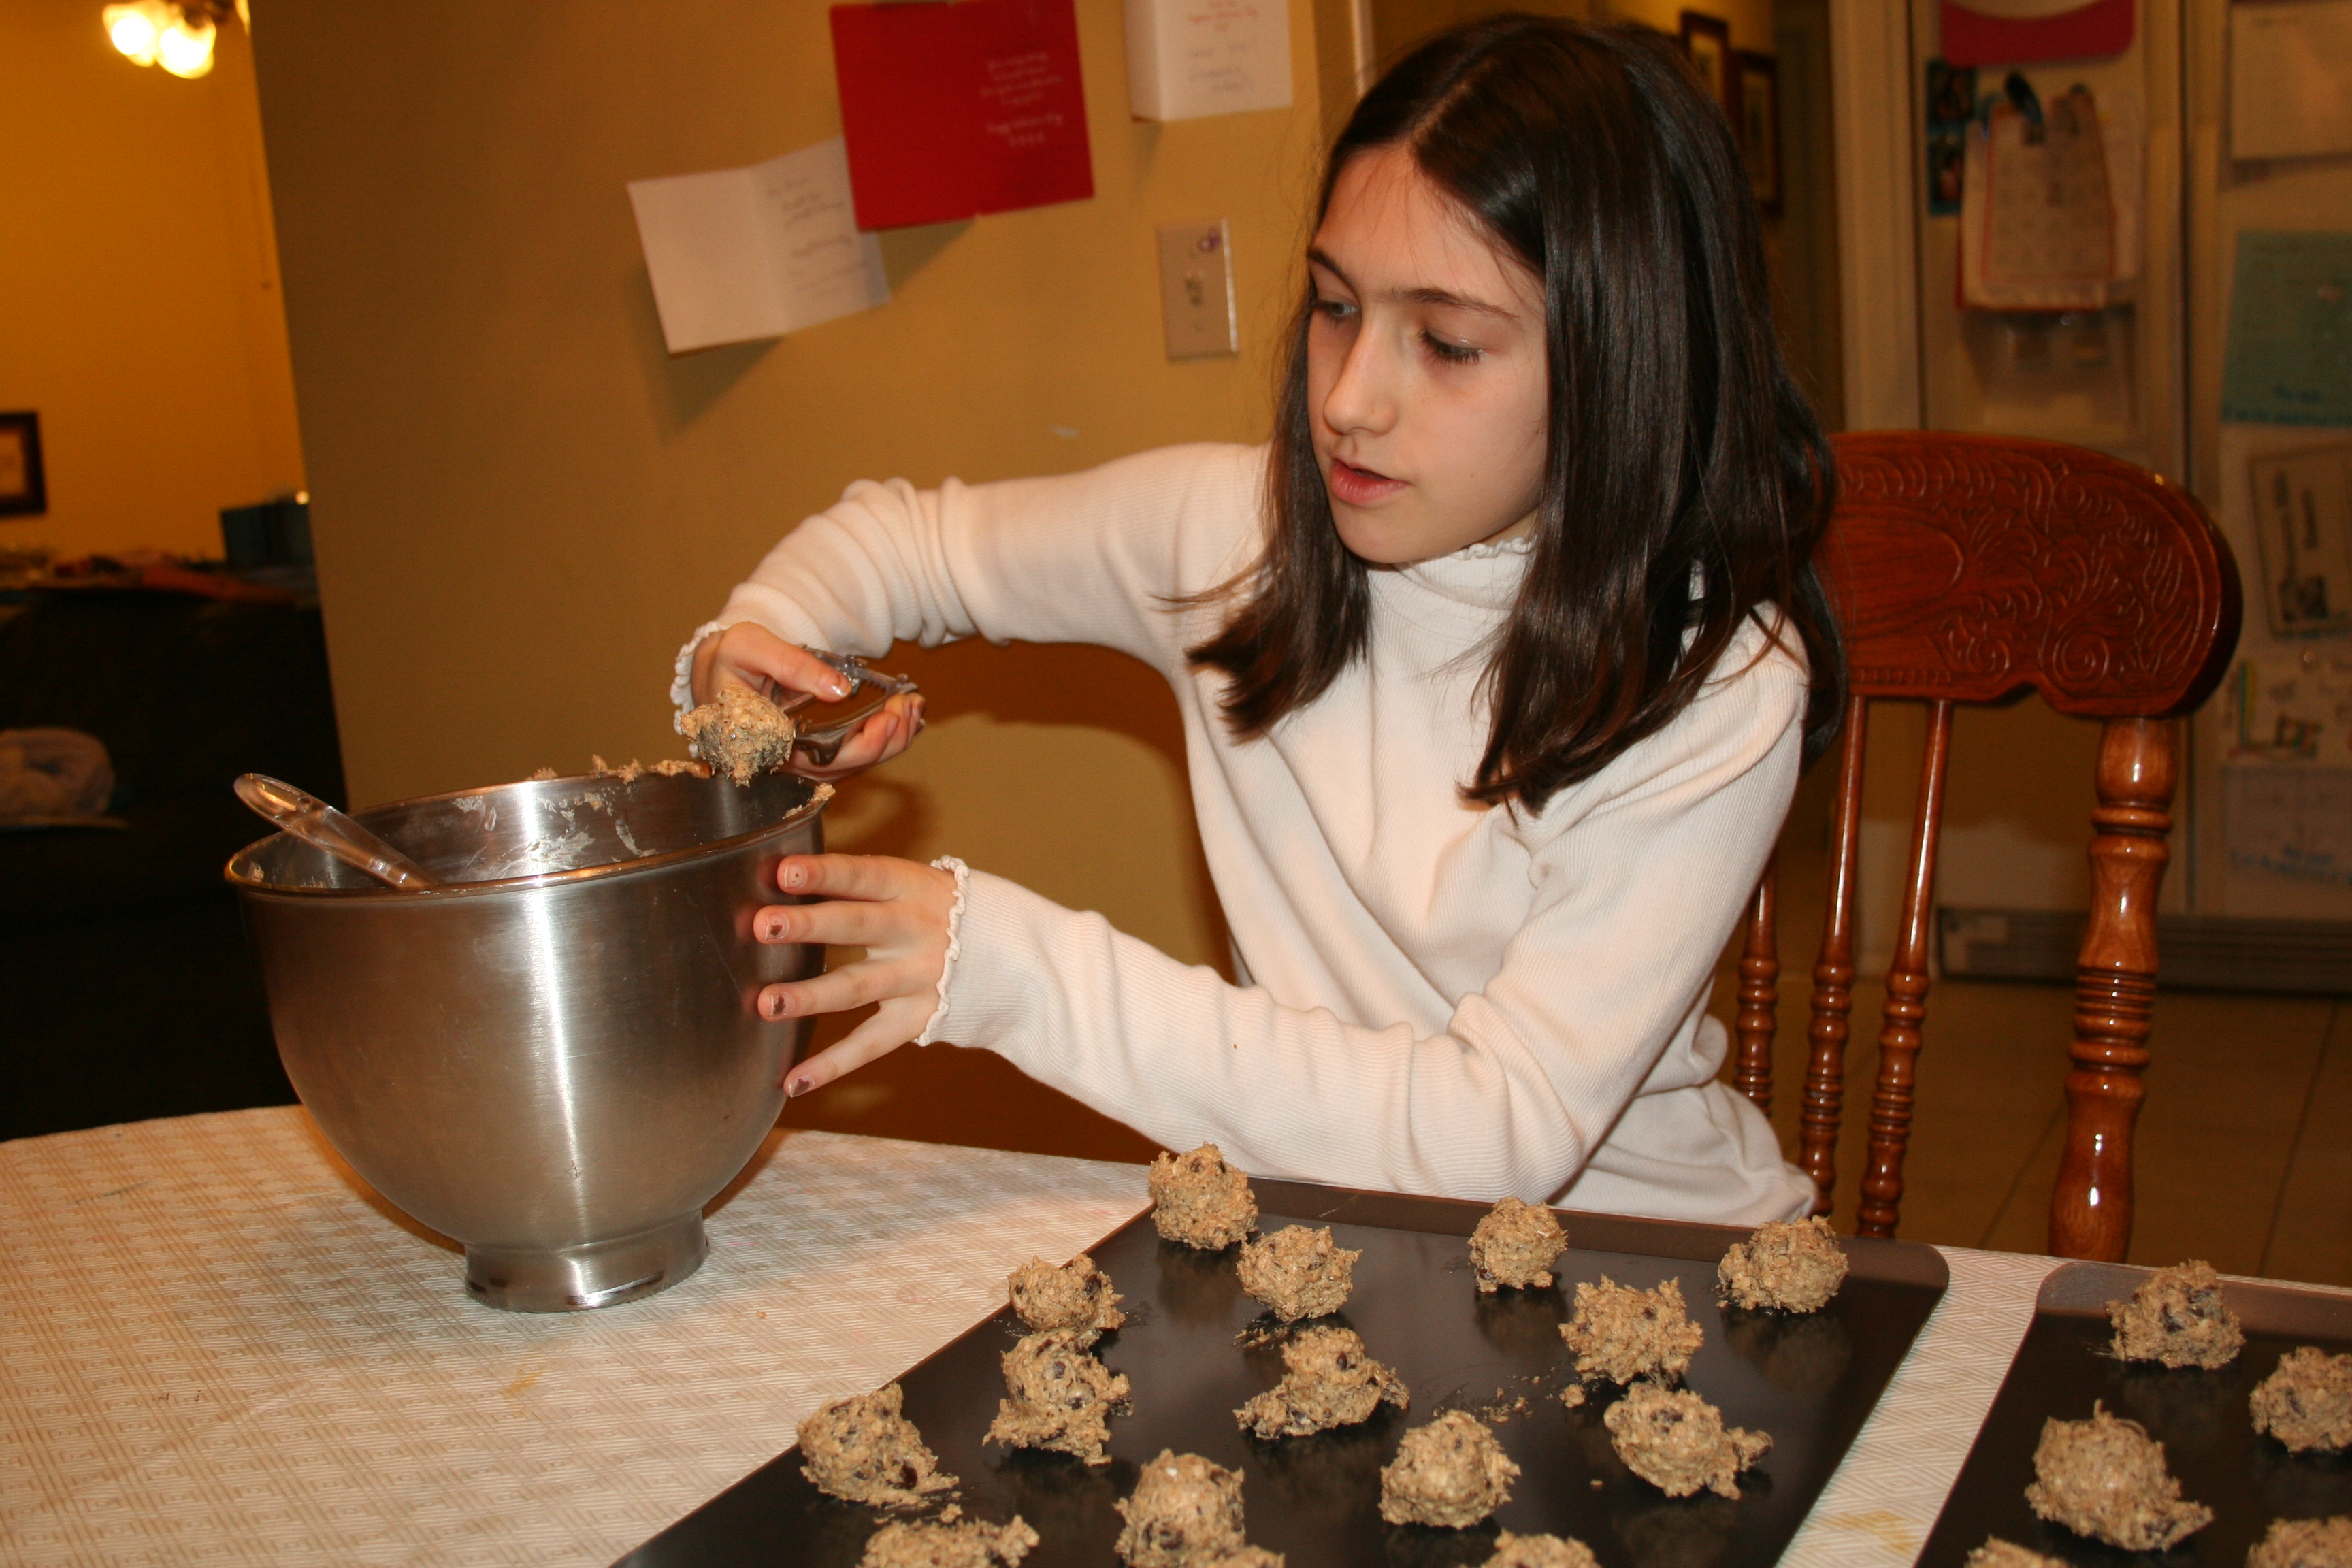
Elizabeth was so excited to be the kid in the kitchen this time around!
First, let me just say that reading this thrilled me. I think I probably get more like 50% of my antioxident intake from coffee!
And second, although I’m being humorous, this recipe actually has coffee in it, which is why I drew your attention to that fact.
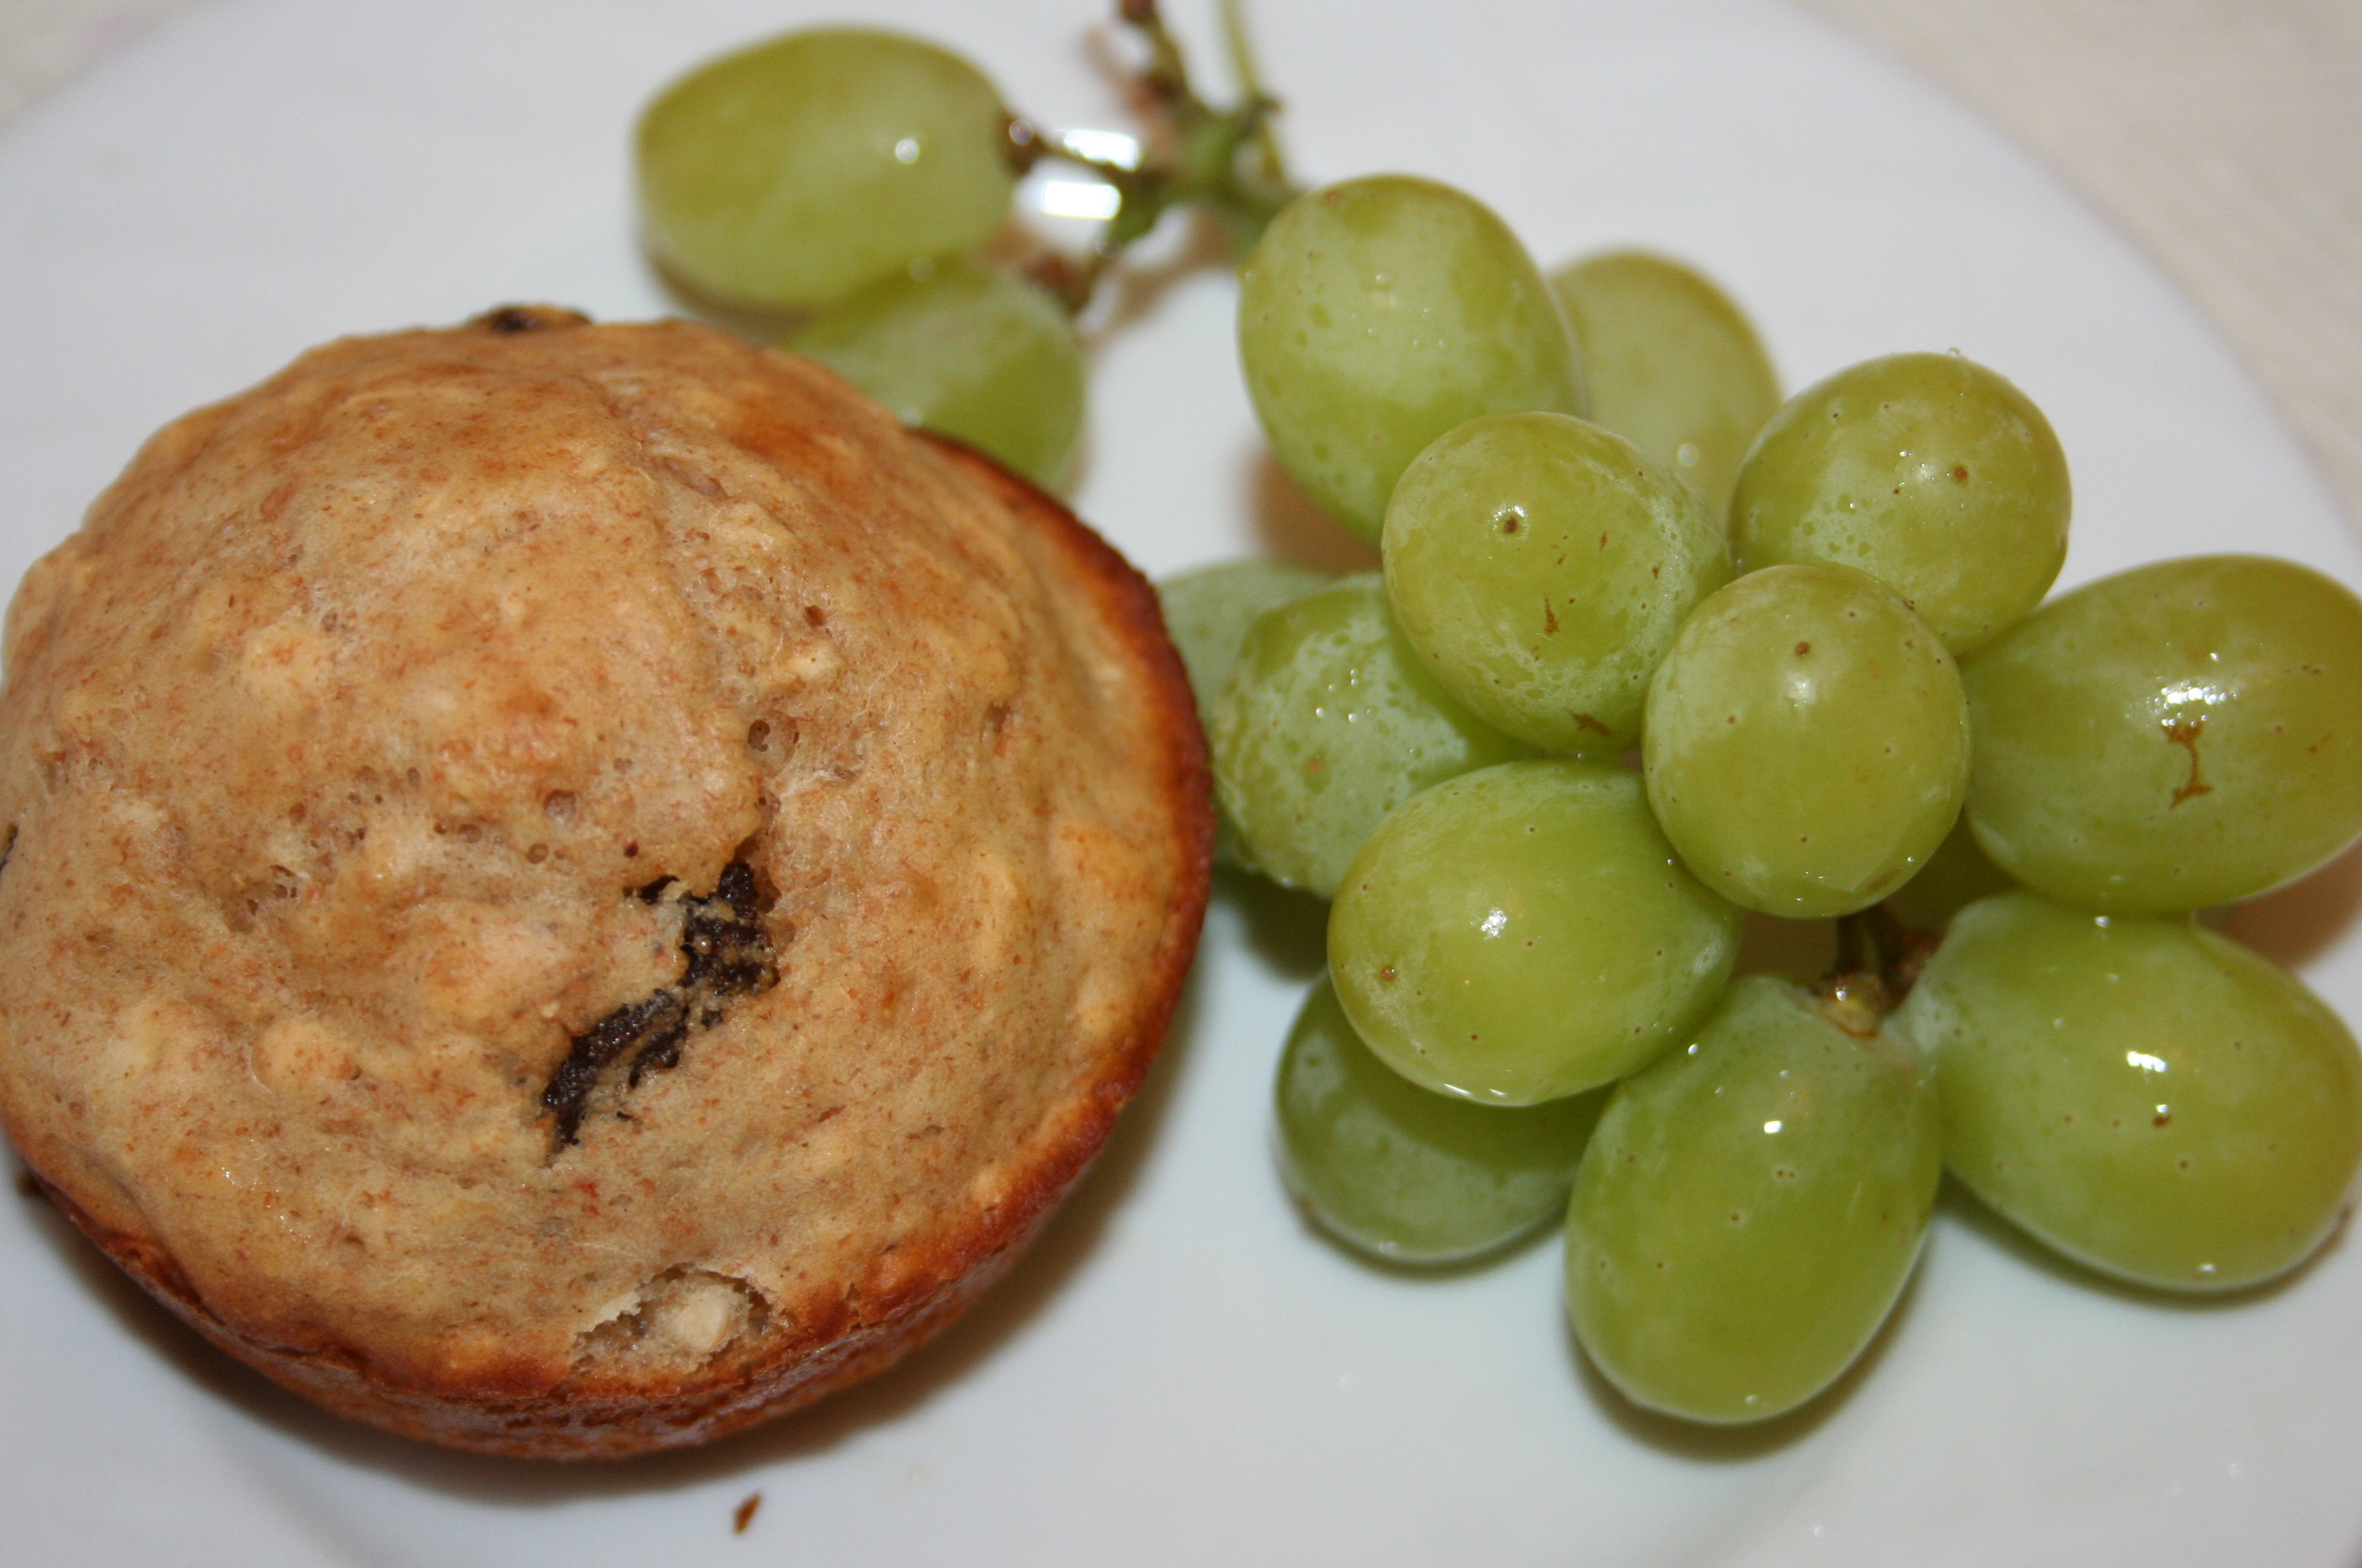
The cookies were a hard, crunchy cookie, which is the kind I prefer. Everyone here loved them, all thumbs up, and I didn’t think twice about offering them dessert, knowing that I was really providing them with daily doses of antioxidants!!
Below is the recipe. Now keep your eye open for all the healthier choices and you’ll see why these cookies were a superfood in my house!

My new superfood cookies
CHOCOLATE & COFFEE WHOLE WHEAT COOKIES
INGREDIENTS
3/4 cup unsalted butter or margarine (we used I Can’t Believe It’s Not Butter.)
1 cup brown sugar
1 egg (we used egg substitute)
1/2 cup all-purpose flour
1 tsp. baking soda
pinch of salt
scant 1/2 cup whole wheat flour
1 tablespoon bran (We took bran flakes and crushed them up in a ziploc bag and took 1 tablespoon from there.)
1 1/3 cups semisweet chocolate chips
2 cups rolled oats
1 tablespoon strong coffee (I used decaf!)
2/3 cup hazelnuts toasted and coarsely chopped (I skipped this ingredient.)

Using the larger of my two Pampered Chef scoops makes our cookies more uniform.
DIRECTIONS
Preheat the oven to 375 degrees.
Grease two large cookie sheets (I don’t grease, mine are fine.)
Cream the butter and sugar together in a bowl. Add the egg and beat well.
In a separate bowl, sift together the all-purpose flour, baking soda, and salt. Then add in the whole wheat flour and bran.
Mix in the egg mixture, then stir in the chocolate chips, oats, coffee, and hazelnuts.
Mix well.
Put 24 rounded tablespoonfuls of the mixture onto the prepared cookie sheets.
Bake 16-18 minutes or until golden brown. (Ours took less, around 15 minutes.)
Remove from oven, then transfer to a cooling rack and let cool before serving.
Enjoy!!
Tags: 100 Best Delicious Chocolate, after school snack, Aldi's, baking, chocolate chips, cooking with kids, dessert, eating on a budget, healthy cookies, Jennifer L. Cowart, kids, oatmeal coffee chocolate chip cookies, recipes, shopping on a budget