This was by far, one of my favorite crock pot meals from the first week. Every single one of us loved them.
I’ve been keeping you all up to date with our ongoing crock pot meals experiment as the school year goes on.
I must say, so far so good.
The one I’m sharing today, however, was by far my personal favorite meal of all the ones we have tried thus far.
It is a recipe for Asian Lettuce Wraps and it’s the meat that you cook all day in the crock pot.
My house smelled absolutely amazing on this day, thanks in part to the sesame oil that is used in the recipe.
This was one I could not wait for even the next day, so that I could use the leftovers for my lunch. In a way, it was almost like our DIY taco night, but with an Asian flair instead.

Serving everything “on the side” allows people do customize their wraps, adding as much or as little of whatever the want to each of their wraps.
I served everything a la carte, with Chinese Fried Rice as our side dish, and I let everyone build their own wraps. I wasn’t sure if everyone would try their food in the lettuce or not, but I encouraged them to at least give it a try. I ended up having to put out even more lettuce as each of us had two or three wraps that night.
The wrap that is pictured above (before being rolled up and eaten) actually has the rice on the bottom, followed by the meat and then the Chinese noodles, chopped cashews and the sauce.
DELICIOUS.
I saved the sauce as leftovers as well, and the next day I used it to make my leftover wraps for lunch, but the following day I just had the leftover rice and used the sauce on top of that. Perfect.
Although most of my crock pot recipes have been coming from the Who Needs a Cape website, this one actually didn’t. It was sent to me by my friend Gina, who is doing this crock pot recipe experiment along with me, far away in another state. But we’re trying out some of the same recipes and then some different ones, and letting each other know how they are. This is one she tried out first and loved it, passing it along to us. We loved it too. She found it at Today’s Creative Blog and I’ve linked to it above. The recipe is below, as well.
So today, I am passing it along to you as well. It was very different for a crock pot meal, and you’d never know it was made in the crock pot. It was fun and unique and tasty. I encourage you to try it out, and if you’re up for it, give the Chinese Fried Rice a try too. We use that as a side dish often and it always goes over well.
*In the recipe below, my modifications were: ground turkey instead of chicken, I used apple juice not wine, dried ginger not fresh, cumin instead of coriander, and cashews instead of peanuts. *
Crock Pot Asian Lettuce Wraps from Today’s Creative Blog
- 2 chicken breasts – cut into really small pieces. (most recipes call for ground chicken or turkey)
- 2 cloves garlic – chopped really small
- 1/2 medium onion, chopped
- 1/4 cup soy sauce
- 1/4 cup white wine or apple juice – I used apple juice because I didn’t have wine
- 1 teaspoon fresh grated ginger (you can also use what you have in your spice cabinet)
- 1/4 teaspoon ground allspice
- 1/4 teaspoon ground coriander
- 2 tablespoons rice wine vinegar (same as rice vinegar)
- 1 head Romaine lettuce,washed. Trim lettuce leaves to the size you want to use
- Peanuts for garnish
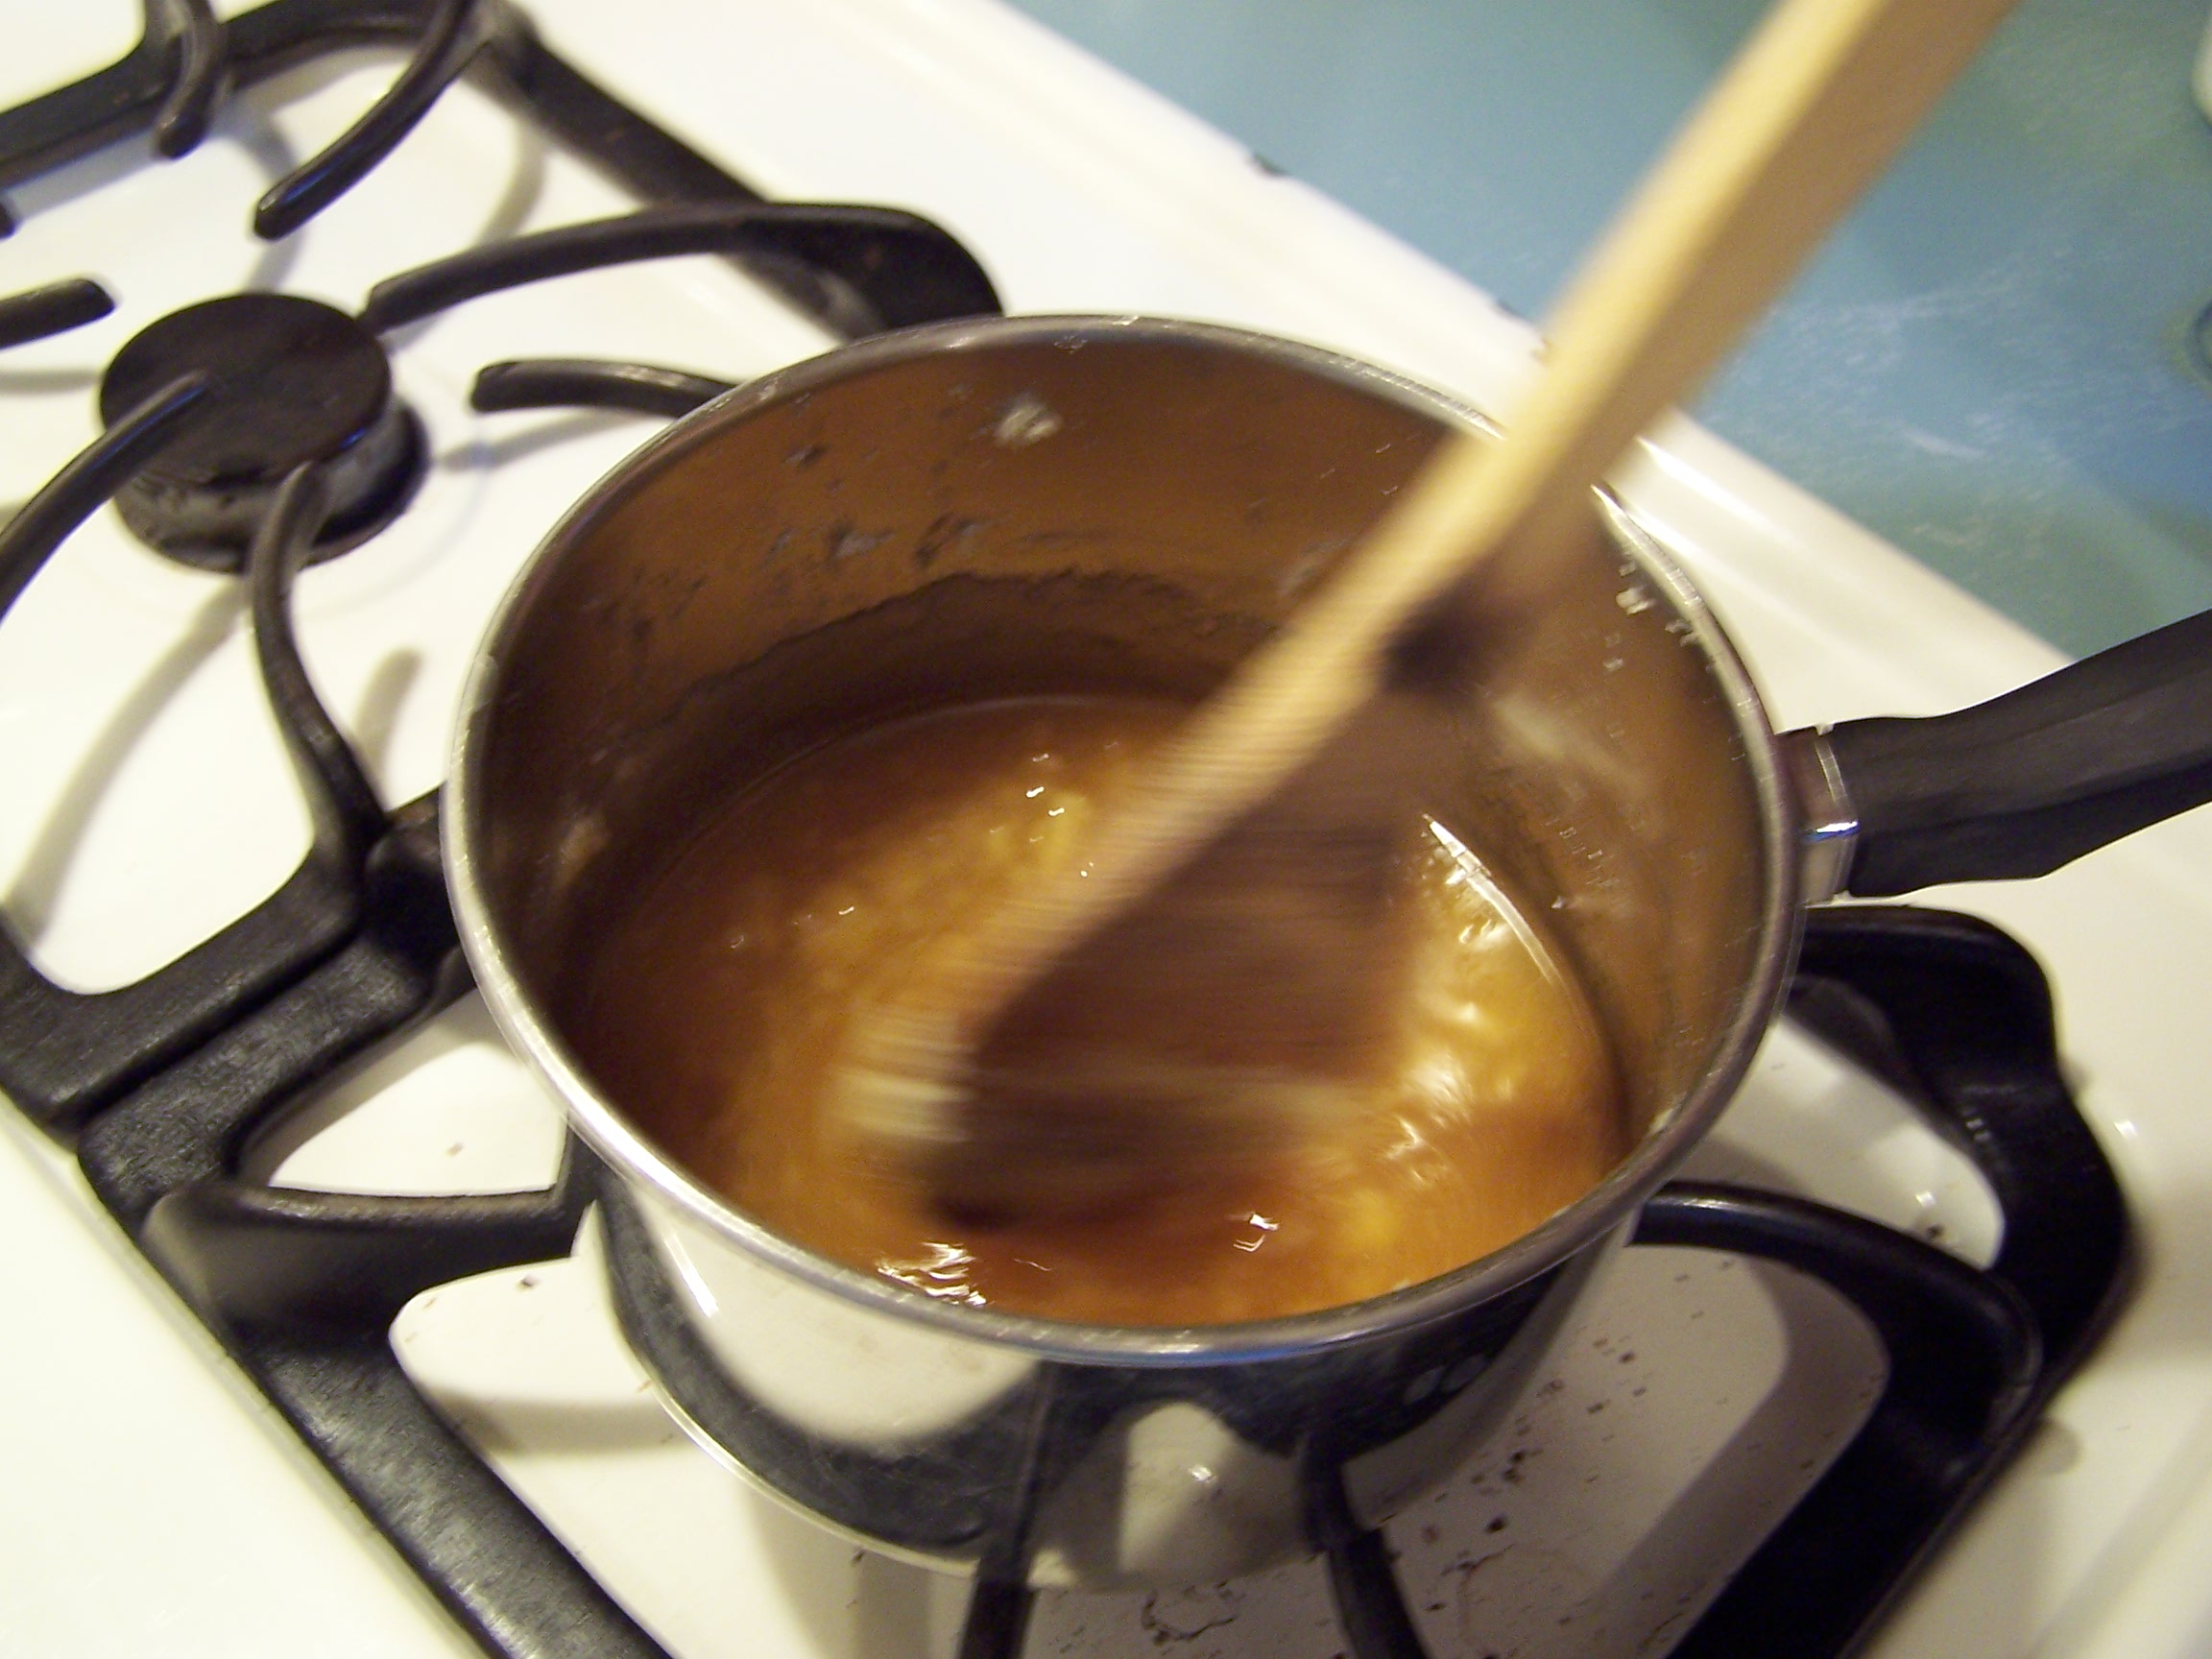
- Dipping Sauce
- 1/4 cup sugar
- 1/3 cup water
- 2 tablespoons soy sauce
- 2 tablespoons rice wine vinegar
- 2 tablespoons ketchup
- 1 tablespoon fresh lemon juice
- 1/8 teaspoon sesame oil
- 1 teaspoon red chile paste
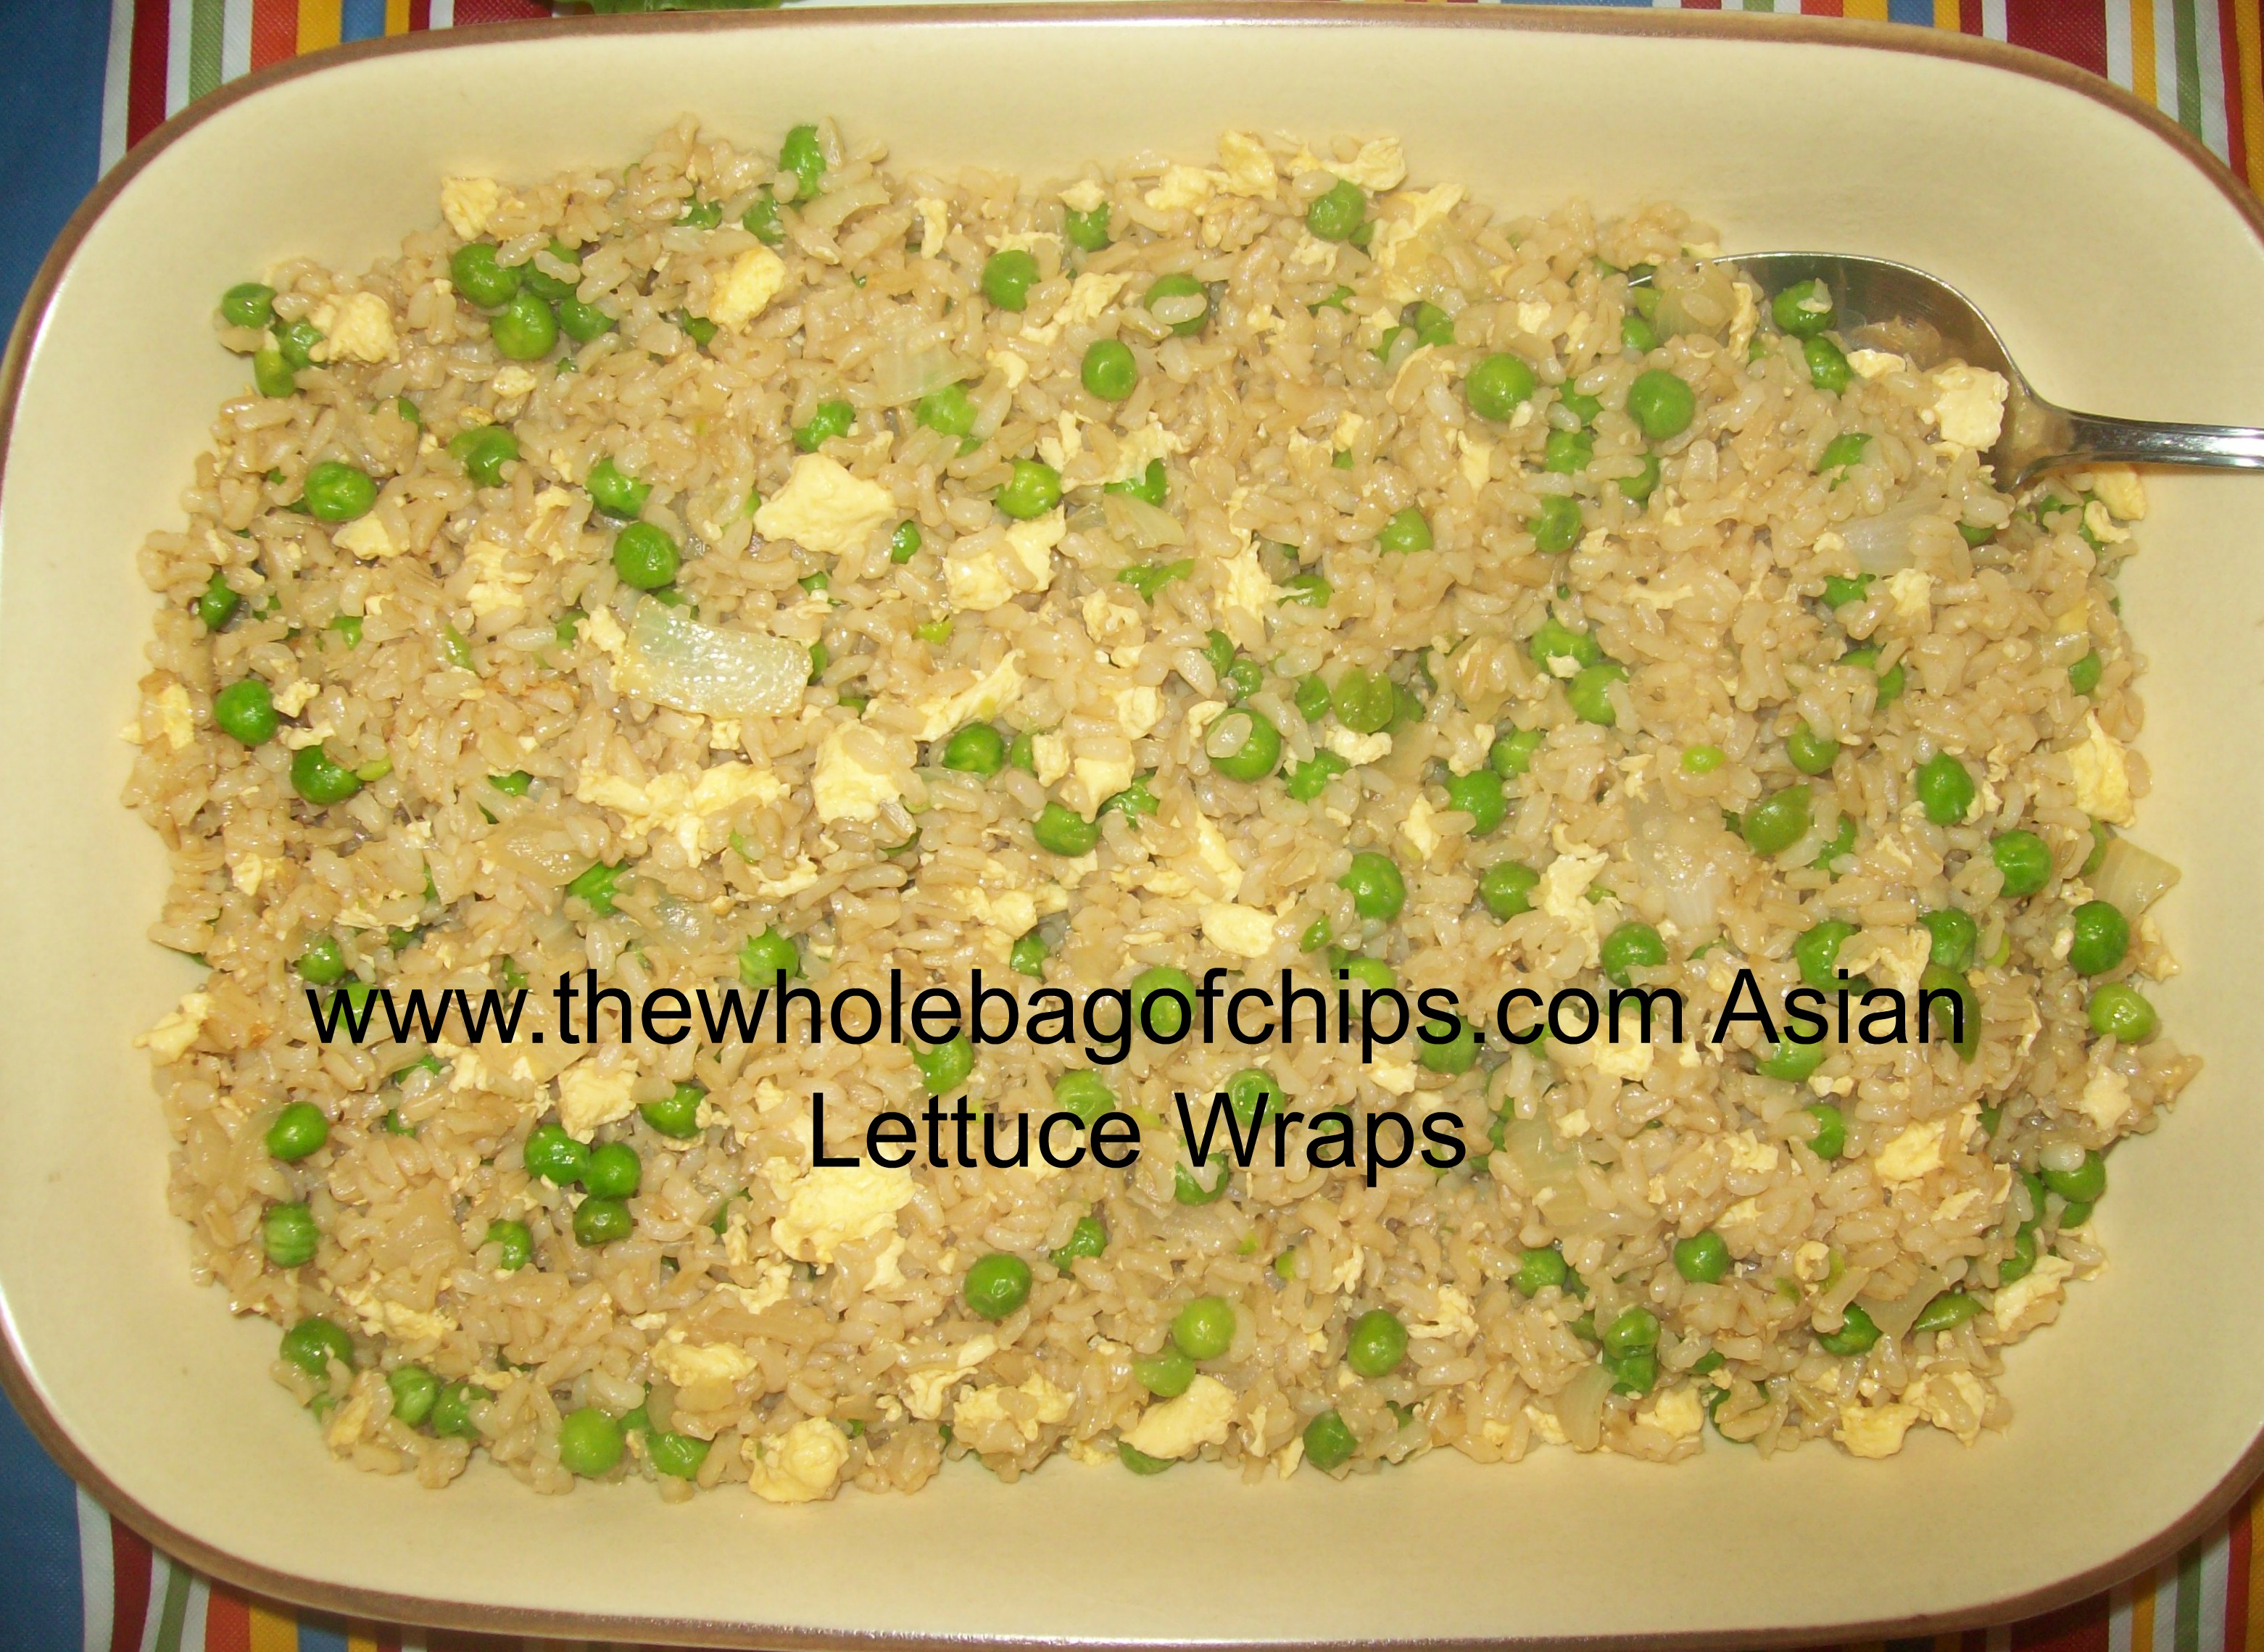
The fried rice was great with the dipping sauce right on top, and some of the wraps had the rice right inside!
Instructions
- Cut your chicken into very small pieces and place inside your crockpot.
- Combine all other ingredients into your crock and stir.
- Cover and cook on low for 6-8 hours or low for 4-6 hours.
- Prep your lettuce leaves by washing, patting dry and trimming. I used Romaine, but butter lettuce would also work. Place your chicken directly onto the lettuce.
- Dipping Sauce
- Combine all ingredients together before your chicken is done. I like to let mine sit a bit before serving.
- Drizzle a small amount onto your chicken filled lettuce, garnish with peanuts, wrap it together and enjoy!