Archive | dessert RSS feed for this section

Fun Friday: Chocolate Raspberry Brownies from My Soup for You

12 Feb

1Happy Friday!

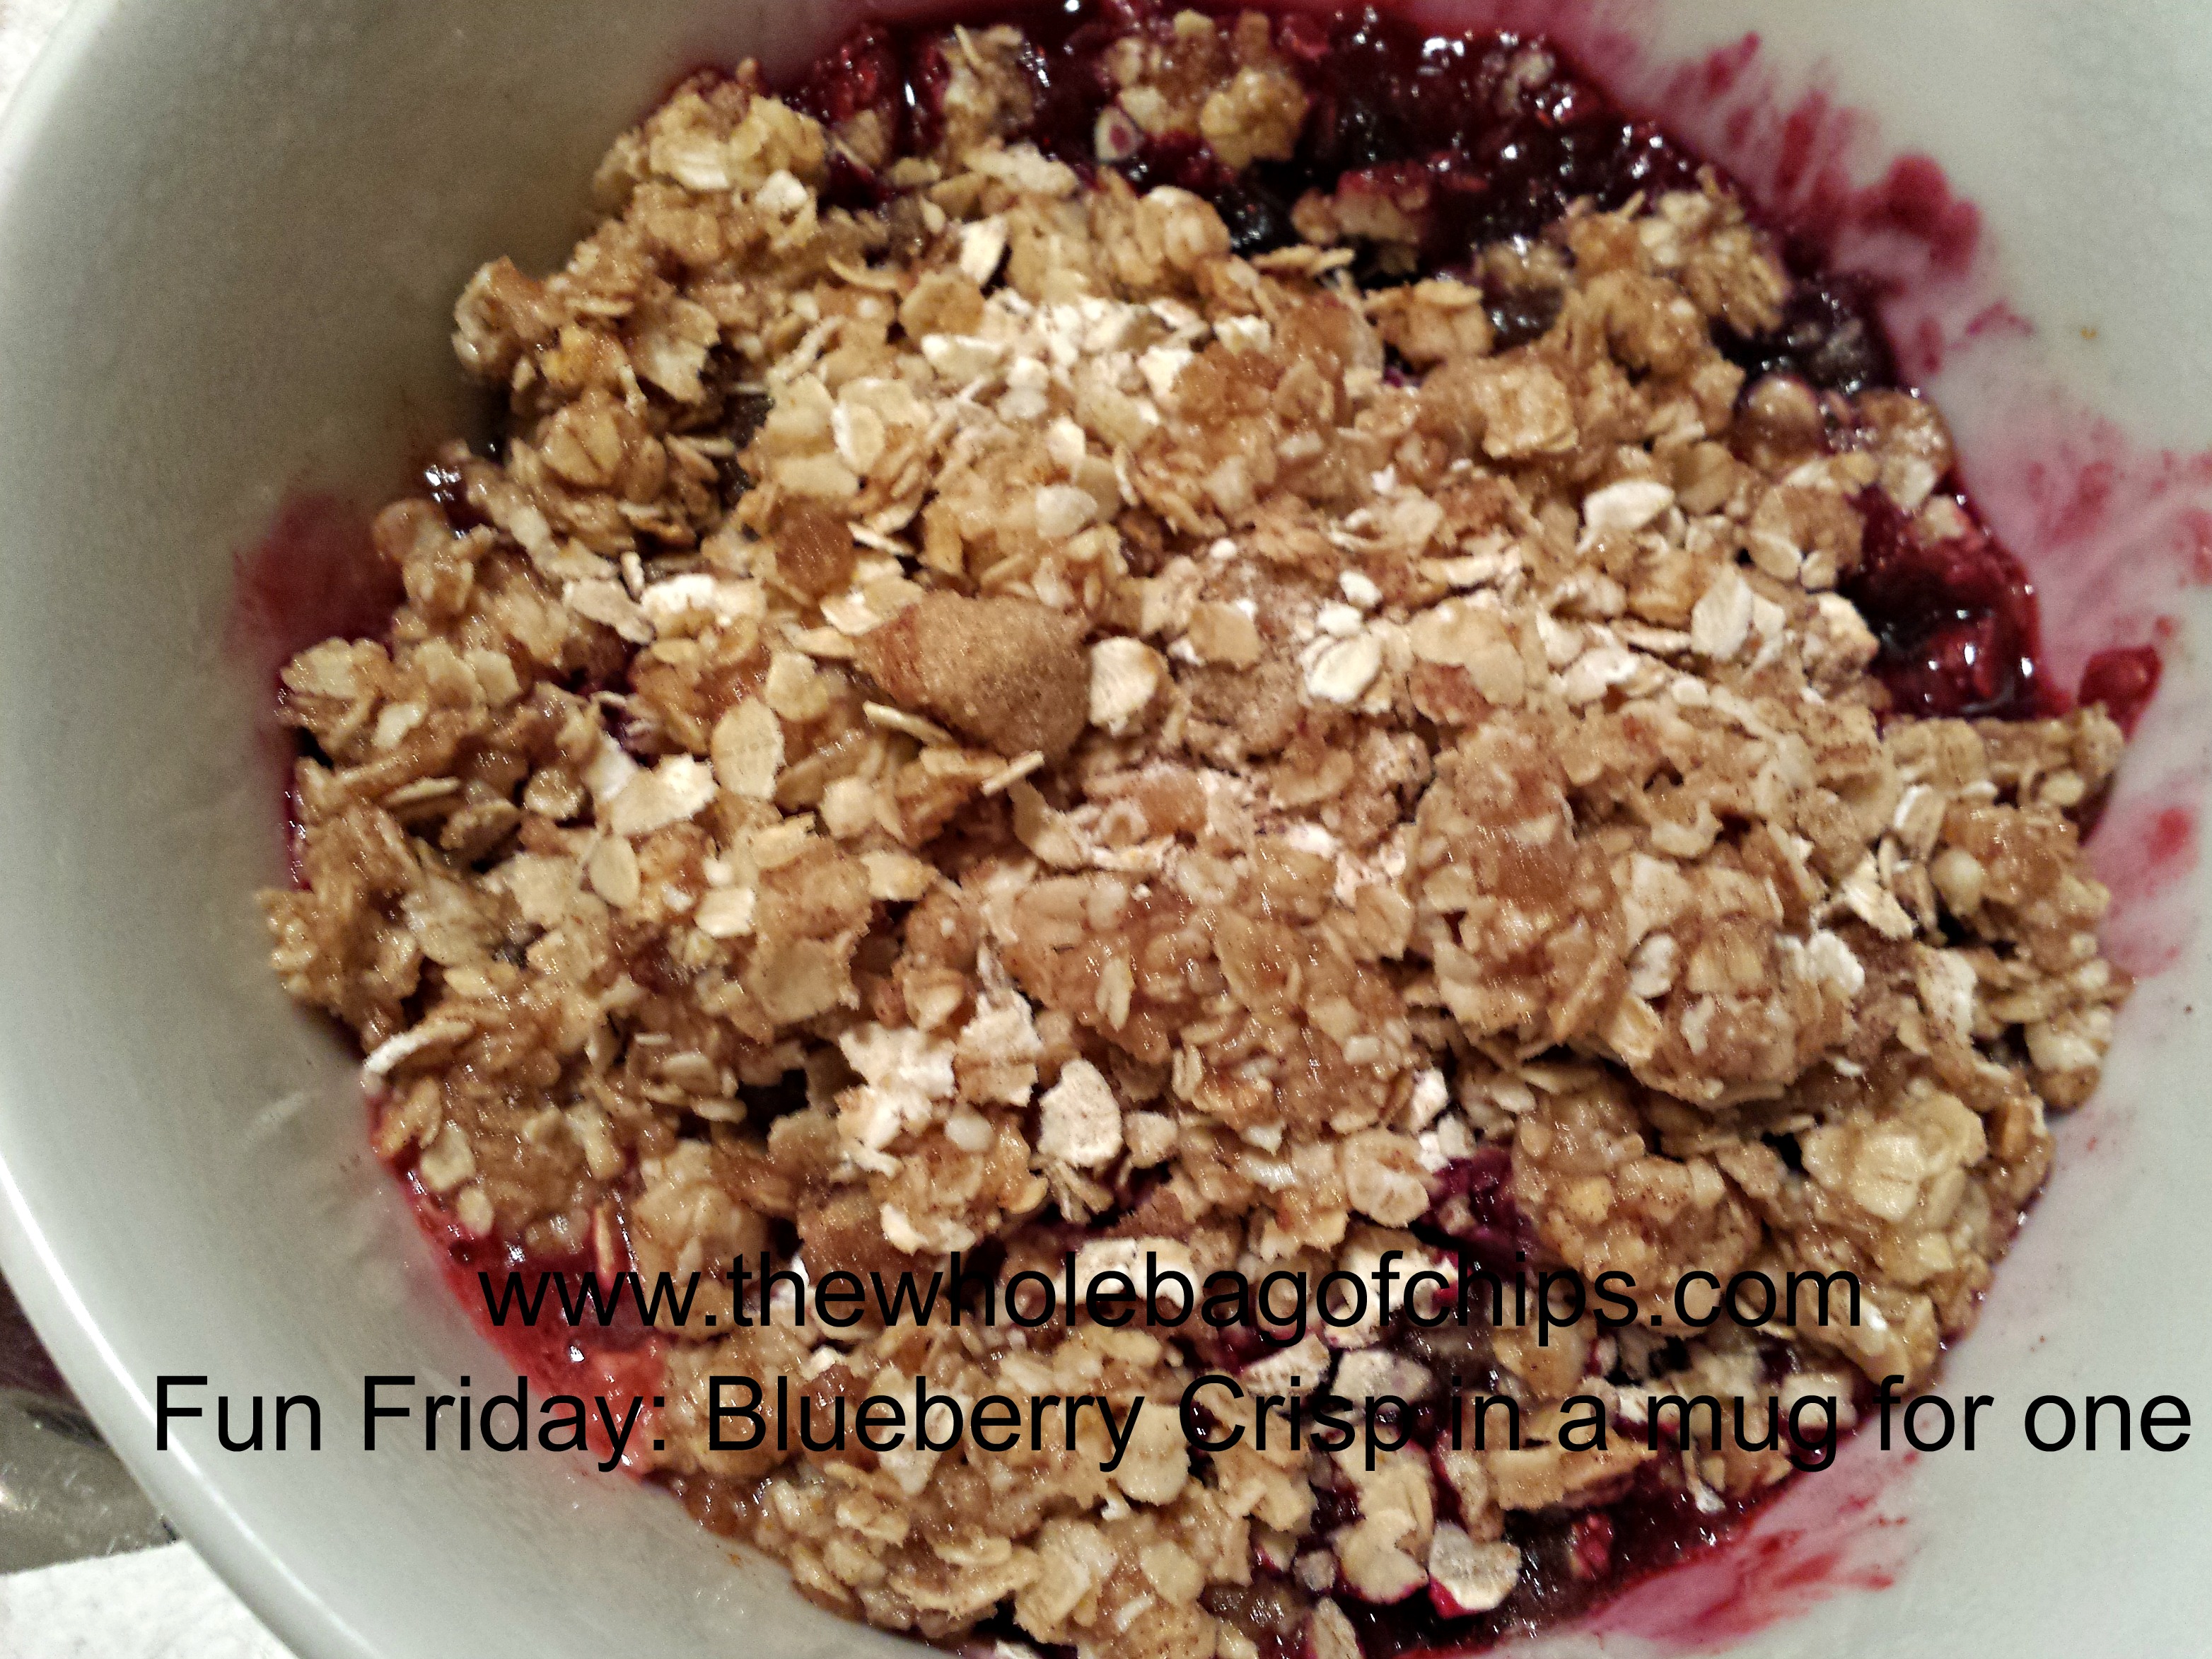
It’s very cold here and today’s recipe will warm your heart. It’s from my friend Paula’s blog, My Soup for You, and it’s a delicious fudgy brownie with a hint of raspberry.

To me, there’s nothing more decadent than chocolate and raspberry together. I have always loved it. I love it in chocolate raspberry chip yogurt, in a big box of chocolates and pretty much any other way I can get it.

So on Superbowl Sunday night when this link appeared on my Facebook timeline, I gasped out loud. I don’t like football, but I love my friend Paula’s blog, I love a great brownie recipe and I love the addition of raspberry jam in the recipe. I examined the ingredients and I had them all, as long as I substituted the same amount of brown sugar for the turbinado sugar, and as long as I used the Pillsbury Gluten Free flour blend that I’ve been using in most of my baking so that everyone could eat them. In fact, as luck would have it, I’d just bought a new jar of raspberry jam that very afternoon, so I was in business.

2
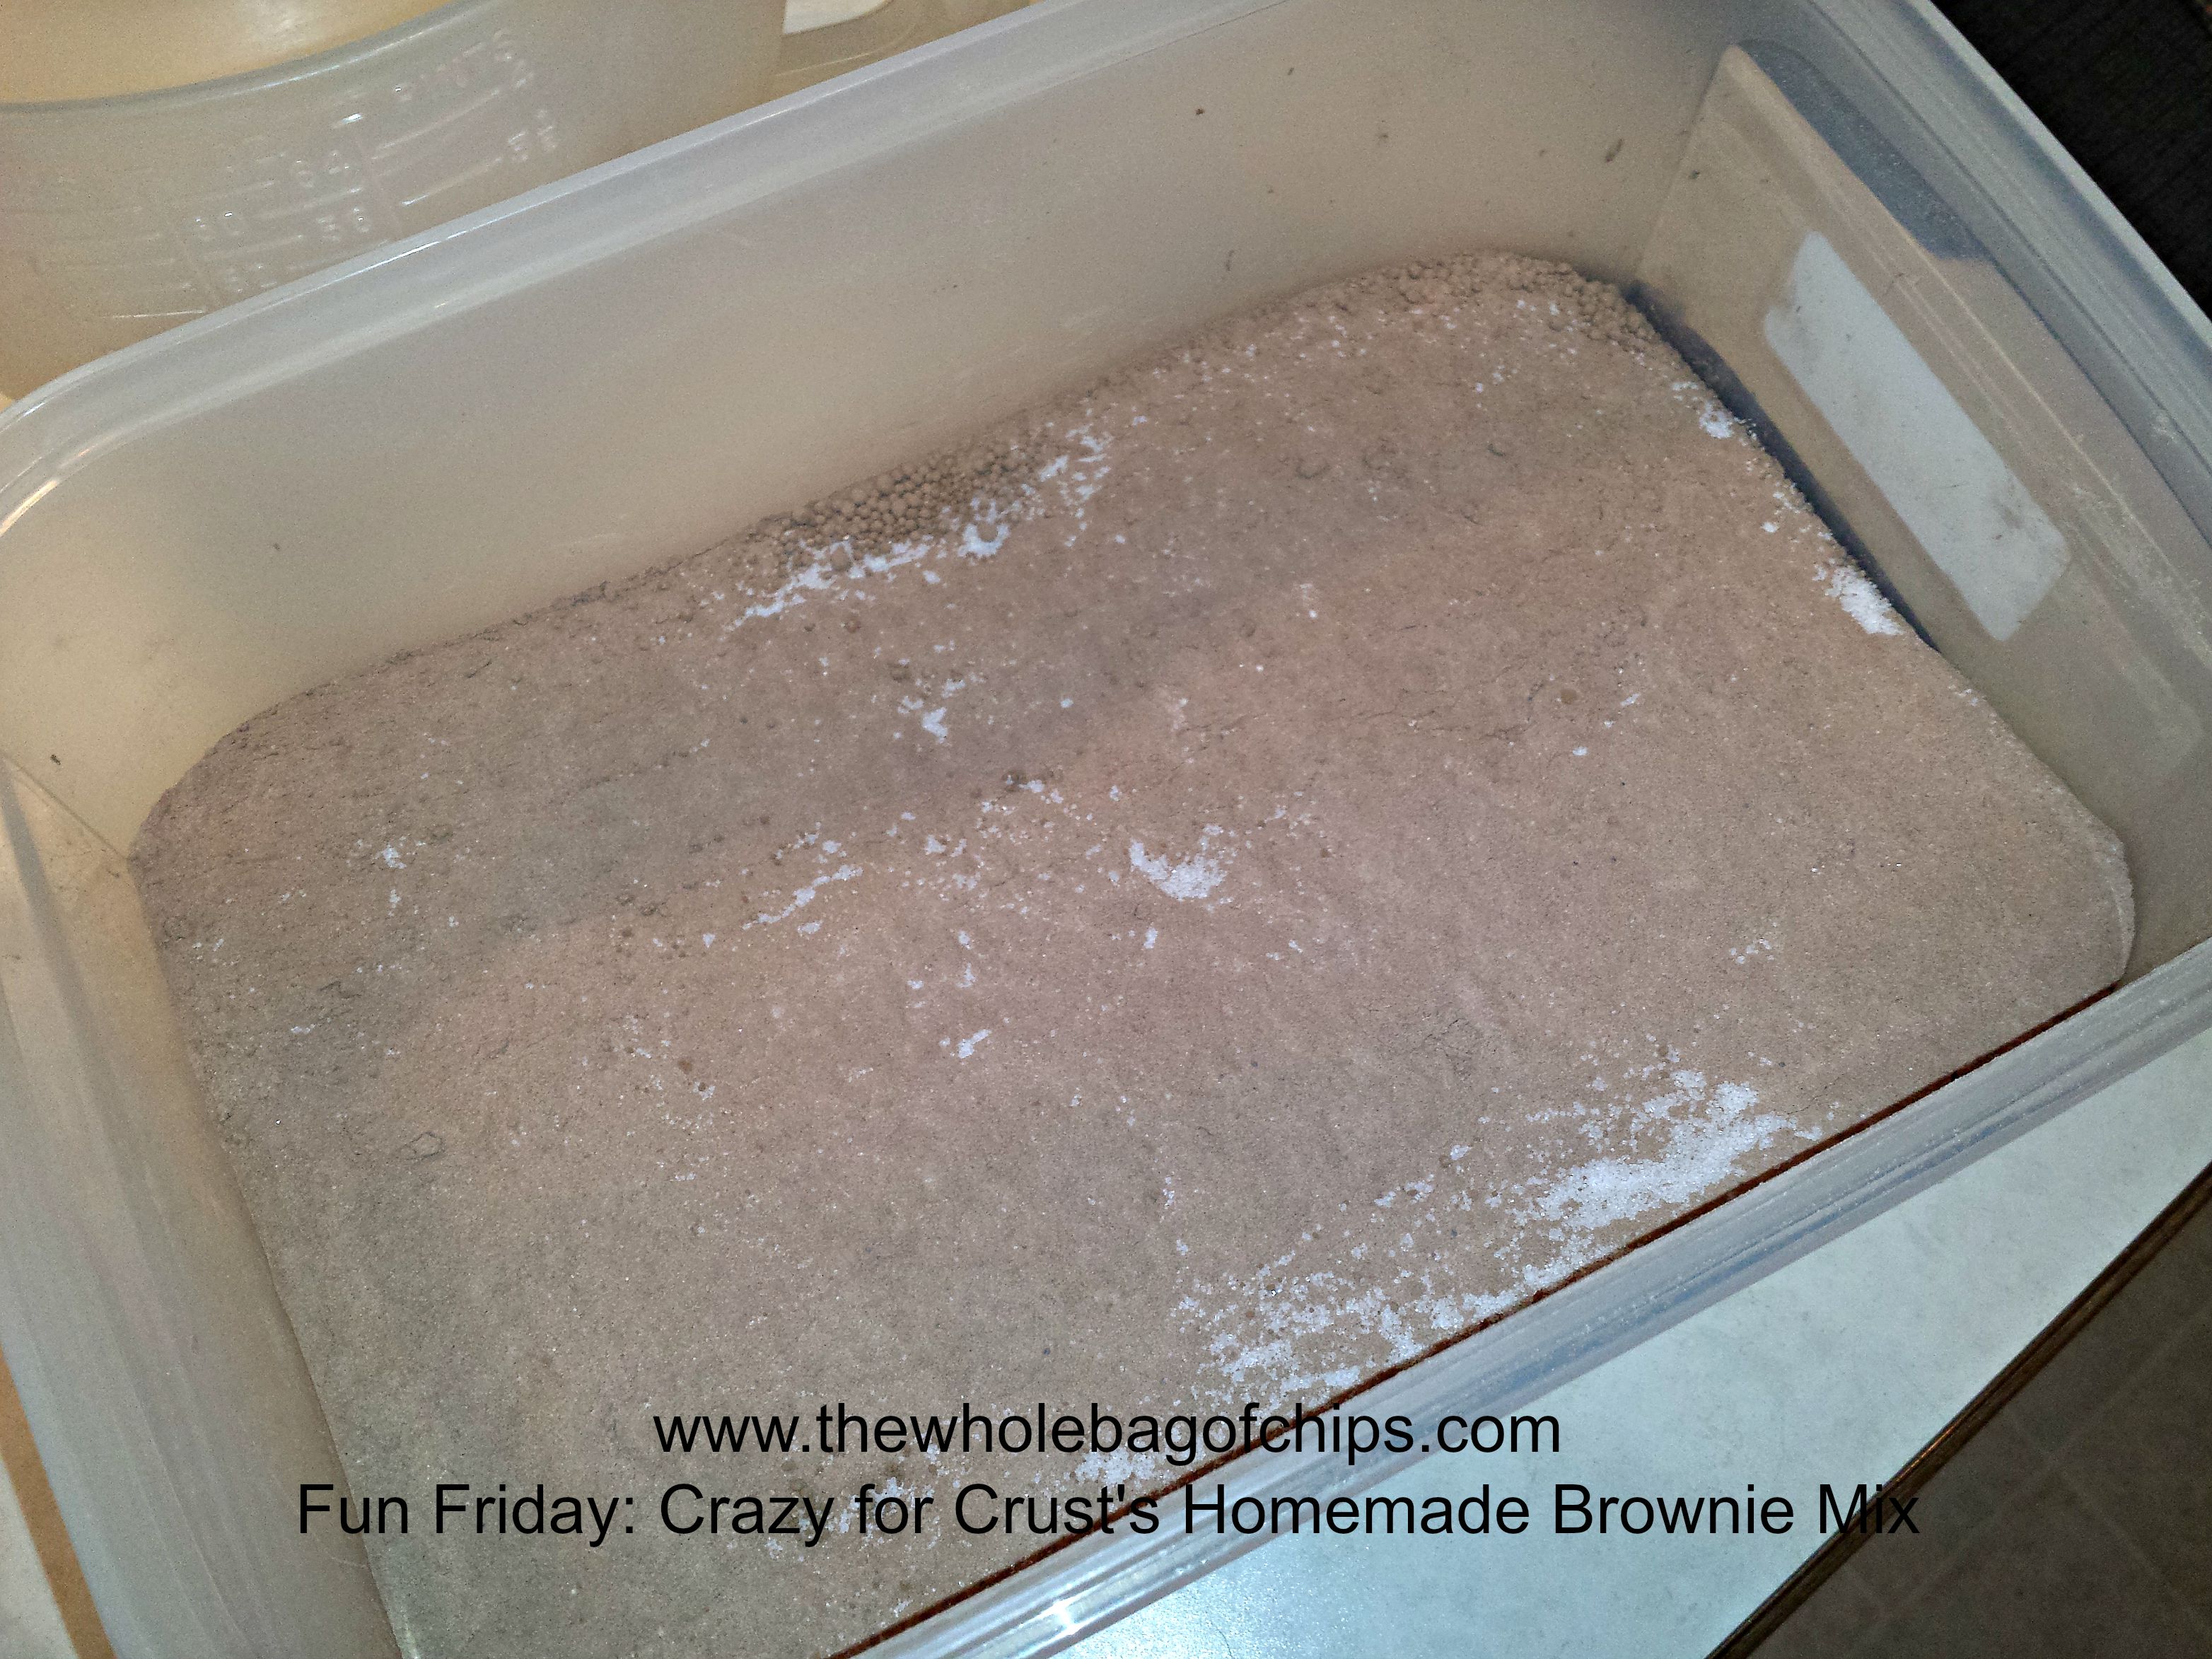
The new recipe gave me the opportunity to use a new cooking tool from my Pampered Chef hostess gifts, the small micro-cooker. I had decided to start small and order the small one first and if I felt I needed the next size, I could order the large one at a later date.

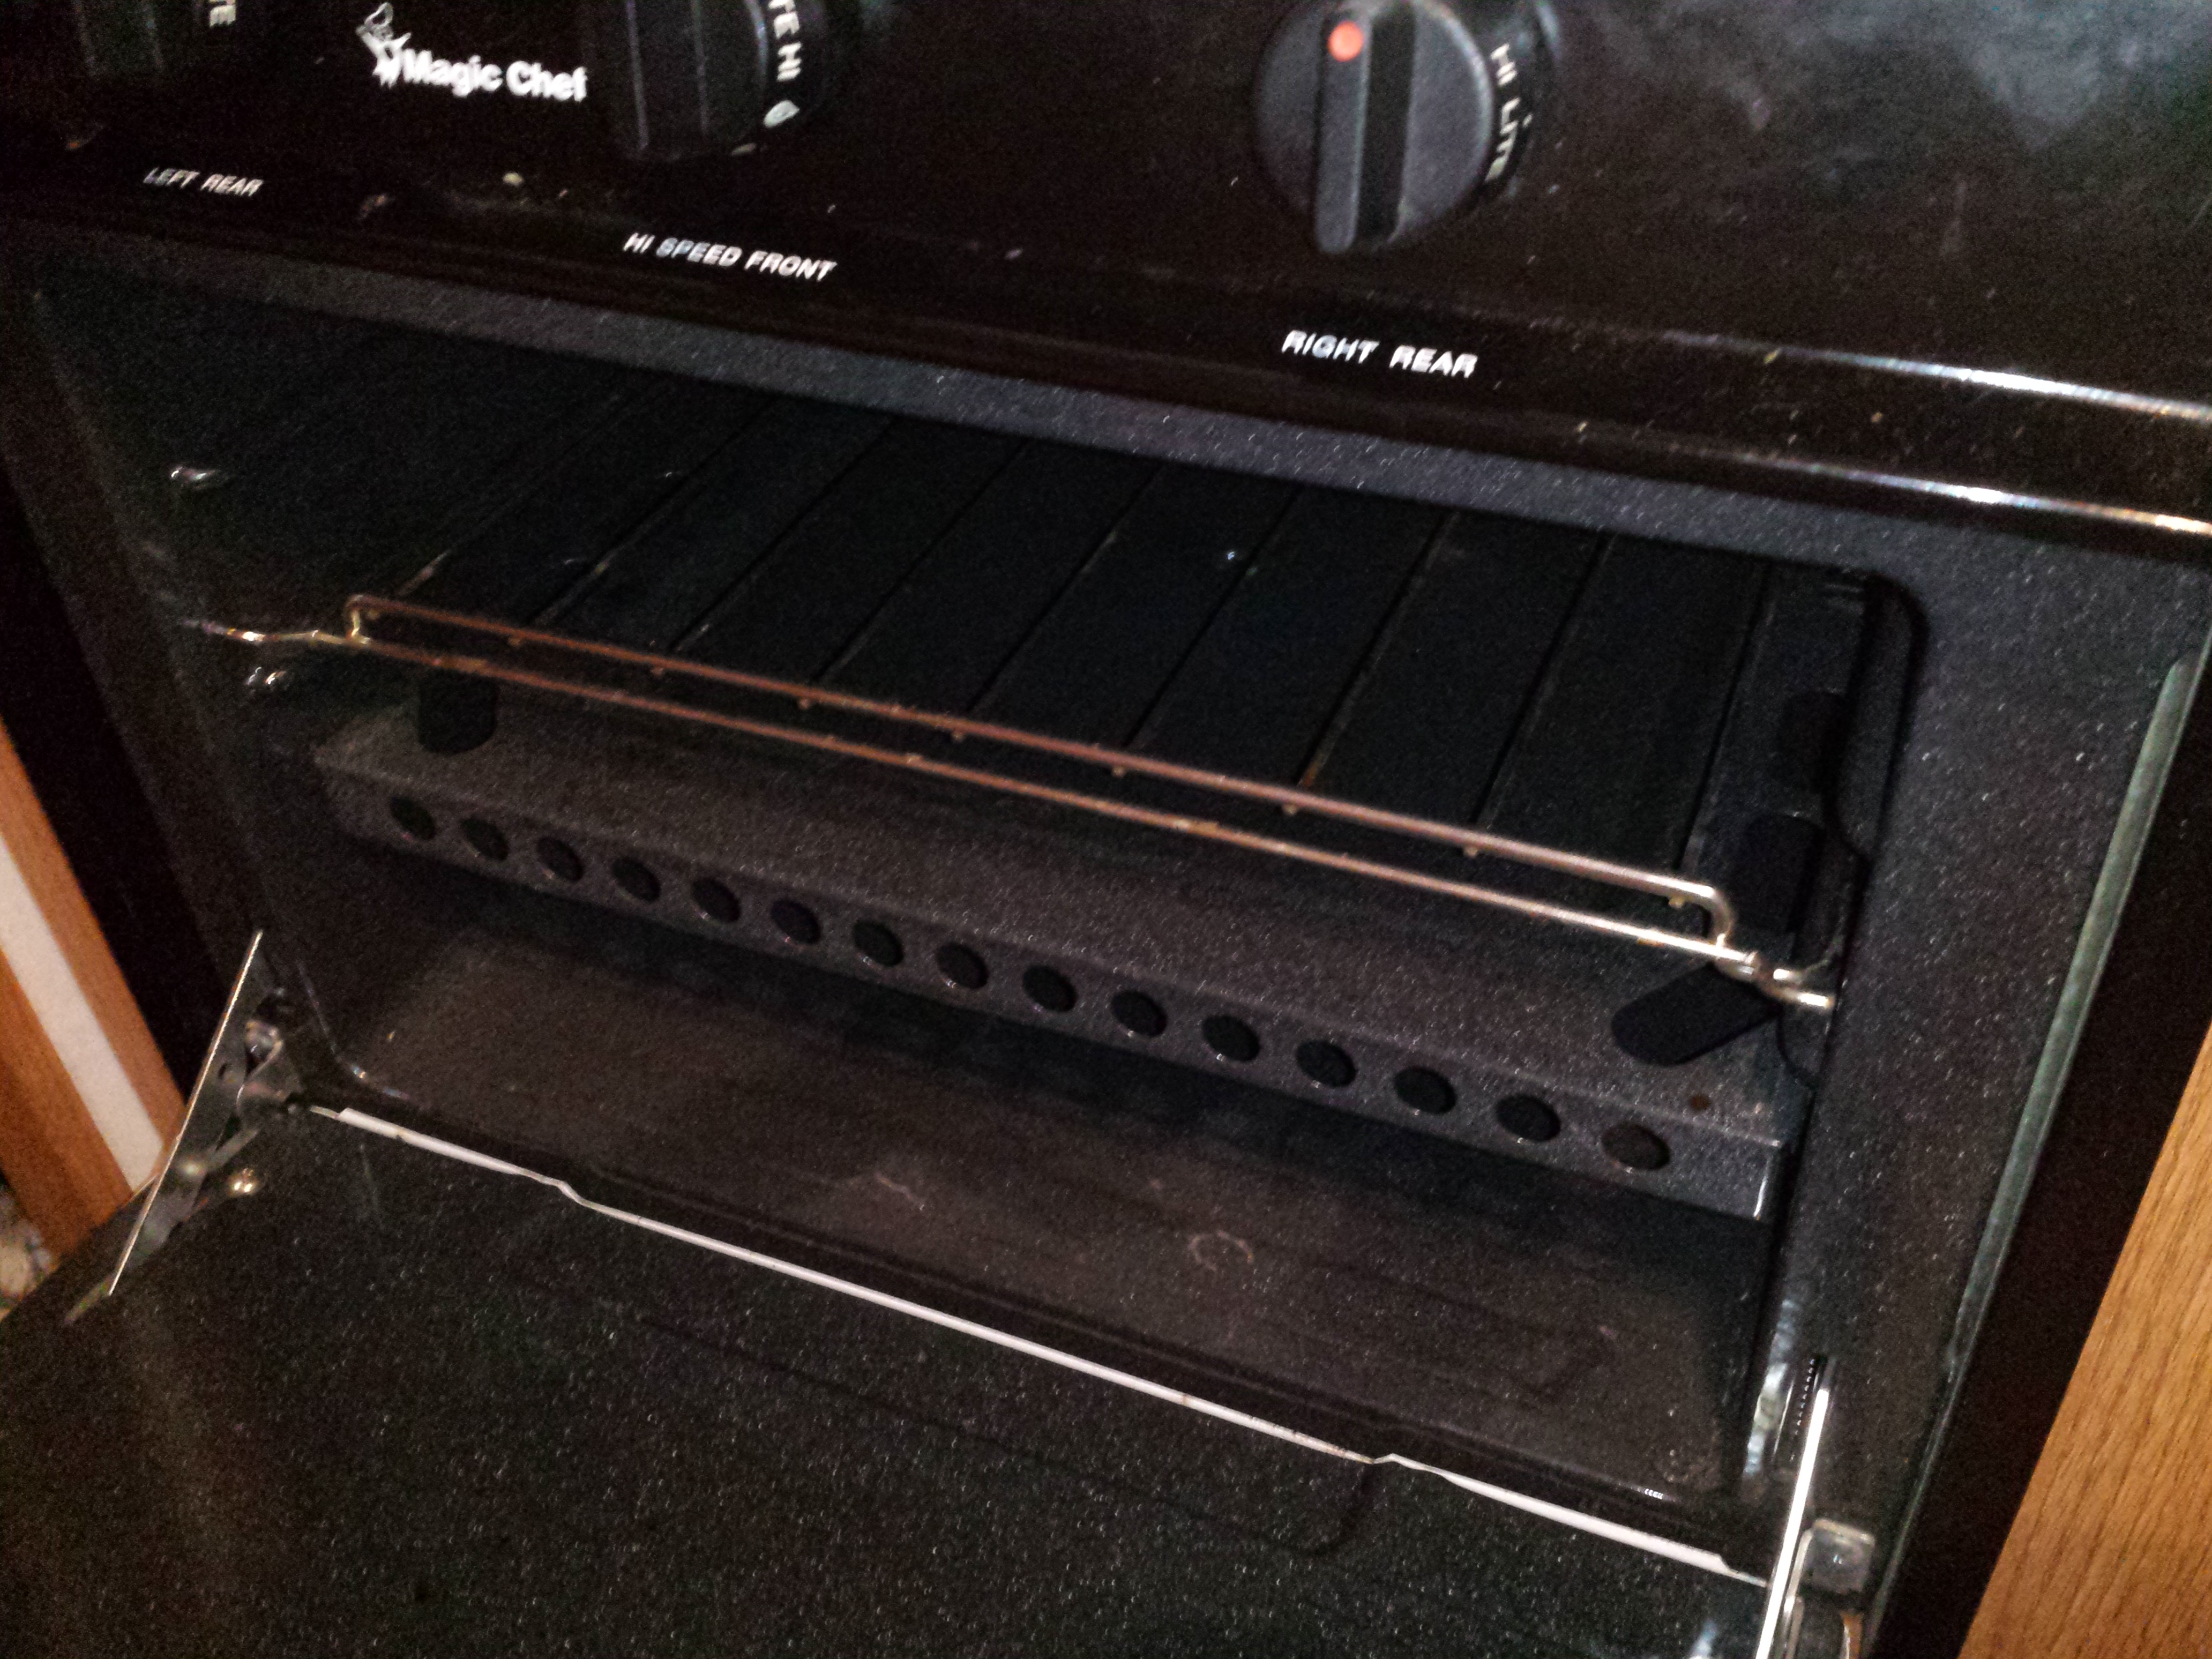
I really loved this new tool! I was able to melt my chocolate, butter, brown sugar, white sugar and jam all in this one small cooker in the microwave. It made making these brownies very easy and with minimal cleanup afterwards since I used so few bowls. I am someone who has burned chocolate chips in the microwave in the past, so this was a great addition to my cookware and I was relieved not to see any smoke or charred chocolate this time around.

I also used another little Pampered Chef tool that I got from my hostess benefits: the test and release tool. It’s a cake tester on one side and a tool that allows you to go all around the edges of your baked goods to easily release them from the edge of the baking dish. It’s curved just enough to get underneath the baked goods a bit. I’ve used it with cupcakes, banana bread, and now brownies, and I love it every time. Pampered Chef always seems to know what we need and creates it for us. This was such a simple concept and yet, so helpful.

Our brownies were a huge hit on Superbowl Sunday and throughout the rest of this week as we munched away on the leftovers. I’d most definitely make them again. Making them gluten free did not seem to change the recipe at all. The consistency of the brownies was great, and the taste was perfect.

3I’m also sharing a tip with you today. I shared it on Facebook on Sunday night as I was posting about my brownies and some people had heard it before, while some people had not, so I thought I’d add it in here as well. Last year I was cutting still-warm brownies at some event or other and they were getting all gunked up on the knife that I was using. My Grandma Grello, (who happens to be a die-hard Patriots fan, by the way) was watching and she said to me, “You need to use a plastic knife. If you use a plastic knife, the brownies won’t do that.” I suddenly remembered her advice when I was getting ready to cut the brownies last week, which were in fact, still warm. I went into my pantry closet and got a plastic knife. Sure enough, they were very easy to cut, with the knife sliding right on through each and every row. Grandma Grello has 95 years of experience under her belt and she’s been cooking and baking with the best of them throughout those years. I take anything she says as pretty solid advice. I wouldn’t pass it along to you if I didn’t!

With Valentine’s Day coming up this weekend, this would make a great treat for you or your loved ones and it’s certainly cold enough here to enjoy a warm treat, just make sure you use a plastic knife when you cut it!

Have a great weekend!


Fun Friday: Pillsbury’s Gluten Free Banana Streusel {Chocolate Chip} Bread

29 Jan
Only half left, already? You have to be quick here or you miss the photo opp!

Only half left, already? You have to be quick here or you miss the photo opp!

Hi and Happy Friday!

Today is a special Friday because this week we officially hit the midpoint to the school year and today is the 93rd day of school. This means that we are closer to the end of the school year than to the beginning of the school year. We began the third quarter this week, and just like that, it will soon be spring.

Well not too soon, but you know. Sooner than not spring. I’m a cup half full kind of girl.

Additionally, although we were forecast to have a giant snow storm last weekend, we happily dodged that bullet (this time) and only got a few inches. The weather warmed significantly this week and our snow is just about gone, so that’s even more reasons to celebrate the end of another week!

Today’s recipe is a new one for us as we continue down this gluten free path and I attempt to redesign some of my baking and cooking habits to fit everyone’s specific needs here. One thing I’ve been struggling with is determining when I need a binding agent in my flour, such as xanthan gum, and when I don’t. In general, I’ve been keeping two kinds of all-purpose flour on hand here, one that contains the xanthan gum which is from Trader Joe’s, and one that does not, which is Pillsbury and I buy it at Walmart. I’ve used the one without it for what is so far my favorite muffin recipe (a basic recipe we’ve used for raspberry, blueberry and chocolate chip muffins) and I’ve used the other for all of my Christmas cookies, which all seemed to stay together just fine. If you click on the links I’ve put in here, you can see both kinds of flour pictured in those posts. In addition to those, I’ve used the one without xanthan gum for much of my cooking if I need to bread chicken, and I’ve even used gluten free Bisquick to make a quick pancake mix and for making biscuits. So far, so good.

That said, I really wanted to make a homemade banana chocolate chip bread again, but I couldn’t figure out which of the two flours I needed, and the more I researched, the more confused I got. I had two to choose from, so I really didn’t want to go out and buy a bunch of individual flour blend ingredients to try to create my own blend at home, I wanted to use one of the ones that I had. Ultimately, I decided to google the words “Pillsbury gluten free banana bread” and I figured they’d have a recipe which used their own flour blend, which is what I had on hand. Sure enough they did. The recipe didn’t call for chocolate chips but I threw them in anyway. It did call for a streusel topping, which is one of my all-time favorite things, so I was immediately liking this recipe. I put it all together quickly and without issue one day this week for an after school snack, and it cooked up in an hour.

We're lucky any of the topping made it onto the bread! I kept tasting and tasting.

We’re lucky any of the topping made it onto the bread! I kept tasting and tasting.

The bread received all thumbs up from everyone here, and it will surely be one of my new go-to recipes and one that everyone can eat. My biggest problem was figuring out how to get it out of the baking dish without all of the topping coming off, because every piece that fell off, I ate. The recipe contained three bananas, which completely cancels out the fact that it contained any chocolate at all. And, the chocolate was semi-sweet, which I think is a superfood.

Right?

Right.

There was not a lot of butter in it, but we use I Can’t Believe It’s Not Butter in our recipes. Other than that, it fit the bill and it was such a relief to me to have the house smelling of a sweet treat after school again this week. I can now check off another item on our menu that I’ve been able to conquer in the gluten free journey.

If you’d like to check out the recipe yourself, you can find it here.

Enjoy!


Fun Friday: Blueberry Crisp in a mug for one

23 Oct
I loved this fruit crisp recipe from Rumble in the Kitchen!

I loved this fruit crisp recipe from Rumble in the Kitchen!

It’s Friday night and we’ve all survived another week! I think that we all deserve a treat to celebrate our successful completion of Monday through Friday, don’t you?

I’m a big fan of desserts in a mug, and I’ve shared the Nutella Mug Cake recipe with you in the past. Today however, I am going to share a new dessert in a mug recipe with you. It’s one I tried one night at the very end of the summer. My whole family was gathered around the fire pit for one last fire before the start of school. They were enjoying the typical summer treat, S’Mores. I don’t like S’Mores, but I didn’t want to miss out on the fire pit time together so I sat and didn’t eat. The entire time though, my wheels were turning, trying to think of what I could eat later on that would satisfy my dessert cravings.

Enter Rumble in the Kitchen’s Selfish Fruit Crisp by Rumble in the Kitchen, a dessert crisp in a mug for one. I had most of the ingredients on hand and what I didn’t have I could do without.

It was going to be just enough for me!

We had gone blueberry picking recently and I had frozen several bags of blueberries to last us for a few months. I decided to make my fruit crisp a blueberry crisp. I couldn’t wait.

In fact, as I type this I am realizing that I still have blueberries in my freezer right now!!

In her recipe, the author of Rumble in the kitchen gives you some choices:

Bread crumbs, or oatmeal plus flour, or an oatmeal packet. I chose the oatmeal plus flour.

It also called for a cereal to be used along with some flour, but I did not include those items.

The rest I pretty much followed as written, but the great thing about a crisp dessert is that you can almost never have too many oats, too much butter, or too much brown sugar (within reason!) It’s always delicious!

So if your mouth is watering right now the way mine is, I encourage you to check out the recipe over at Rumble in the Kitchen and make yourself a nice fruit crisp for dessert and celebrate another week down!

Hungry yet?

Hungry yet?


Carrot Cake Muffins

24 Sep
Breakfast, snack or dessert? All of the above!

Breakfast, snack or dessert? All of the above!

Good morning!

My blogging schedule is so off this school year, but I’m getting posts in whenever I can for you, and I know you’ll think this one was definitely worth the wait!

Today’s is one that’s been on my editorial calendar since the spring when a friend of mine shared photos of these Carrot Cake Muffins on Facebook. I asked her for the recipe right away and she sent me this one from Allrecipes.com, a favorite site of mine when looking for new recipes.

I knew right away my kids would like these, especially if I added a little icing made with confectioner’s sugar. I mean really, what’s not to love??

My favorite thing about them is that I’m sneaking in a little bit of vegetables that normally they might not all eat. I have since made these multiple times. One afternoon I only had time to make the muffins, not the icing, and left that recipe out for my oldest to do on her own at home. It worked out perfectly.

I love anything that can double or triple in its job, and these muffins do just that. They can be a breakfast, an after school or late night snack, or even a dessert. Although we’ve always had them with the icing, I’m sure they’d be delicious without it also. Most times when I’ve made this in the afternoon, I bag up the leftovers into bags of two muffins each, and that’s a breakfast or a lunchbox snack for the next day too.

You can click here for the muffin recipe from Allrecipes.com, and below is the Powdered Sugar Icing recipe that we use each time.

Powdered Sugar Icing (taken from the Better Homes and Gardens New Cookbook tenth edition, copyright 1989)

1 cup sifted powdered sugar

1/4 teaspoon vanilla

Milk or orange juice (We usually do milk.)

Mix powdered sugar, vanilla and 1 tablespoon milk or juice. Stir in milk or juice, one teaspoon at a time, till of drizzling consistency.

Makes 1/2 cup or enough to drizzle over one 10-inch tube cake.

Let cake stand two hours before slicing.  (We do let our muffins cool first, but not for two hours.)


Fun Friday: Crazy for Crust’s Homemade Brownie Mix

21 Aug

Today’s post is one that started out as something we were using for our cross country trip, but we’ve used since returning home also, and I plan to continue to use it at home, especially during the crazy school year weeks.

I had been looking for a pre-made brownie mix that I could duplicate to take along with us on our trip so that I would have an easy to make dessert on hand all the time. We were bringing five mugs with us so that we could make Nutella mug cakes, and I had the ingredients for that, but I didn’t want to have to have a lot of other ingredients on hand because our pantry was small. As I searched, I came across a homemade brownie mix that could be made up ahead of time, stored in an airtight (mouse tight and ant tight) container and only the wet ingredients would need to be added. I decided to make a double batch of the mix. I wasn’t sure we’d even use it, but I thought it would be good to have on hand. Our oven in the RV was tiny, so I brought a 9×9 square baking dish, as it was an option for the recipe as were 9×13 and loaf pan sizes.

brownies 2The recipe I chose was from the Crazy for Crust website, and you can visit it here to take a look around. We made up our double batch of the mix before we left and put it in an easy to store container that would fit into our pantry. I made sure to print out the recipe which contained the details for adding in the wet ingredients as well as the dish size options and the bake times. I put the directions into an envelope with the flap cut off and taped it to the top of the container for future reference.

brownies 1While we were on the trip, we decided to try out our oven. We’d gone many nights without dessert, and on other nights we’d had mug cakes, we’d had ice cream, but now I wanted to give baking a try, and we were really craving something good.

I found the recipe very easy to use, very quick to prep because we’d done the dry mix ahead of time, and as I mixed it all together, it looked thick and fudgy, just as a brownie mix should. We put everything in the pan, put it in the oven and I crossed my fingers.

Brownies 5A little over 20 minutes later, our brownies were done! They looked and smelled delicious, and we were thrilled that they tasted delicious also! Our first-ever baking experiment in our camper’s oven was a success, but more than that, I’d found a perfect brownie mix to keep on hand at home for future use. So often we need a last minute dessert and don’t have a mix on hand to throw together. I recently used this mix to make another couple of batches of brownies at home: a 9×13 and 9×9 batch at the same time, and there is still a little bit of dry mix left over!

I can’t wait to make another batch of this homemade brownie mix, and I can’t thank Crazy for Crust enough for sharing their recipe with us! I hope you’ll pay their site a visit so that you too can have the best homemade brownie mix ever. It’s a great, user-friendly recipe for kids and adults alike. You can see some amazing photos of their own freshly baked brownies while you’re there checking out the recipe!

20150728_202955

Two great ideas!

18 May
The finished products: each one just a little bit different.

The finished products: each one just a little bit different.

Imagine that? It’s a Monday, I’ve got a post up, and I’m passing along not one great idea for you, but two!

You must be wondering what my ideas are!

Well, here’s the first one, with a little walk down memory lane along with it.

Years and years ago, when my husband and I were first married, we moved out of state for our first teaching jobs. In addition to our classroom jobs, we also took second jobs with the before and after school program in our community, which included the “vacation camps” that took place over the school vacation weeks. We needed the second jobs in order to make ends meet on the starting teacher salaries, but we were a young couple who didn’t yet have our own kids, so we had the time and we loved the activities with the kids we were in charge of. Through our jobs, we took the vacation camp kids and our regular classrooms of kids on field trips to the movies, to Ellis Island, roller skating/blading, and to our most favorite trip of all: The Philadelphia Zoo. Back then, we would lead these large groups of students through the zoo, or to the Statue of Liberty and Ellis Island, pointing out this or that, and I’d think in my head that one day we’d have kids of our own and be doing all of these fun things with them.

Jump ahead 20 years and three kids later, and my husband is one of the co-directors of our church’s Youth Group at St. David’s on the Hill. I am his behind-the-scenes Youth Group assistant. Our kids are in the Youth Group, and nowadays I often think back to that trip to the zoo or the movies, as we take the Youth Group kids, along with our own three, on a field trip or lead them in an activity, and I see that as far as we’ve come with marriage and family, we’re still doing what we love and sharing it with kids, just as we were when we were young(er). So much has changed, and yet not much has changed.

This past weekend, on Saturday night, we were lucky to have our artist friend Kristin, of R&M Studios, lead a “Paint and Pastry Night” at our church; an event and fundraiser sponsored by the Youth Group.

This leads me to the first great idea I’m sharing with you.

If your area is like ours, you’ve probably been seeing loads of opportunities for Paint and Vino events, where there’s wine and everyone paints a picture, guided by an artist. The events are lots of fun and the pictures are always beautiful, and people are often surprised at how relaxing it is to just sit and paint a picture for a couple of hours, especially when surrounded by your friends and/or family.

Being a Youth Group, we couldn’t host a paint and wine party because our event would have children in attendance, painting alongside the adults, but Don and Kristin came up with a “Paint and Pastry” theme instead. Everything would be the same as far as the socialization, fun and relaxation through art, but instead of wine, there would be coffee, lemonade and people could bring pastries to share.

I know what you’re thinking…what a fabulous idea!!!

Me too!

A Paint and Pastry Night…adults and kids together…a fun night out for all.

And it was really so much fun. We had about 40 people in attendance, ranging in age from our fourth-grade youth on up through the adults of the parish, all working side by side. There were two sizes of paintings to choose from, either 16×20 canvases or 9×12. The scene was a beautiful sunset scene over a pier, similar to what we see around these parts in the summertime, especially. Kristin led the artists through the steps of the painting process beautifully and it was amazing to see the blank, white canvases come alive, step by step, with each one just a little bit different in the end, than the ones on either side. Each person’s own touches, made their piece unique.

Seeing the adults and kids, side by side, and seeing the blank canvases come to life, was a wonderful way to spend our Saturday night together!

Seeing the adults and kids, side by side, and seeing the blank canvases come to life, was a wonderful way to spend our Saturday night together!

Imagine TWICE as many desserts as this!

Imagine TWICE as many desserts as this!

There were *a ton* of desserts, and unfortunately I took my picture of the pastry table much too early in the evening, and it shows only HALF of what actually came in for desserts, but I am sure you can imagine the table twice as full as this!

And this leads me to my second great idea.

Last week, I shared with you the Nutella Crescents and I mentioned that I’d be making them for an upcoming event this past weekend.

Well this was the event!

As I considered what to make, I thought of cookies or brownies, and my husband suggested the Nutella Crescents because everyone loves them. My concern, however, was that each can of crescents only makes eight rolls. For everyone in a group that size to get one to try, I’d have to make many cans. I’d be spreading and rolling all day.

But then I had a great idea (my second for you today)….I cut each triangle in half to make smaller triangles, and filled them in just the same manner, just making smaller crescents. Using four cans of the crescent rolls, and two of my kids’ helping hands, they were able to bang out dozens of these delicious treats, and I have to say, everyone raved about them. They weren’t SO much smaller that they wouldn’t be enough. Rather, they were *just* enough that you could take one to enjoy and still have room on your plate for other treats.

In order to facilitate the prep of the crescents, I gave each of my two daughters a large cutting board and two cans of crescents. I put the large tub of Nutella in the middle, and gave them each the tools they needed: a serrated knife for cutting the crescents into smaller triangles, a spoon for scooping out the Nutella, and a butter knife for spreading it. As they completed them and put them onto their baking trays, I put a dab of butter onto each crescent and sprinkled the cinnamon and sugar on top.

Together we did them all in about an hour’s time and at the same time I was able to make a side dish for our dinner that night and muffins for breakfast the next morning, too. Had I been doing the job alone, I couldn’t have accomplished all of that at once.

So there are my two ideas for you: The Paint and Pastry event for a wonderful combined youth/adult event that can be rated “PG” and still be tons of fun for any group, and the halving of the crescent rolls in order to double the deliciousness of my Nutella Crescents from last week’s blog post!

I hope you have a wonderful Monday and a lovely week!

Fun Friday: Nutella Crescents

15 May
The most-requested after school snack!

The most-requested after school snack!

TGIF!

Happy Friday!

This week seems to have flown by. The weather is nice and work, school and activities are keeping us busy. Summer will be here before we know it, with school getting out in about four weeks’ time.

Not that I’m counting down or anything.

Today I wanted to share a quick and easy snack, that has quickly become a frequent request. I started making it after seeing some video floating around on social media where someone was spreading Nutella on some sort of dough, rolling it and baking it for a delicious looking dessert. I never actually got to watch the whole video, but I kept seeing it pass by and it stuck with me.

Nutella Crescents 2One day I remembered to grab some lowfat crescent roll tubes at the store and I always have Nutella on hand, so when I had a chance, I decided to see what I could come up with for a different after school snack. I spread the crescents out, spread Nutella on the inside, and sprinkled some cinnamon and sugar inside. I rolled the crescents as usual, and I sprinkled cinnamon and sugar on top, adding a dab of butter (we use I Can’t Believe It’s Not Butter) on top. I baked them until they were golden brown and served them.

A huge hit. I can’t even emphasize enough how much they all love these little snacks.

I’ve filled them the same way with just butter, cinnamon and sugar when I didn’t have enough Nutella for two cans of crescents, and they were a hit as well.

I mean really, what’s not to love?

These are such a simple snack. They can be made by the kids too. Anything that can be made by the kids is a plus in my book.

I’ve made these more times than I can count. I now buy the crescents on a regular basis and I’ve made them when the kids have had friends over, as well as for just us. I’m even planning to make them for an event this weekend.

If you’re looking for something quick and easy, and of course, delicious, give them a try!

Easter Sweet Bread

3 Apr

This recipe makes three “small” loaves of sweet bread for Easter. It’s wonderful when you grill it!

Originally posted April 4, 2012

This recipe is one that takes a while from start to finish- nine hours to be exact- but if you’re game, it’s SO worth it! It is, of course, from my mom. She received it from a woman she worked with. It’s dated April 1992.

My mom makes it every year and I have made it once or twice myself. Don’t let the number of steps scare you off. If you go step-by-step it’s not hard.

Colleen DeMoranville’s Sweet Bread

INGREDIENTS

1/2 cup melted butter (1 stick)

2/3 cup sugar

1 tsp. salt

2 and 1/4 cups hot milk

1 pkg. dry yeast (Fleishman’s Active Dry or Rapid Rise or Red Star)

1 egg- well beaten

1 tsp. vanilla extract (can also use almond if desired)

7 cups flour (start with between five and six and add more if needed)

one 15 ounce can sliced peaches, drained and sliced thinner

DIRECTIONS

1) Mix butter, sugar, salt an d hot milk in a large bowl.

2) Let cool to lukewarm.

3) Stir yeast into 1/4 cup warm water and let stand 5 minutes. (If using a thermometer it’s 110-115 degrees. Add 1/4 tsp sugar or whatever the package of yeast says to add.

4) Add dissolved yeast, egg, the extract and three cups of flour to the butter, sugar, salt and milk. Mix vigorously with flat wooden spoon.

5) Add three more cups of flour and then mix well.

6) If too sticky, add more flour. It almost always needs more, but not more than 7 cups. Too much flour will make the bread tough.

7) Turn out onto floured surface and knead it for one or two minutes, then let rest for 10 minutes. Add remaining flour only if sticky.

8) Knead more until elastic.

9) Put into large buttered bowl . Turn over once so it doesn’t dry out. Cover with a dishtowel or two and let it rise in a warm place until doubled. (Takes a few hours.)

10) Punch down and knead for another minute or two. Cut in half for two long loaves or in thirds for smaller loaves and divide each of those portions into three pieces (for a total of six or nine pieces.)

11) Stretch and roll each piece until long and uniform, about 12-18 inches if divided into two portions. Shorter if divided into three.

12) Use the three pieces to make a braid with each portion.

13) Pinch ends together.

14) Insert peach slices between braids.

15) Place each loaf on a buttered cookie sheet and cover with a towel. Let rise until doubled in bulk. (Takes about 2 hours.)

16) Brush each with one egg yolk that is mixed with 1 tsp. cold water.

17) Bake at 375 degrees for 25 minutes (check at about 20 minutes) if making 2 large loaves or less if making three smaller loaves (usually between 17 and 18 minutes)

18) Remove loaves to cooling racks.

19) Cool and then glaze with mixture of:

3 cups confectioner’s sugar

1 and 1/2 tsp. vanilla

5-6 tablespoons milk

Sprinkle with colored sprinkles or non-pareils.

This photo was taken a couple of years back when Elizabeth helped me make the bread. She was probably in first grade at the time. My point is: there’s lots of opportunity for kids to help out here. There’s measuring, kneading, braiding and more, that they can help out with.

NOTE: The whole process takes about nine hours. Start in the morning, end in the evening. Mixing and kneading takes about one hour. First rising takes about two hours. Braiding takes about a half hour. Second rising takes about two hours. Baking takes about a half for each loaf, then cool and glaze.

My mom stores hers in gift boxes (like from a department store) on waxed paper.

Happy St. Joseph’s Day!

19 Mar

Are you ready for some Zeppole?

ORIGINALLY POSTED ON MARCH 19, 2012

Are you wearing your red today? I am!

It’s March 19 and that means it’s one of my most favorite dessert holidays ever!

Happy St. Joseph’s Day to you!!

I’d personally skip right over St. Patrick’s Day and go right to St. Joseph’s Day because if it’s St. Joseph’s Day then it means……zeppole!!!

You might ask: What on earth is a zeppole??

My answer is: It’s the most wonderful cream filled, fried dough dessert in the world; kind of a cross between a donut and a cream puff I guess, although from what I understand, they have changed in nature over the years. However, the way you see them here is the way I’ve always known them to be and the way that I love, love, love them.

More than a decade ago, when we were first married, we lived in another state for a few years. That first year we were there,  St. Joseph’s Day rolled around. We went out that day, searching for a zeppole, and had the hardest time finding them. When we did, they weren’t even all that great. I was so disappointed. We’d only been there three months and I already knew we were going to have to come back. There was no way I was going to live in a place where there weren’t any good zeppole to be had.

Near us you can get a zeppole almost any time of the year, but we never, ever do, except on St. Joseph’s Day. It just wouldn’t be the same. It probably wouldn’t even TASTE the same!

I’m sure it’s no coincidence either, that my daughter Alex was due to be born on St. Joseph’s Day. She wasn’t, but still, there’s something significant in that, I just know it.

Being in city where there are just zillions of Italians, it means that there are also zillions of fantastic Italian bakeries in the area, so you can take your pick as to where you want to get your zeppole from. Everyone seems to have their favorite spot where they go each year.

Our family has gotten their St. Joseph’s Day zeppole at Solitro’s for decades and it thrills me to share this tradition with my kids.

To me it’s a really big deal to go and get them. I go to the same bakery where my family has gone forever and ever to get them. The first time I took my children there with me, I almost cried, I was so overwhelmed with the emotion I felt. I remember waiting with them in a line that stretched from the bakery counter to the door. I remember lifting them up so they could see into the back where the zeppole were being made; it looked like what I’d imagine Italy itself to look like. I remember pointing to the shelves that held trays upon trays upon trays of zeppole, all lined up in rows. It’s even magical to me how they put them into the white bakery box and tie it with string. There’s nothing like it. The zeppole taste wonderful, but the tradition and memories that go with it are such a big part of the day for me as well.

The case was full, both baked and fried zeppole, and this was only the day *before* St. Joseph’s Day.

And so, today I will again have my zeppole. My family doesn’t love them as much as I do, and I have to say, I’m glad. It means all the more for me.

I hope you’re able to get a zeppole today too! If not, I’ll be thinking of you all as I indulge.

Happy St. Joseph’s Day!

I hope you get your zeppole fix today too!

Happy St. Patty’s Day: Irish Soda Bread

17 Mar

ORIGINALLY POSTED MARCH 16, 2012: Everyone loves a good Irish Soda Bread with their St. Patrick’s Day meal! This one was passed along to me by my father-in-law last winter and it was wonderful. I can’t wait to make it again this year. It’s probably the one and only recipe where I don’t think about subbing out the raisins for chocolate chips!!

INGREDIENTS

4 c  flour

1 c white sugar

1 tsp baking soda

2 tsp baking powder

1/2 tsp salt

3 eggs

1 pint sour cream

1 cup  raisins

DIRECTIONS

Preheat oven to 325 degrees

Grease two 8×4″ loaf pans

Mix first five ingredients

Add eggs, sour cream and raisins

Mix until just combined

Distribute batter evenly between the two pans

Bake loaves 1 hour at 325 degrees