Tag Archives: brownies

Pumpkin Palooza Recipe of the Day: Pumpkin Swirl Brownies

22 Nov

This new recipe got all thumbs up this weekend!

ORIGINALLY POSTED NOVEMBER 13, 2011

This weekend I tried a new recipe that came across my virtual “desk” last week. The recipe was from Babble’s Family Kitchen blog that I follow on Facebook. The recipe, for Pumpkin Swirl Brownies, reminded me of a recipe my college roommate used to make for Peanut Butter Swirl Brownies, and it’s made basically the same way except using pumpkin instead of peanut butter.

I must say, I am not the neatest dessert-cutter. All my squares are all different sizes, but really they’re all going to the same place, right? These Pumpkin Swirl Brownies were really, really delicious! The recipe was very easy. Try it and see what you think! Here it is, as I found it on Babble last week. Apparently, the person who posted it had seen it on several other blogs as well.

INGREDIENTS

1/2 cup butter
6 oz (6 squares) semisweet or bittersweet chocolate, chopped (or 1 cup chocolate chips)  I used the chocolate chips.
2 cups all-purpose flour
1 tsp baking powder
1/2 tsp salt
1 3/4 cups sugar
4 large eggs
1 Tbsp vanilla
1 1/4 cups solid-pack pumpkin  (I used one 15 oz can of Libby’s canned pumpkin.)
1/4 cup canola oil
1 tsp cinnamon
1/4 tsp nutmeg (It says Nutmeg is optional, but I did use it.)

DIRECTIONS

1) Preheat oven to 350 degrees and butter an 8×8-inch or 9×9-inch baking pan. (I used 11×7 but would use 9×13 next time. They were super-thick.)

2) In a small saucepan, melt the butter and chocolate over medium-low heat, stirring until smooth.

3) In a medium bowl, whisk together flour, baking powder and salt; set aside.

4) In a large bowl, beat the sugar, eggs and vanilla for a few minutes, until fluffy; beat in the flour just until combined.

5) Divide the batter between two medium bowls (about 1 and 1/2 cups of batter per bowl) and stir the chocolate mixture into one bowl. Stir the pumpkin, oil, cinnamon and nutmeg into the other bowl.

6) Transfer half of chocolate batter to prepared pan, smooth the top and gently spread with half the pumpkin batter.

Here’s how it looks when you drop the large spoonfuls of batter on top of the two layers, before you swirl.

7) Drop large spoonfuls of chocolate and pumpkin batter on top, then gently swirl the two batters with the tip of a knife (just a table knife, so you don’t scrape the bottom of the pan with a sharp tip) to create a marbled effect.

And here’s how it looks after you do the marbling effect with your butter knife.

8) Bake for 40-45 minutes, until just set. Cool in the pan on a wire rack. Makes 16 brownies.

Fun Friday: Crazy for Crust’s Homemade Brownie Mix

21 Aug

Today’s post is one that started out as something we were using for our cross country trip, but we’ve used since returning home also, and I plan to continue to use it at home, especially during the crazy school year weeks.

I had been looking for a pre-made brownie mix that I could duplicate to take along with us on our trip so that I would have an easy to make dessert on hand all the time. We were bringing five mugs with us so that we could make Nutella mug cakes, and I had the ingredients for that, but I didn’t want to have to have a lot of other ingredients on hand because our pantry was small. As I searched, I came across a homemade brownie mix that could be made up ahead of time, stored in an airtight (mouse tight and ant tight) container and only the wet ingredients would need to be added. I decided to make a double batch of the mix. I wasn’t sure we’d even use it, but I thought it would be good to have on hand. Our oven in the RV was tiny, so I brought a 9×9 square baking dish, as it was an option for the recipe as were 9×13 and loaf pan sizes.

brownies 2The recipe I chose was from the Crazy for Crust website, and you can visit it here to take a look around. We made up our double batch of the mix before we left and put it in an easy to store container that would fit into our pantry. I made sure to print out the recipe which contained the details for adding in the wet ingredients as well as the dish size options and the bake times. I put the directions into an envelope with the flap cut off and taped it to the top of the container for future reference.

brownies 1While we were on the trip, we decided to try out our oven. We’d gone many nights without dessert, and on other nights we’d had mug cakes, we’d had ice cream, but now I wanted to give baking a try, and we were really craving something good.

I found the recipe very easy to use, very quick to prep because we’d done the dry mix ahead of time, and as I mixed it all together, it looked thick and fudgy, just as a brownie mix should. We put everything in the pan, put it in the oven and I crossed my fingers.

Brownies 5A little over 20 minutes later, our brownies were done! They looked and smelled delicious, and we were thrilled that they tasted delicious also! Our first-ever baking experiment in our camper’s oven was a success, but more than that, I’d found a perfect brownie mix to keep on hand at home for future use. So often we need a last minute dessert and don’t have a mix on hand to throw together. I recently used this mix to make another couple of batches of brownies at home: a 9×13 and 9×9 batch at the same time, and there is still a little bit of dry mix left over!

I can’t wait to make another batch of this homemade brownie mix, and I can’t thank Crazy for Crust enough for sharing their recipe with us! I hope you’ll pay their site a visit so that you too can have the best homemade brownie mix ever. It’s a great, user-friendly recipe for kids and adults alike. You can see some amazing photos of their own freshly baked brownies while you’re there checking out the recipe!

20150728_202955

The dessert that almost wasn’t: Brownie Dessert Pizza

25 May

The final product was well-worth the journey, although at the time I was questioning it!

Ever have one of those days where nothing seems to go quite right? Well Sunday was one of those days and we almost didn’t have dessert for our dinner company because of it.

It started out that I was supposed to hit the store on my way home from our troop’s car wash at 1:00 that afternoon to pick up the stuff I needed to make the dessert: brownie mix, strawberries and cream cheese.

I forgot. I hate that.

I got all the way home and I realized I hadn’t gone to the store.

I went back out to Aldi’s at 2pm.

Strawberries: check. Brownie mix: check. Cream cheese: check.

Go home, start the recipe, which I’ve had before as a Pampered Chef recipe, but came across my desk in an email from the 24/7 Moms blog that I follow, which listed five outrageous dessert pizzas. (Of course I had to check them out!) The email directed us to Simply Healthy Cooking with Pam to get the recipe, which I did. Apparently she changed it slightly to make it healthier. (Me throwing chocolate chips into the brownie mix probably canceled out whatever she did to make it healthy.)

The recipe said to use a 15″ round pizza stone and parchment paper so that the mix won’t run off the stone and into the oven. I didn’t have a round pizza stone but I had a large rectangular stone, so I used that.

Parchment Paper: check.

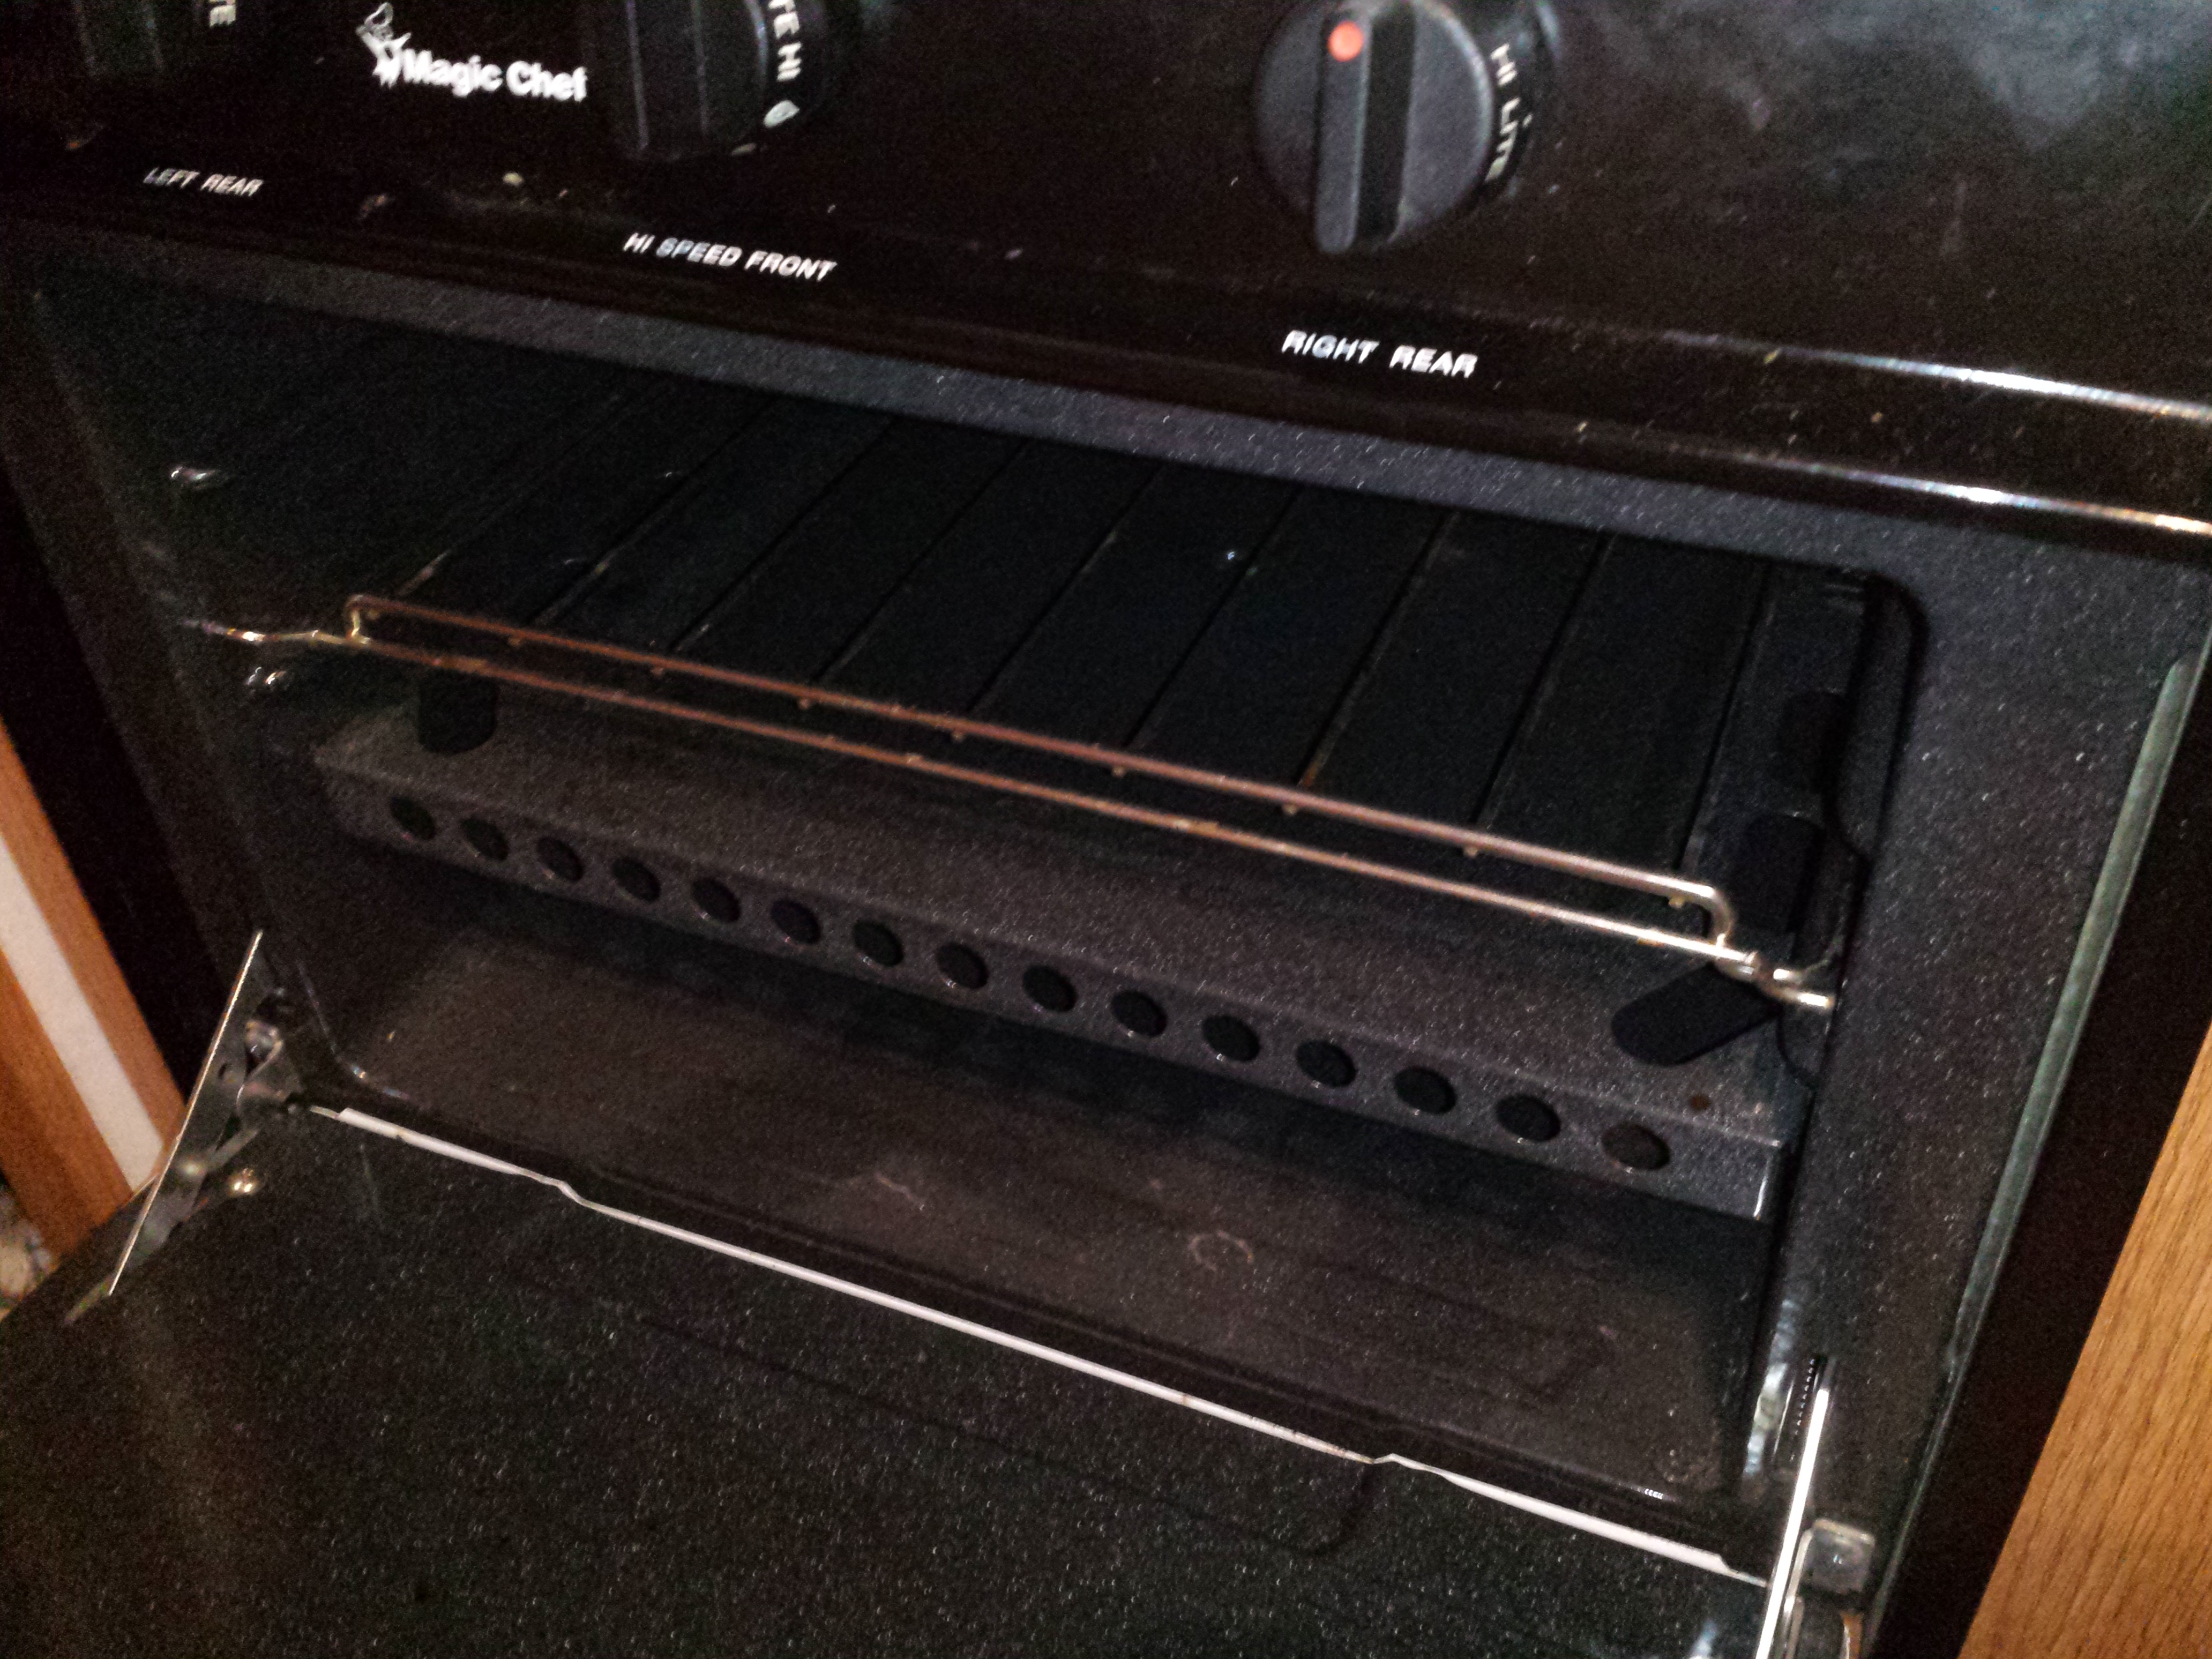
Big mess in the oven: check.

Using the stone didn’t quite go as I’d planned.

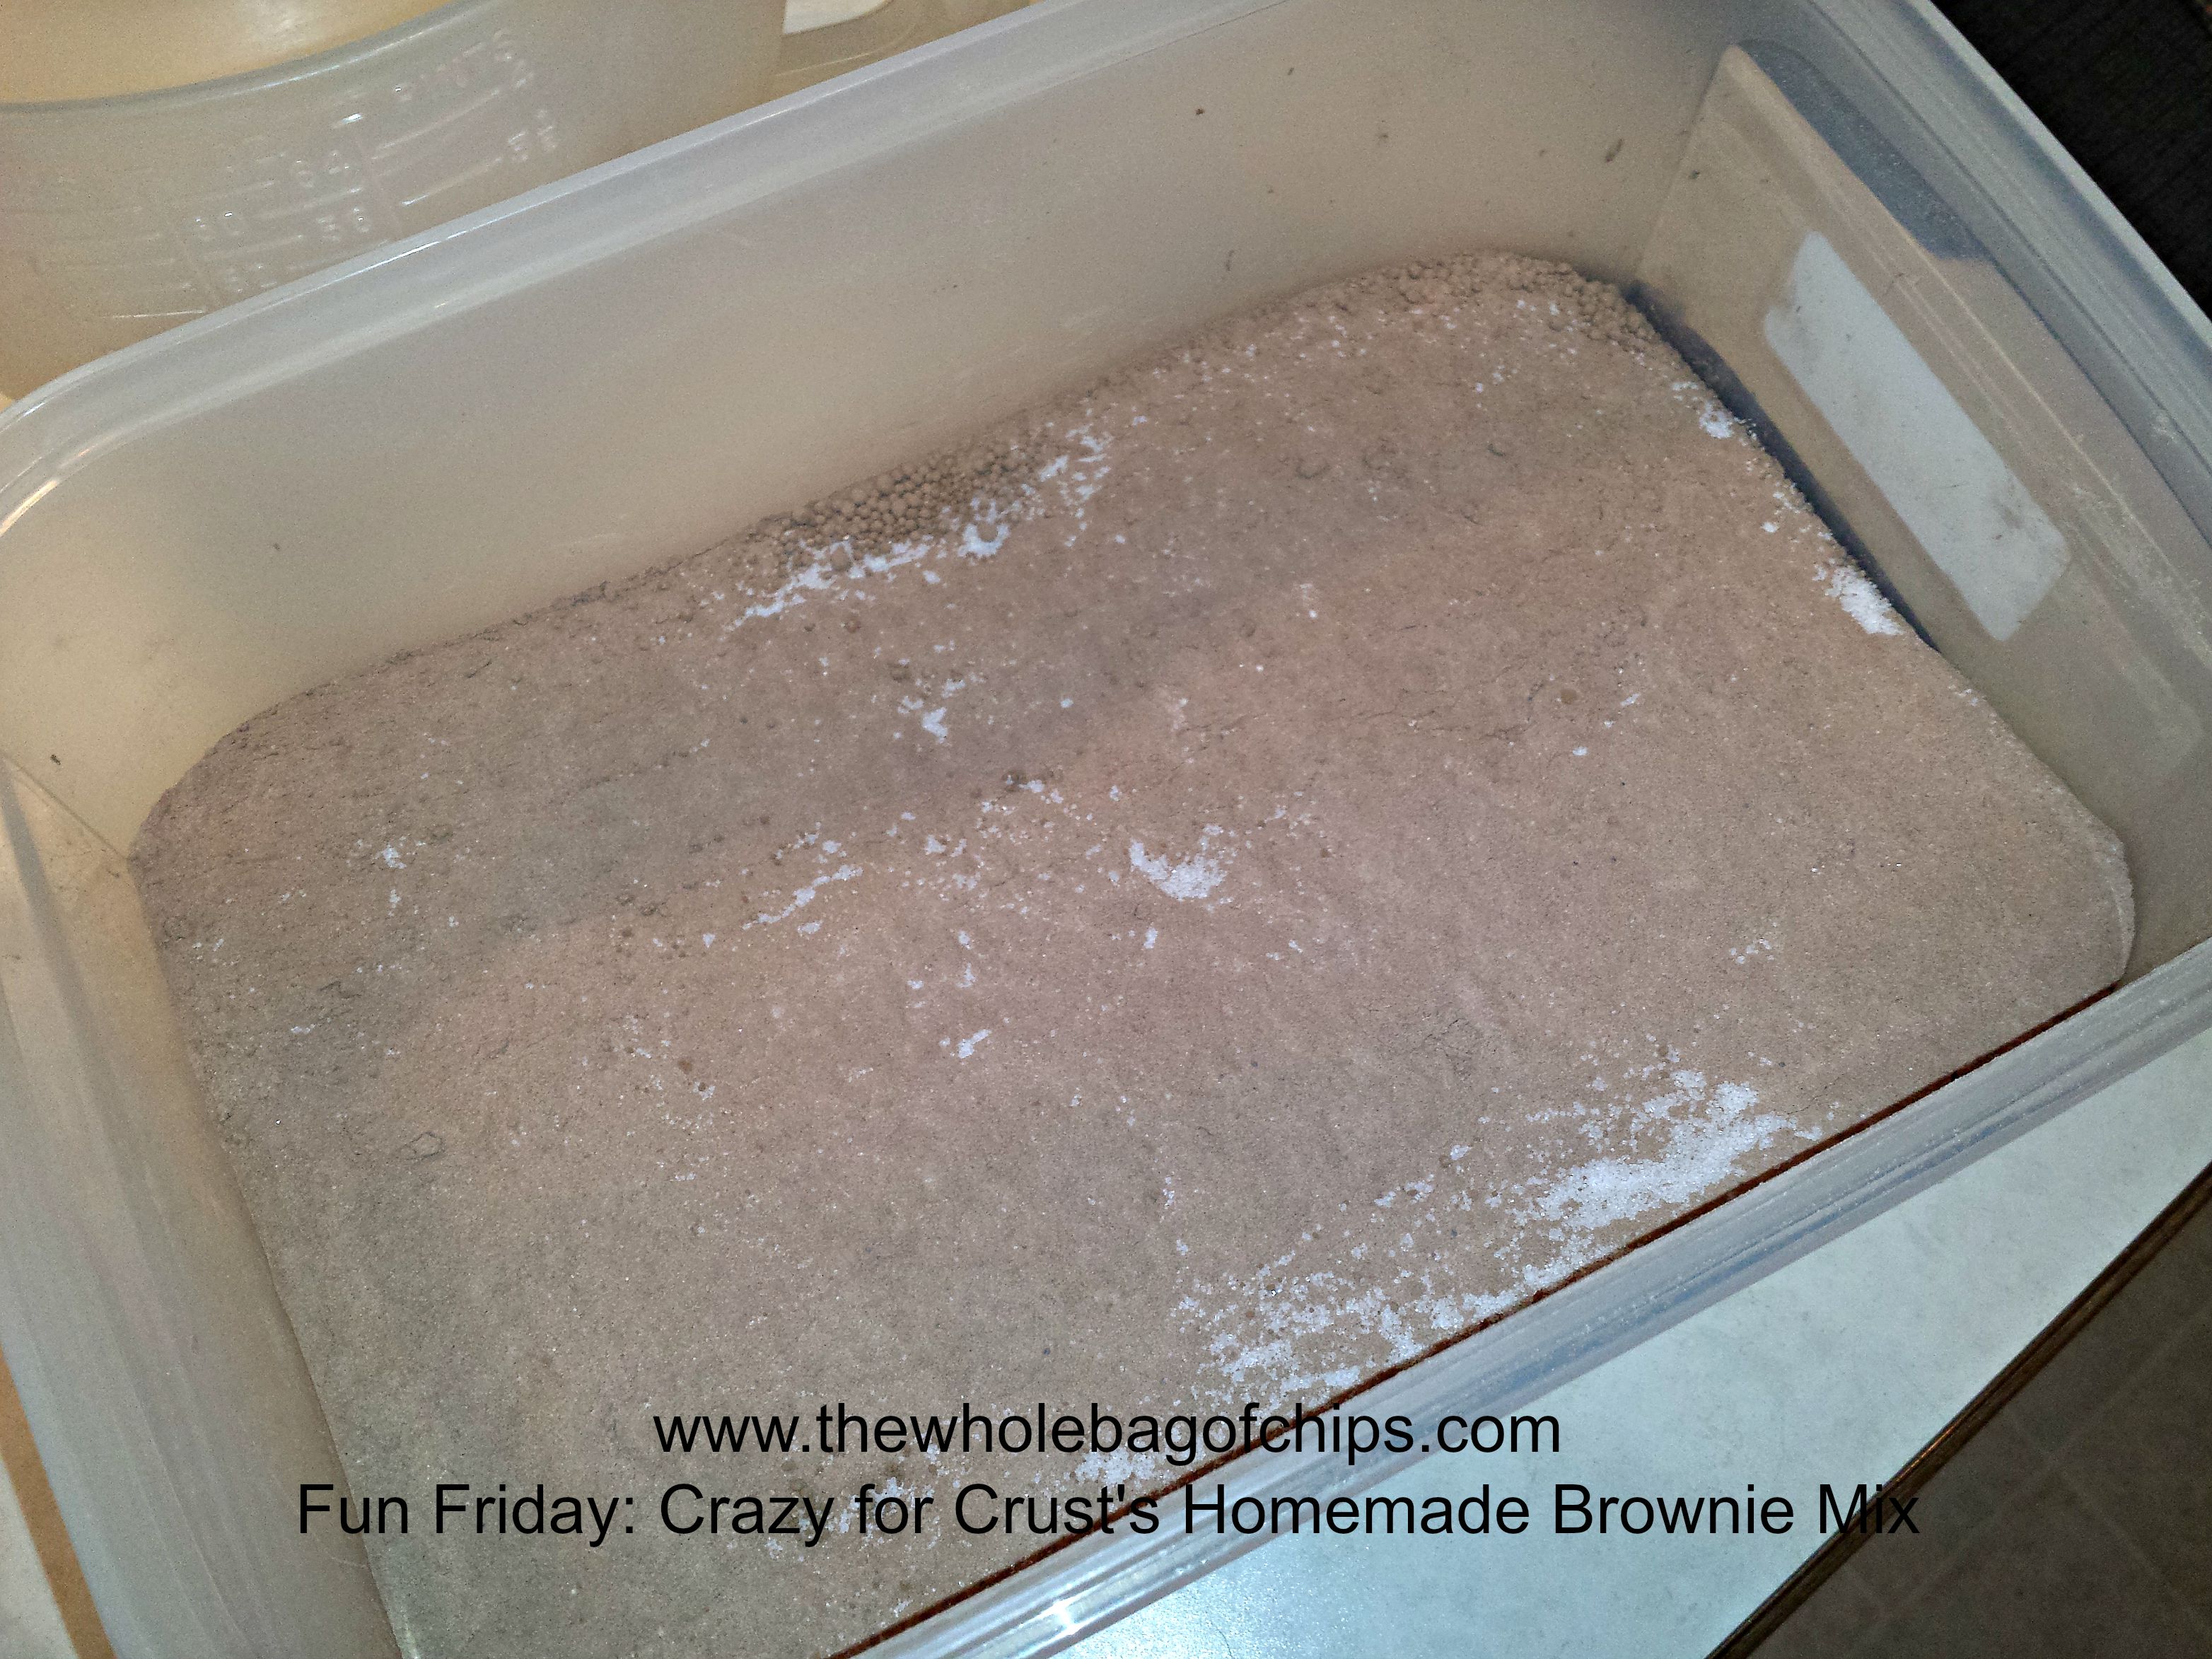
About five minutes into the bake time, I smell something burning. Sure enough it’s dessert. I peek in and the brownie is literally dripping down in big, huge, chunky drips, into the oven. I quickly pull out the stone, throw the whole thing into the sink next to me and proceed to wash the brownie mix down the drain.

“Hmmm…technical difficulties with dessert,” I post on my status update on on Facebook as I decide what to do.

Don volunteers to run back out and get me another brownie mix. I take him up on that (he’s such a good guy) and off he goes.

He comes back around 3:30, and in the meantime I’ve decided to use the large bar pan that Pampered Chef sells. It’s long like my pizza stone but has low edges, which apparently I needed to keep the  batter IN the pan.

So I try again. All goes well with the baking, the brownie pizza comes out looking just fine.

Brownie Pizza, Take II

I begin making my cream cheese topping with my block of cream cheese. But now, I’m looking at my topping and looking at my very long brownie pizza and I’m thinking, “I don’t have enough topping.”

My next thought: “I have to go back to the store for more cream cheese.”

I won’t write what my next thought was after that, but it’s at this point where I decide that I should’ve just put a bag of Oreo’s on the table for dessert and called it a day.

It’s now 5:40 pm as I sneak out the door while Don showers, and our company was due in 20 minutes.

This time I ran to Price Rite and got my second block of cream cheese and came home.

The good news is, it all worked out and everyone liked the dessert except Elizabeth who picked off the cream cheese layer and put the strawberries back on top.  Whatever…

I’d definitely make it again and you can too, in fact, I highly recommend that you try it. It was incredibly delicious.

The recipe and directions are below, and now that you know my story, none of these trials and tribulations will happen to you.

See? So beautiful! Sooooo delicious and so just not my day that day!

BROWNIE DESSERT PIZZA

INGREDIENTS

1 box Ghiradelli Brownie Mix (I wonder if this was my first problem. I just bought any mix and I wonder if it yields more batter than Ghiradelli does. )

Parchment Paper

1 lg. rd. 15″ pizza stone or a round pizza sheet (you now know, I used the large bar pan.)

8 ounces cream cheese, softened (I’d grab two, just to be sure you have enough.)

1/4 cup powdered sugar (double for two blocks of cream cheese)

Handfuls of fresh strawberries, sliced or any fruit you like with chocolate  ( I also served a bowl of extra strawberries on the side so people could add more if they wanted to.)

Melted Semi-sweet Ghiradelli Chocolate Chips (I used Hershey’s syrup instead)
DIRECTIONS

Prepare the brownie mix as per the instructions on the box.

Cut the parchment paper to the shape of the pizza stone (I didn’t use parchment in the bar pan, I sprayed it with cooking spray.)

Spread the brownie mixture on the parchment paper within 1 ” of the edges. It’s important to use the parchment paper because it will help prevent the brownie mixture from seeping over the stone while in the oven cooking (we all now know how that worked out.)

Cook the brownies until the center comes out clean with a knife or toothpick (15-20 minutes).

Cool completely. Flip brownie crust over onto a cooling stone and carefully remove the parchment paper then flip the round brown crust back onto the stone or a nice plate for serving. (I did none of this and served it right in the bar pan.)

Mix the softened cream cheese with the powdered sugar well and spread on the brownie pizza base within one inch of the edge.

Layer cut strawberries around the crust and then drizzle with melted chocolate (or in my case, with Hershey’s syrup.)

Enjoy!