Happy Easter!
This past weekend was Easter. Normally we host Easter but this year my parents decided to host, and I was looking for something new to bring to add to their spread.
Since embarking on our new fat-free menu plans, I’ve been doing a lot of what we like to call “healthifying” and “defatifying” of our old recipes in order to make them something we can all eat.
It’s easy enough to do to almost any recipe: wheat flour instead of white, or half wheat/half white, egg substitute instead of eggs, fat free plain yogurt instead of oil, I Can’t Believe It’s Not Butter instead of butter.
Even though it’s not hard to change over a recipe to make it healthy, it was such a great find when I came across the blog Fat Free Vegan Kitchen on Facebook. I was thrilled because it meant the work was done for me. The recipes are already fat free. What a relief.
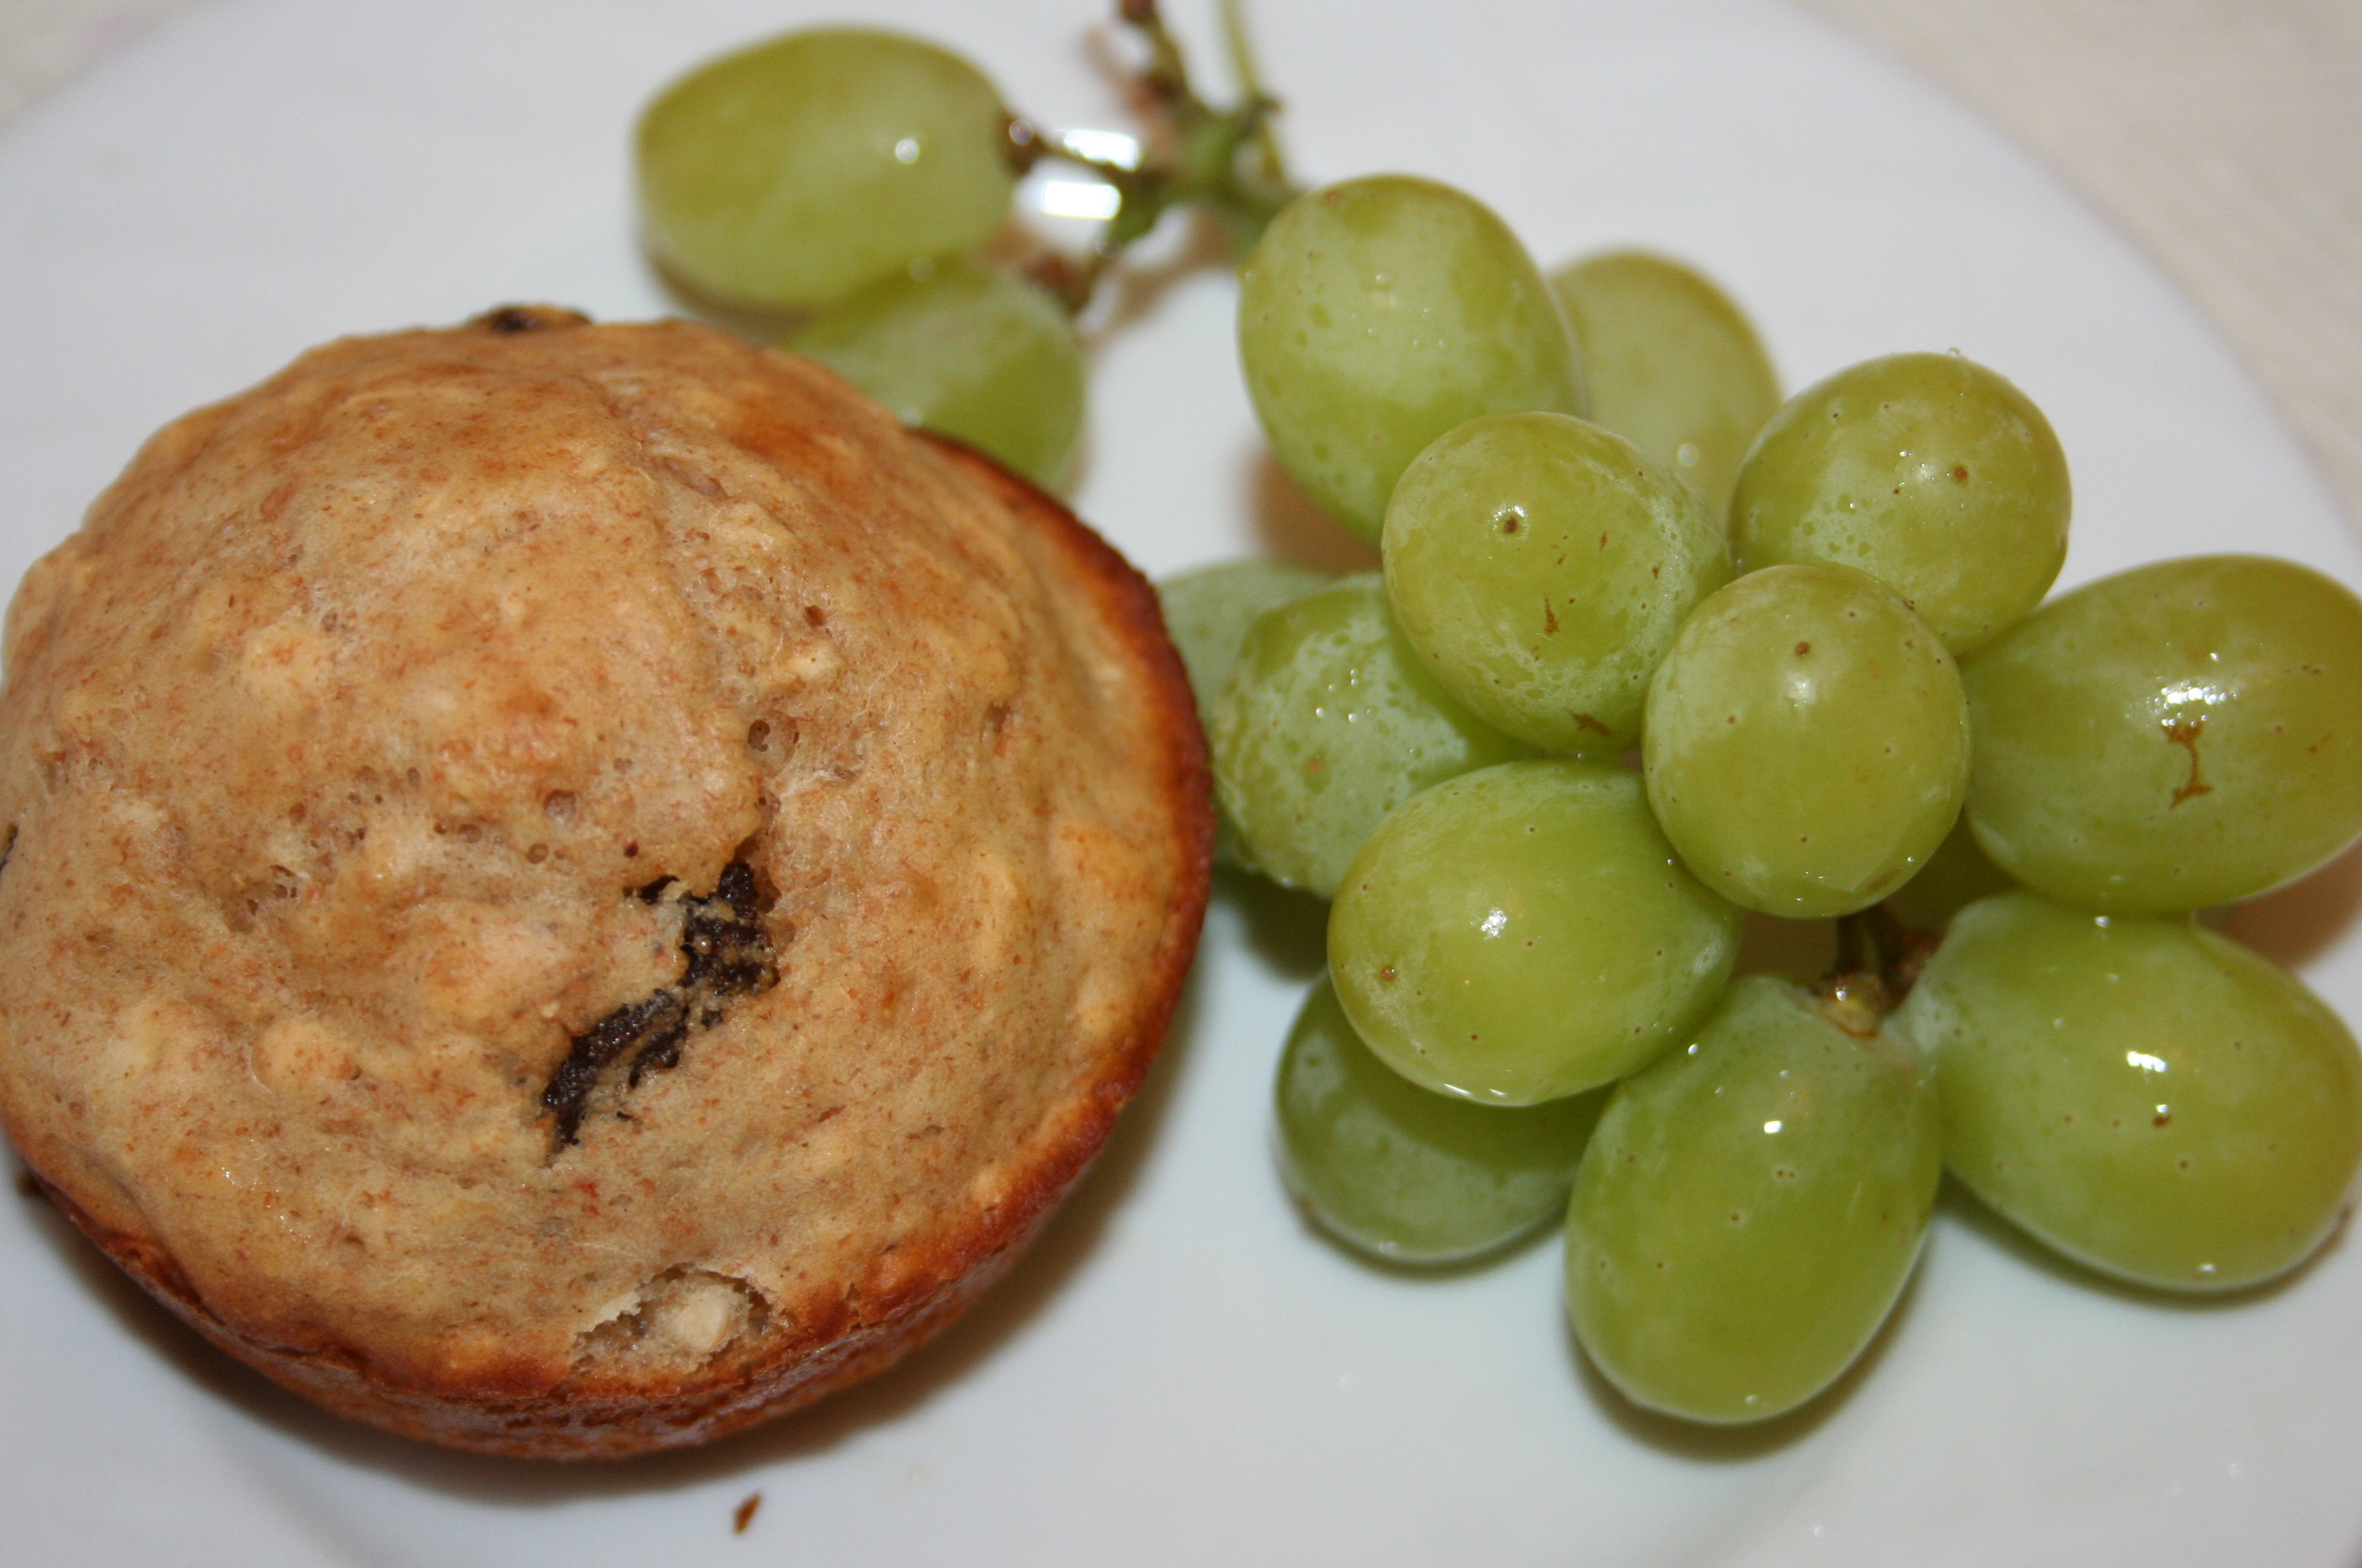
When Susan posted some yummy looking strawberry muffins on her blog in the week leading up to Easter, I knew I’d found my new contribution for Easter brunch. The recipe called for everything I had on hand, including strawberries. For our brunch I doubled it and it made 15 muffins.
The response to this new recipe was outstanding. Everyone who tried them loved them, and there were only a few left at the end of the day. It’s definitely a recipe I’d make again, and I absolutely loved that for us they were worry-free because they were definitely fat free.
I hope you’ll venture on over to Fat Free Vegan Kitchen and check out some of Susan’s other recipes. And, I hope you’ll try these delicious muffins! You’d never know they were fat free. With summertime coming, we’re heading right into fresh strawberry season. Hang onto this recipe!
**For our modifications, I used skim milk instead of non-dairy. I used a dash of sugar instead of stevia, to sweeten the batter a bit, and I added more confectioner’s sugar to thicken up my glaze a bit. It seemed too runny to me at first.**
I’ve included all of Susan’s instructions as well as her notes and nutritional information. I find her blog very helpful and informative.
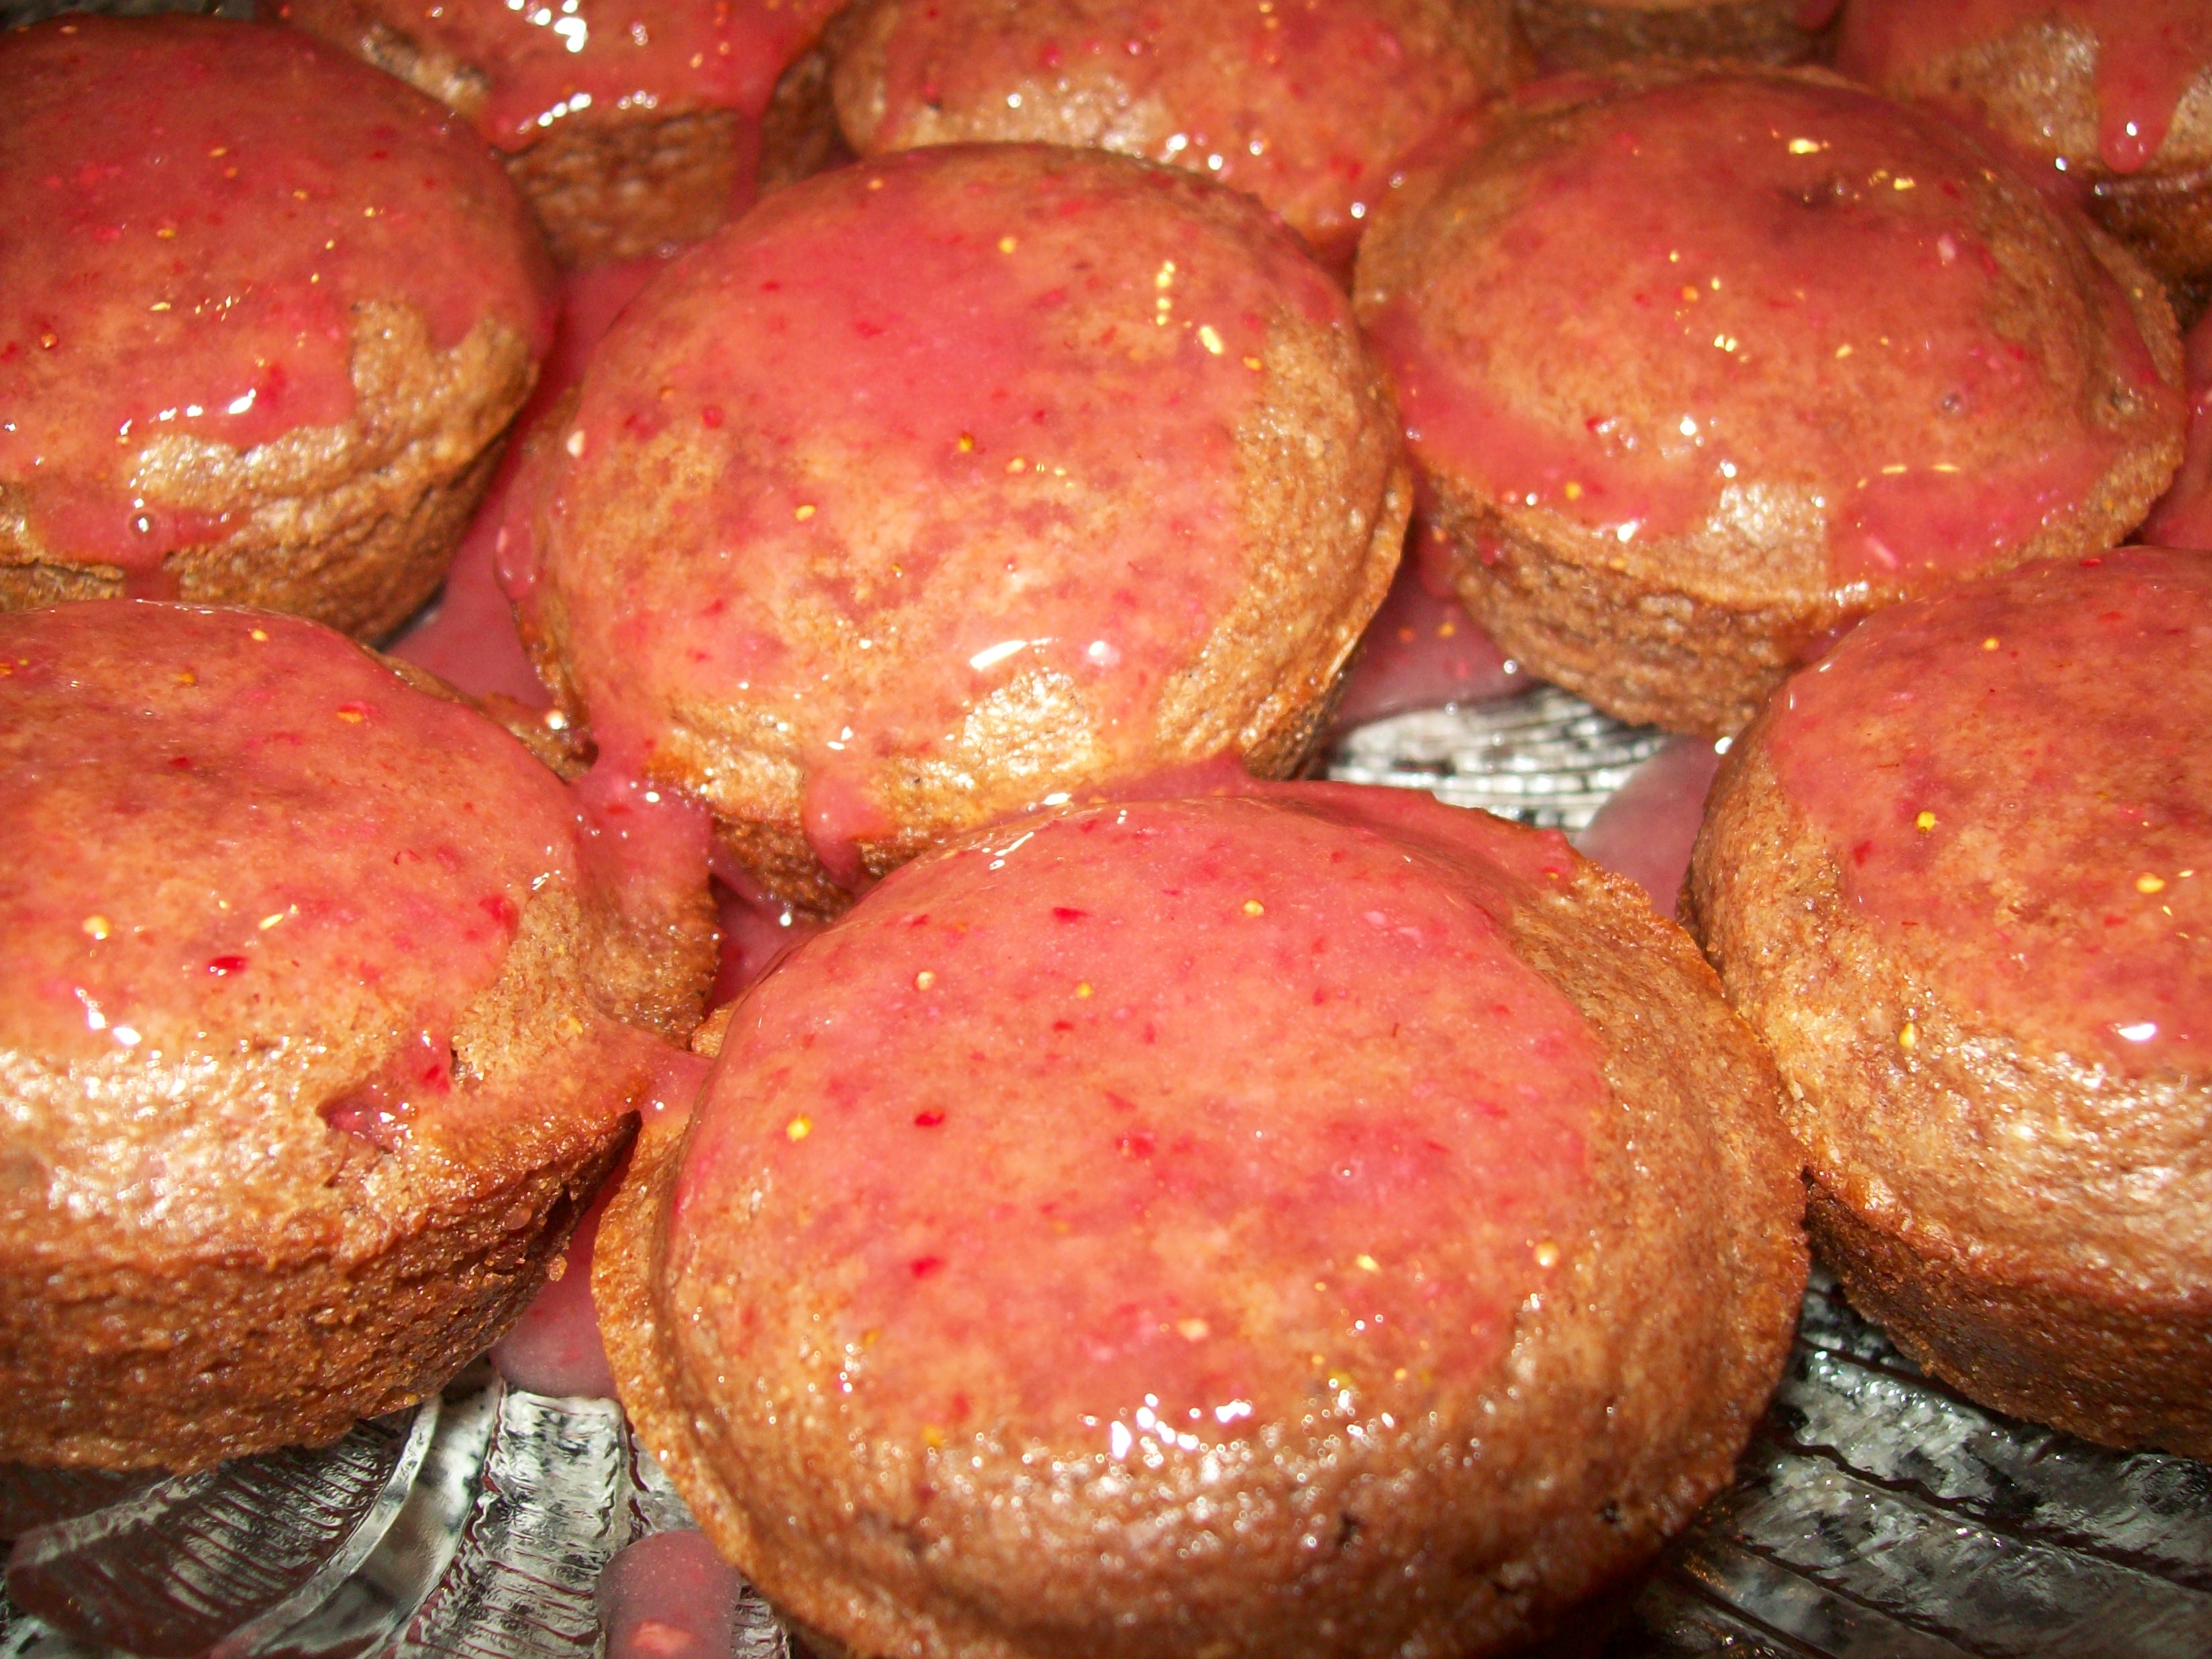
The glaze on these was delicious!
INGREDIENTS
- 1 cup strawberries, whole
- 1/4 cup maple syrup
- 1/4 cup non-dairy milk (as needed)
- 1 tablespoon lemon juice
- 1/2 teaspoon vanilla extract
- 1 cup white whole wheat flour
- 1/2 teaspoon baking soda
- 1/2 teaspoon baking powder
- 1/4 teaspoon salt
- 6 tablespoons confectioner’s sugar (optional)
- 4 teaspoons strawberry puree or all-fruit spread (optional)
- a few drops vanilla extract (optional)DIRECTIONS
- Preheat oven to 350. Prepare a mini-muffin pan by oiling it lightly or filling with paper liners.
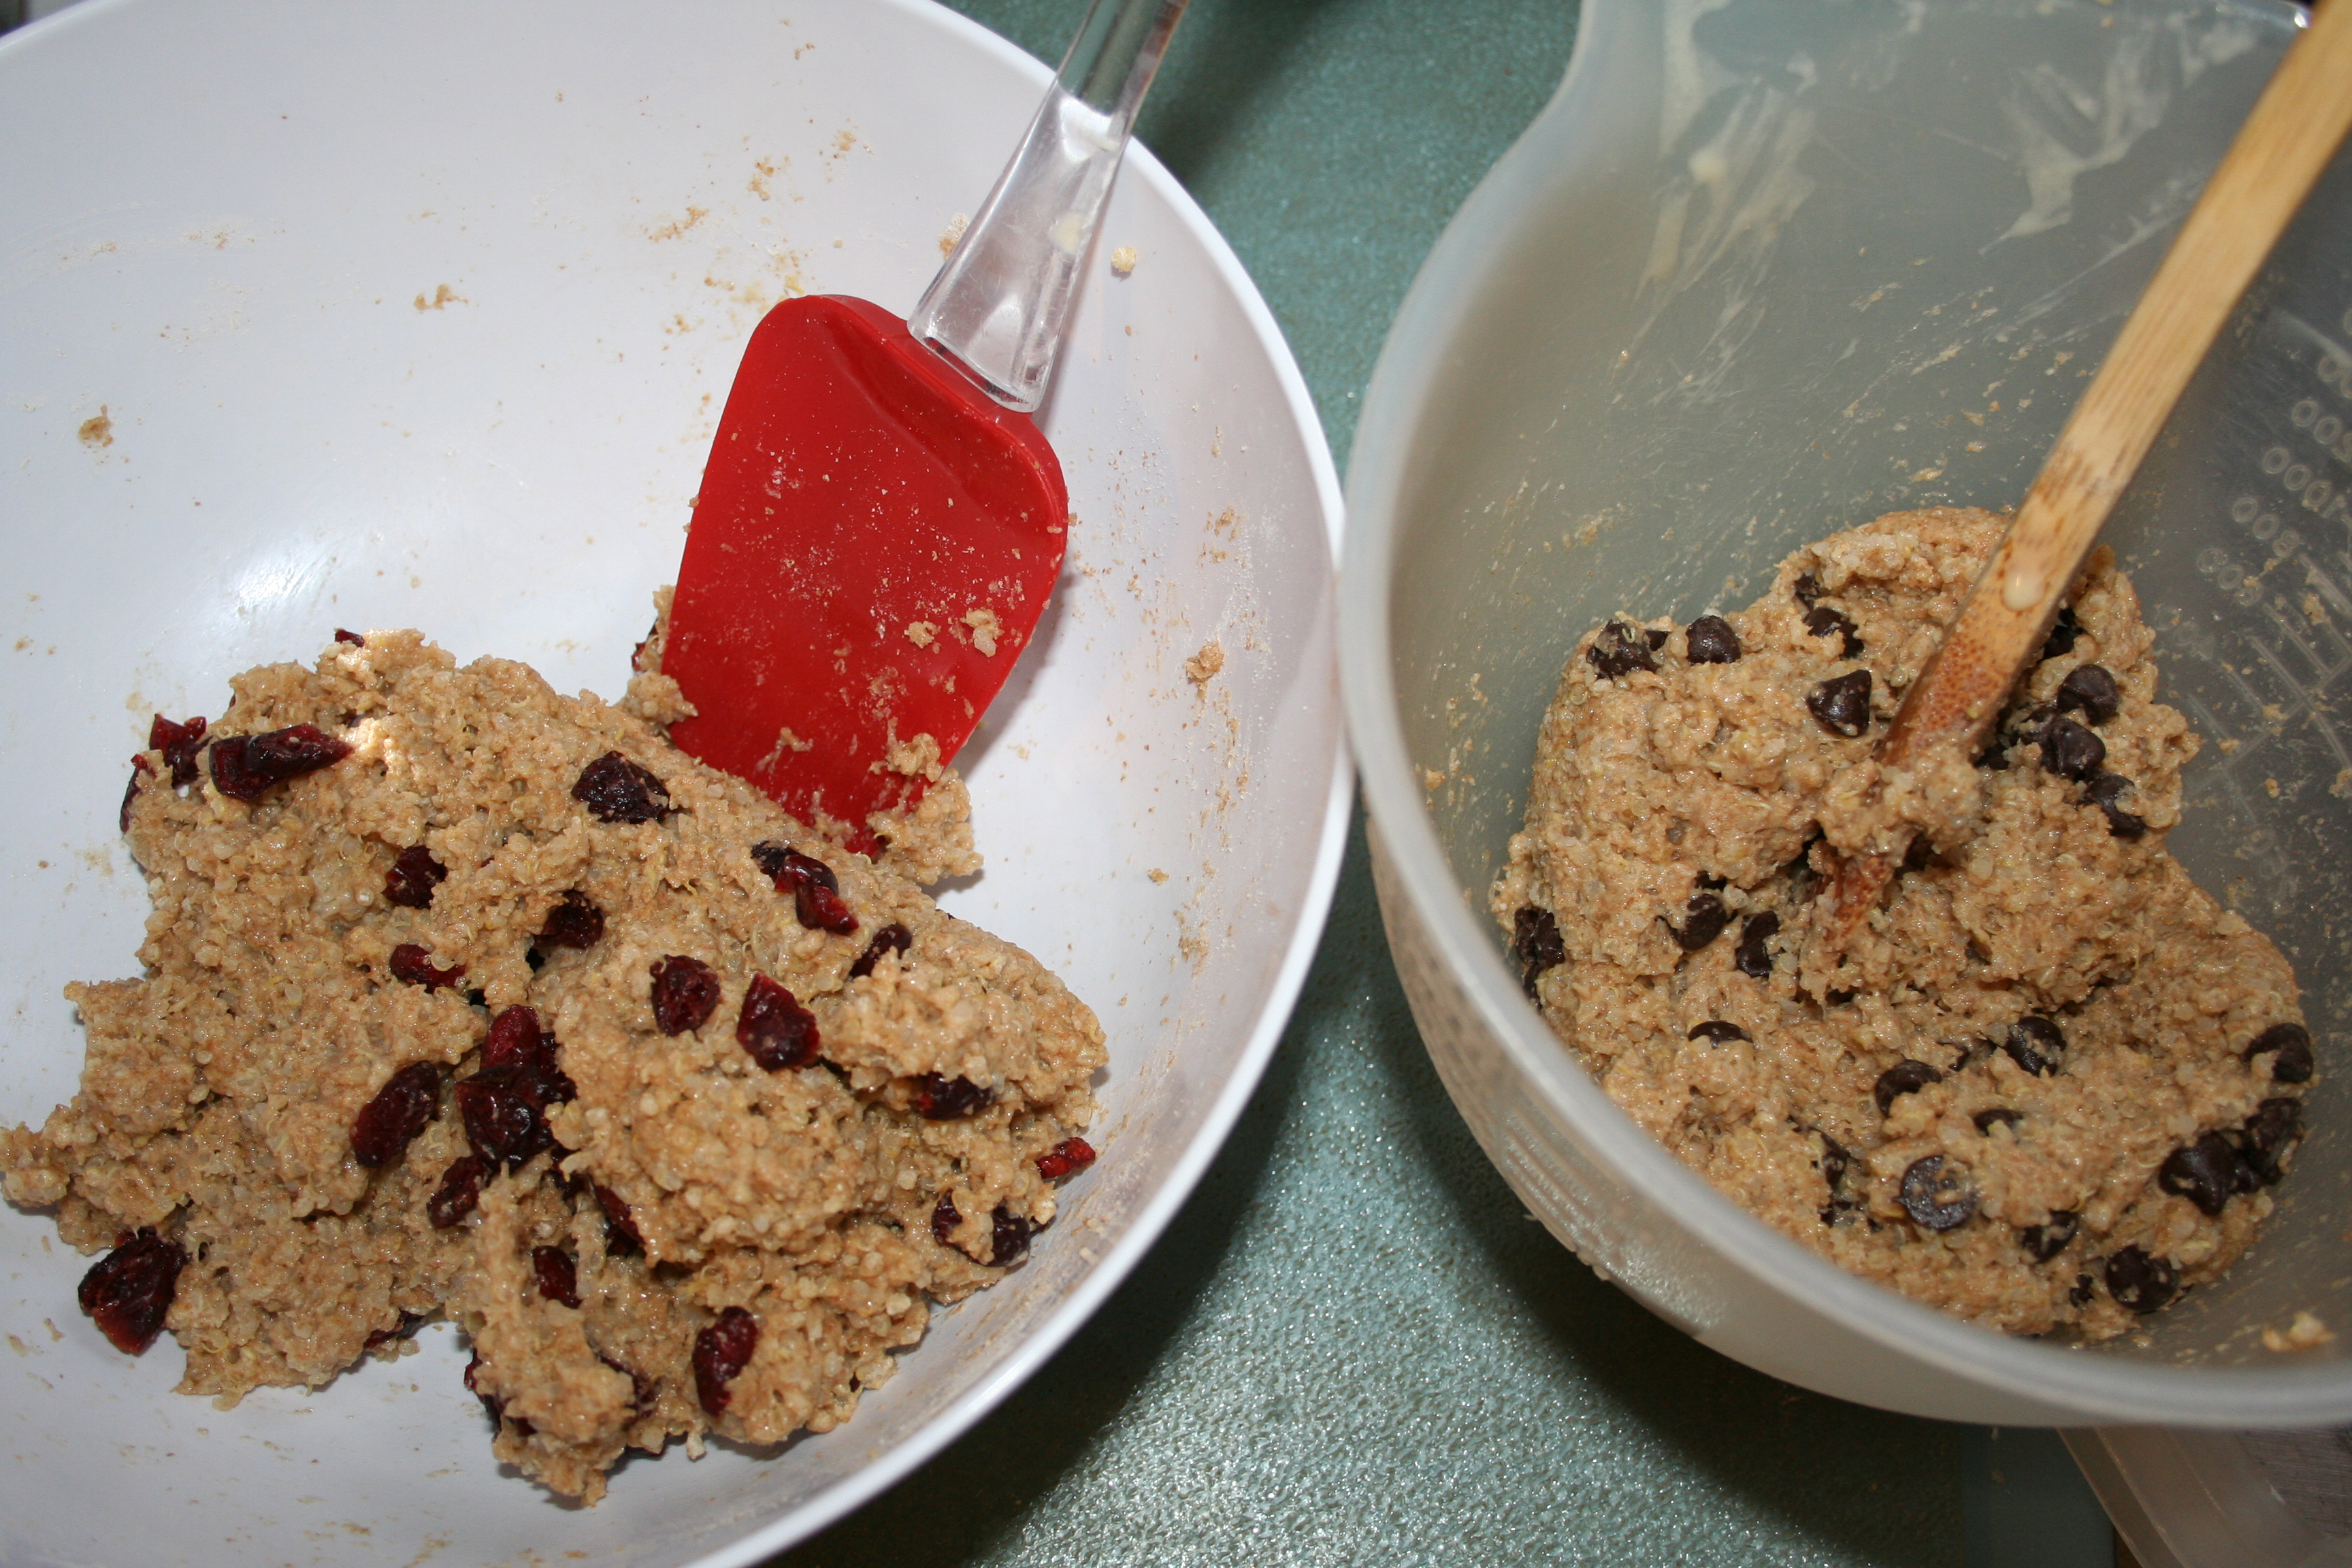
- Place the strawberries in a food processor or blender and process until they are pureed. Measure out 1/3 cup plus 2 tablespoons of the puree into a small bowl and set aside any remaining puree for another use. Add the maple syrup, non-dairy milk, lemon juice, and vanilla.
- In a medium bowl, mix together flour, baking soda, baking powder, and salt. Add the strawberry mixture. Mix until just blended–do not overmix. Fill mini-muffin cups with about 1 tablespoon of batter each. Bake at 350 F, checking after 10 minutes. When a toothpick comes out clean, remove and allow to cool completely. Frost if desired (see Notes below).
Notes
To prepare frosting, combine 6 tablespoons confectioners sugar, 4 teaspoons strawberry puree or strawberry all-fruit spread, and a few drops of vanilla extract. Stir well. If frosting seems too runny, add more sugar; if too stiff, add more puree. Frost center of muffins lightly just before serving (if you use too much, it will drip off), and refrigerate any leftovers.
To make these completely sugar-free, replace the maple syrup with more strawberry puree, and add stevia to taste.
Preparation time: 15 minute(s) | Cooking time: 10 minute(s)
Number of servings (yield): about 20 mini-muffins or 6 regular-sized ones
Nutrition (per mini-muffin, without frosting): 35 calories, 2 calories from fat, <1g total fat, 0mg cholesterol, 73.9mg sodium, 48.4mg potassium, 7.8g carbohydrates, <1g fiber, 2.8g sugar, <1g protein, 1 points.
Nutrition (per serving, with frosting): 47 calories, 2 calories from fat, <1g total fat, 0mg cholesterol, 74.1mg sodium, 48.5mg potassium, 10.9g carbohydrates, <1g fiber, 5.7g sugar, <1g protein, 1.3 points.