Hearing Olivia Culpo speak in July 2012 had a lasting impact on our girls.
Last summer, we had the opportunity to meet Ms. Olivia Culpo, who was then Miss USA and is now Miss Universe, also an alum from my high school. The girls and I went to hear her speak, they stood with me while I interviewed her for the newspaper, and then we stood in line for an hour for a quick meet and greet and an autograph.
On the way home, we talked about what we’d just experienced and the girls talked to me about which parts of her speech had an impact on them, as she was such a candid, animated speaker. They laughed about some of her funny stories, but we talked more seriously about one of her messages: don’t be afraid to take a risk.
Having never been a “pageant person” before, Olivia entered Miss USA despite her family’s hesitations, and won on her first time out there. A year later, she was winning Miss Universe too, and it was all because she wasn’t afraid to try something, to be a leader, to take a risk.

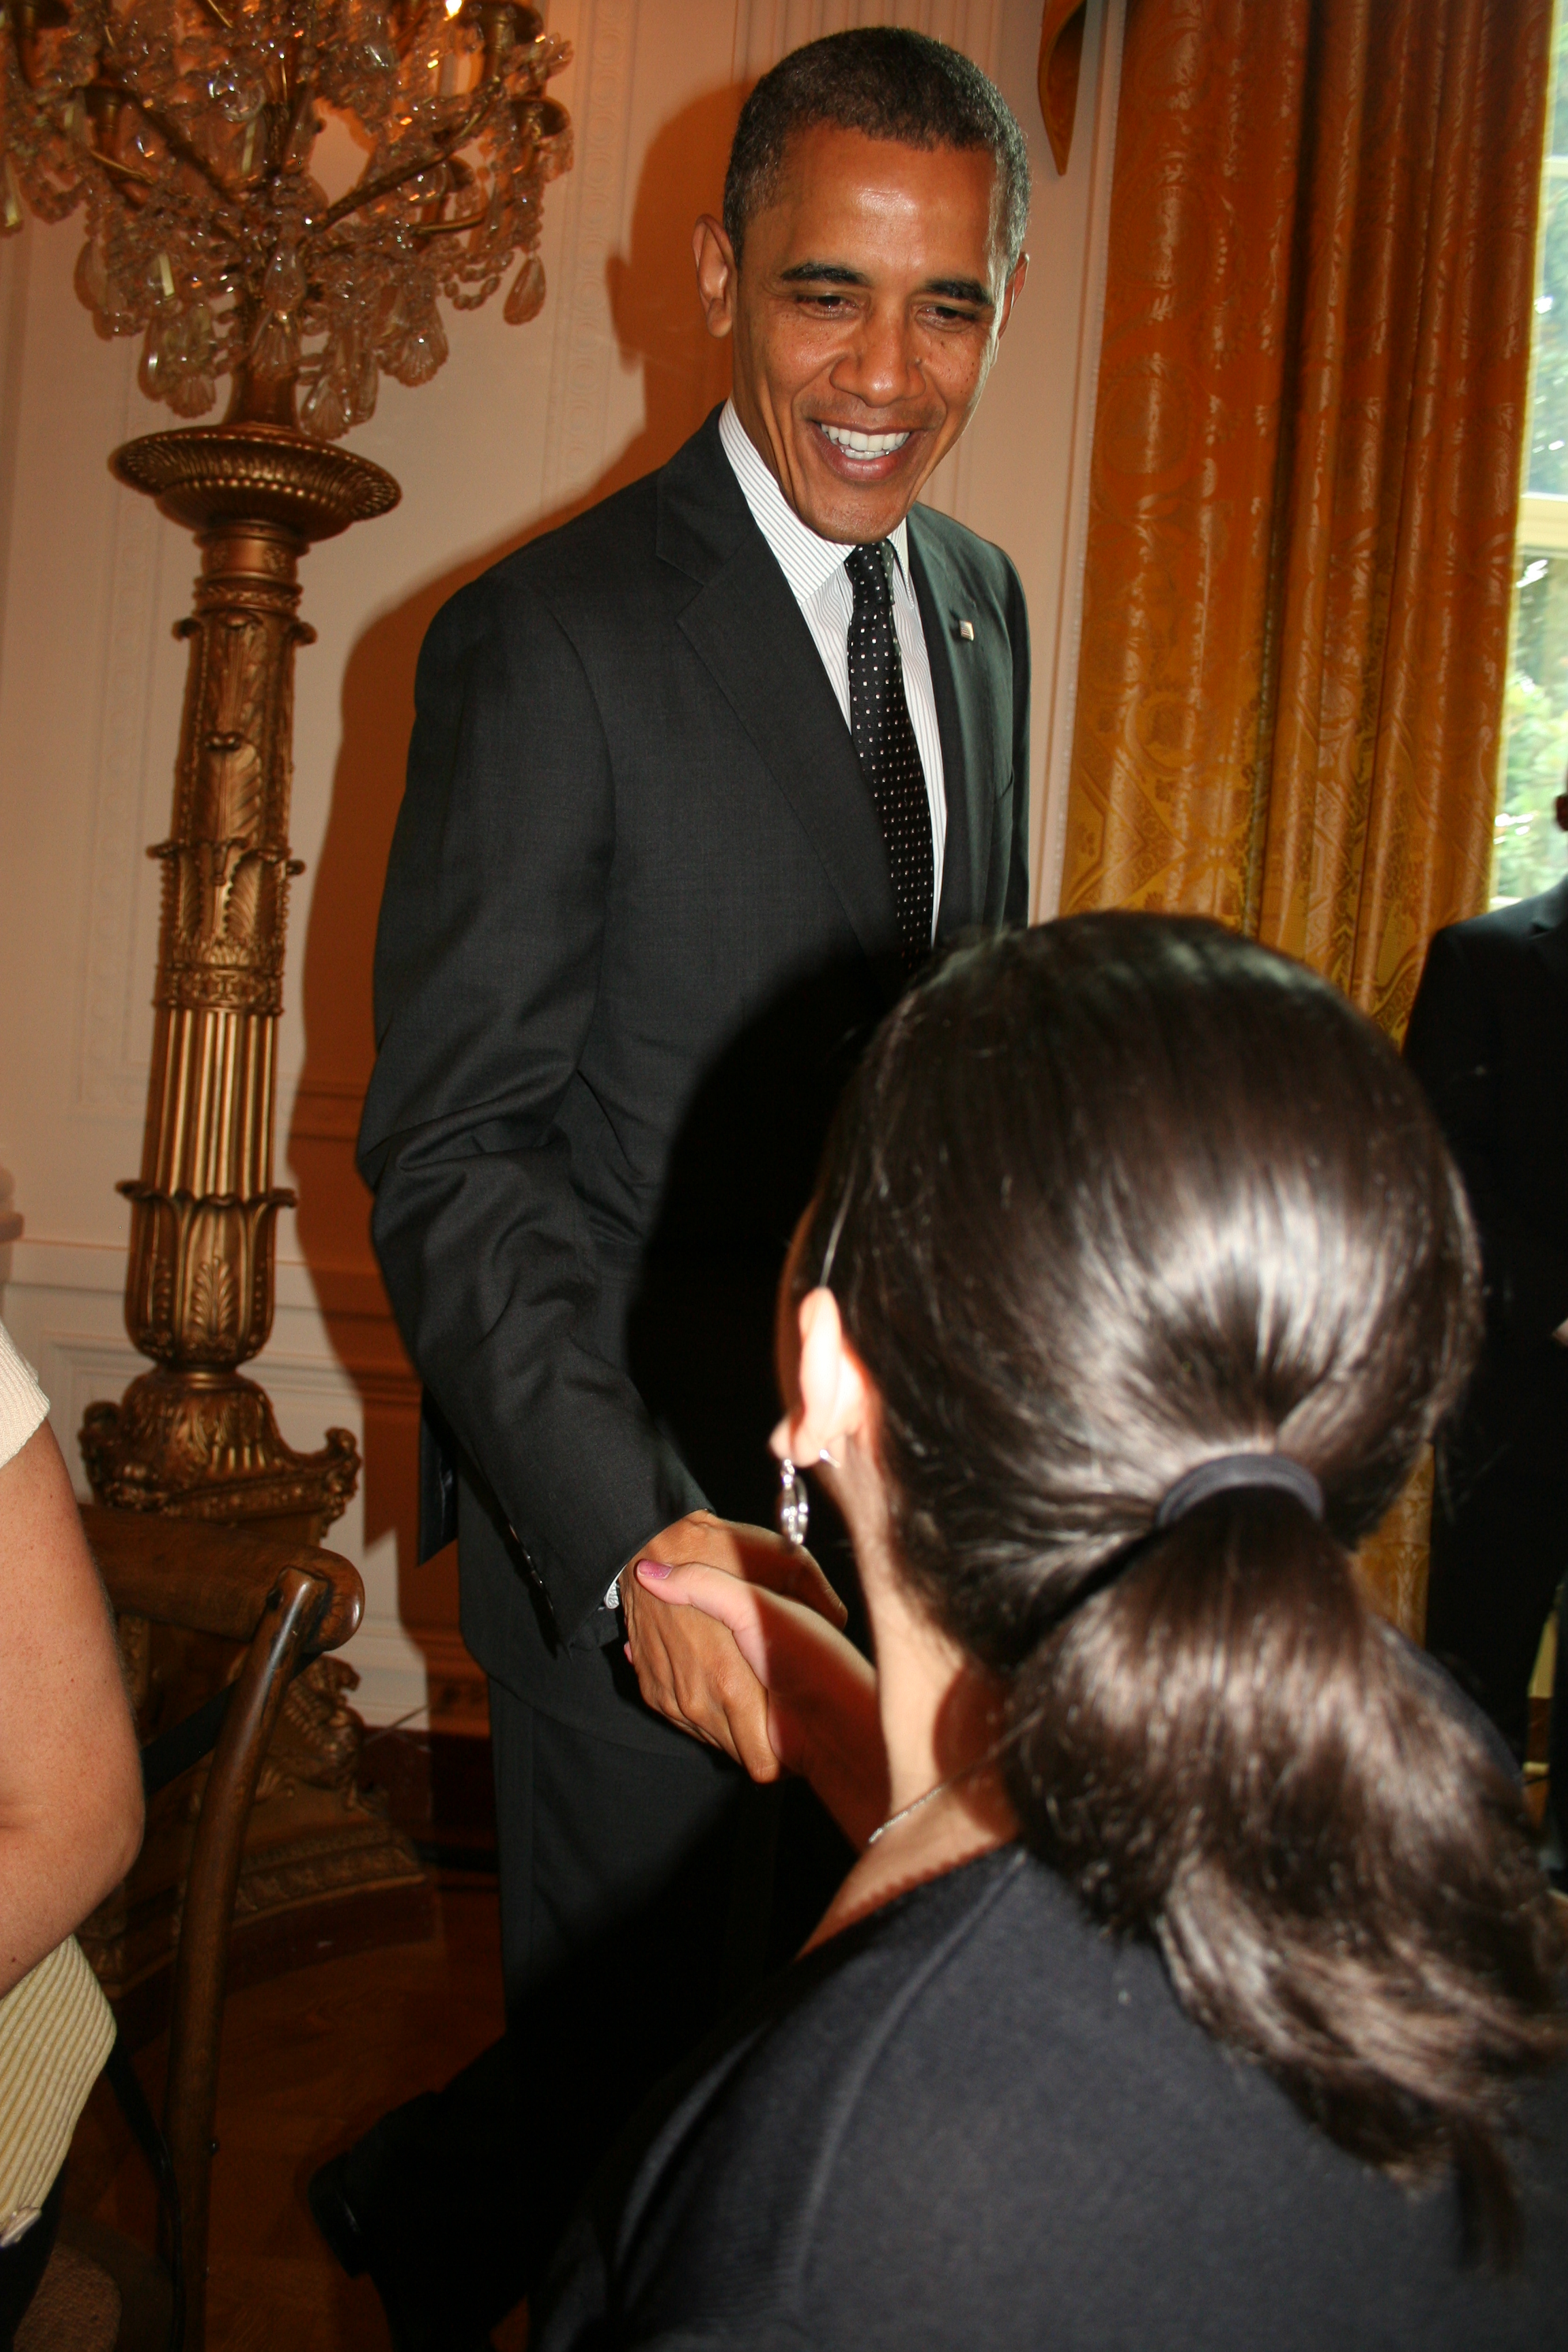
One of my favorite photos from our day: Caroline meeting and shaking hands with President Obama.
At the time, we didn’t know if Caroline was going to win the Healthy Lunchtime Challenge contest. We were awaiting notification, due the following week. What we did know however, was that Caroline had hesitated in entering because her sister was entering also, and she knew that only one of the two of them, if either of them, could win, and she was afraid of that. We talked that day after meeting Olivia about the fact that this too was a risk, and we’d wait and see what happened, but that at least she’d put herself out there, taken that risk.
And it turns out, she won.
With that, she’s had some of the most amazing experiences of her life, all in the past year, all because she wasn’t afraid to take a risk, to go out of her comfort zone.
She often gets asked to speak to groups of people, both adults and kids, and two of the messages that she always makes sure to emphasize when she speaks, are not to be afraid to take a risk and to always put in 100% effort into all you do.
After she won, a friend said to me, “Your motto should be ‘Seize Every Opportunity’ because you’re always trying everything. If there’s something out there to do, you’ll do it.”
And she’s right. I think it’s important to reach for the stars, even if you miss on occasion. Most likely you won’t miss every time.
When I was in high school, with my parents’ help, I applied for a grant. I put in a proposal to go to New Zealand to study reading instruction. At the time, New Zealand was tops; on the forefront of reading and language instruction. It was a big risk, a scary thing to apply for, and ultimately, I did not get the grant. But, I’ll never forget applying for it, and receiving that letter stating that even though my proposal wasn’t chosen, it was a strong one, and one of the runners up. That gave me confidence to try again, to take a risk when another future opportunity arose.
Since that high school grant opportunity, I’ve taken on many challenges, reinventing myself in my careers again and again. Sometimes those challenges came through in my favor, and sometimes they didn’t, but each risk and result has made me stronger and more confident. As a journalist, each time I’ve won a New England or Rhode Island Press Association award, I’ve had to take a risk by submitting what I think is my best work, to be judged by others. It’s risky putting myself out there, and sometimes I win and sometimes I don’t. But I never say, “Oooh that’s too scary, I’m not even going to try,” or even “Yikes! That’s a lot of extra effort.”
This week we received notification that a grant Elizabeth had applied for, the Disney Friends For Change grant, a proposal she’d submitted on behalf of her class, was not going to be given to them. She was so disappointed. She and several friends had started a school newspaper, and this grant was going to improve what they’d begun, take it to the next level. However, the notification didn’t just say that she didn’t get it, it said that her efforts and dedication in applying for the grant were to be commended and that she shouldn’t give up on her particular project.
It was positive reinforcement, recognizing the fact that she took a risk, went the extra mile, seized an opportunity that not many would take the time to do. The very first thing she said was, “I think there’s another one. We can try again.”
I love that.

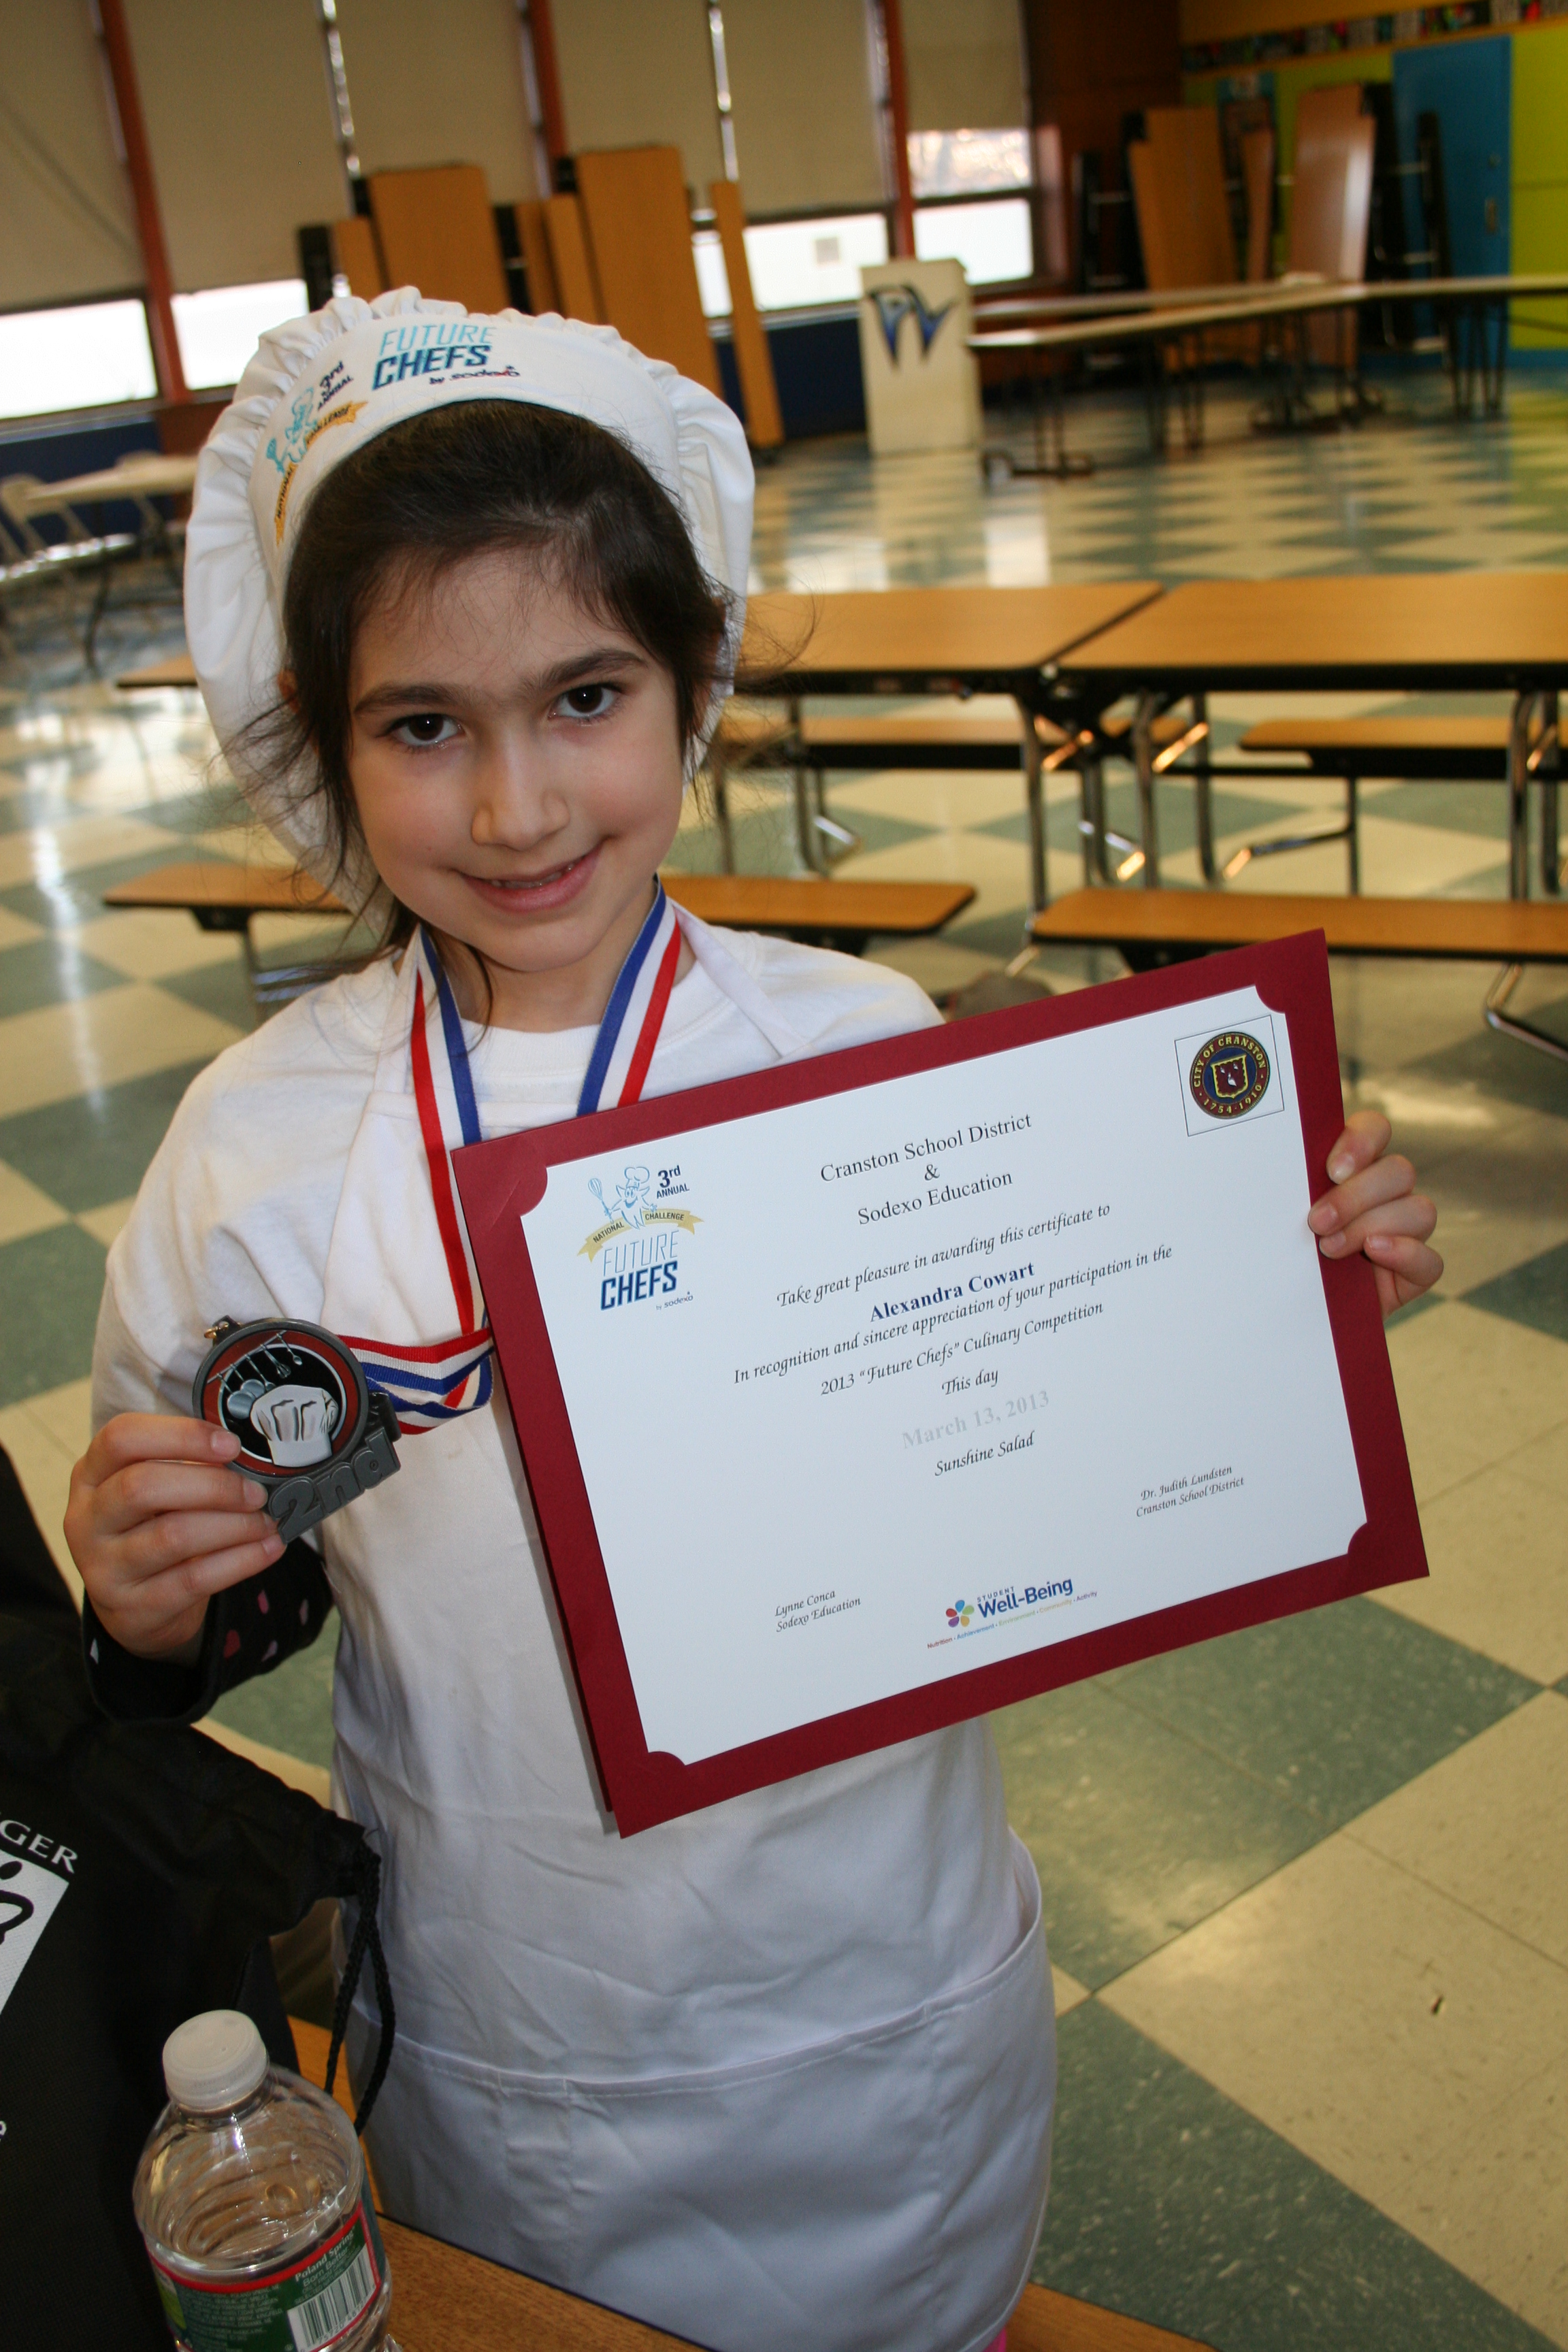
Congratulations to Alexandra. She took a risk, entered a contest and came in second place!
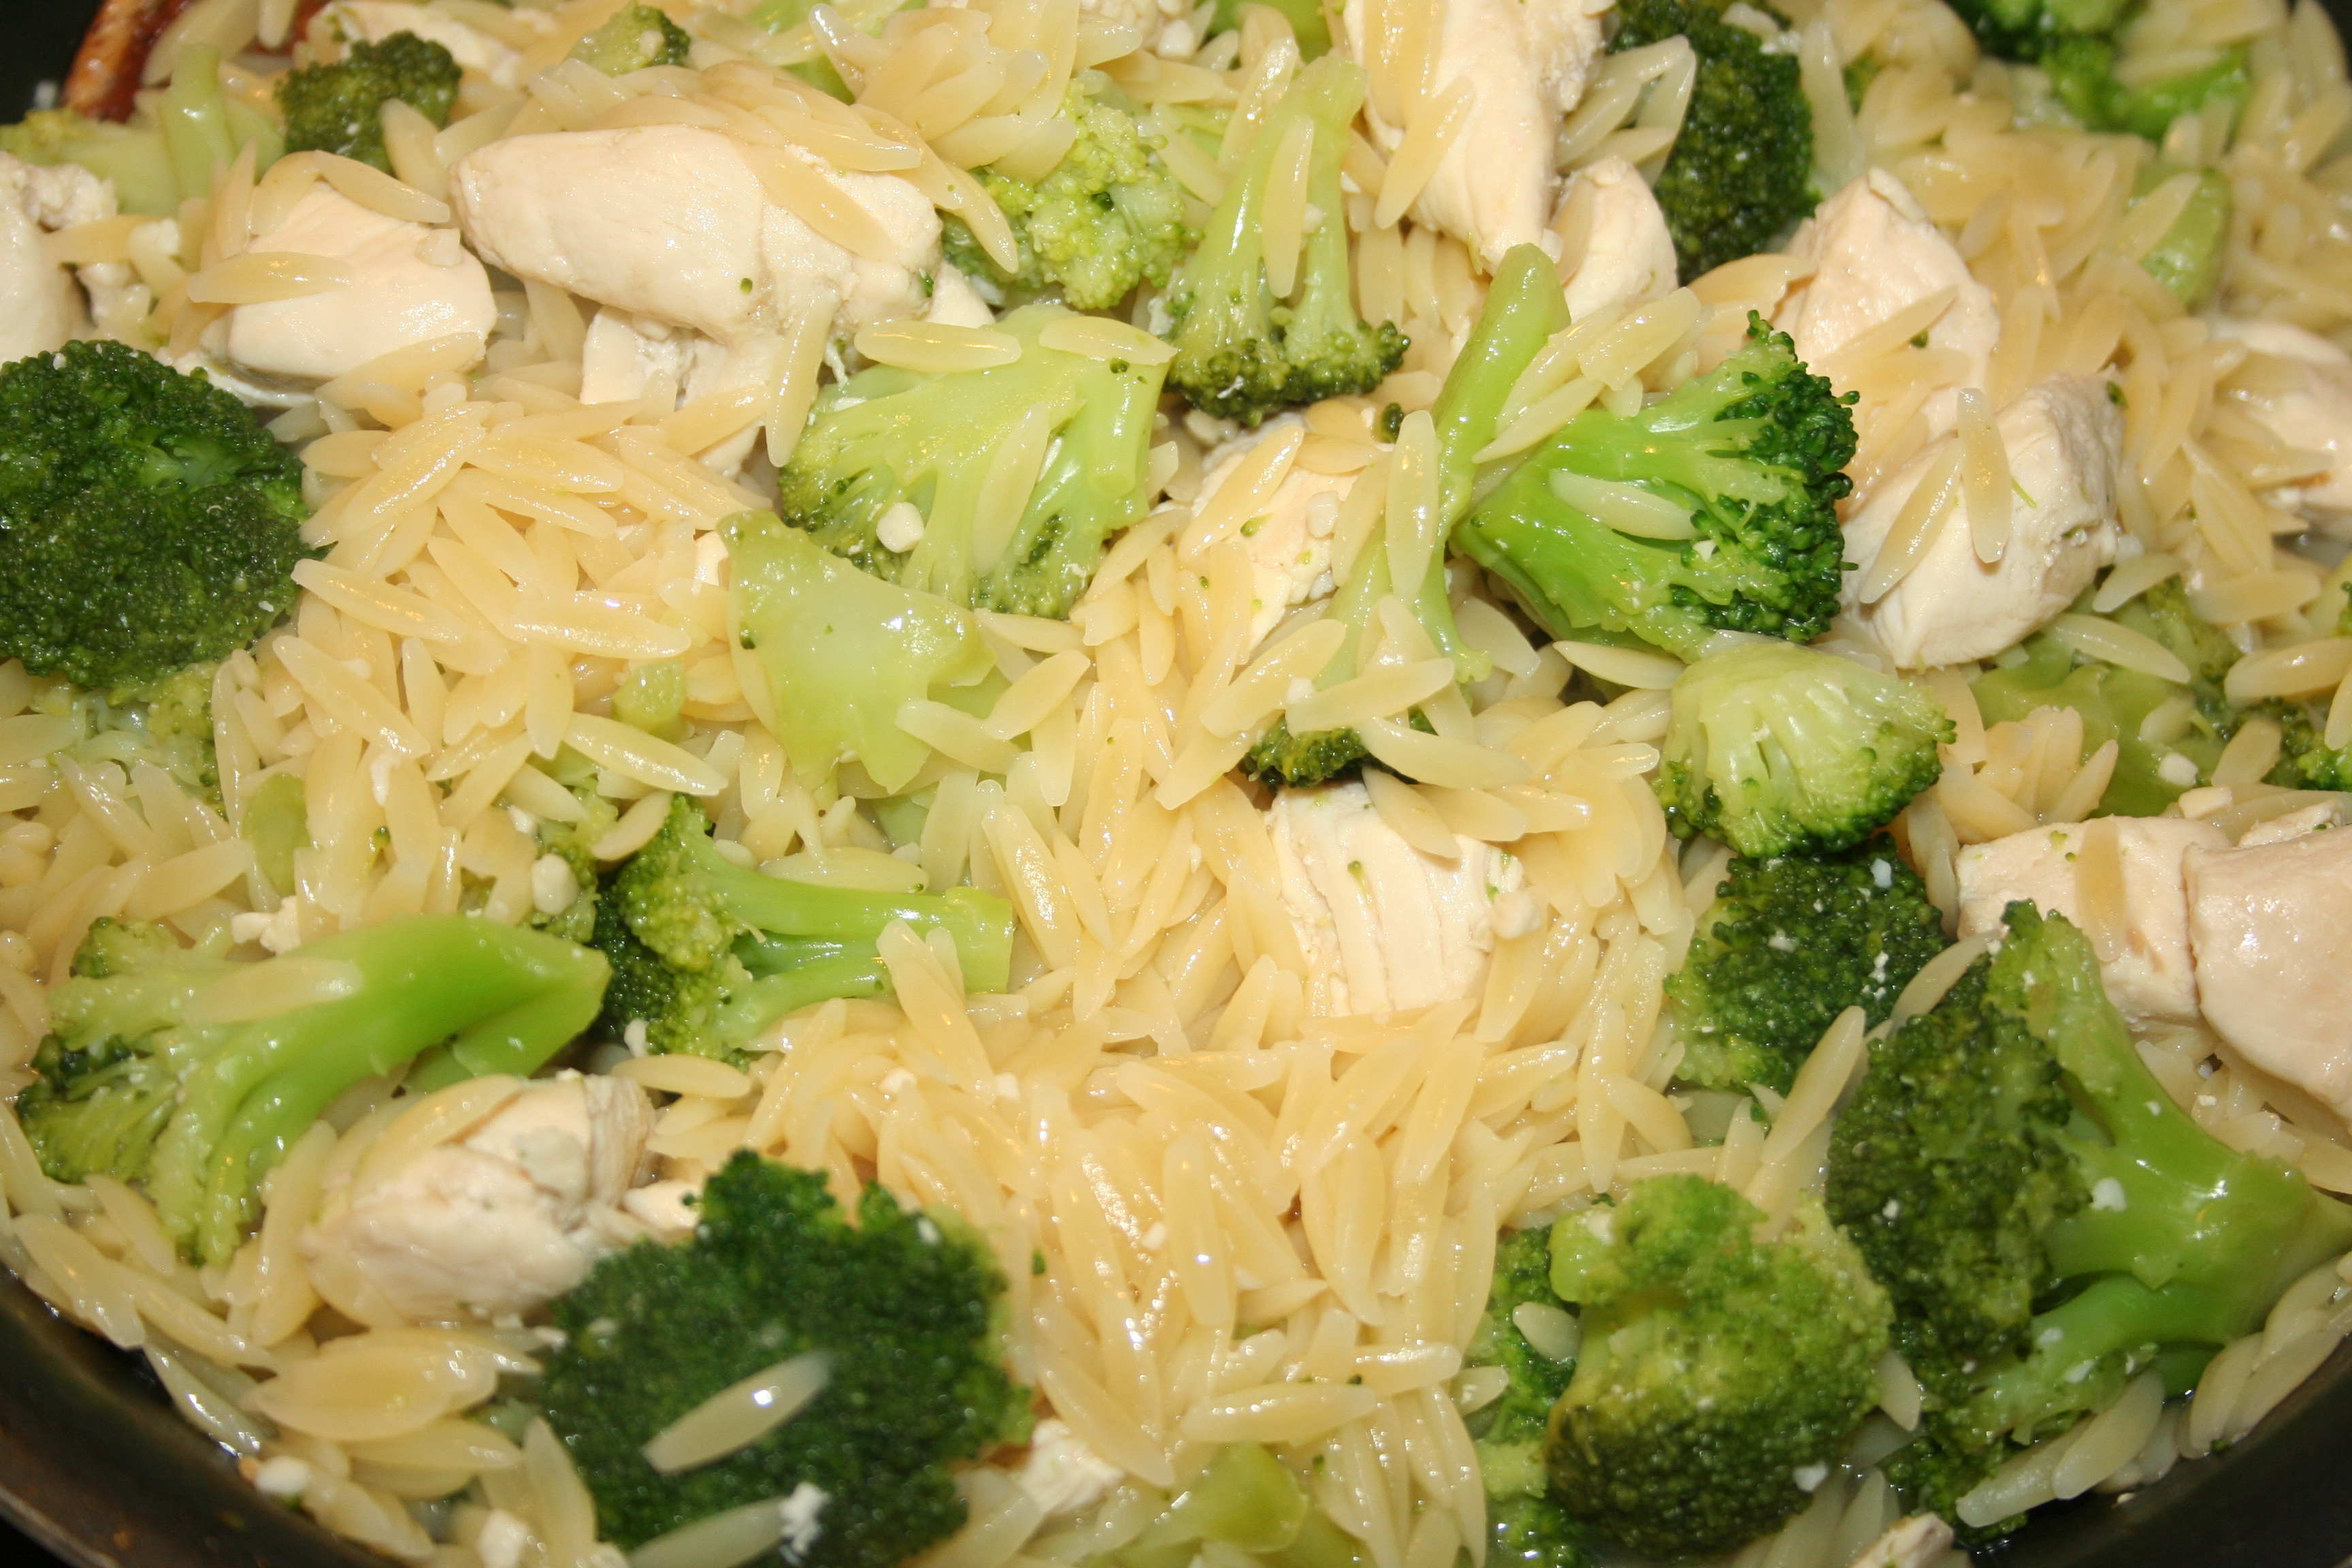
On Wednesday night, Alexandra competed in a cooking contest of her own. She had entered the recipe for her Sunshine Salad into the Sodexo Future Chefs competition in our city. Out of 17 elementary schools, ten students were chosen to compete, making their salads and having them judged by real chefs from our community.
She took the risk, entered the recipe in February and was chosen to compete in March.
She competed Wednesday night and took Second Place. Second, out of ten, in our whole city, at seven years old.
That’s taking a risk. That’s seizing an opportunity.
And that’s a memory she, and we, will never forget.
Childhood is a journey, as is parenthood. I hope that we are teaching our kids to be confident, to be leaders, to try everything and to take risks. I hope that the bursts of success that they experience when they take the risks will encourage them to keep going and trying again when they don’t necessarily see that success. I hope that they learn that putting in the extra effort, taking the extra time, going the extra mile, really does all pay off in the end.
Seize.Every.Opportunity.
Tags: cooking with kids, Epicurious Healthy Lunchtime Challenge, Jennifer L. Cowart, kids, motherhood, motivating kids, parenting