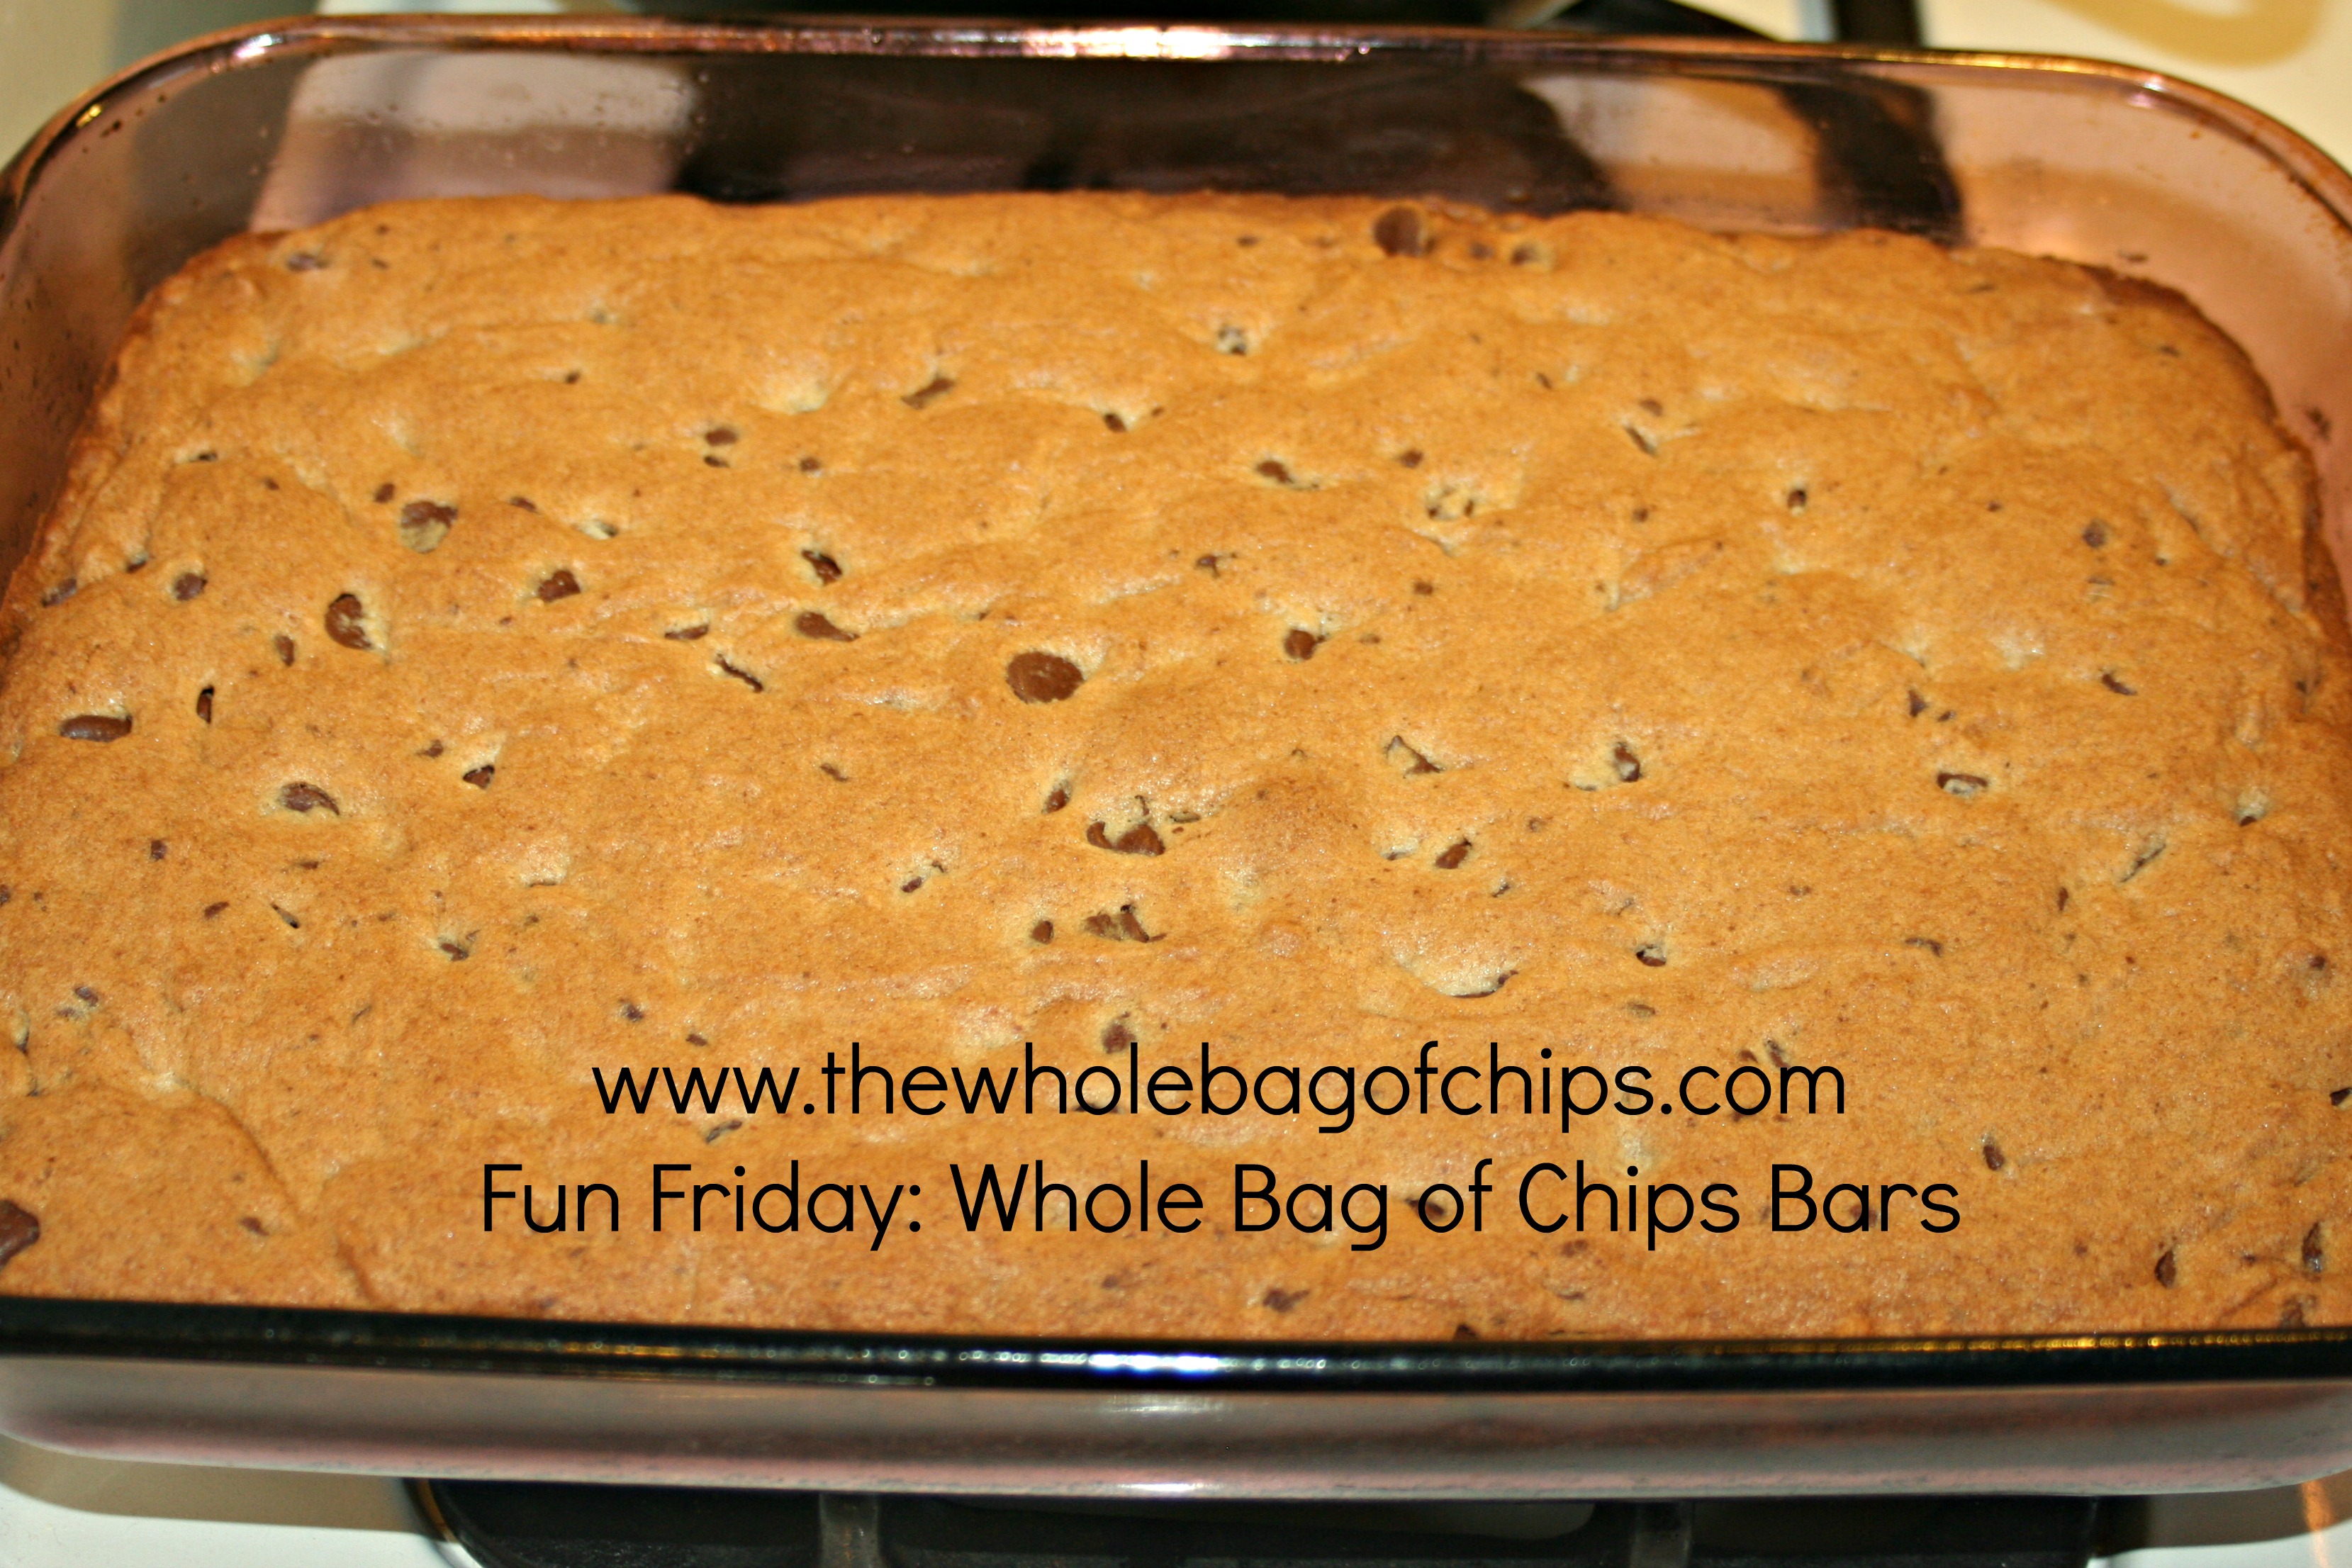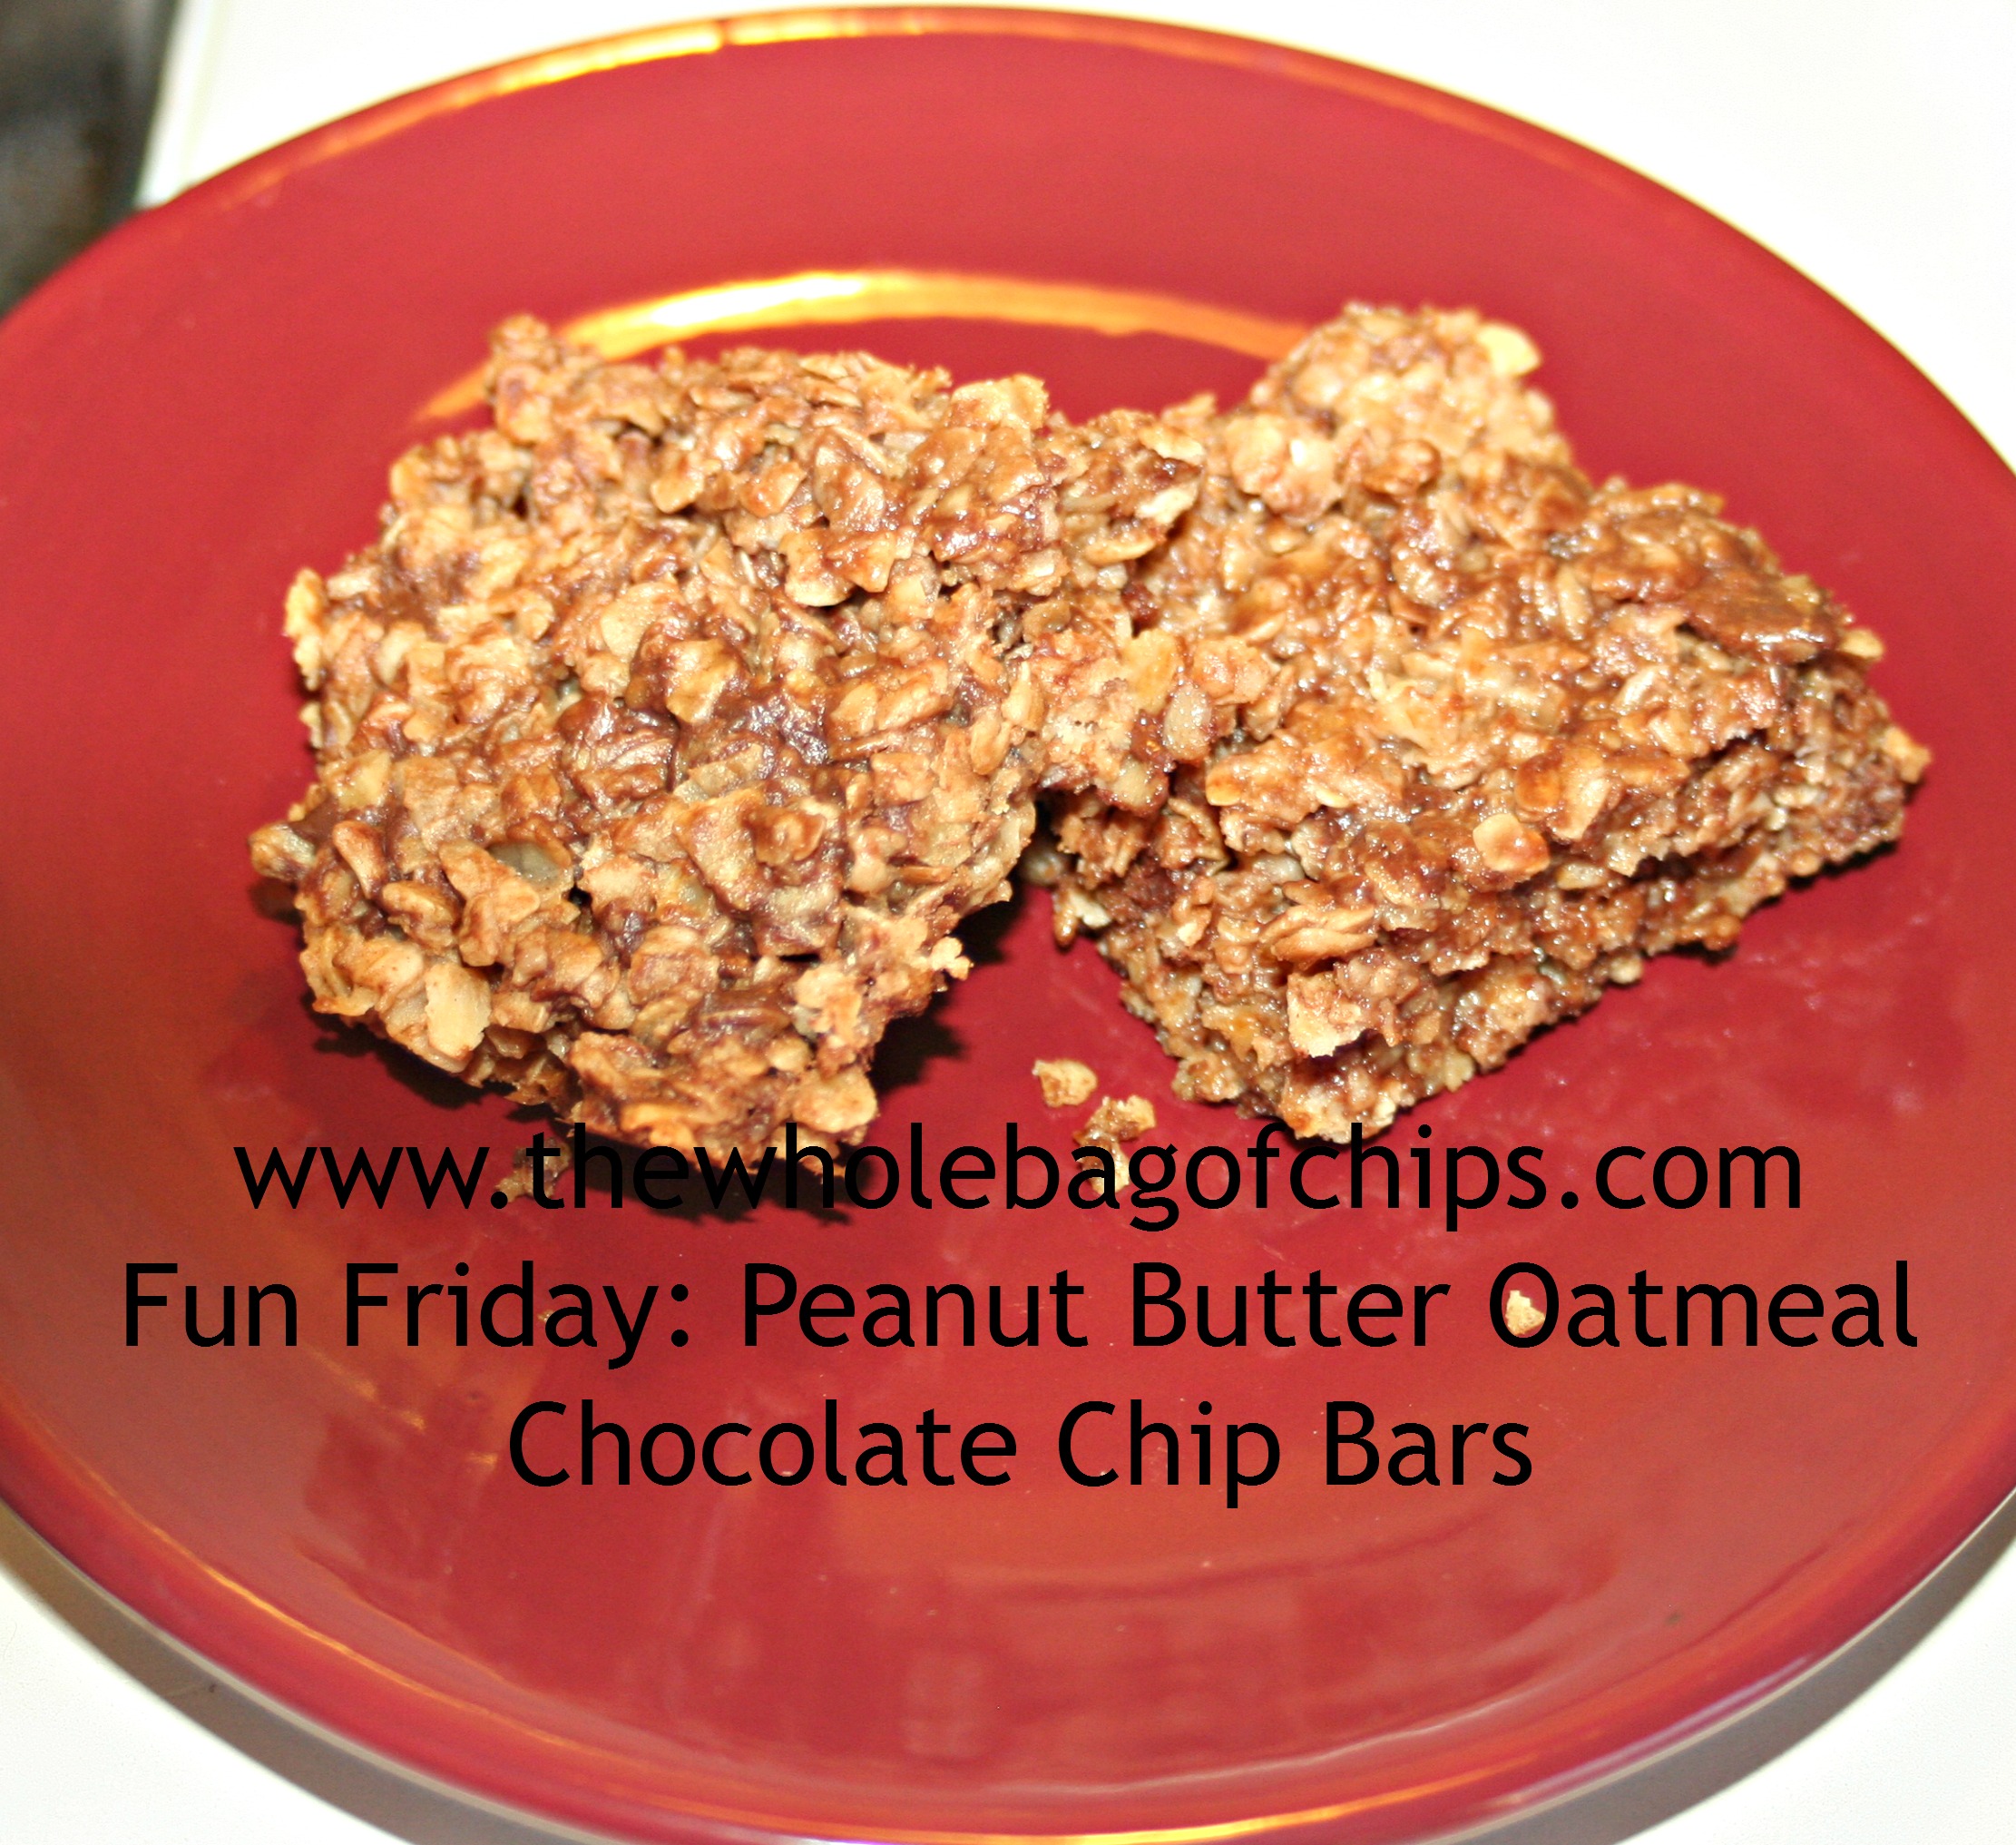
This was an after school snack that was quick to make and disappeared just as fast!
As you know, we love a good after school snack at our house! It holds us over from when we get home from school, through homework and after school activity time, until dinner, which can sometimes be pushing 7:00.
This recipe is just a slight modification from a site that I follow, Skinny Ms. I love their site and I have featured many of their recipes in the past. They always get rave reviews from my house and this one was no different.
Of course, my main modification is the fact that I had to add chocolate chips to my version of these bars. I couldn’t help it. They just wouldn’t be the same without them!
Below is their recipe with my modifications noted in parentheses.
Please visit their site and check out all their great recipes! You’ll want to follow them too!
My Version of the Skinny Ms. Peanut Butter and Honey Oat Bars
INGREDIENTS
1/2 cup honey
1 tablespoon coconut oil (I used canola)
1/3 cup peanut butter
1/2 tsp. vanilla
1/4 tsp. cinnamon
2 cups oats
1/2 cup chopped honey roasted peanuts (this is where I substituted 1/2 cup chocolate chips instead)
DIRECTIONS
Preheat oven to 300 F
Line an 8 x 8 pan with parchment paper, making sure the parchment paper hangs over the sides.
(I did not have parchment paper so I did not line my pan with it.)
In a microwave safe bowl, add honey, coconut oil (canola oil) and peanut butter. Microwave for 30 seconds, stir until mixture gets runny and peanut butter completely melted in. You may have to heat for another 20 seconds or so. Mix in vanilla extract and cinnamon.
Add oats and peanuts, mix until everything is combined and the mixture is completely coated with honey and peanut butter mixture.
Pour mixture into prepared pan and press down with a back of a spoon; bake in the oven for 20 -25 minutes until lightly brown.
Once you take the bars out of the oven, press down with the back of a spoon to insure the oats are pressed firmly together. Let the oat bars cool slightly and carefully take out bars by grabbing onto the parchment paper and cut into 16 slices. Let bars cool completely and harden at room temperature.
Store bars in an air tight container in the refrigerator.
Makes 16 bars.
Ingredients
- 1/2 cup honey
- 1 tbsp coconut oil
- 1/3 cup peanut butter
- 1/2 tsp vanilla extract
- 1/4 tsp. cinnamon, ground
- 2 cups oats (I used Gluten Free Oats)
- 1/2 cup chopped honey roasted peanuts
Directions
Preheat oven to 300 F
Line an 8 x 8 pan with parchment paper, making sure the parchment paper hangs over the sides.
In a microwave safe bowl, add honey, coconut oil and peanut butter. Microwave for 30 seconds, stir until mixture gets runny and peanut butter completely melted in. You may have to heat for another 20 seconds or so. Mix in vanilla extract and cinnamon.
Add oats and peanuts, mix until everything is combined and the mixture is completely coated with honey and peanut butter mixture.
Pour mixture into prepared pan and press down with a back of a spoon; bake in the oven for 20 -25 minutes until lightly brown.
Once you take the bars out of the oven, press down with the back of a spoon to insure the oats are pressed firmly together. Let the oat bars cool slightly and carefully take out bars by grabbing onto the parchment paper and cut into 16 slices. Let bars cool completely and harden at room temperature.
Store bars in an air tight container in the refrigerator.
Makes 16 bars.
Read more at http://skinnyms.com/peanut-butter-and-honey-oat-bars/#gfP0EJKu3Sr2DuA5.99