It was worth the hours of time and work that went into the Cupcake Wars last weekend!
Last weekend my younger two girls and I participated in a nearby town’s fundraiser, Cupcake Wars. We originally signed up for it in January and it was supposed to take place in February, but we got snowed in by Blizzard Nemo and it had to be rescheduled.

We were lucky that with the timing of the original event, we could utilize the Valentine’s Day decorations that were in stores then!
The new date was last Sunday, April 7. We were signed up as an Elementary team and our team name, in honor of our new nutrition requirements was “Heart Healthy and Loving It!” Since the original date was to be the week before Valentine’s Day, we connected the heart healthy with the love theme and I bought all my table decorations at the dollar store before Valentine’s Day.
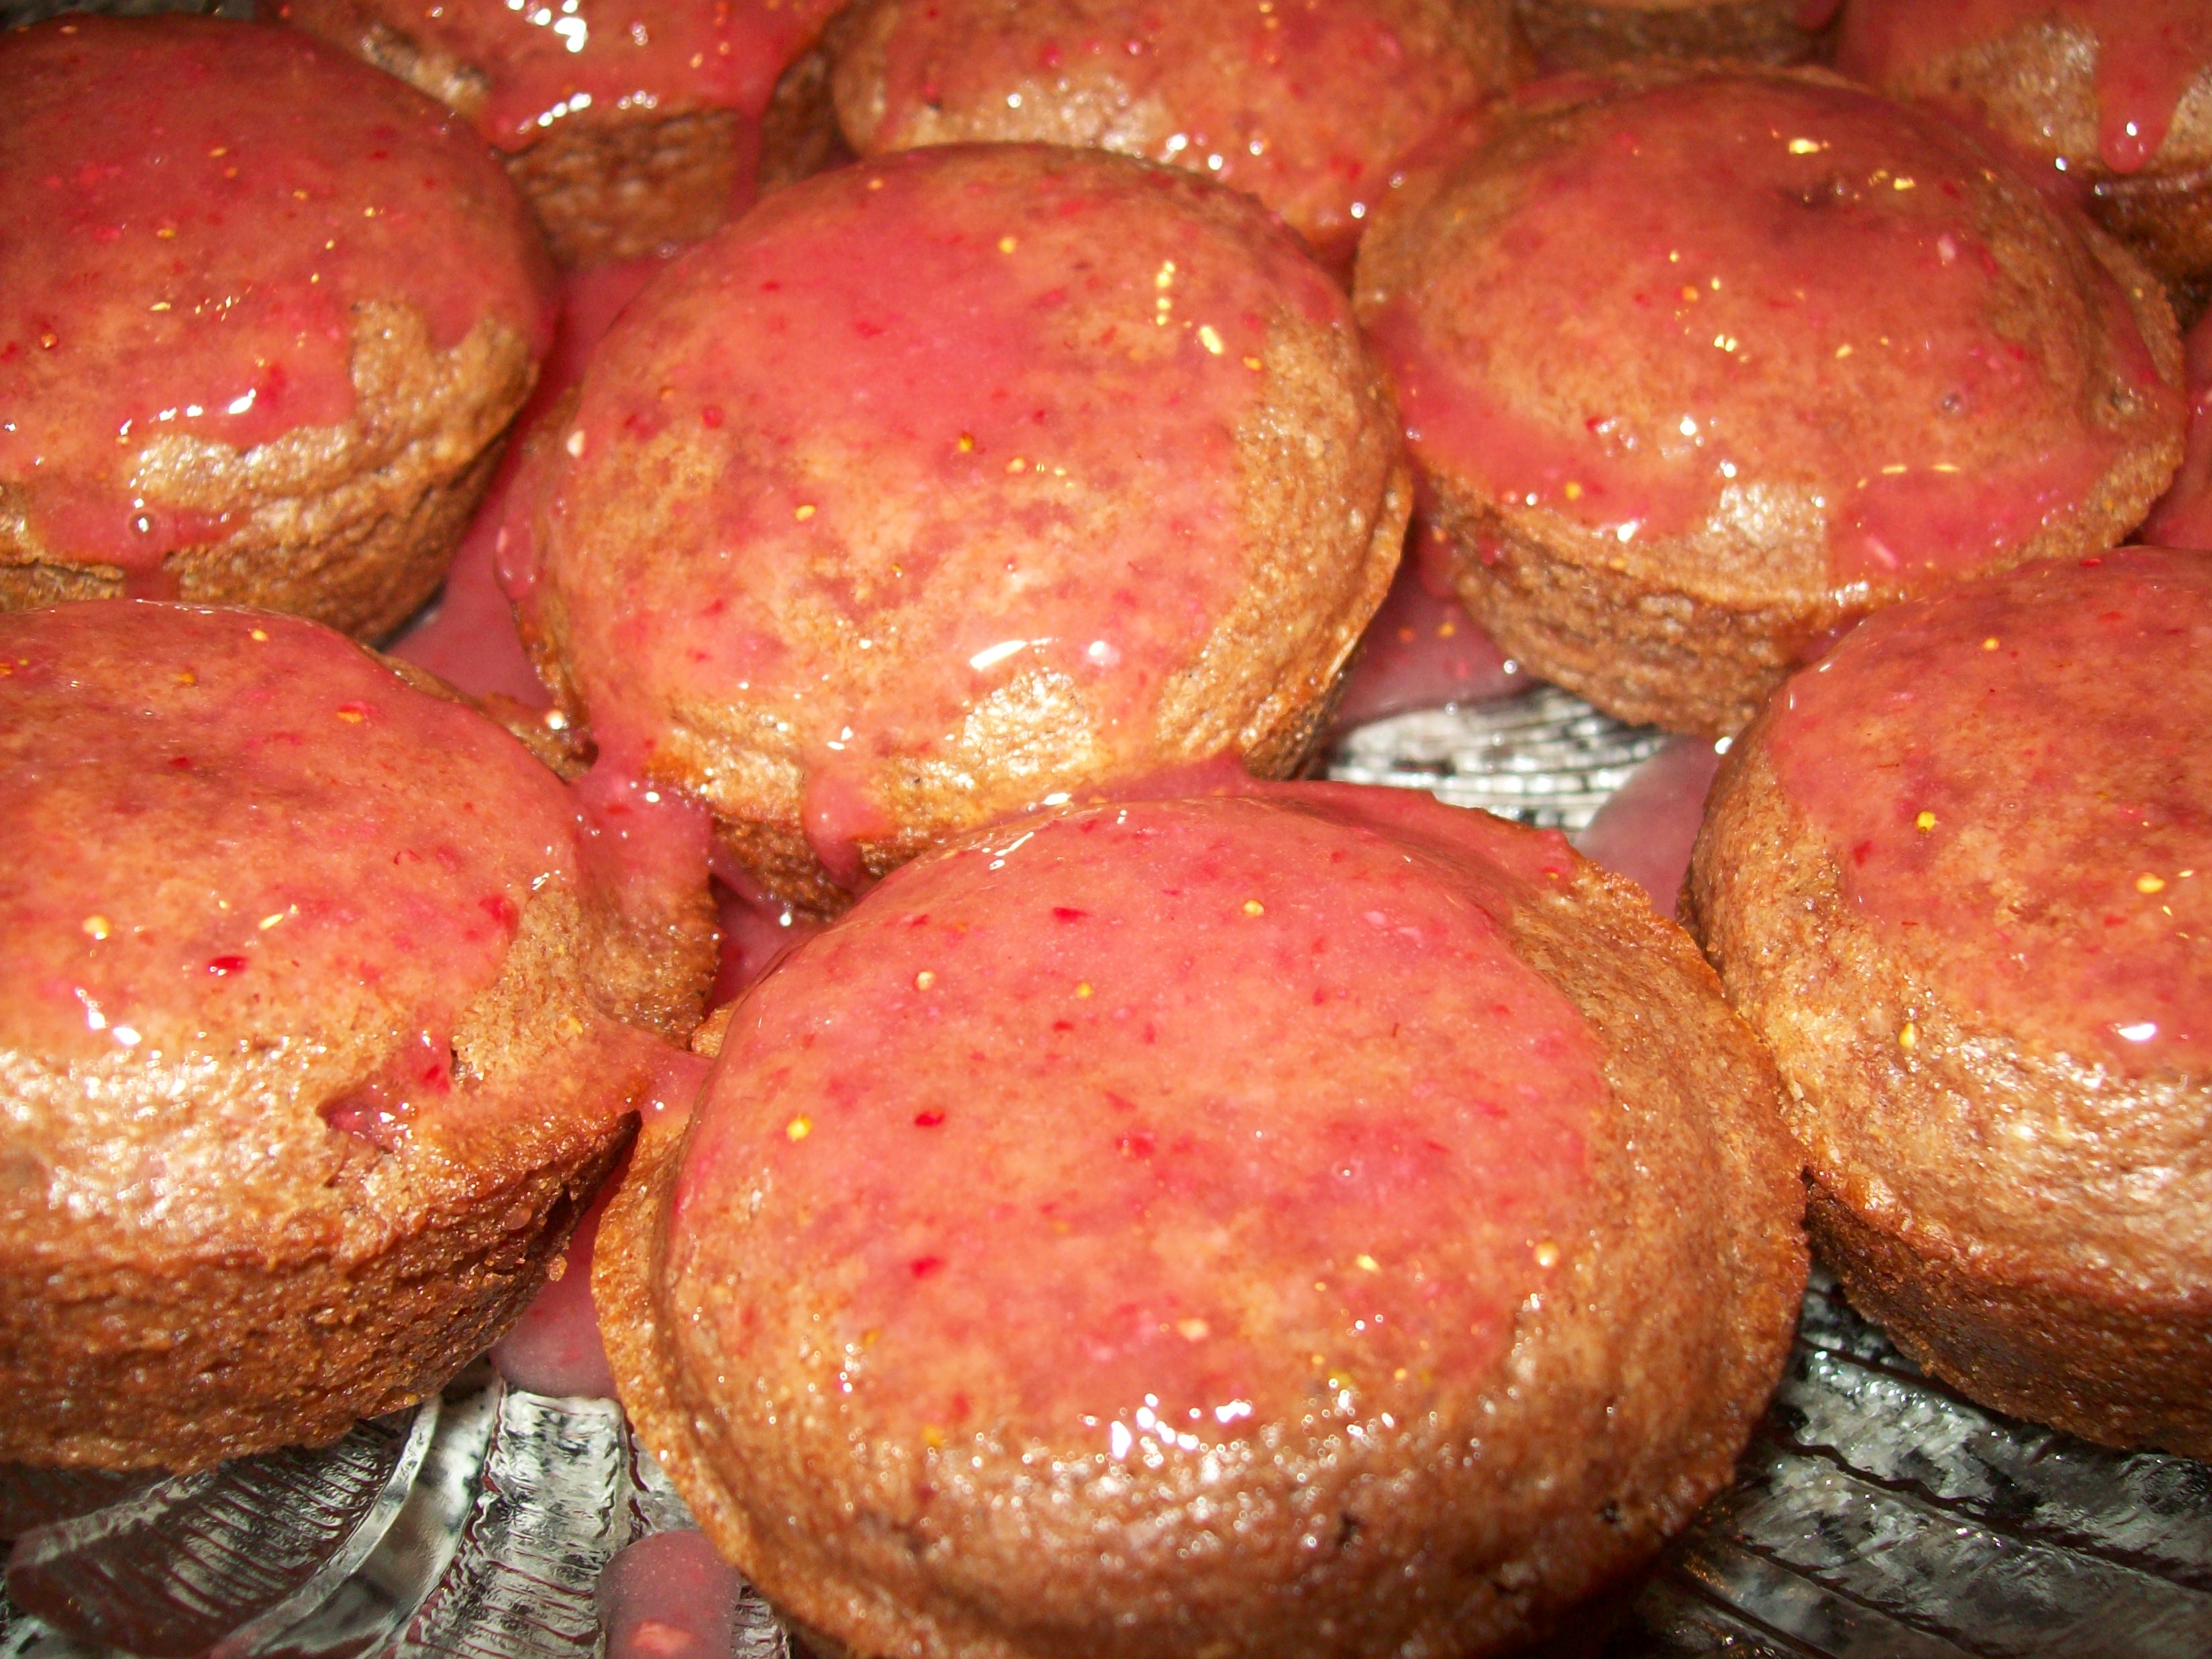
We chose to make Red Velvet Cupcakes, but we had to healthify the recipe to make it as lowfat as possible. Even our frosting was healthier than the original version. I searched and searched online for a relatively simple recipe since we need to make 100 cupcakes for the Cupcake Wars.
That’s right, I said One Hundred Cupcakes.
I now know just how many cupcakes 100 cupcakes actually is. And, it’s actually a ton.
I found a basic recipe online and we modified it to be as low fat as possible. The recipe needed to be doubled, twice, so quadrupled really. In total we made over 125 cupcakes on Saturday.

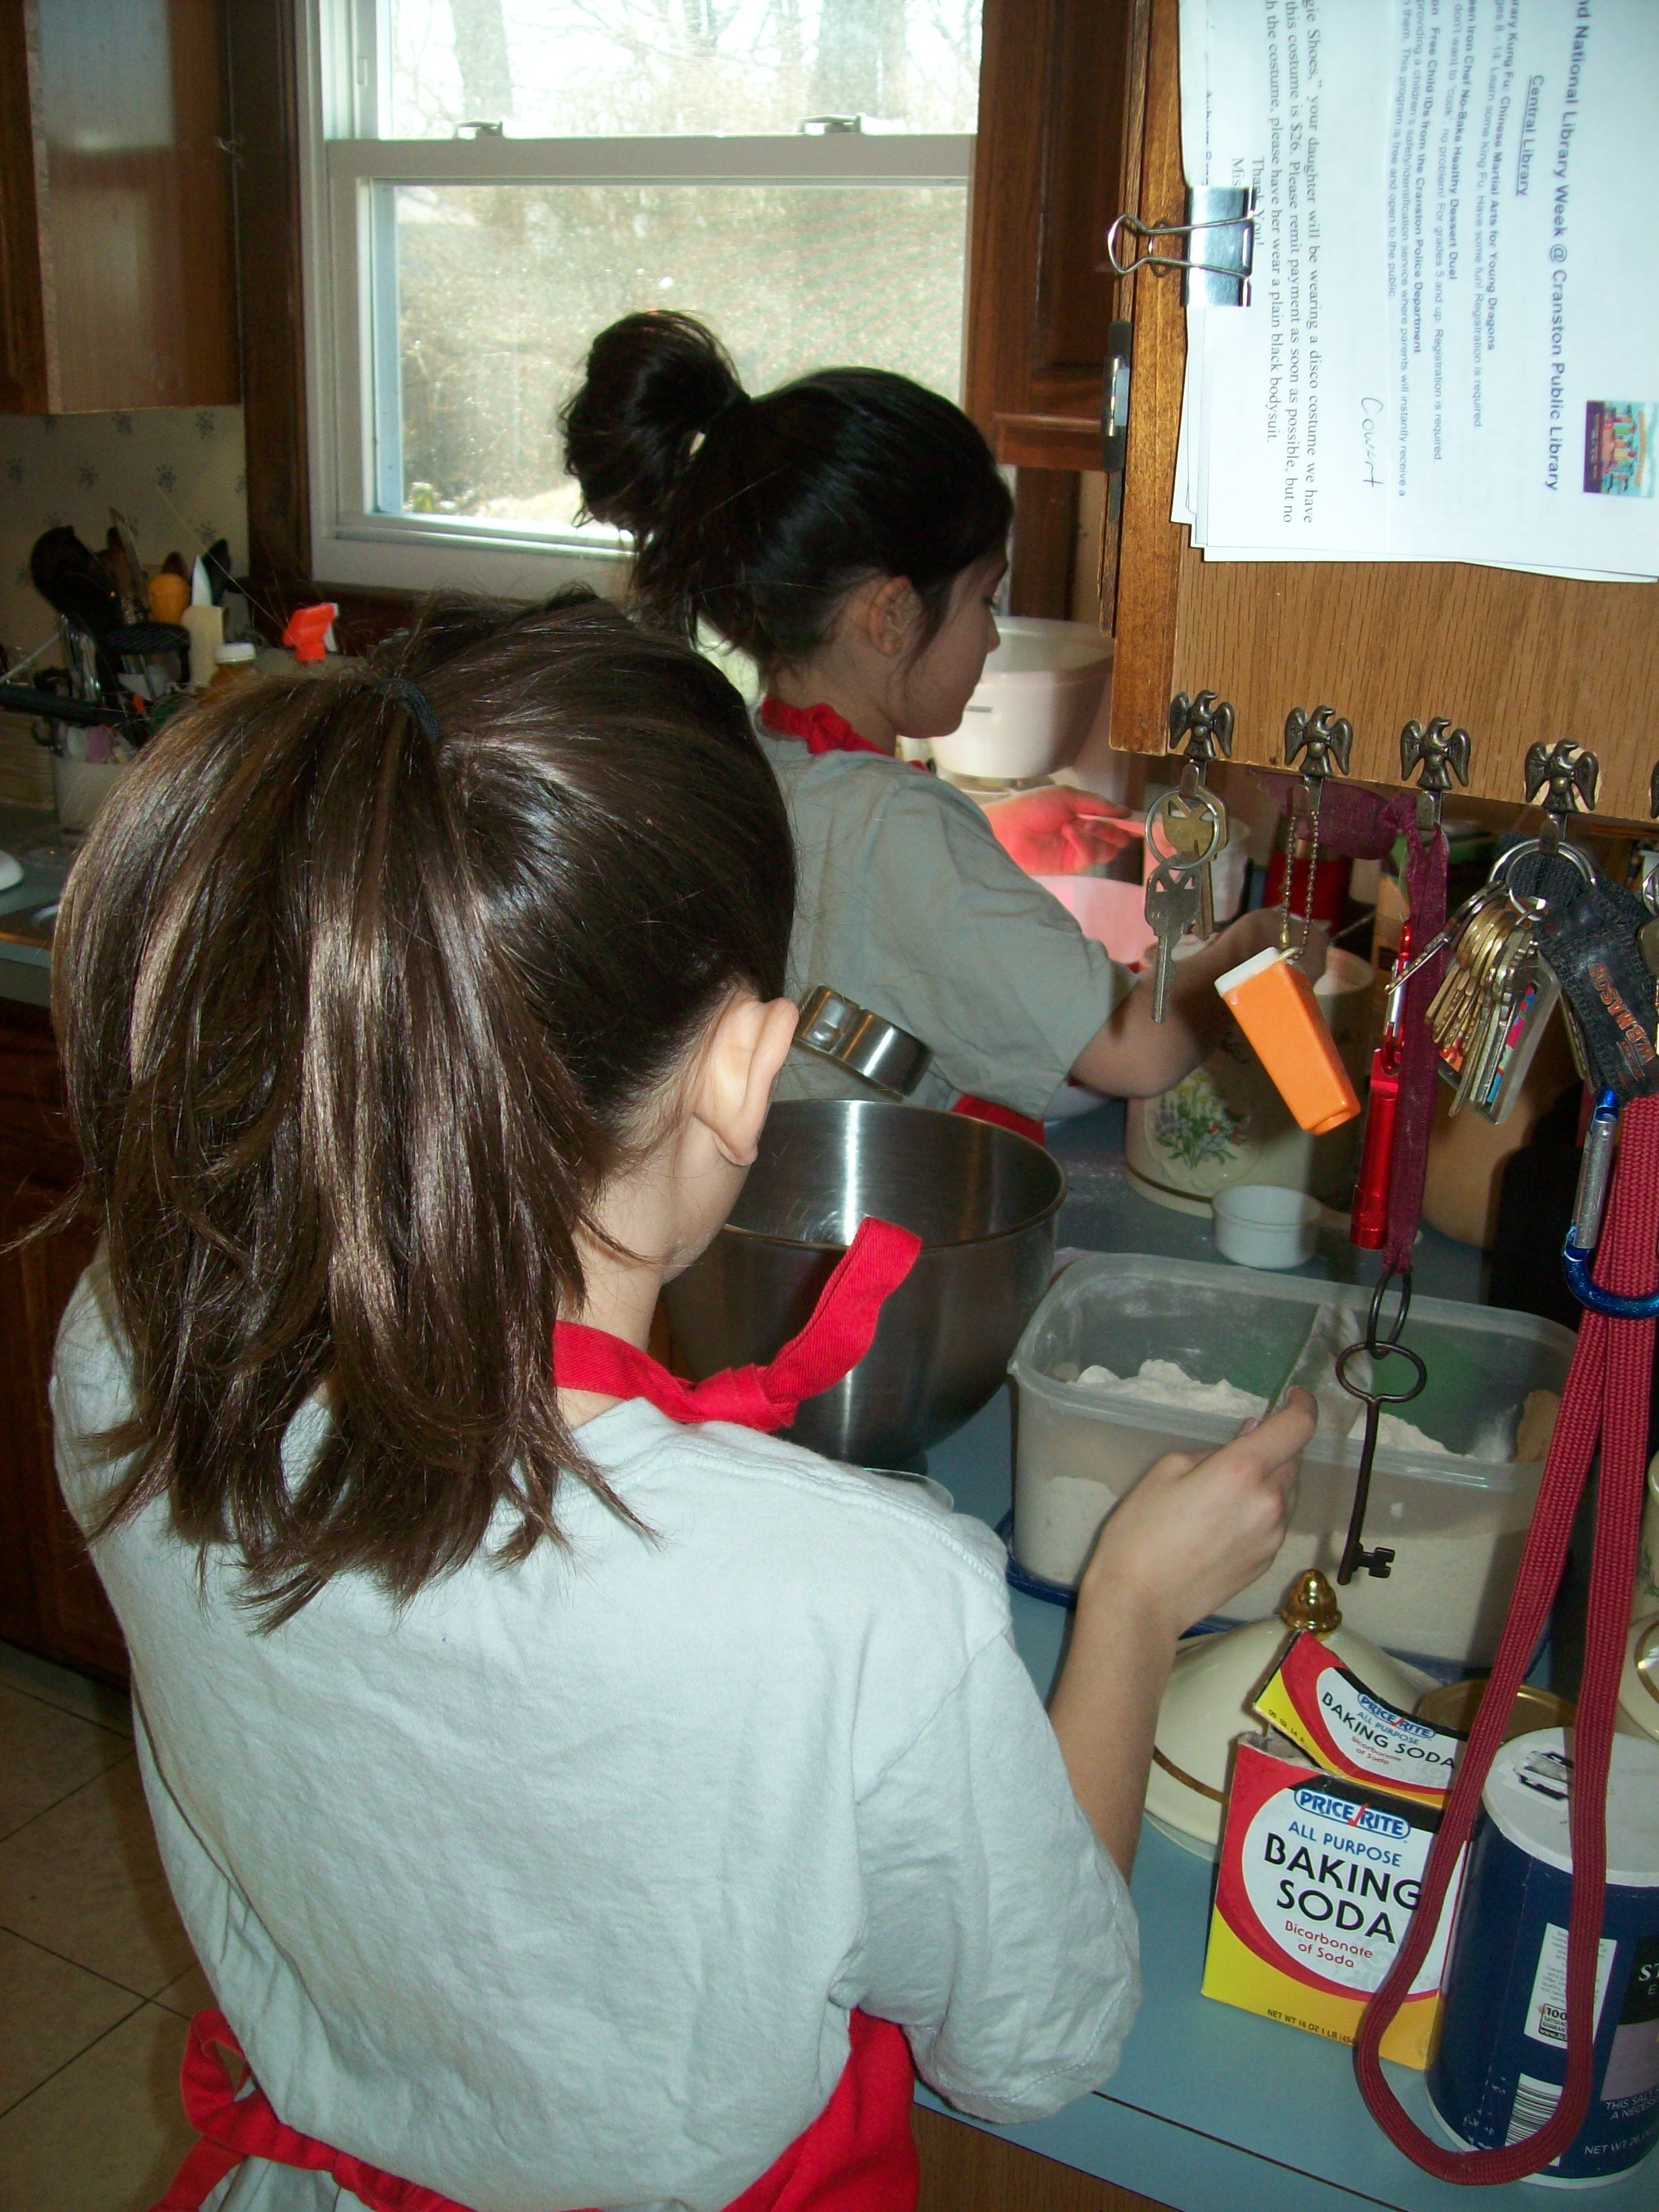
I had the girls doubling their measurements at the same time.
I quickly realized several things. The first thing I realized was that I could not make a quadruple recipe all at once. I had nothing big enough to mix in or mix with. My Kitchen Aid mixer cannot handle more than a double recipe and for this recipe, it could barely handle that.
The second thing I realized is that my kitchen is small enough that I had to really be efficient in how I did things or it’d be an explosion with ingredients, measuring tools and the like, everywhere.
The third thing I realized was that this was going to be a very long process and since it was supposed to be the girls baking more than me doing the baking, I needed to capture their attention in the beginning before they ran out of steam.
Finally, I realized I had no place to store 100 cupcakes frosted, so I needed to frost on Sunday morning before we left for the event.
Lots to think about, lots to plan out.
To start, we took out our ingredients and measuring tools for the cupcakes and I had each girl measure out what we needed and then I put all the ingredients and tools away.

I mixed both batter and frosting in this at points during the day. It’s a lobster pot.
Next, I found the biggest bowls and pans I had and I mixed what I could in my Kitchen Aid, creaming the butter and sugar and eggs and then transferring it to bigger bowls for mixing and scooping.
I’d bought an extra muffin tin back in February, as well as silicone heart shaped muffin cups. I knew that I could fit both muffin tins in the oven at the same time while I had the kids scooping into the heart shaped cups and then when the tins came out, the trays of cups could go in. It was like an assembly line. We must’ve done that four times.
I was wishing right then for a double oven.

It was an exciting morning as we got ready to go and finished up frosting and decorating our cupcakes.
But, ultimately it all worked out, and Sunday morning it was “all hands on deck” for frosting and decorating. I’d bought the biggest boxes I could find at a local cake baking supply store. Each box held about 65 cupcakes so one was full and one was about half full.
At one point, Caroline said, “Even if you don’t win, this has been a great experience,” and I had to agree. We hadn’t even gotten there yet, but I was already pleased with the girls and their hard work.
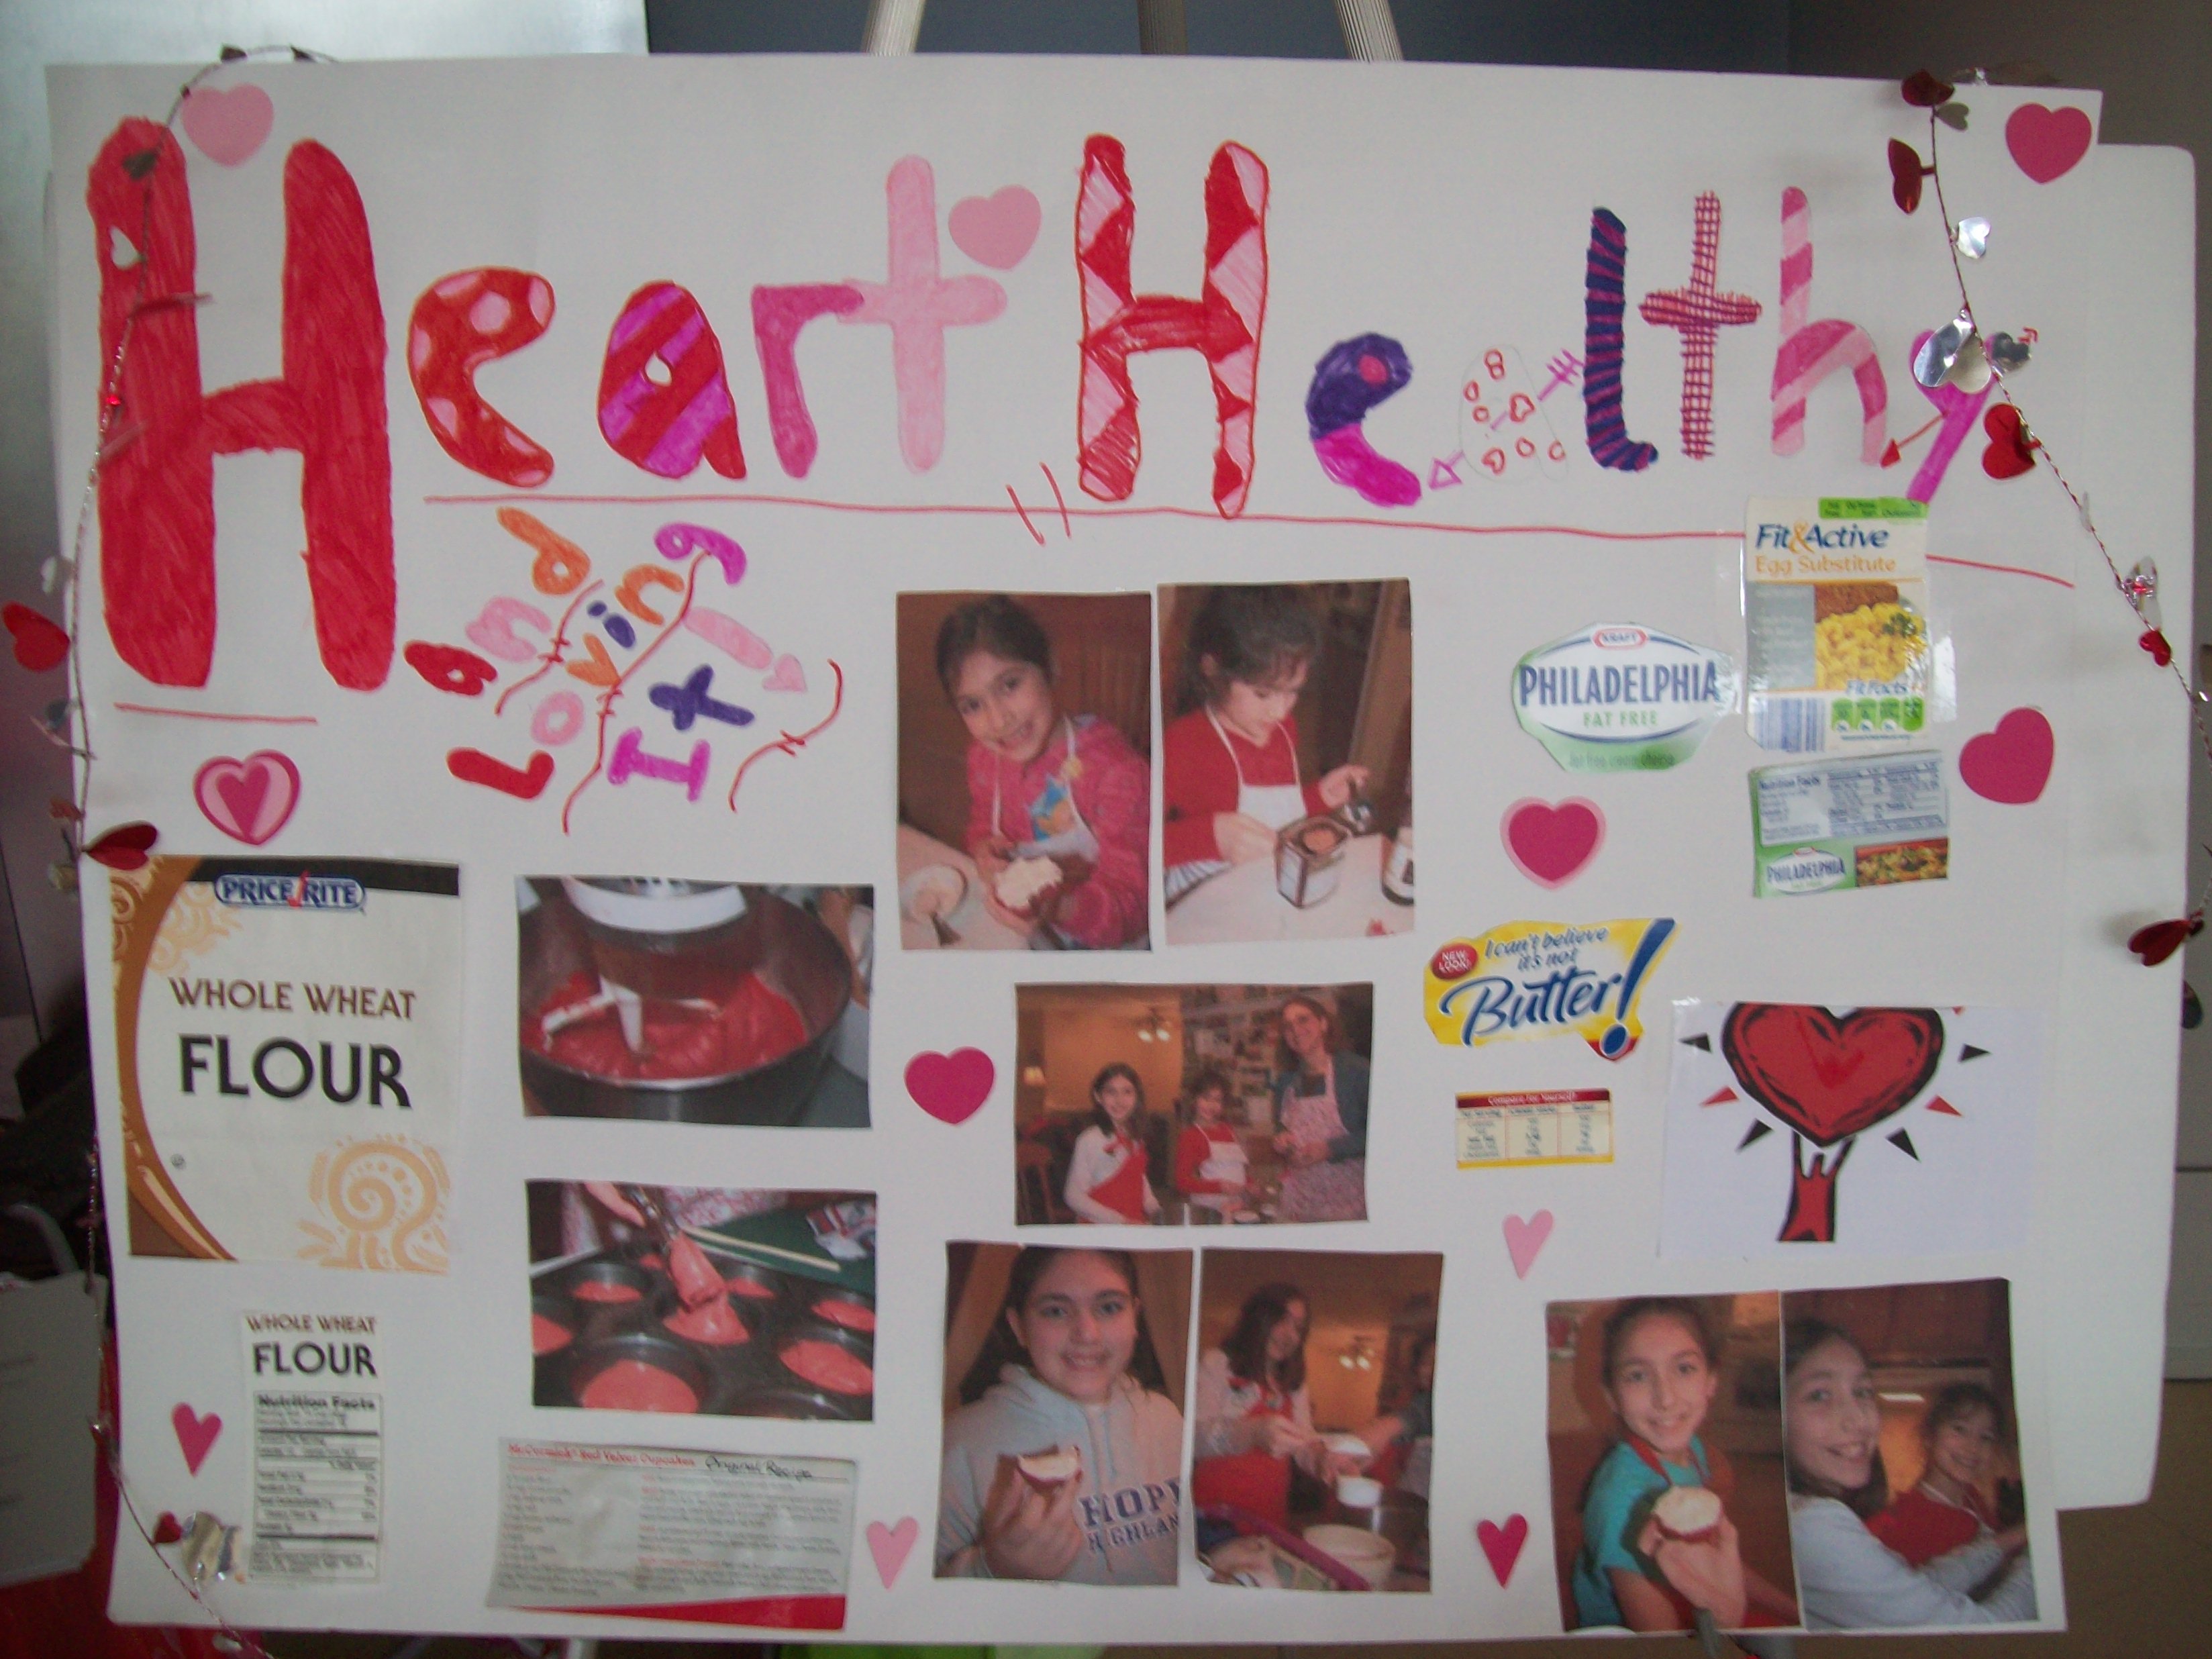
Once there, we set up our table. The girls had made a poster showing all the things they’d used to make the original recipe healthier and we put that up next to our table. We were pleased with how our theme and our display came together. I felt confident that the cupcakes tasted good and our set up looked good. We walked around and talked to everyone, took pictures of all the displays, planned out which cupcakes we’d be going back to purchase and taste. And then we waited for the doors to open.

Our poster showed people the things we’d done to healthify our cupcakes.

Utilizing those cookie selling skills from Girl Scouts!
The Cupcake Wars sold out in just two hours, less than the four hours planned. It was amazing to watch as the cupcakes went, one by one. I was happy as I sat back and watched my two younger girls utilizing the skills they’d learned during the many hours spent set up at Girl Scout Cookie selling booths. I watched them speak to the customers, I watched them keep their table set up and looking full at all times. I was happy with this new, added experience that they were getting. To me, that alone was worthwhile.
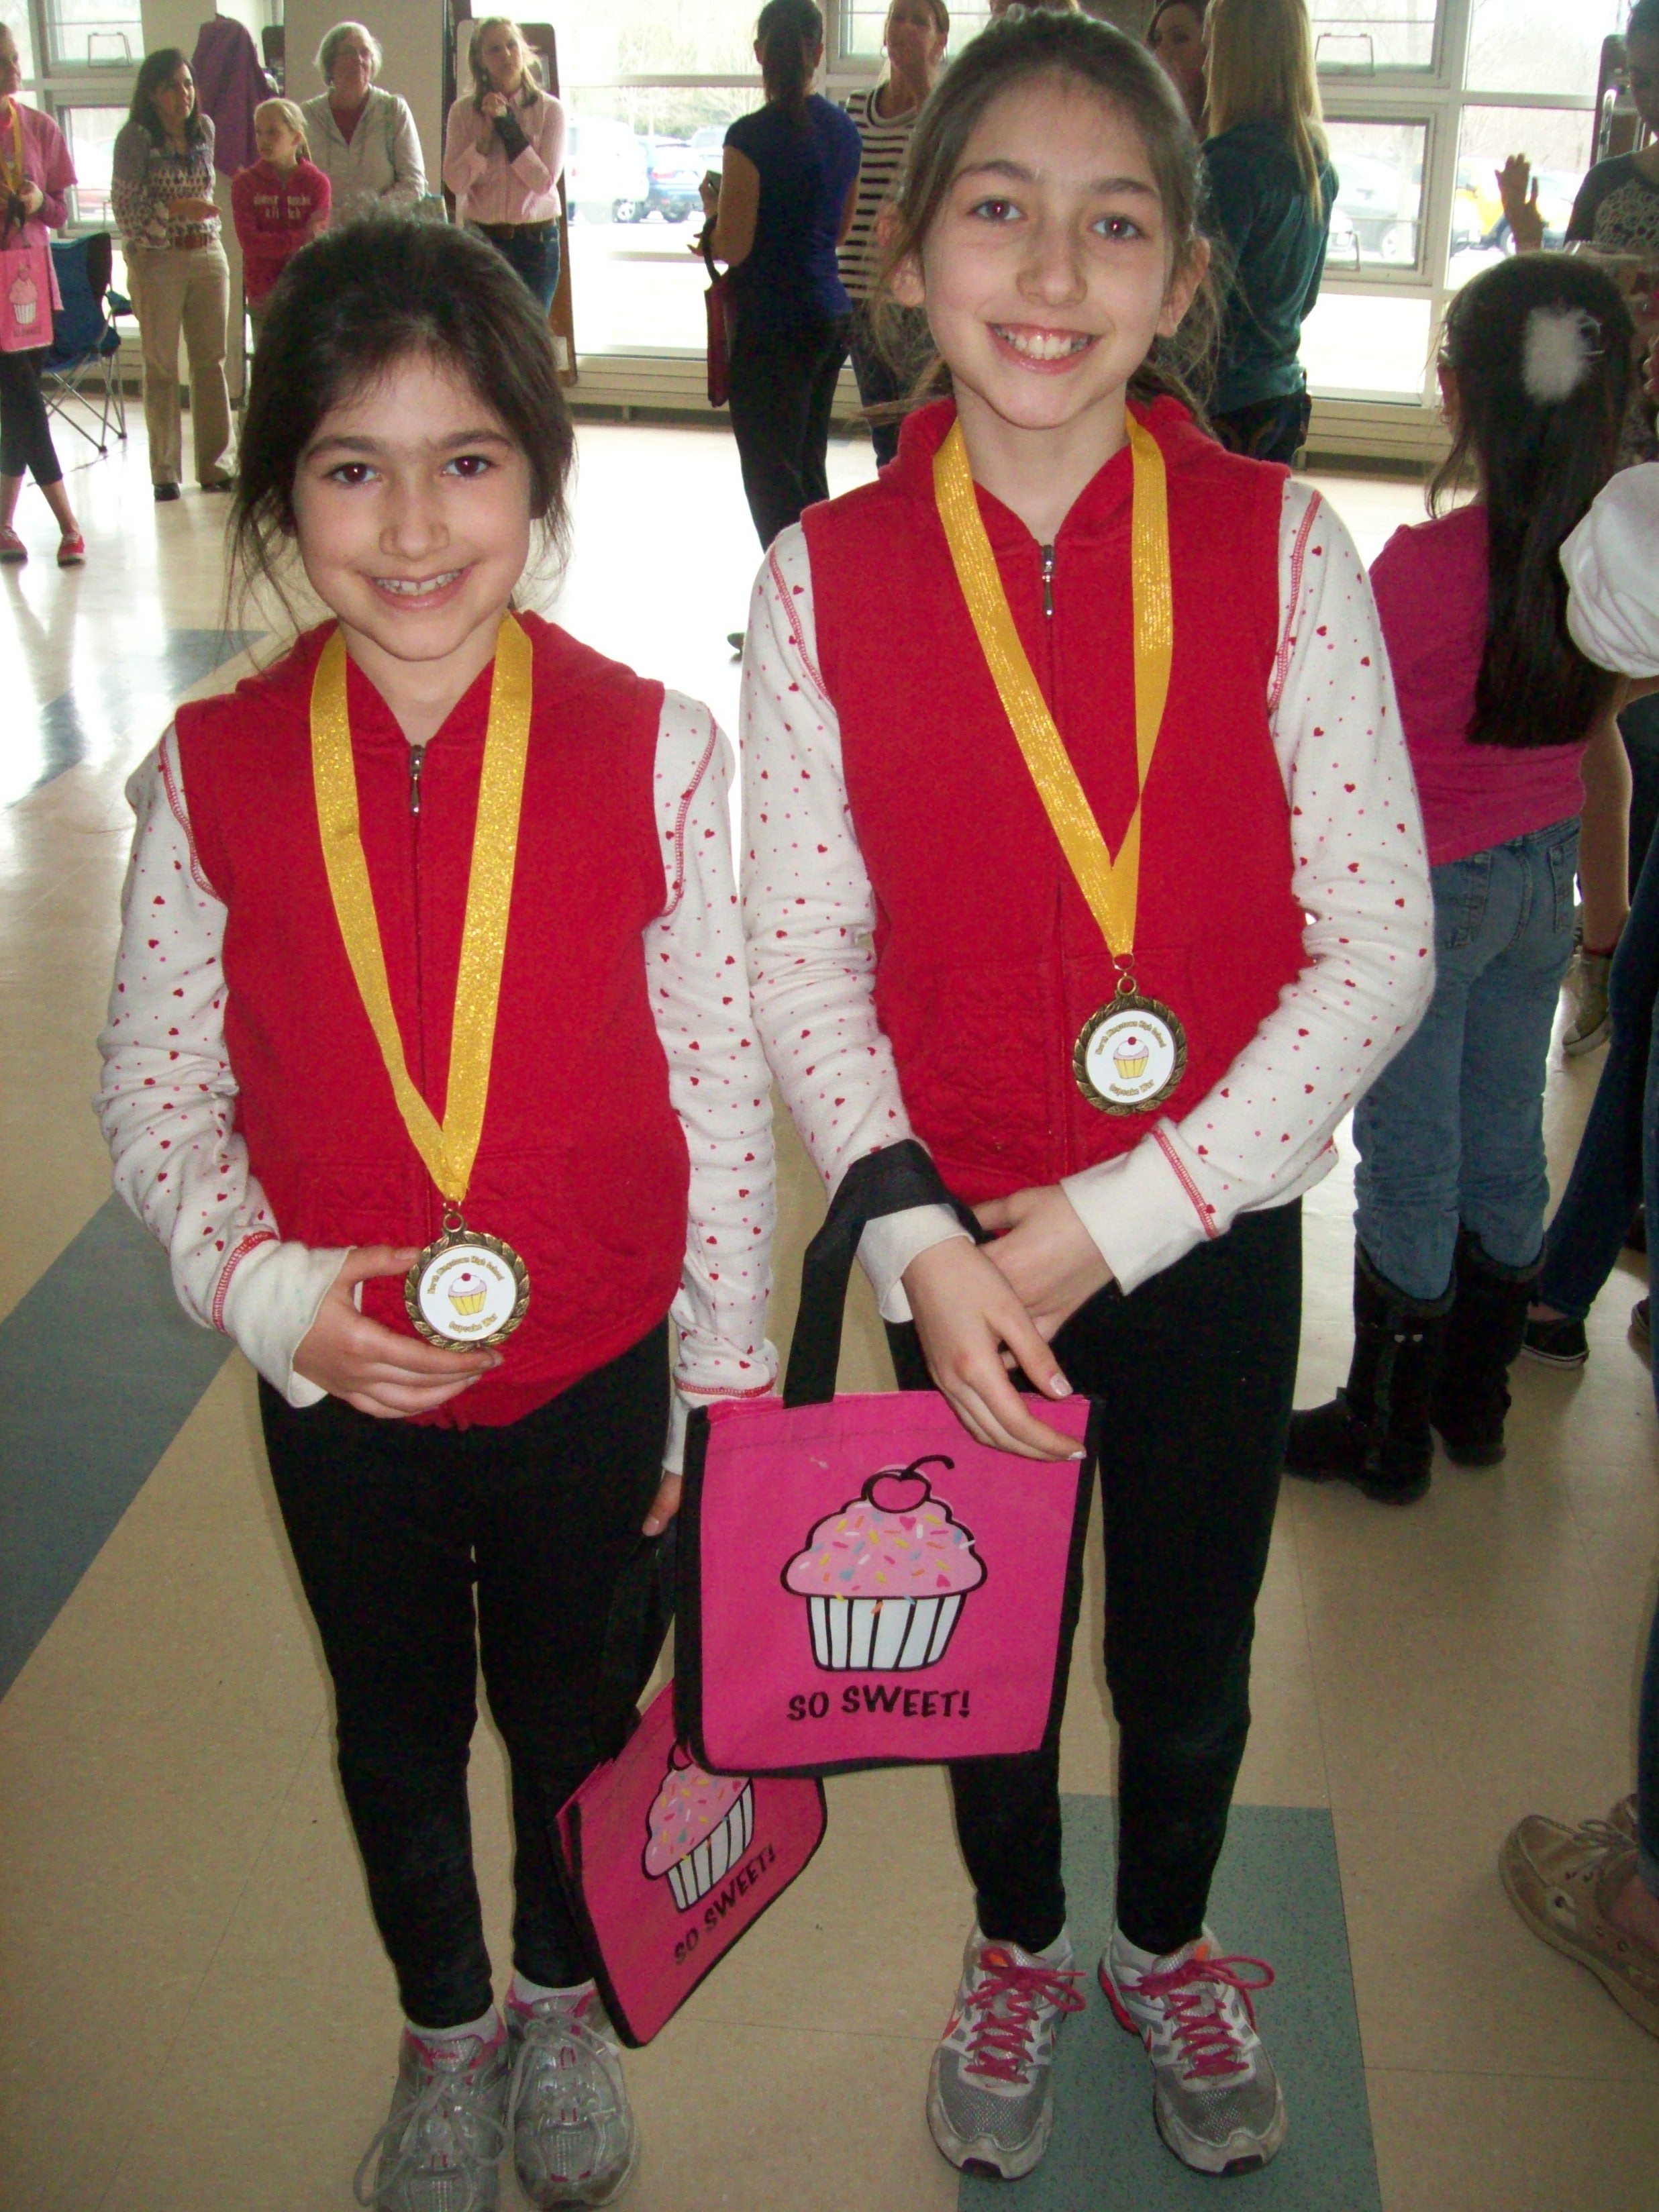
The girls ended up tying for first place in the Elementary division. They were thrilled and I was happy for them. It taught them that their hard work and efforts were all worthwhile and it taught them that people still like healthy. There were several judges from all around the community where the contest was held, and we were glad they liked our cupcakes as much as we did!
To finish up, I thought I’d share with our Heart Healthy Red Velvet Cupcakes recipe. The modifications we made are all things that you can easily find. We had a copy of the recipe on our table for people to take in case they wanted to bake their own at home. I will say, I quadrupled the frosting, but we had A TON leftover. A double recipe of frosting would have been more than sufficient.

HEART HEALTHY AND LOVING IT
Heart Healthy Red Velvet Cupcakes and Frosting
Ingredients
Makes 24-30 cupcakes
1 1/4 cups white flour
1 1/4 cups wheat flour
1/2 cup unsweetened cocoa powder
1 teaspoon baking soda
1/2 teaspoon salt
1 cup I Can’t Believe It’s Not Butter or Smart Balance Baking Sticks, softened
2 cups sugar
1 cup egg substitute (1/4 cup equals one egg)
1 cup nonfat sour cream
1/2 cup skim milk
1/2 ounce red food coloring
2 teaspoons pure vanilla extract
Vanilla Cream Cheese Frosting:
1 eight ounce package non-fat cream cheese softened
1/4 cup I Can’t Believe It’s Not Butter or Smart Balance Baking Sticks, softened
2 tablespoons nonfat sour cream
2 teaspoons vanilla extract
2 cups confectioner’s sugar
(By using nonfat cream cheese the frosting will come out runny. Therefore we added in extra confectioner’s sugar and some flour to thicken it up until the taste and consistency were to our satisfaction.)

Our table display
Tags: baking, cooking with kids, Cupcake Wars, dessert, healthy red velvet cupcakes, Jennifer L. Cowart, kids, McCorrmicks' Red Velvet Cupcakes