On Friday morning it didn’t seem like the snow was going to do a whole lot.
I’m sitting here right now as I type this, watching the Grammy’s with my family. The TV is on and the lights are on. Most importantly, the heat is on and running.
We survived the Blizzard of 2013, Nemo, relatively unscathed. As a native New Englander, I have memories of the Blizzard of 1978, unnamed as it was, and was excited for my kids to have memories of their own of such an event; something for them to tell their children about the way I speak of 1978.
Leading up to the blizzard last week, the reports were flowing in. This was going to be the biggest winter storm in years. Loads of snow, big drifts, high winds and power outages. The meteorologists were having a field day.
I was excited. Stressed. Worried. Excited. Prepared. Nervous. Excited.
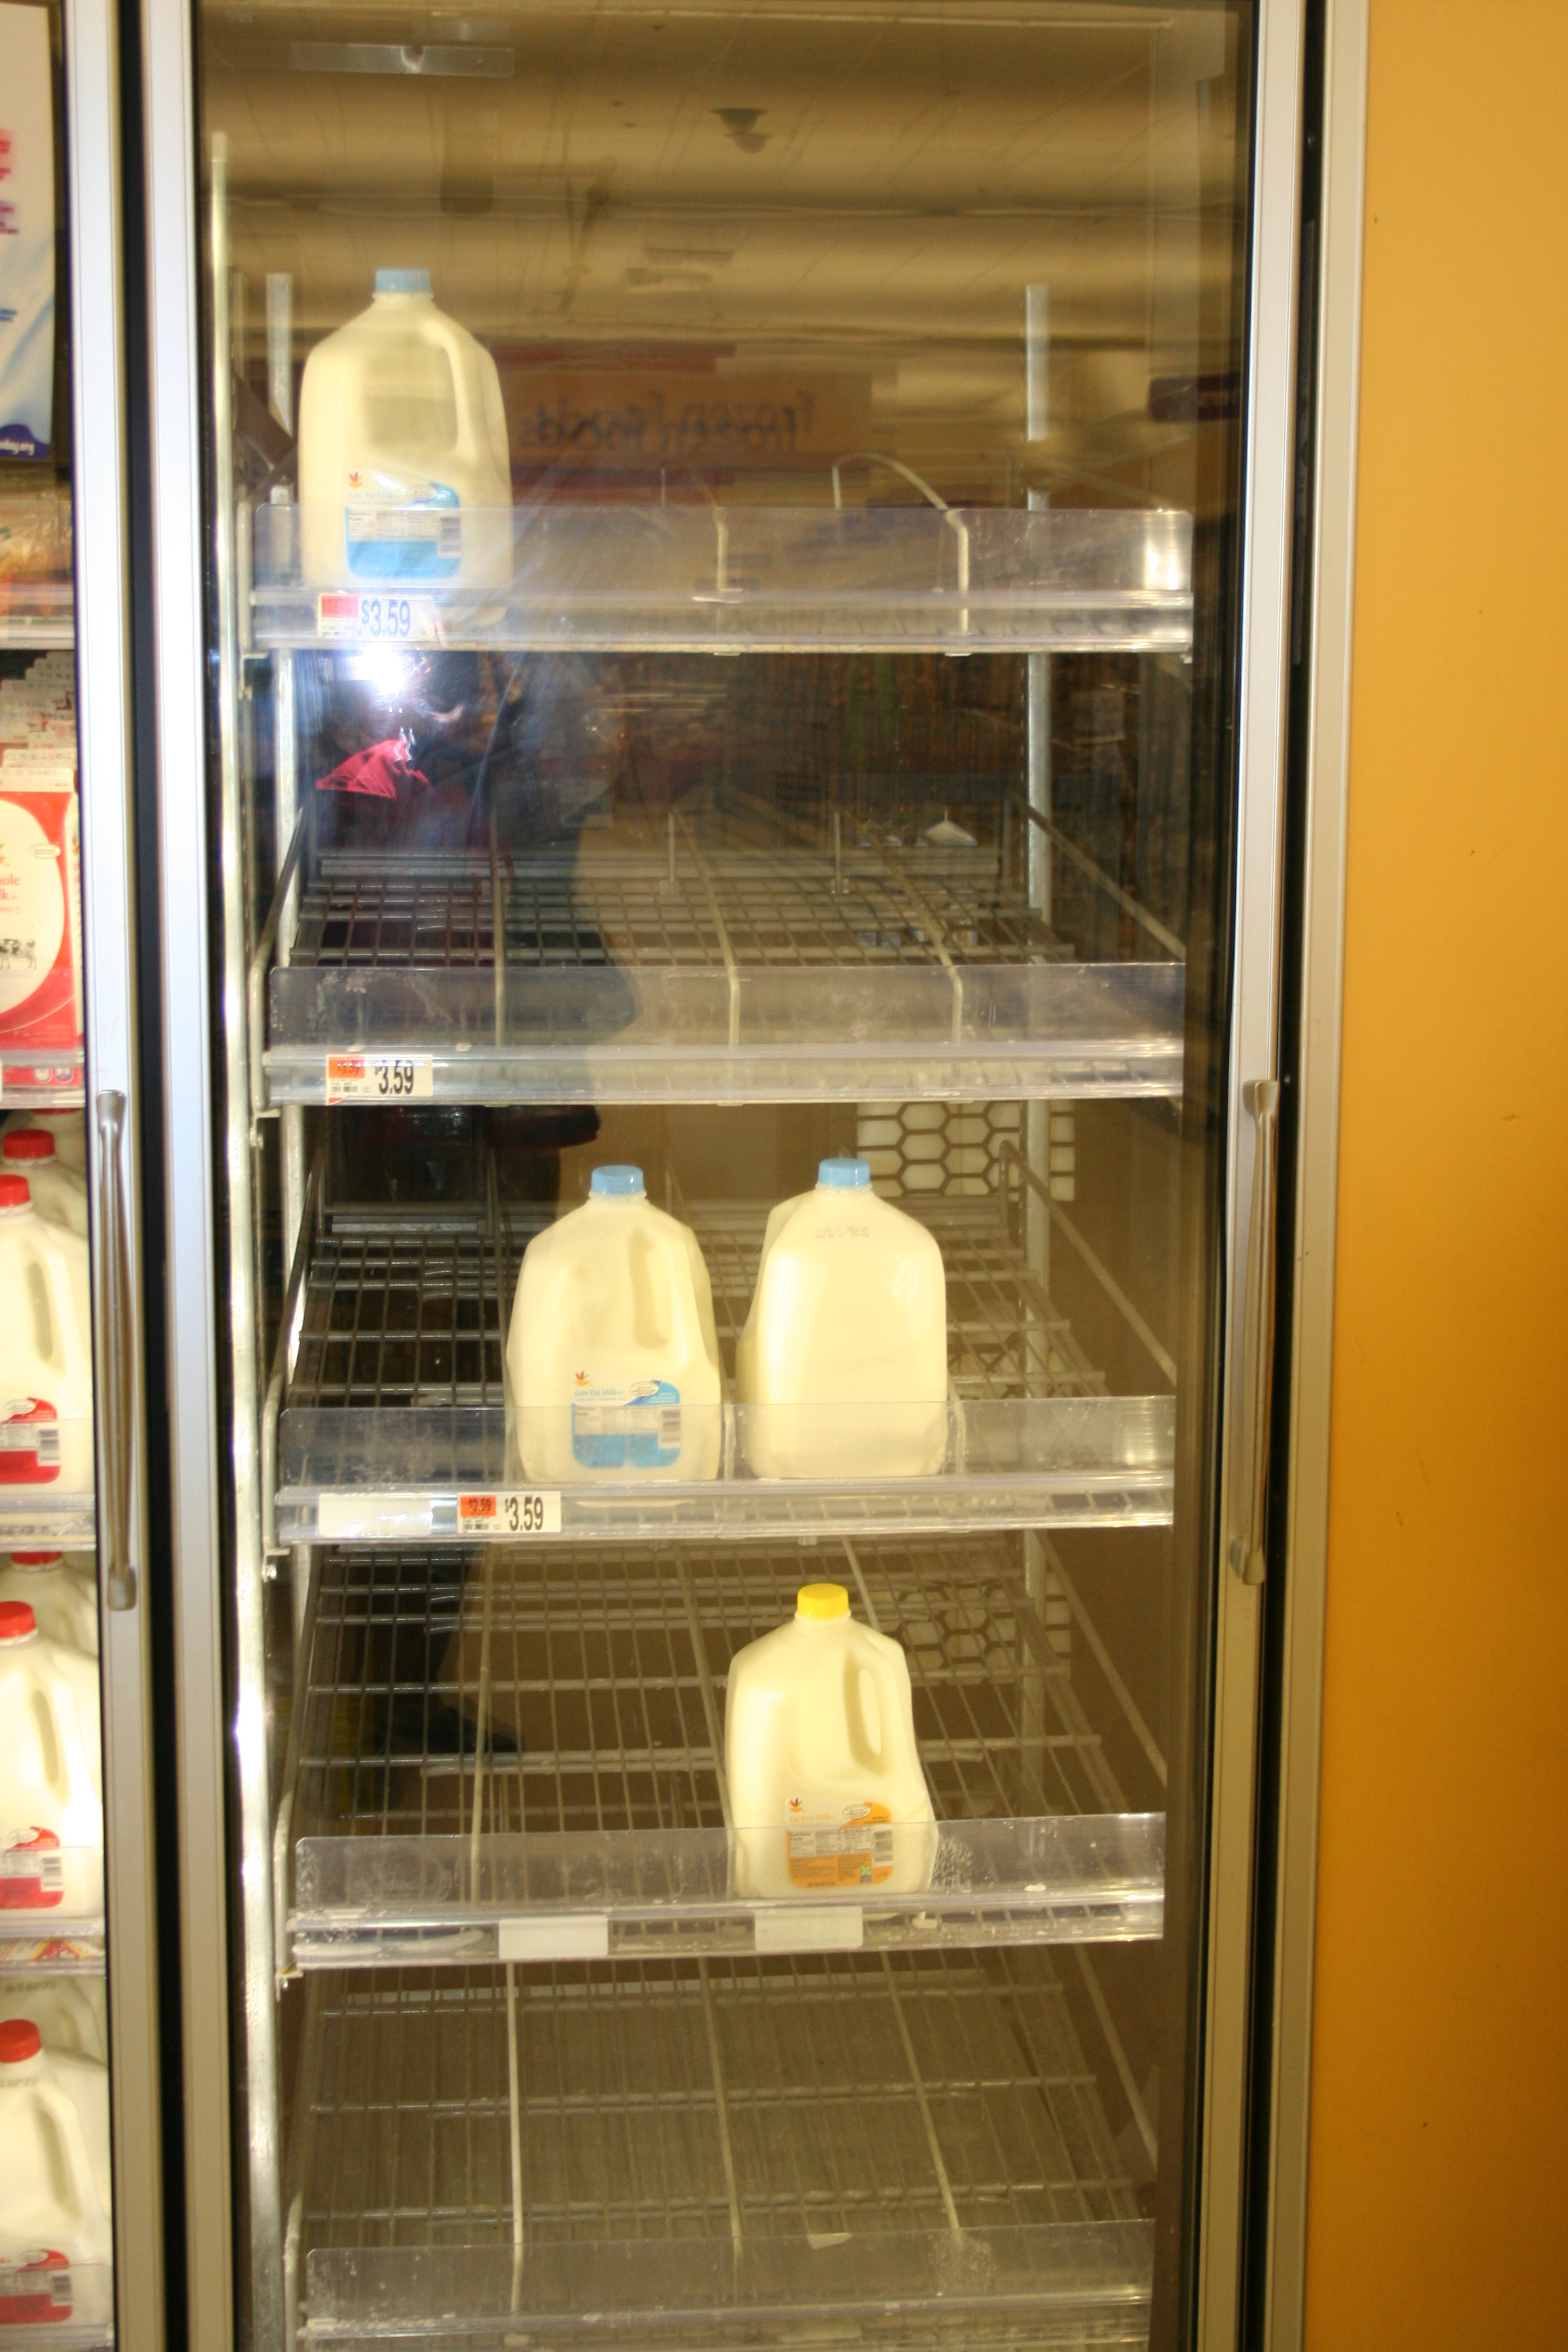
On Wednesday night, two days before the snow started, the shelves at the grocery store were already empty. The parking lot-chock full.
I spent much of Thursday running around in between covering stories, getting everything we’d be needing for the storm and everything for which my coupons would be expiring over the weekend, so that by Thursday night I was pretty exhausted, but we were ready. I saw crazy lines at the gas station and in the grocery stores. The shelves were empty on Wednesday night, the night before-the night before the storm.
School was canceled for Friday right out of the gate. So we got up Friday morning and did everything we could to be ready and the day passed pretty uneventfully as the snow began to pile up. We knew the worst of the storm was going to be on Friday night, overnight. We were expecting hurricane-force winds and we knew we’d be most likely losing power during one of the coldest months of the year.
By Friday night at bedtime we had 13″ of snow…and then the power went out.
Sure enough, the power went off at 9:00 pm on Friday night. Just prior to that time, the winds had really picked up. It was howling and the snow was coming in sideways. The one little tree in our yard was banging against the front of our house.
We saw blue lightning, and then green and red and pink.
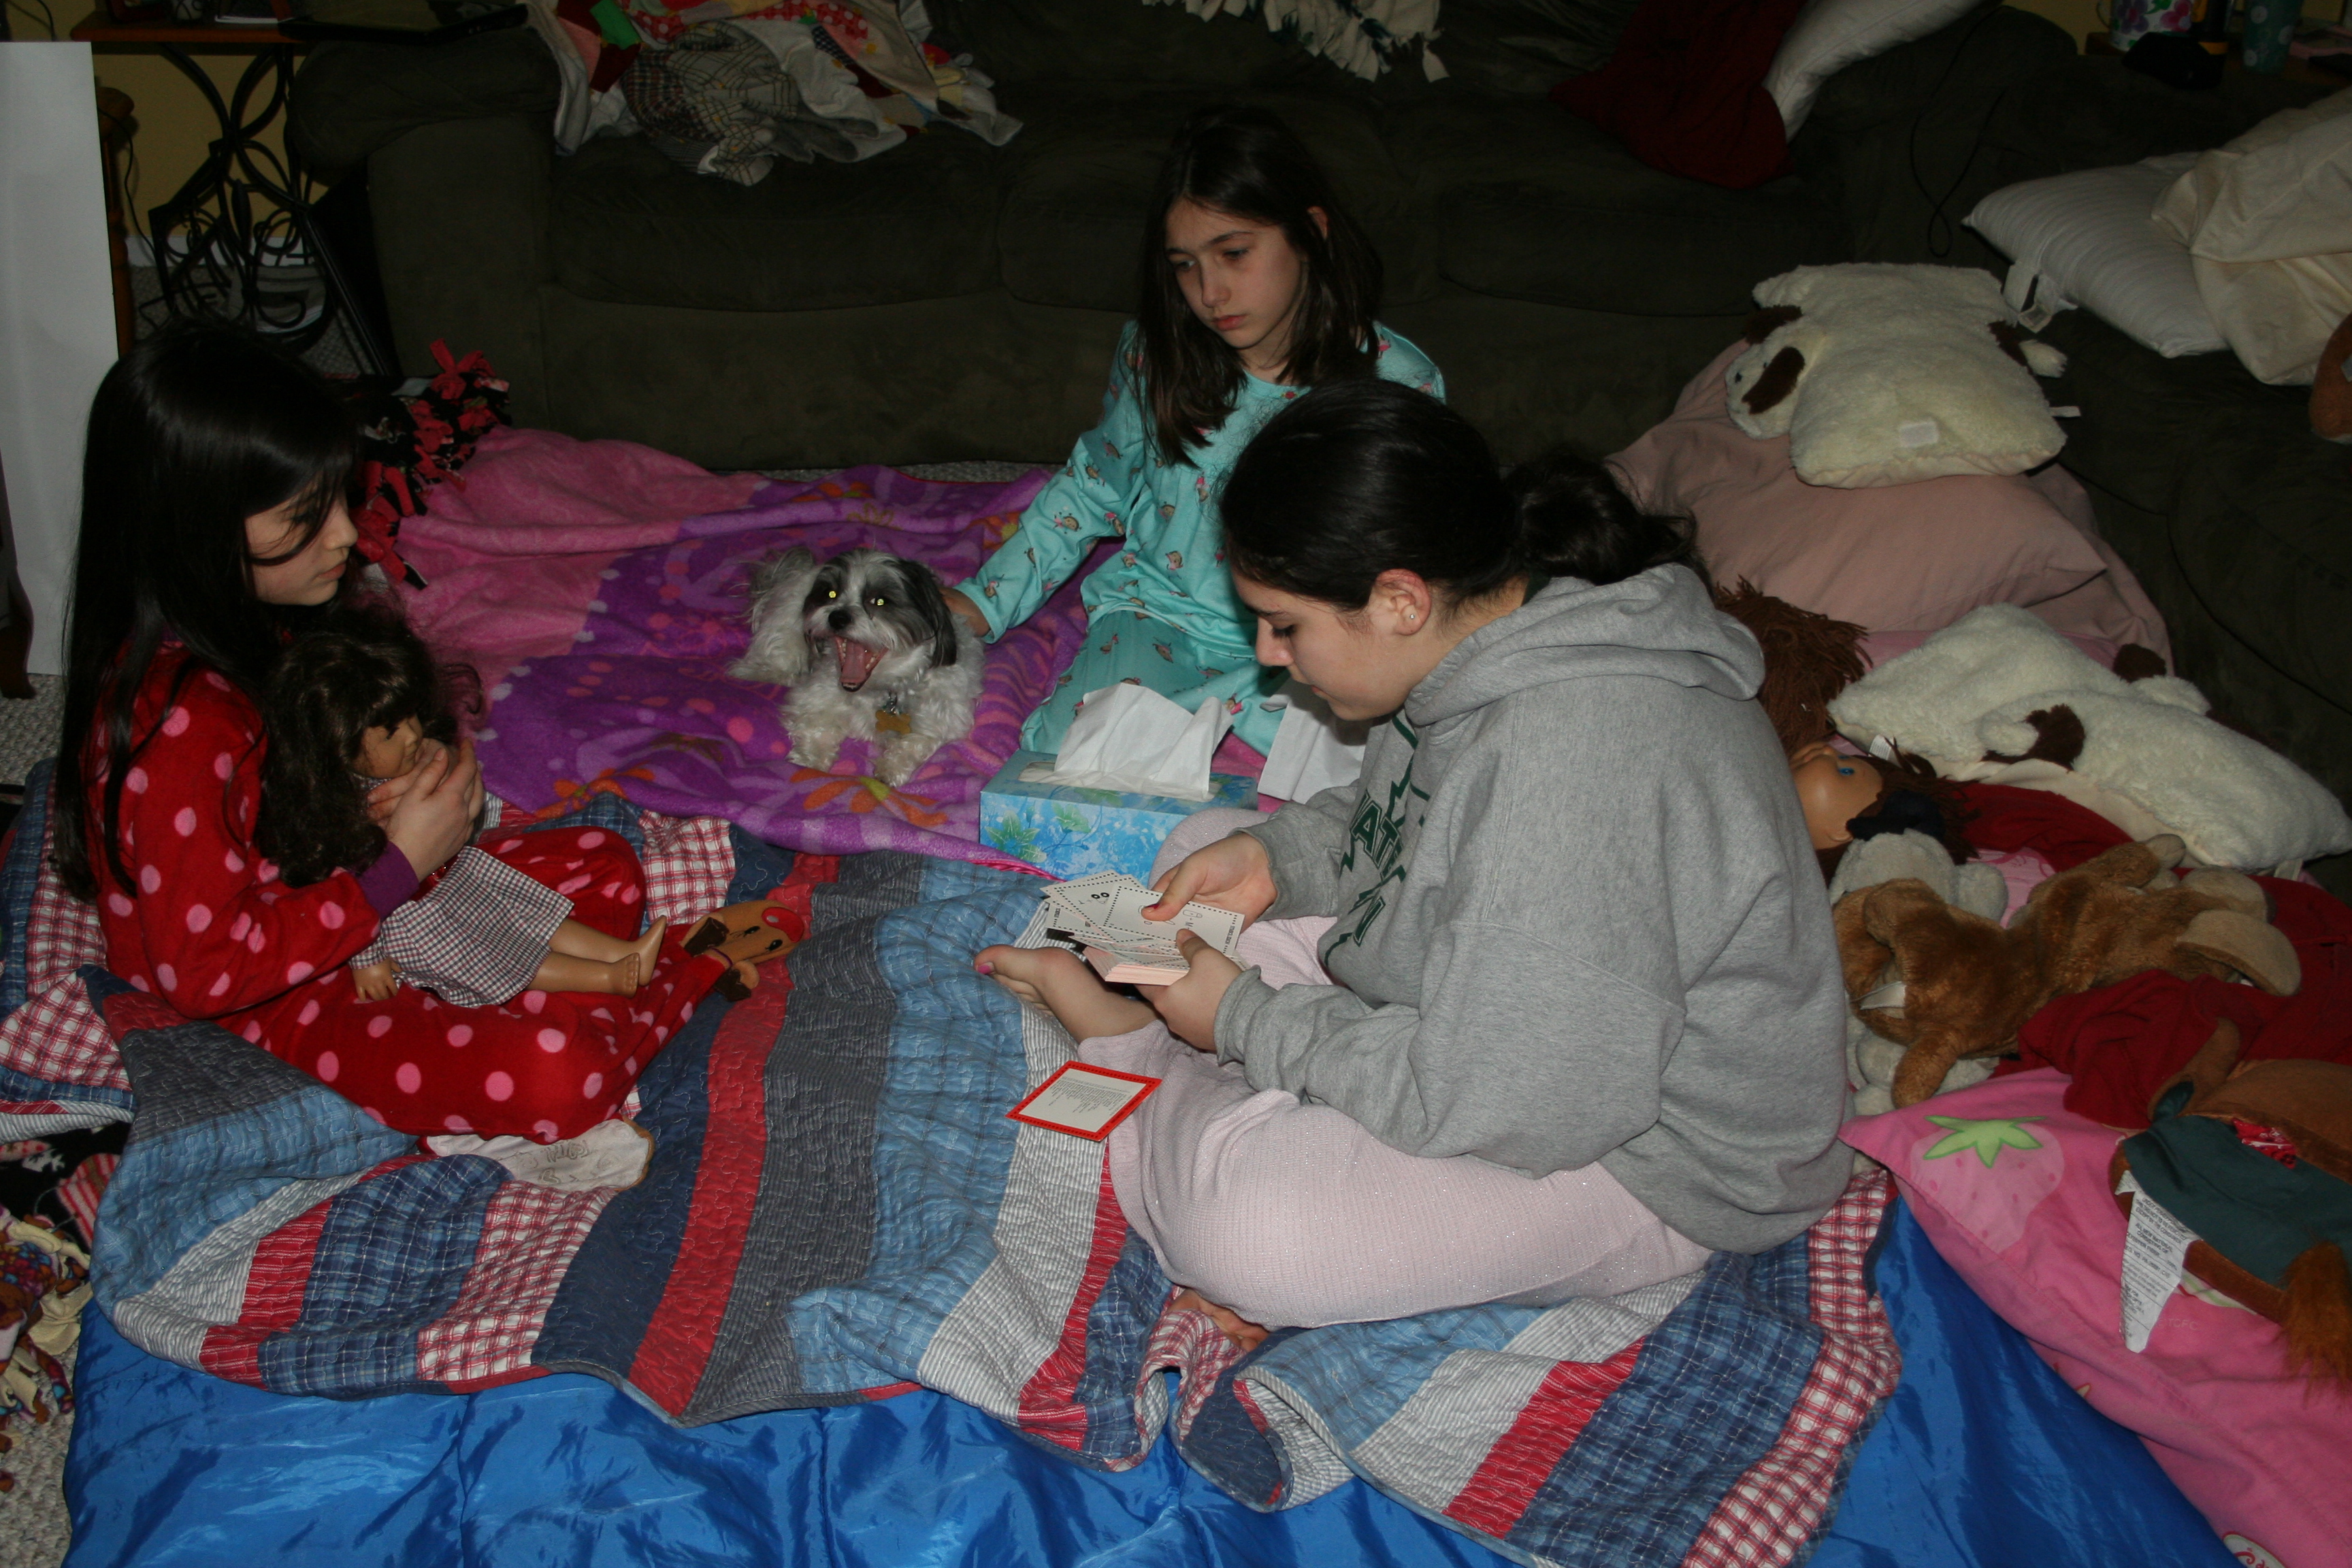
 It was crazy exciting and scary all at the same time. Once the power went off we knew we’d be having the Family Campout right in the middle of our living room. We brought out the sleeping bags for the kids, as well as every blanket we owned, and set them up in the middle, with us on the two couches on either side of them.
When we woke up on Saturday morning, it was stunning outside, to say the least. And freezing cold inside. It had gone down from my toasty 72 degrees to 58 degrees in our house. Brrr….
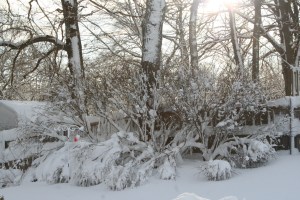
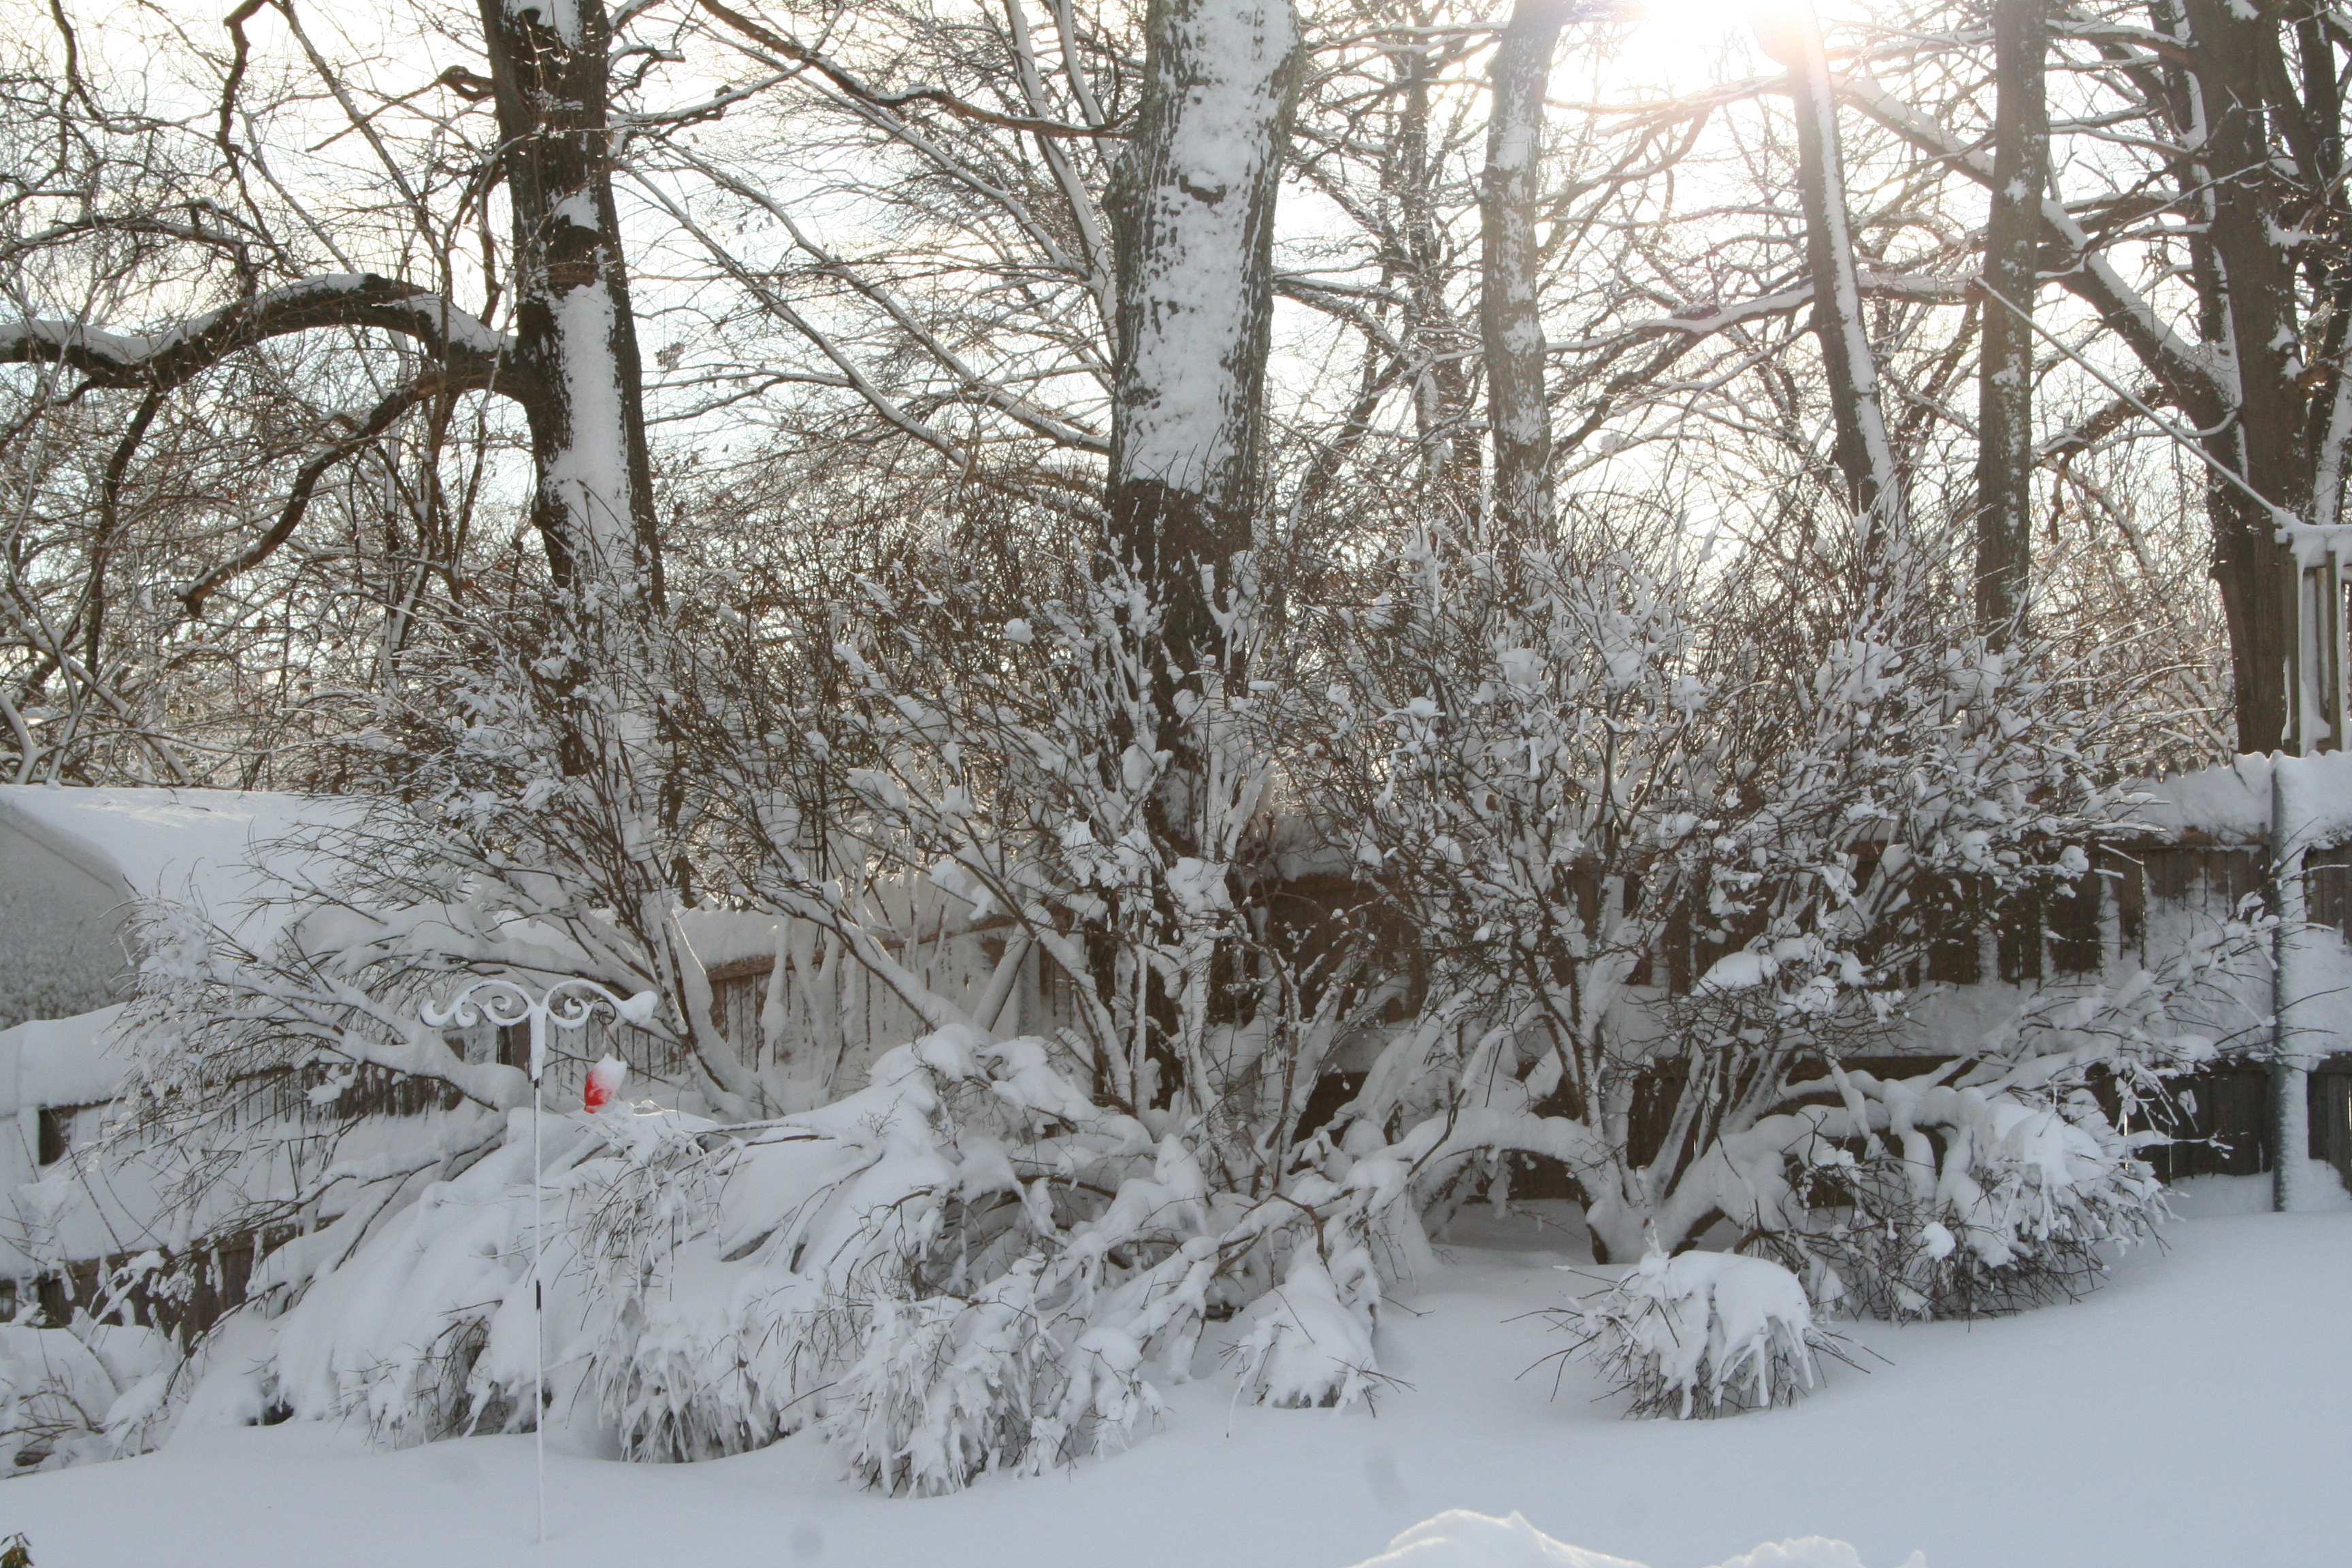
The branches of our bushes in the backyard were weighed down with the weight of the snow that had fallen overnight.
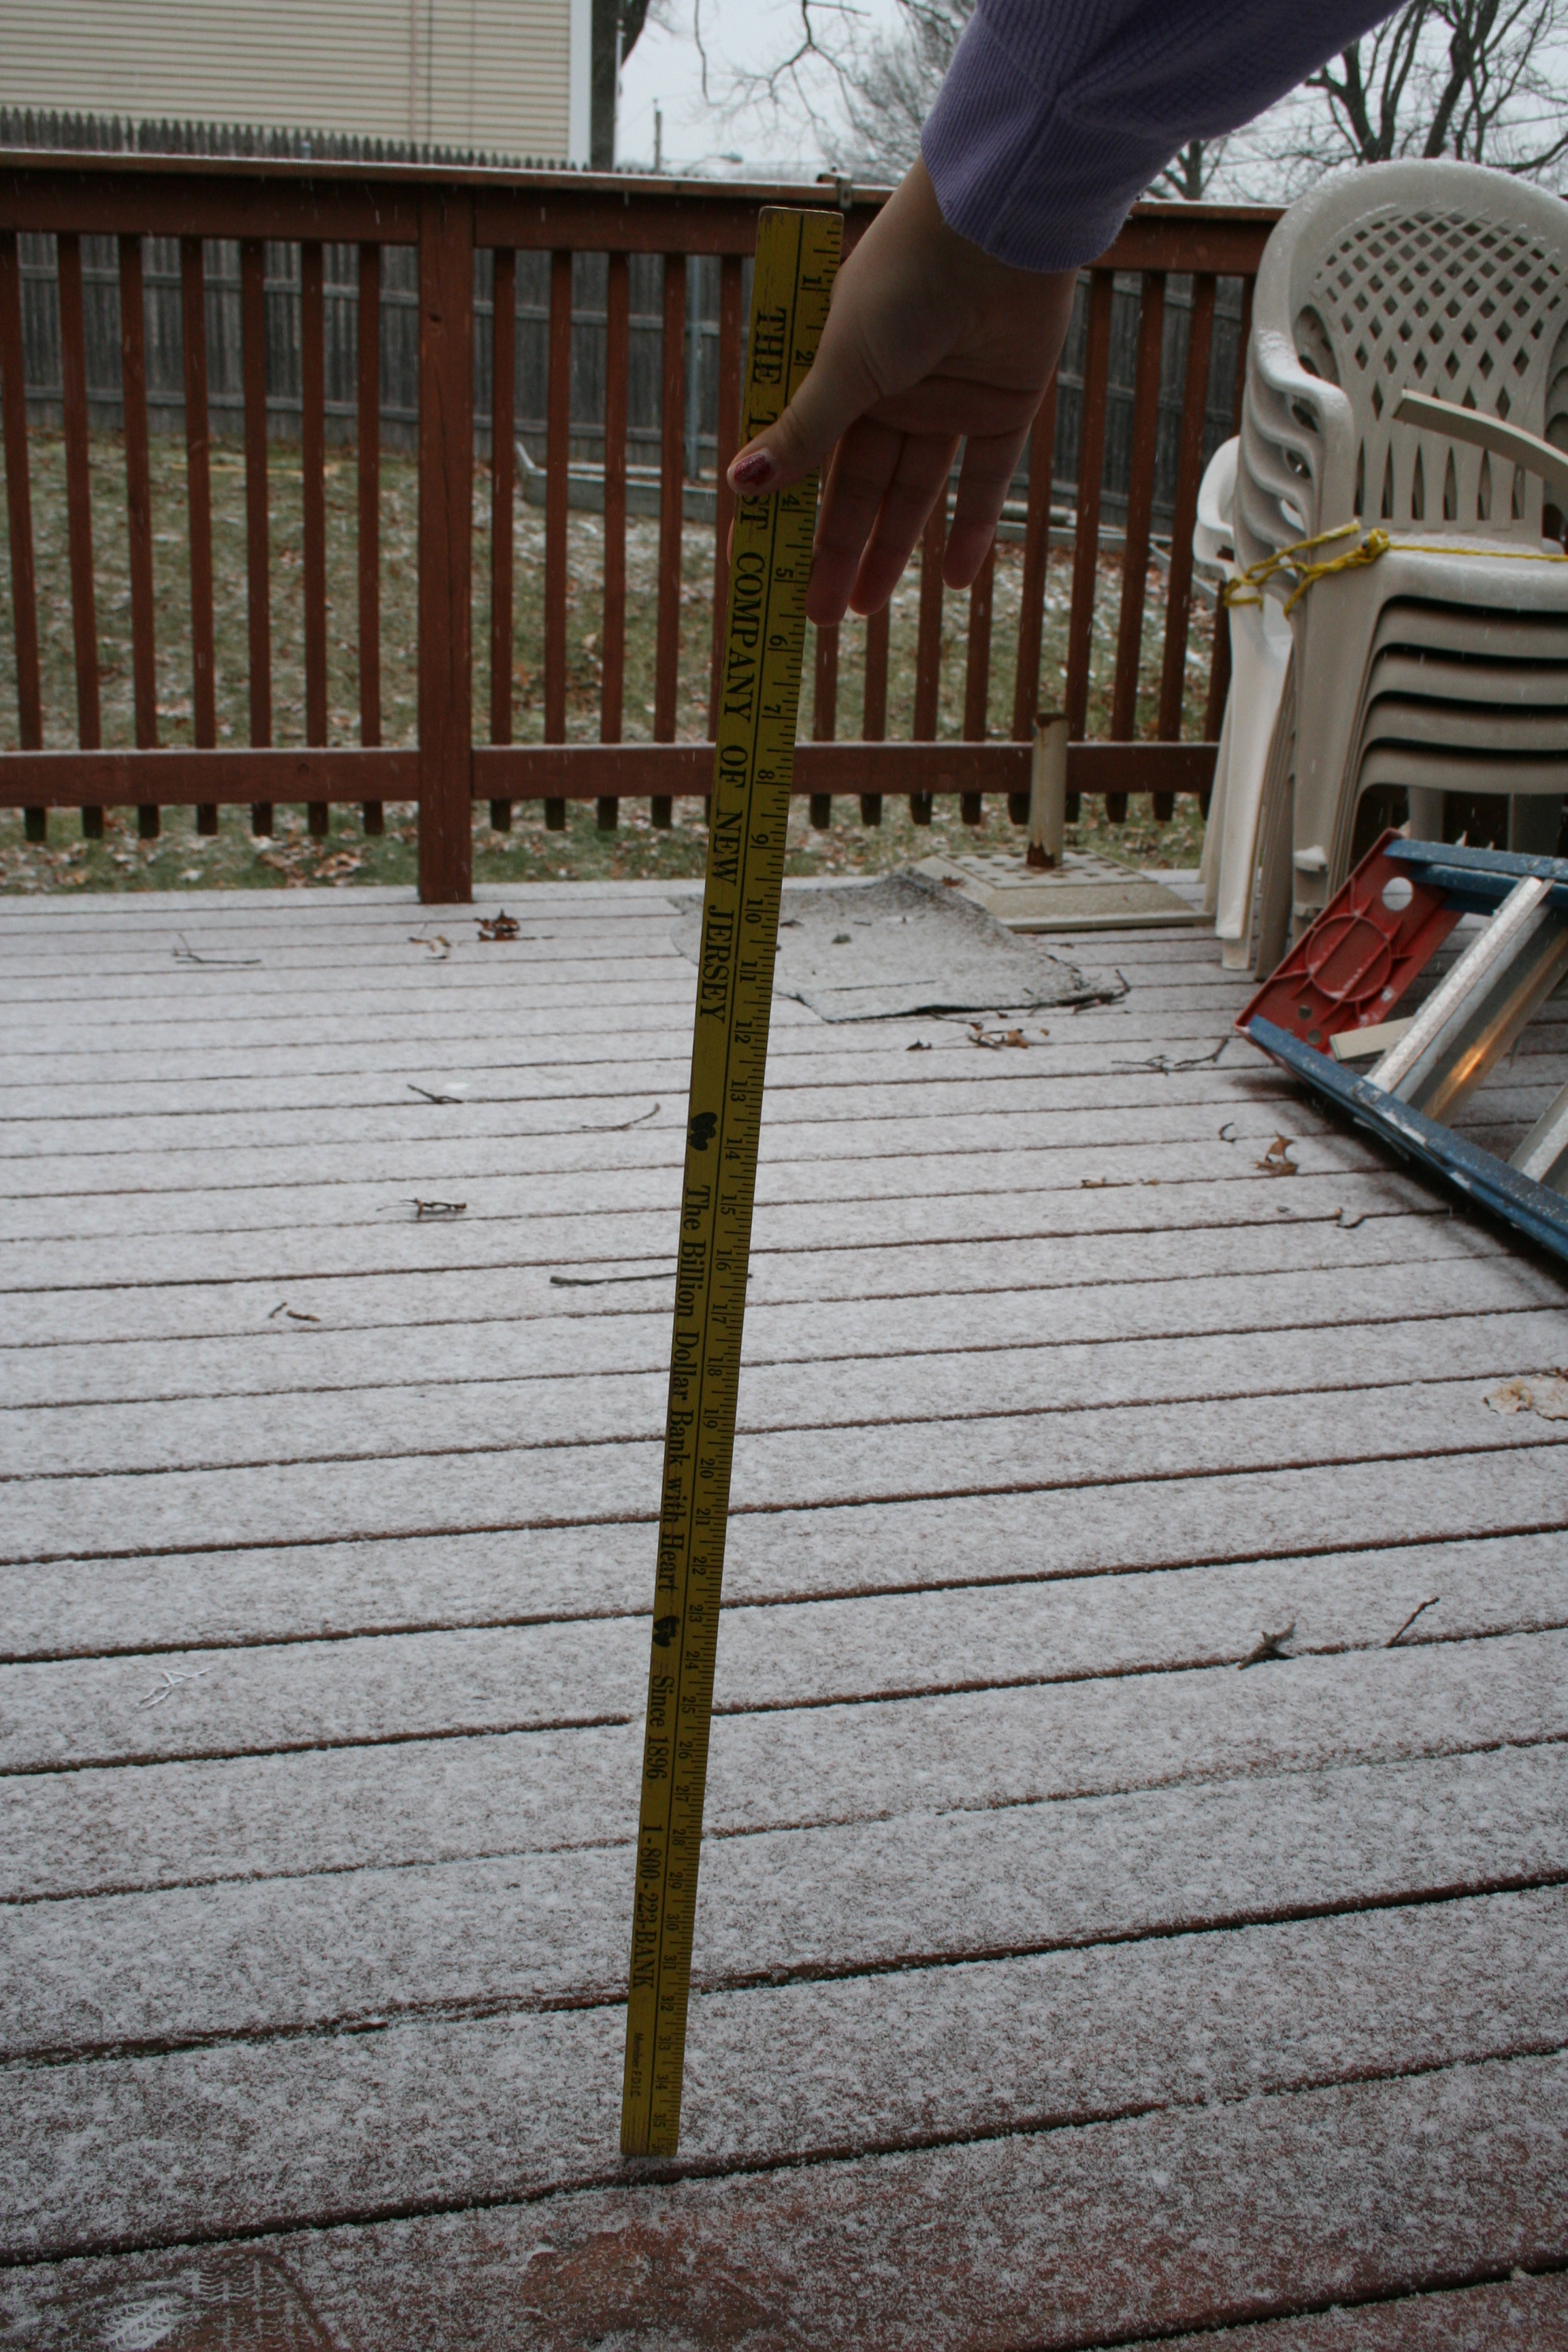
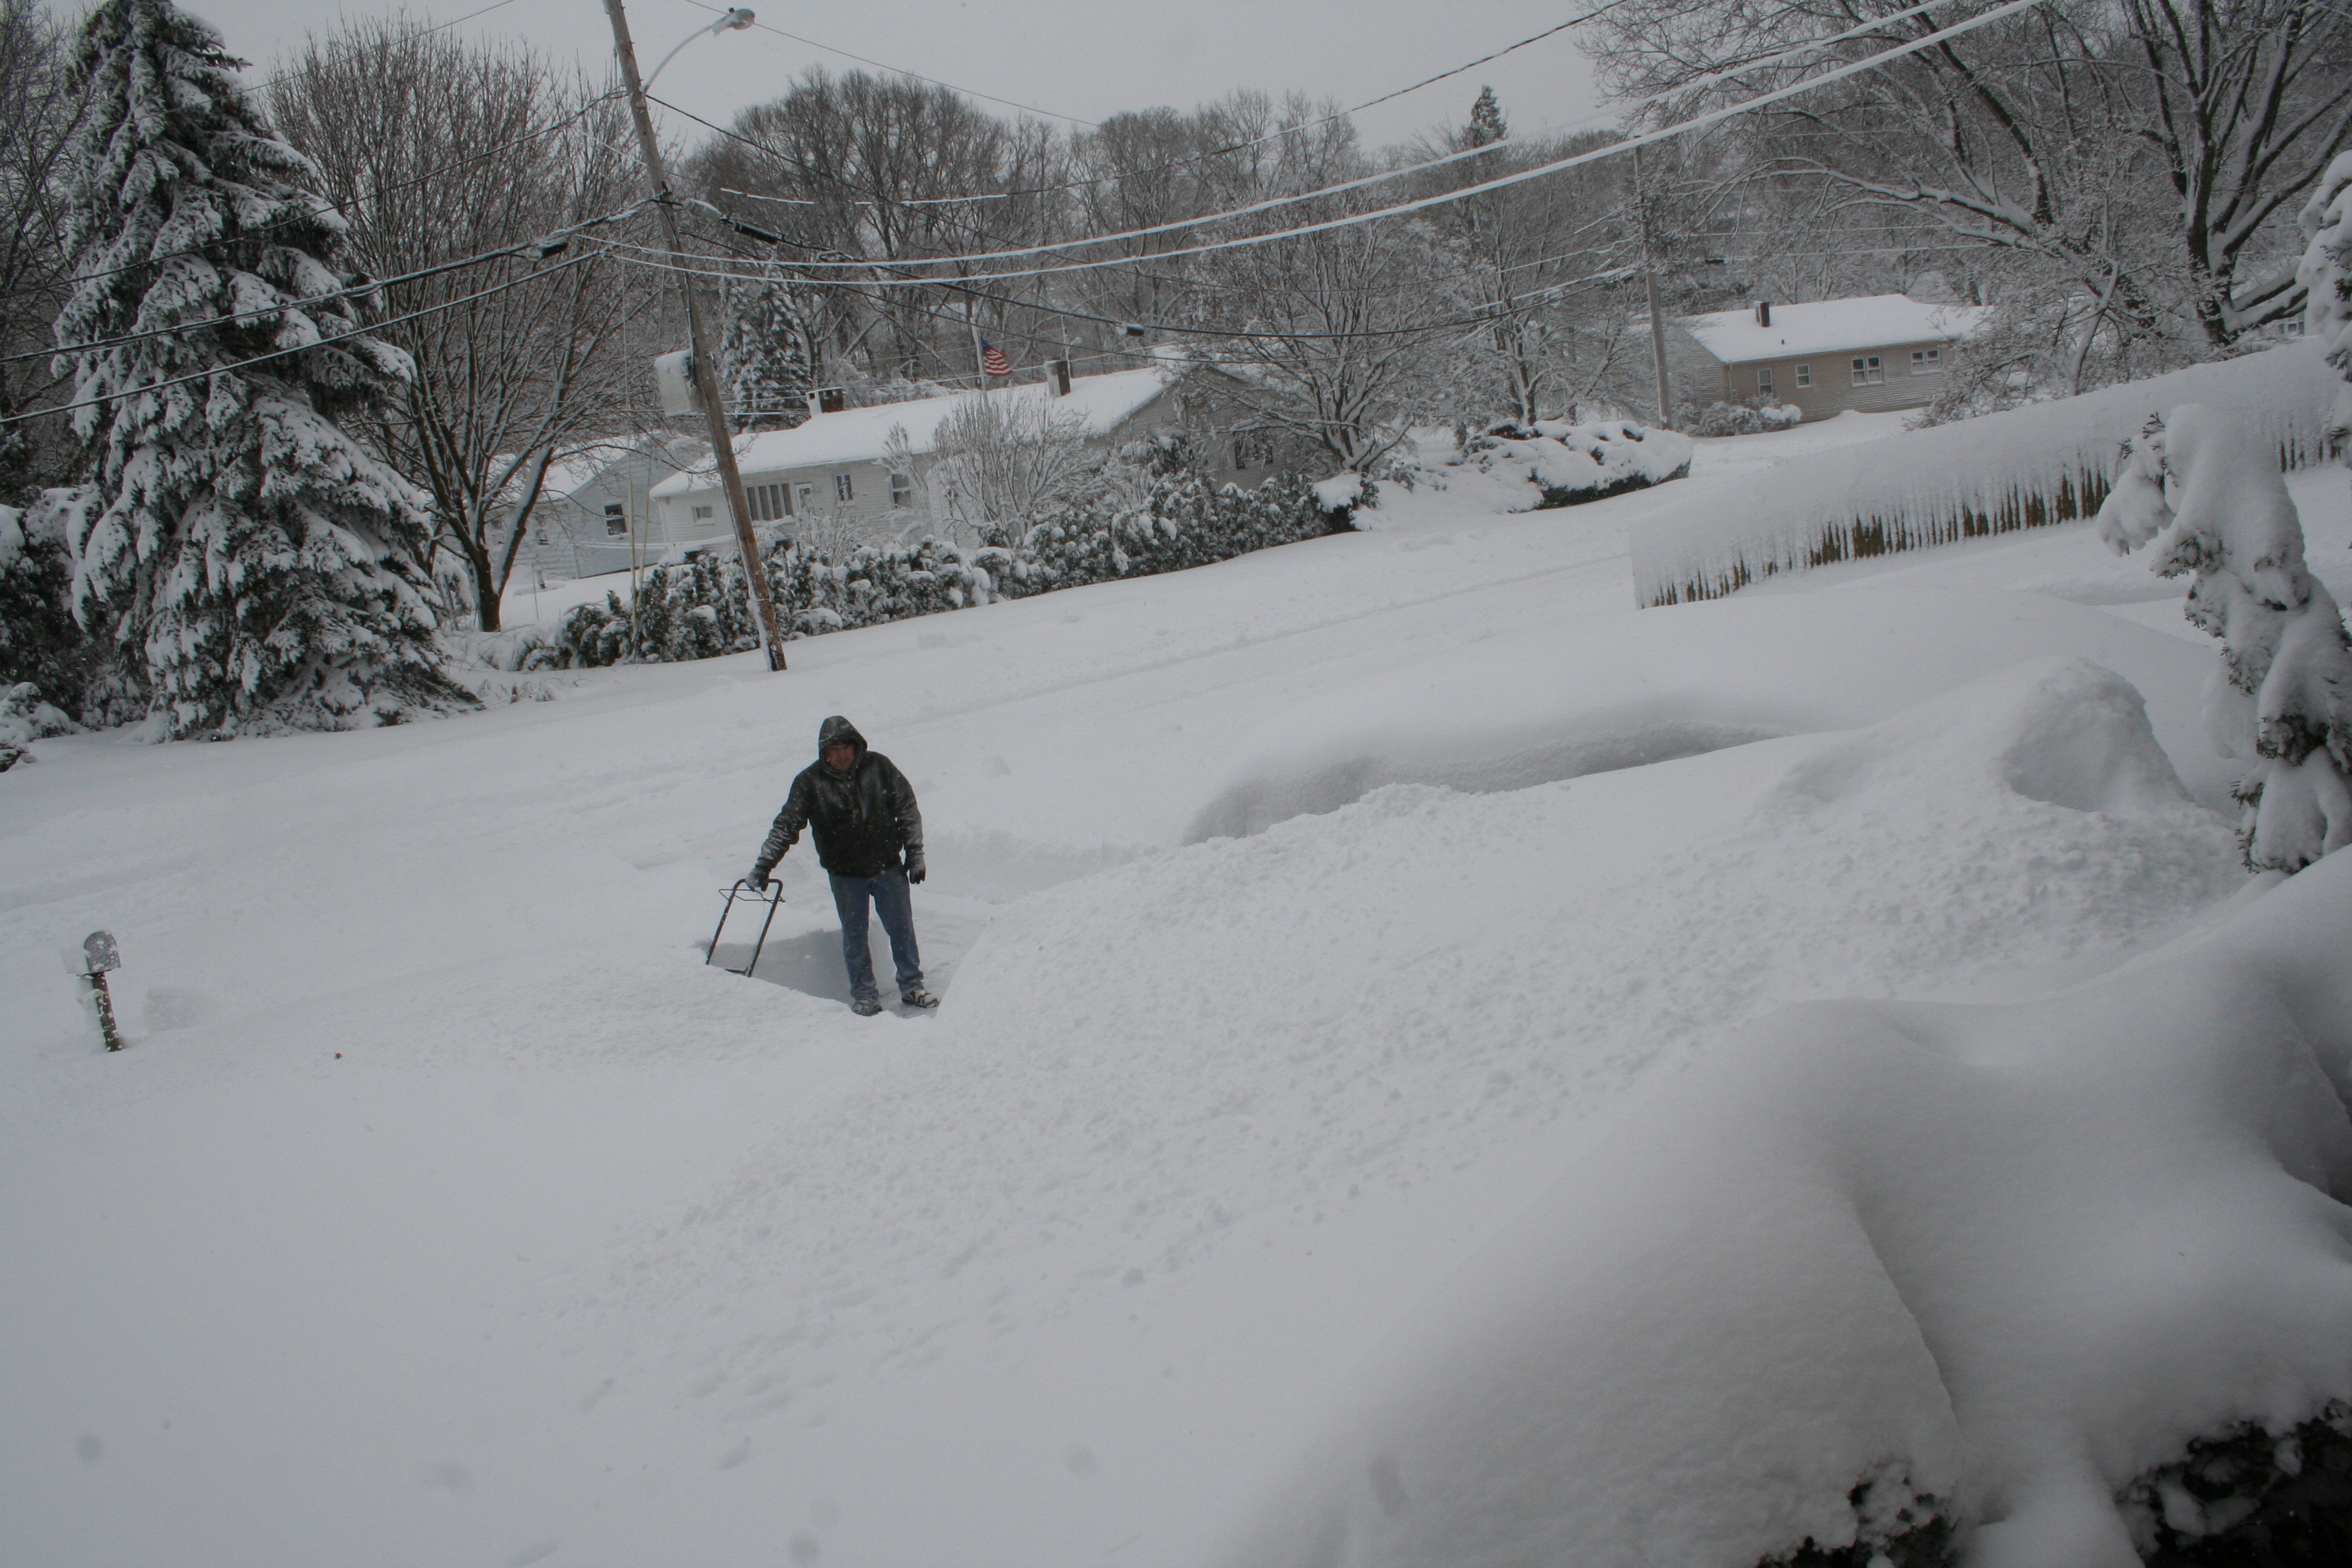
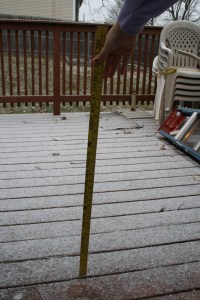
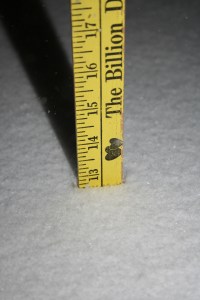
And outside, so much snow. On our deck alone, where I’d been doing my measuring every hour or two, we were now up to 21″ of snow, but in other spots there was as much as three feet of snow. Our driveway was so full of snow it was hard to even see the cars, and the snow came right up to our front door.
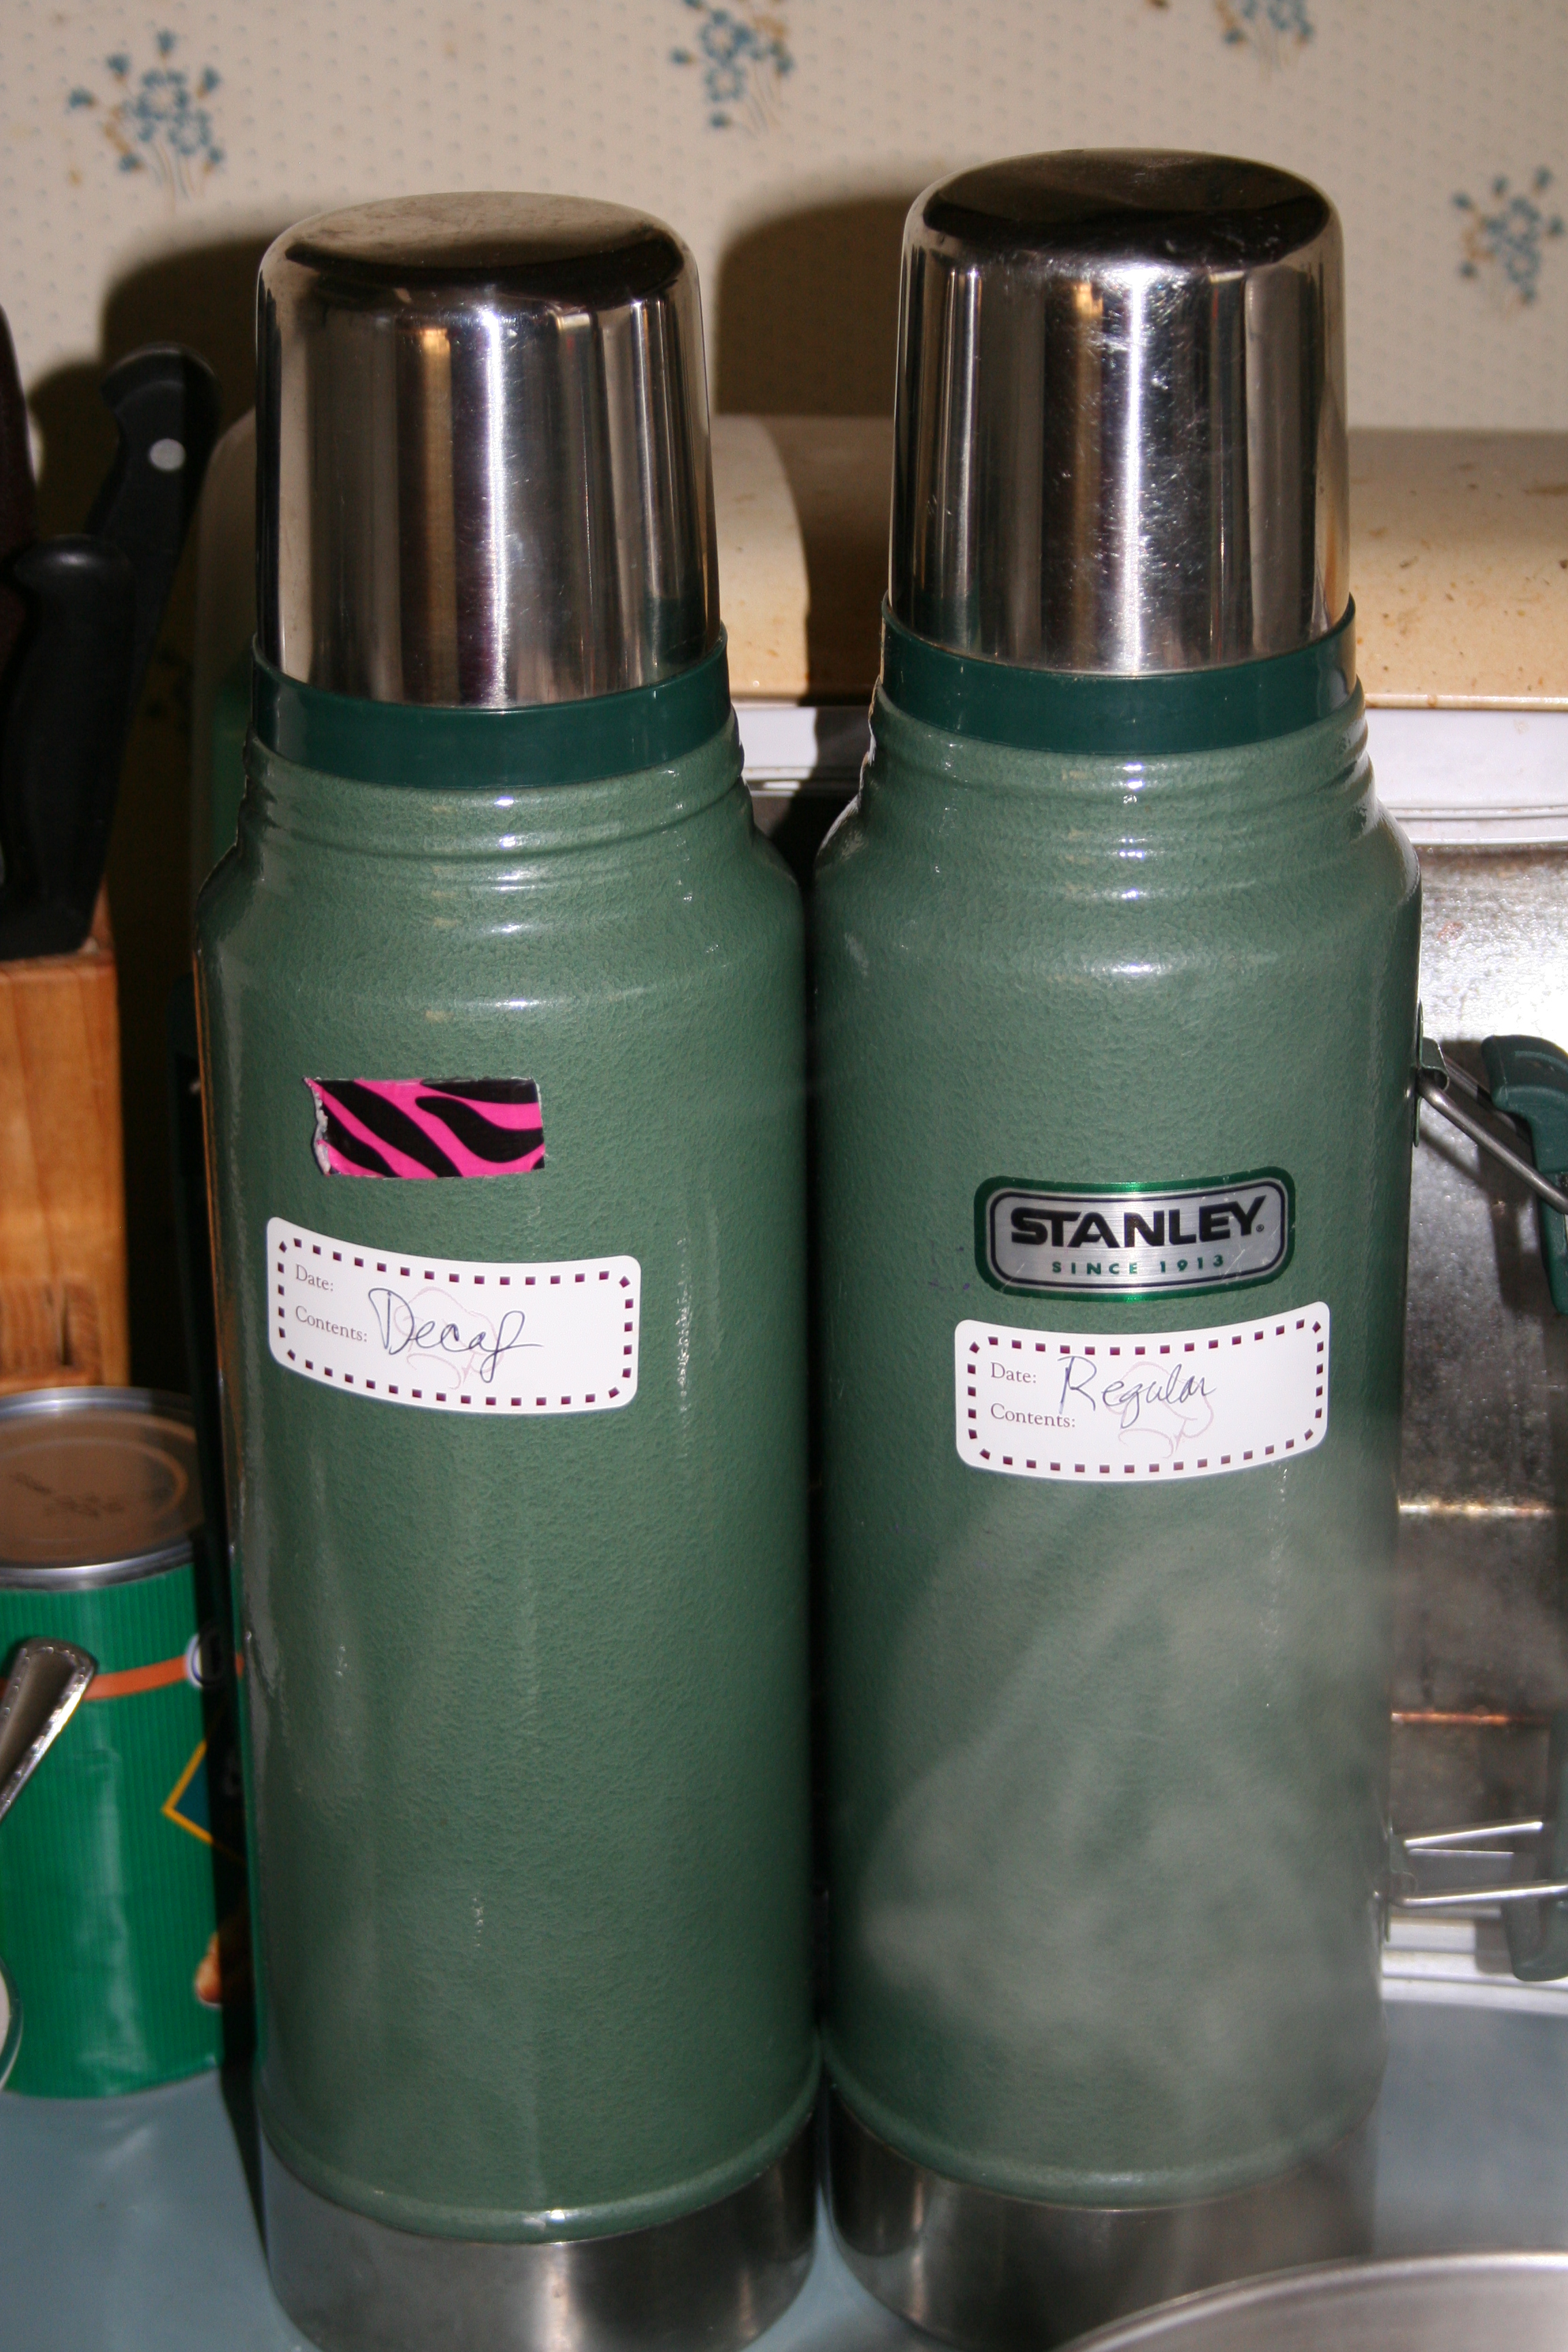
 We started to dig out a little as Don went out snowblowing and I started to dig in to our blizzard preparations. I had filled two thermoses the night before: one with regular and one with decaf coffee; a must if I was going to face the day with a smile.
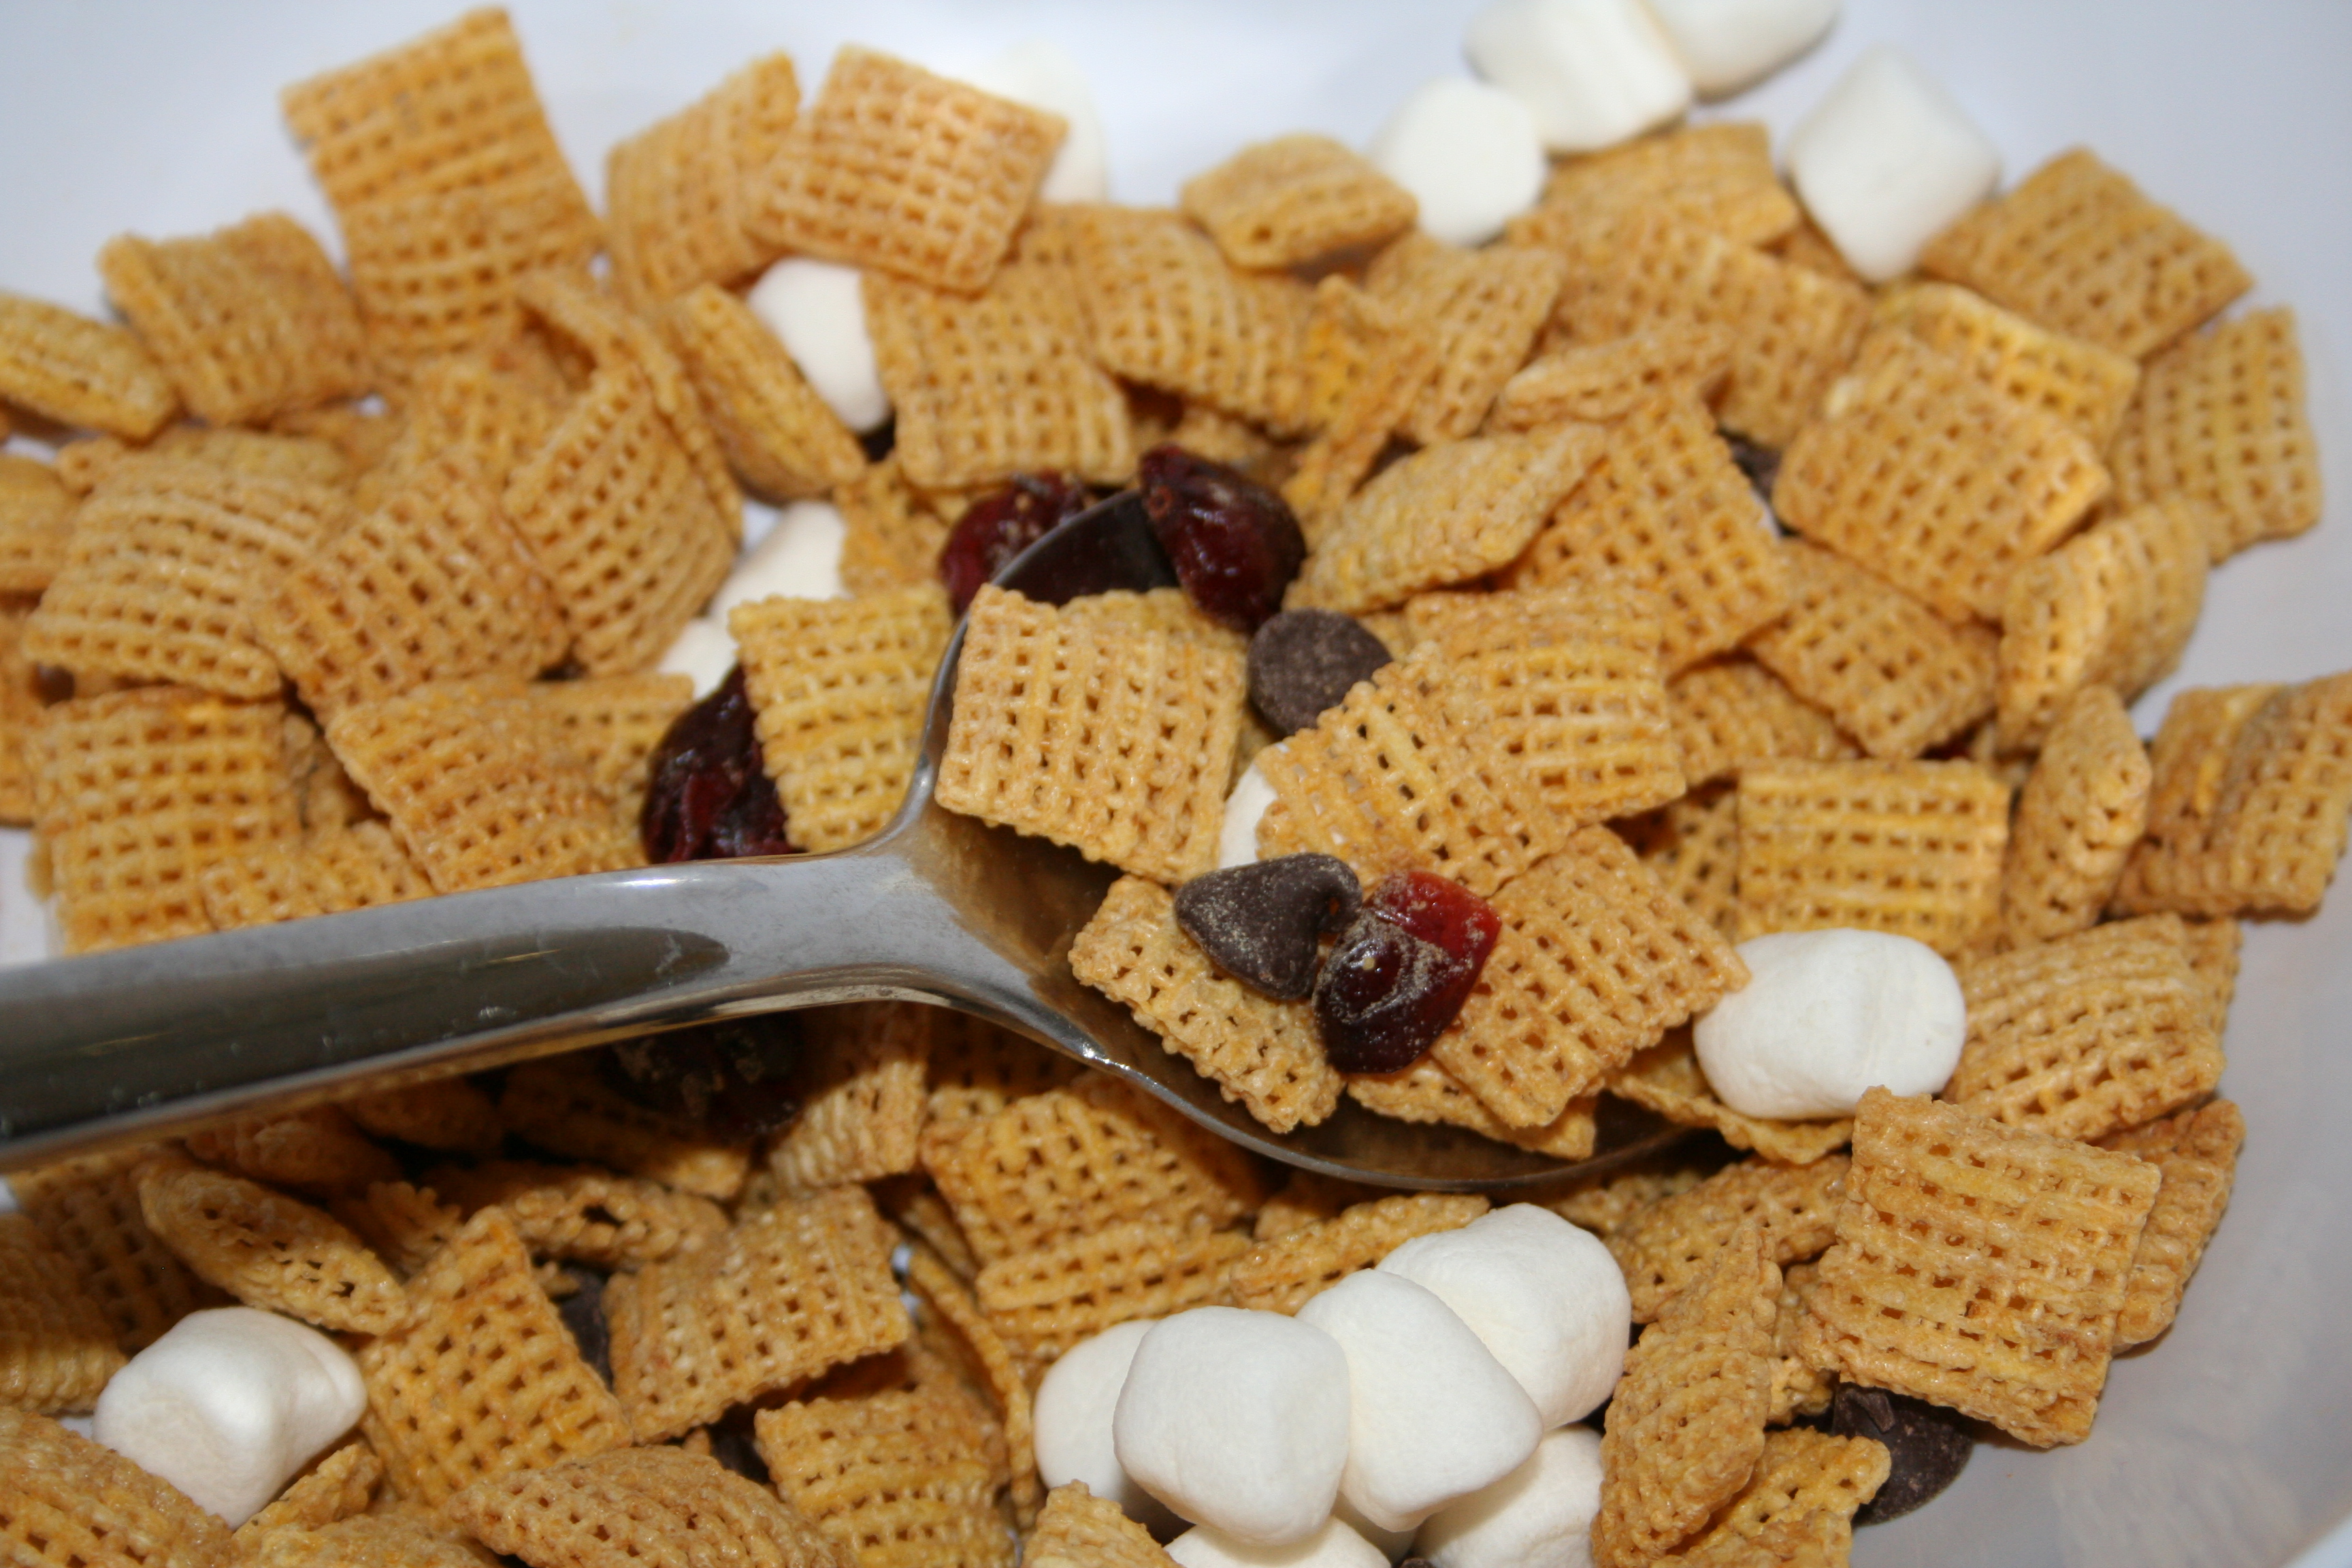
Since we had no electricity I threw together a quick Blizzard Breakfast Trail Mix and made the kids some hot chocolate while they played The Game of Life. We started getting a steady stream of texts from family and friends, checking in. I laughed as some of our information about the local goings-on were coming in from around the country. Not having smart phones, we couldn’t easily access the internet, but we were thankful for those who could, keeping us updated.

Blizzard Nemo Trail Mix: Chex, chocolate chips, craisins and marshmallows.
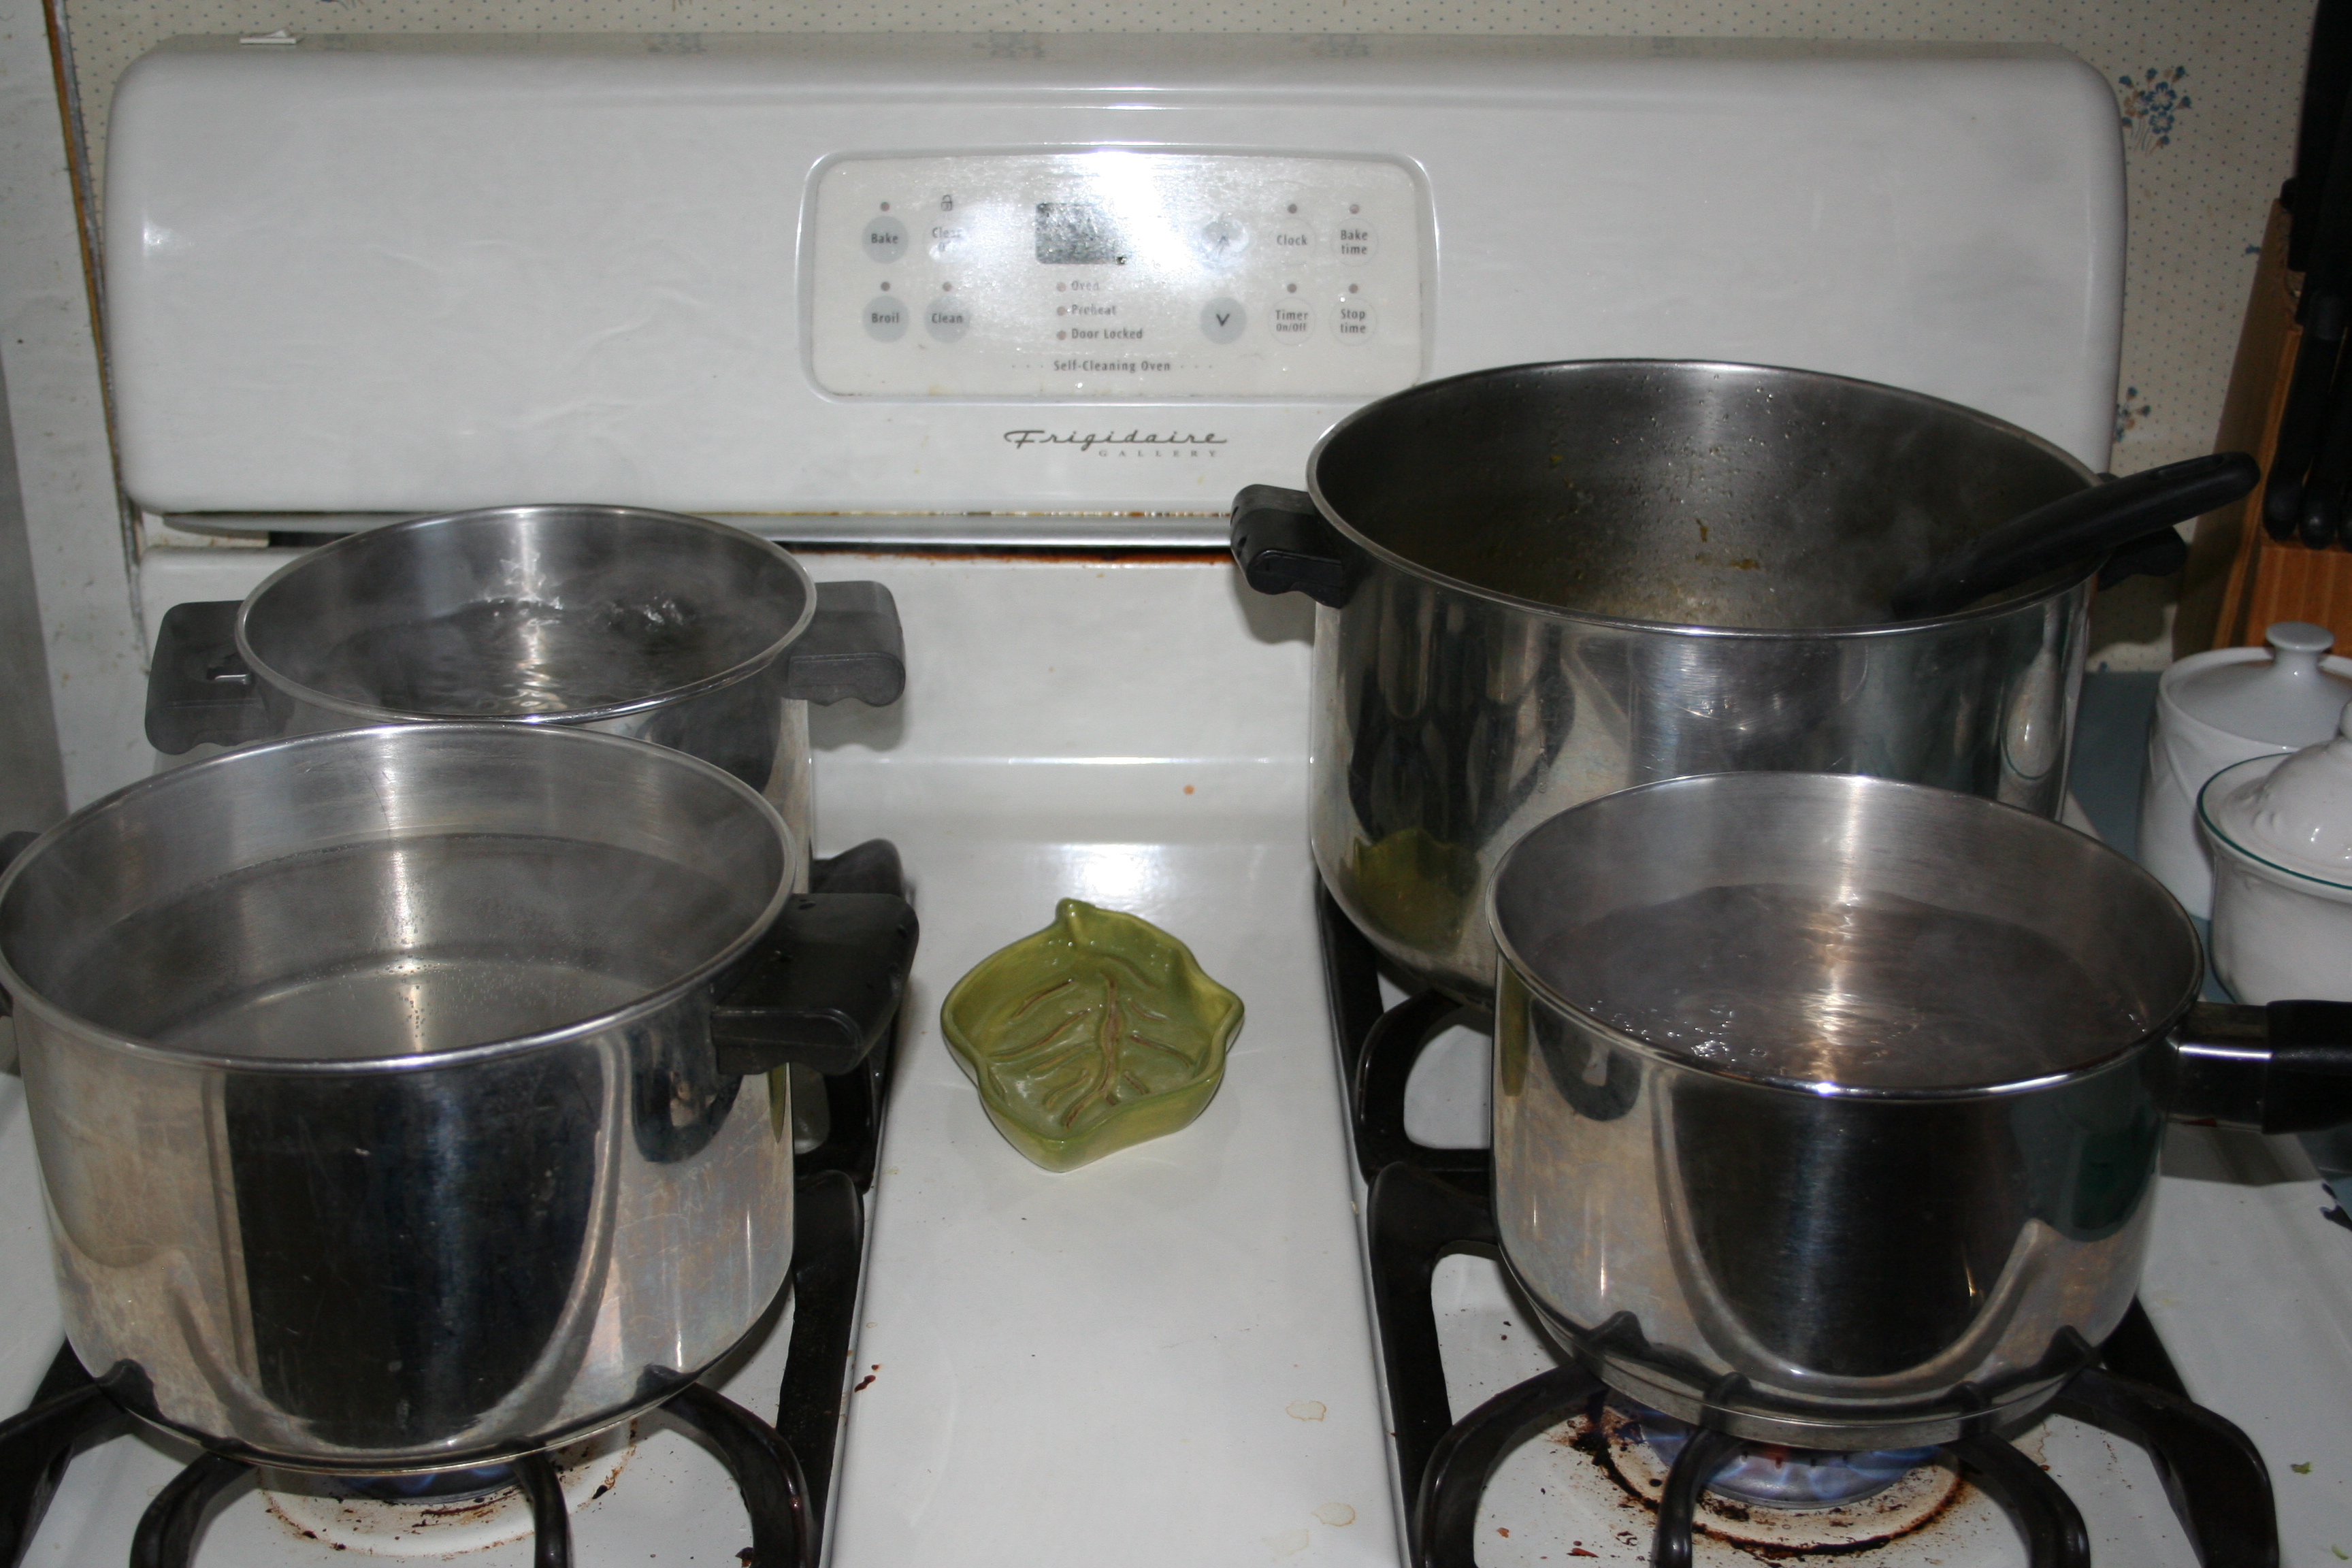
We passed the day on Friday planning our next meal. Between the two of us we’d purchased all “on top of the stove” items to eat, since we are lucky enough to have a gas stove (and gas heated hot water also) and we would be able to prepare hot foods. In between his trips outside to snow blow, Don made a soup on top of the stove.

Having a gas stove helped us to heat our house for two days.
Doing so made our house heat up several degrees. We got a phone call with a tip from a neighbor which made lots of sense: if you boil water on your stove it will heat up your house. Having seen success with the hot soup, we decided to try it. Sure enough, our house stayed at a steamy 72 degrees as long as we kept the water boiling.

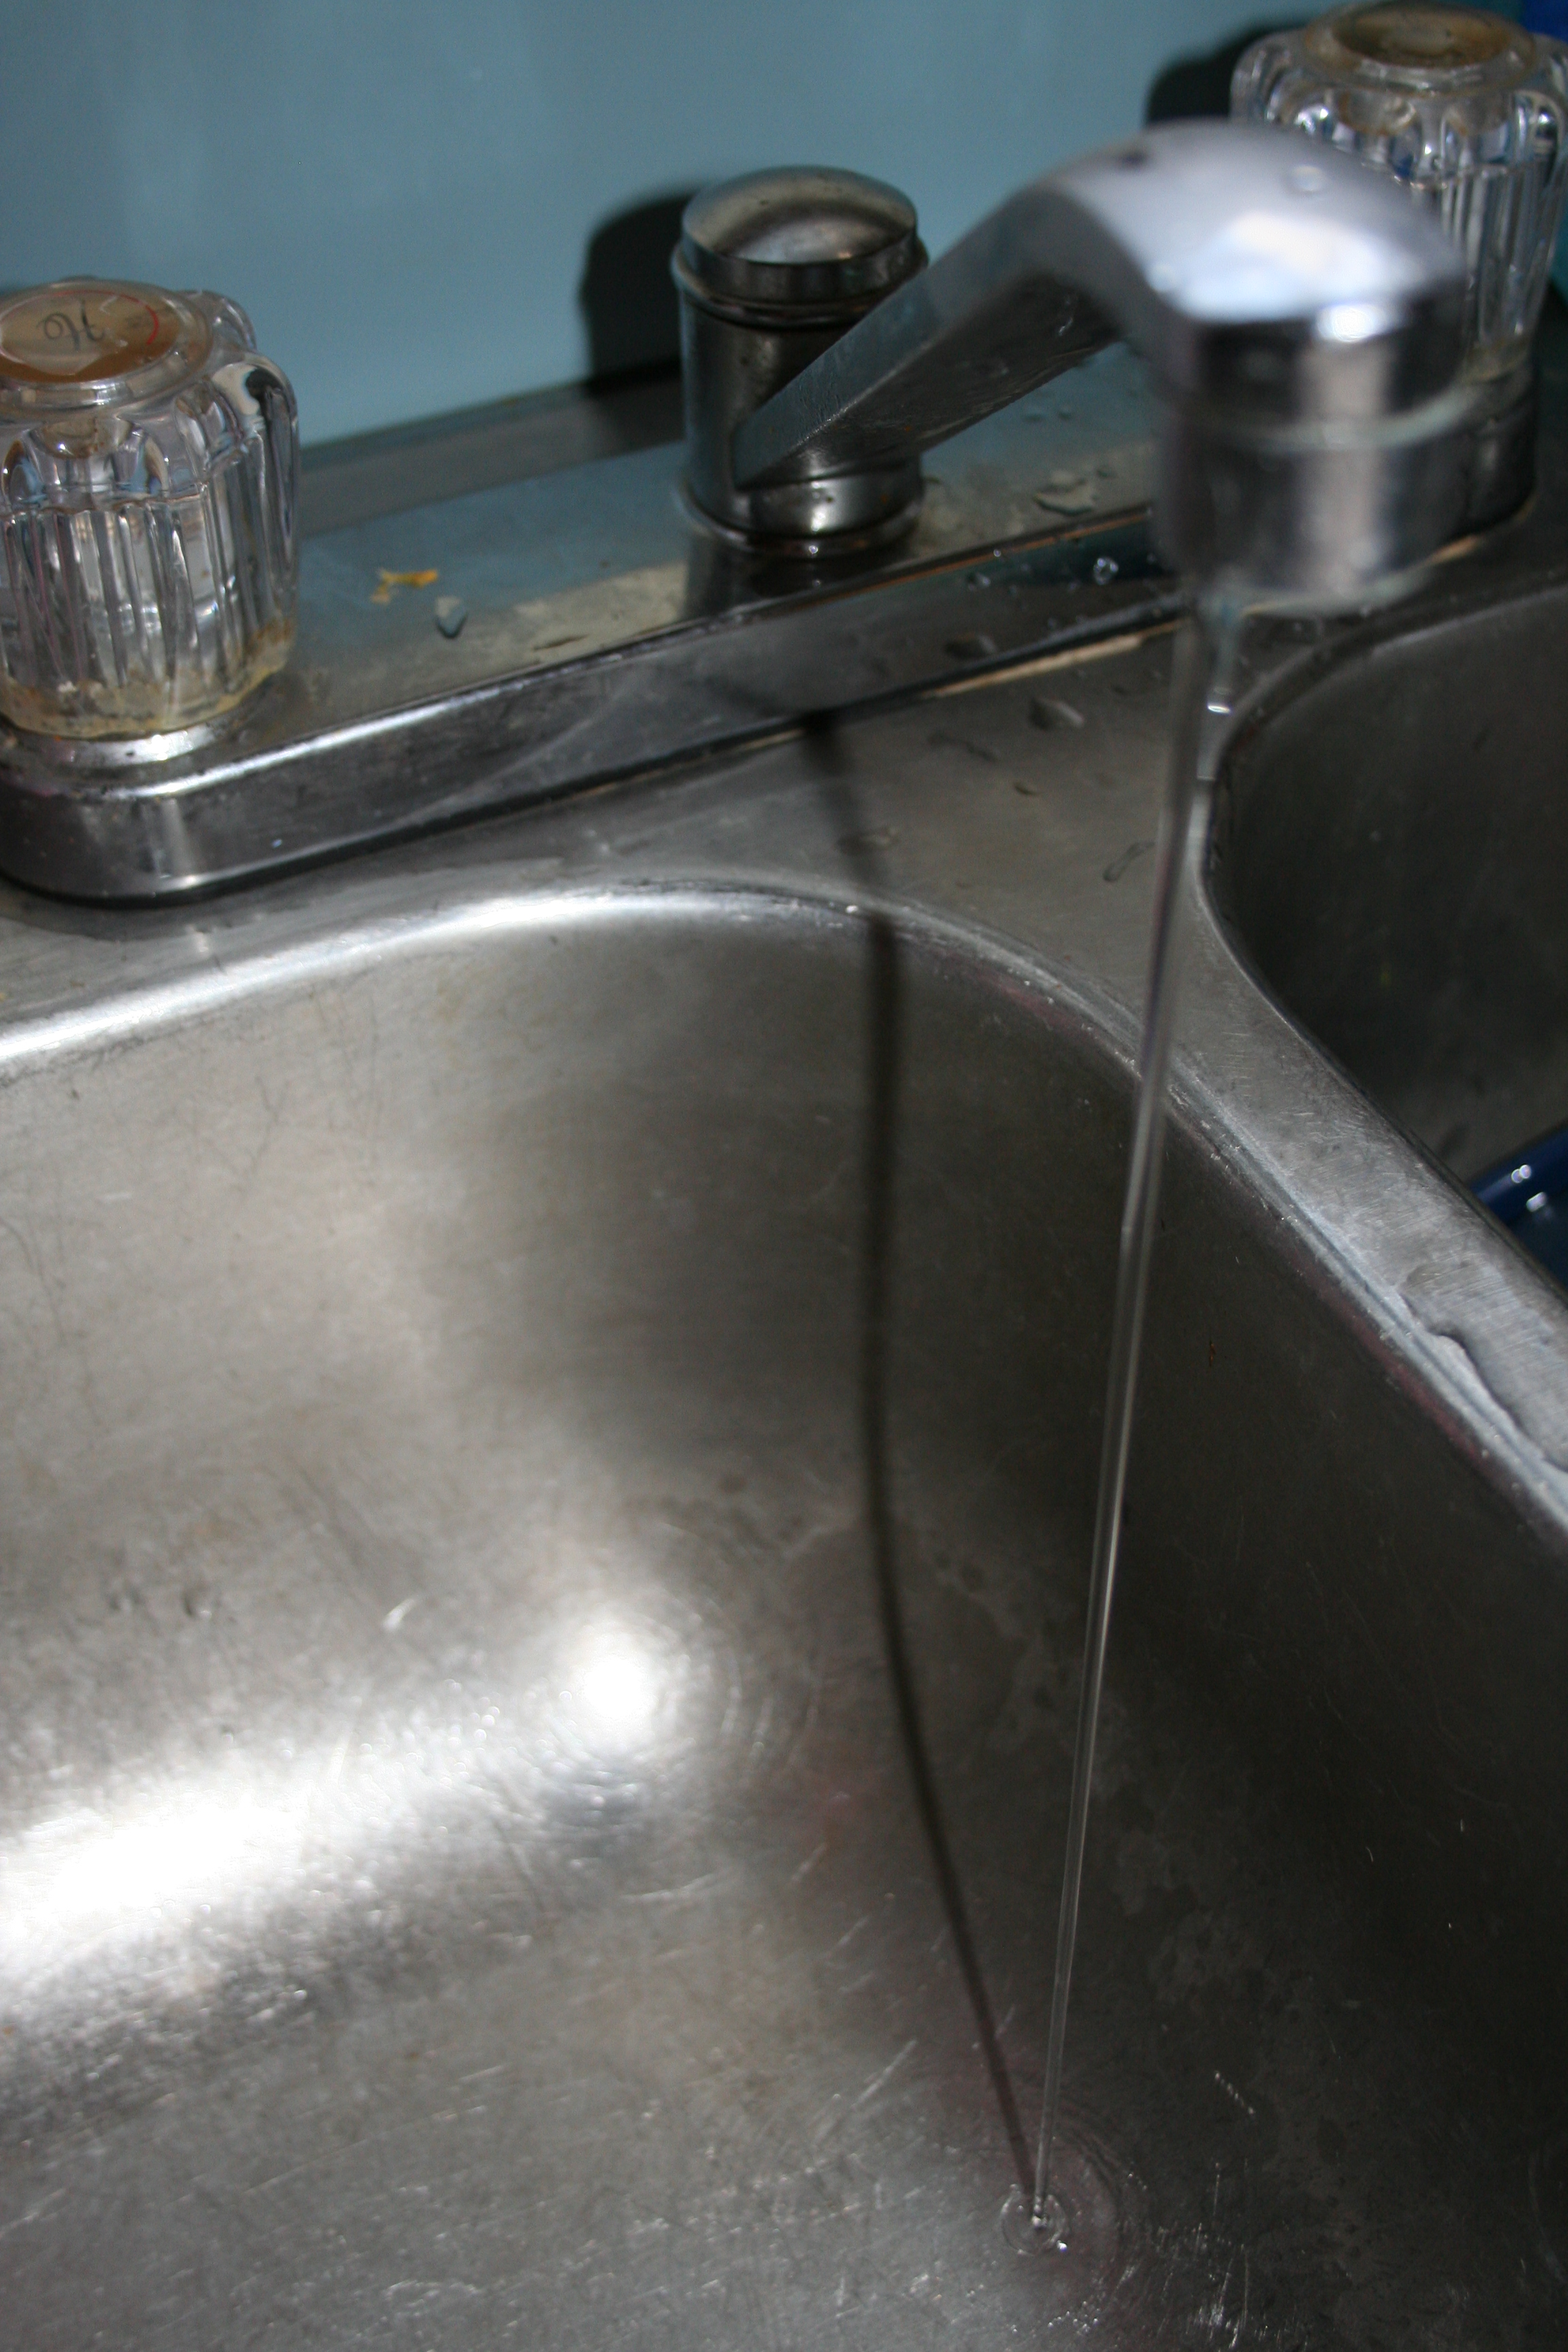
Keeping the water running kept the pipes from bursting, at least we think that’s what kept the pipes from bursting.
By the end of Saturday, we had condensation dripping down the walls of our entire house. But we were warm! We also kept our water running, trickling really, just a bit, all the time with the hopes that our pipes would not freeze.
It must’ve worked, they did not freeze. I think that was what worried me most going into the storm. It was going to be eight degrees overnight on Saturday night. With no power, I was worried about being cold, and bursting pipes.
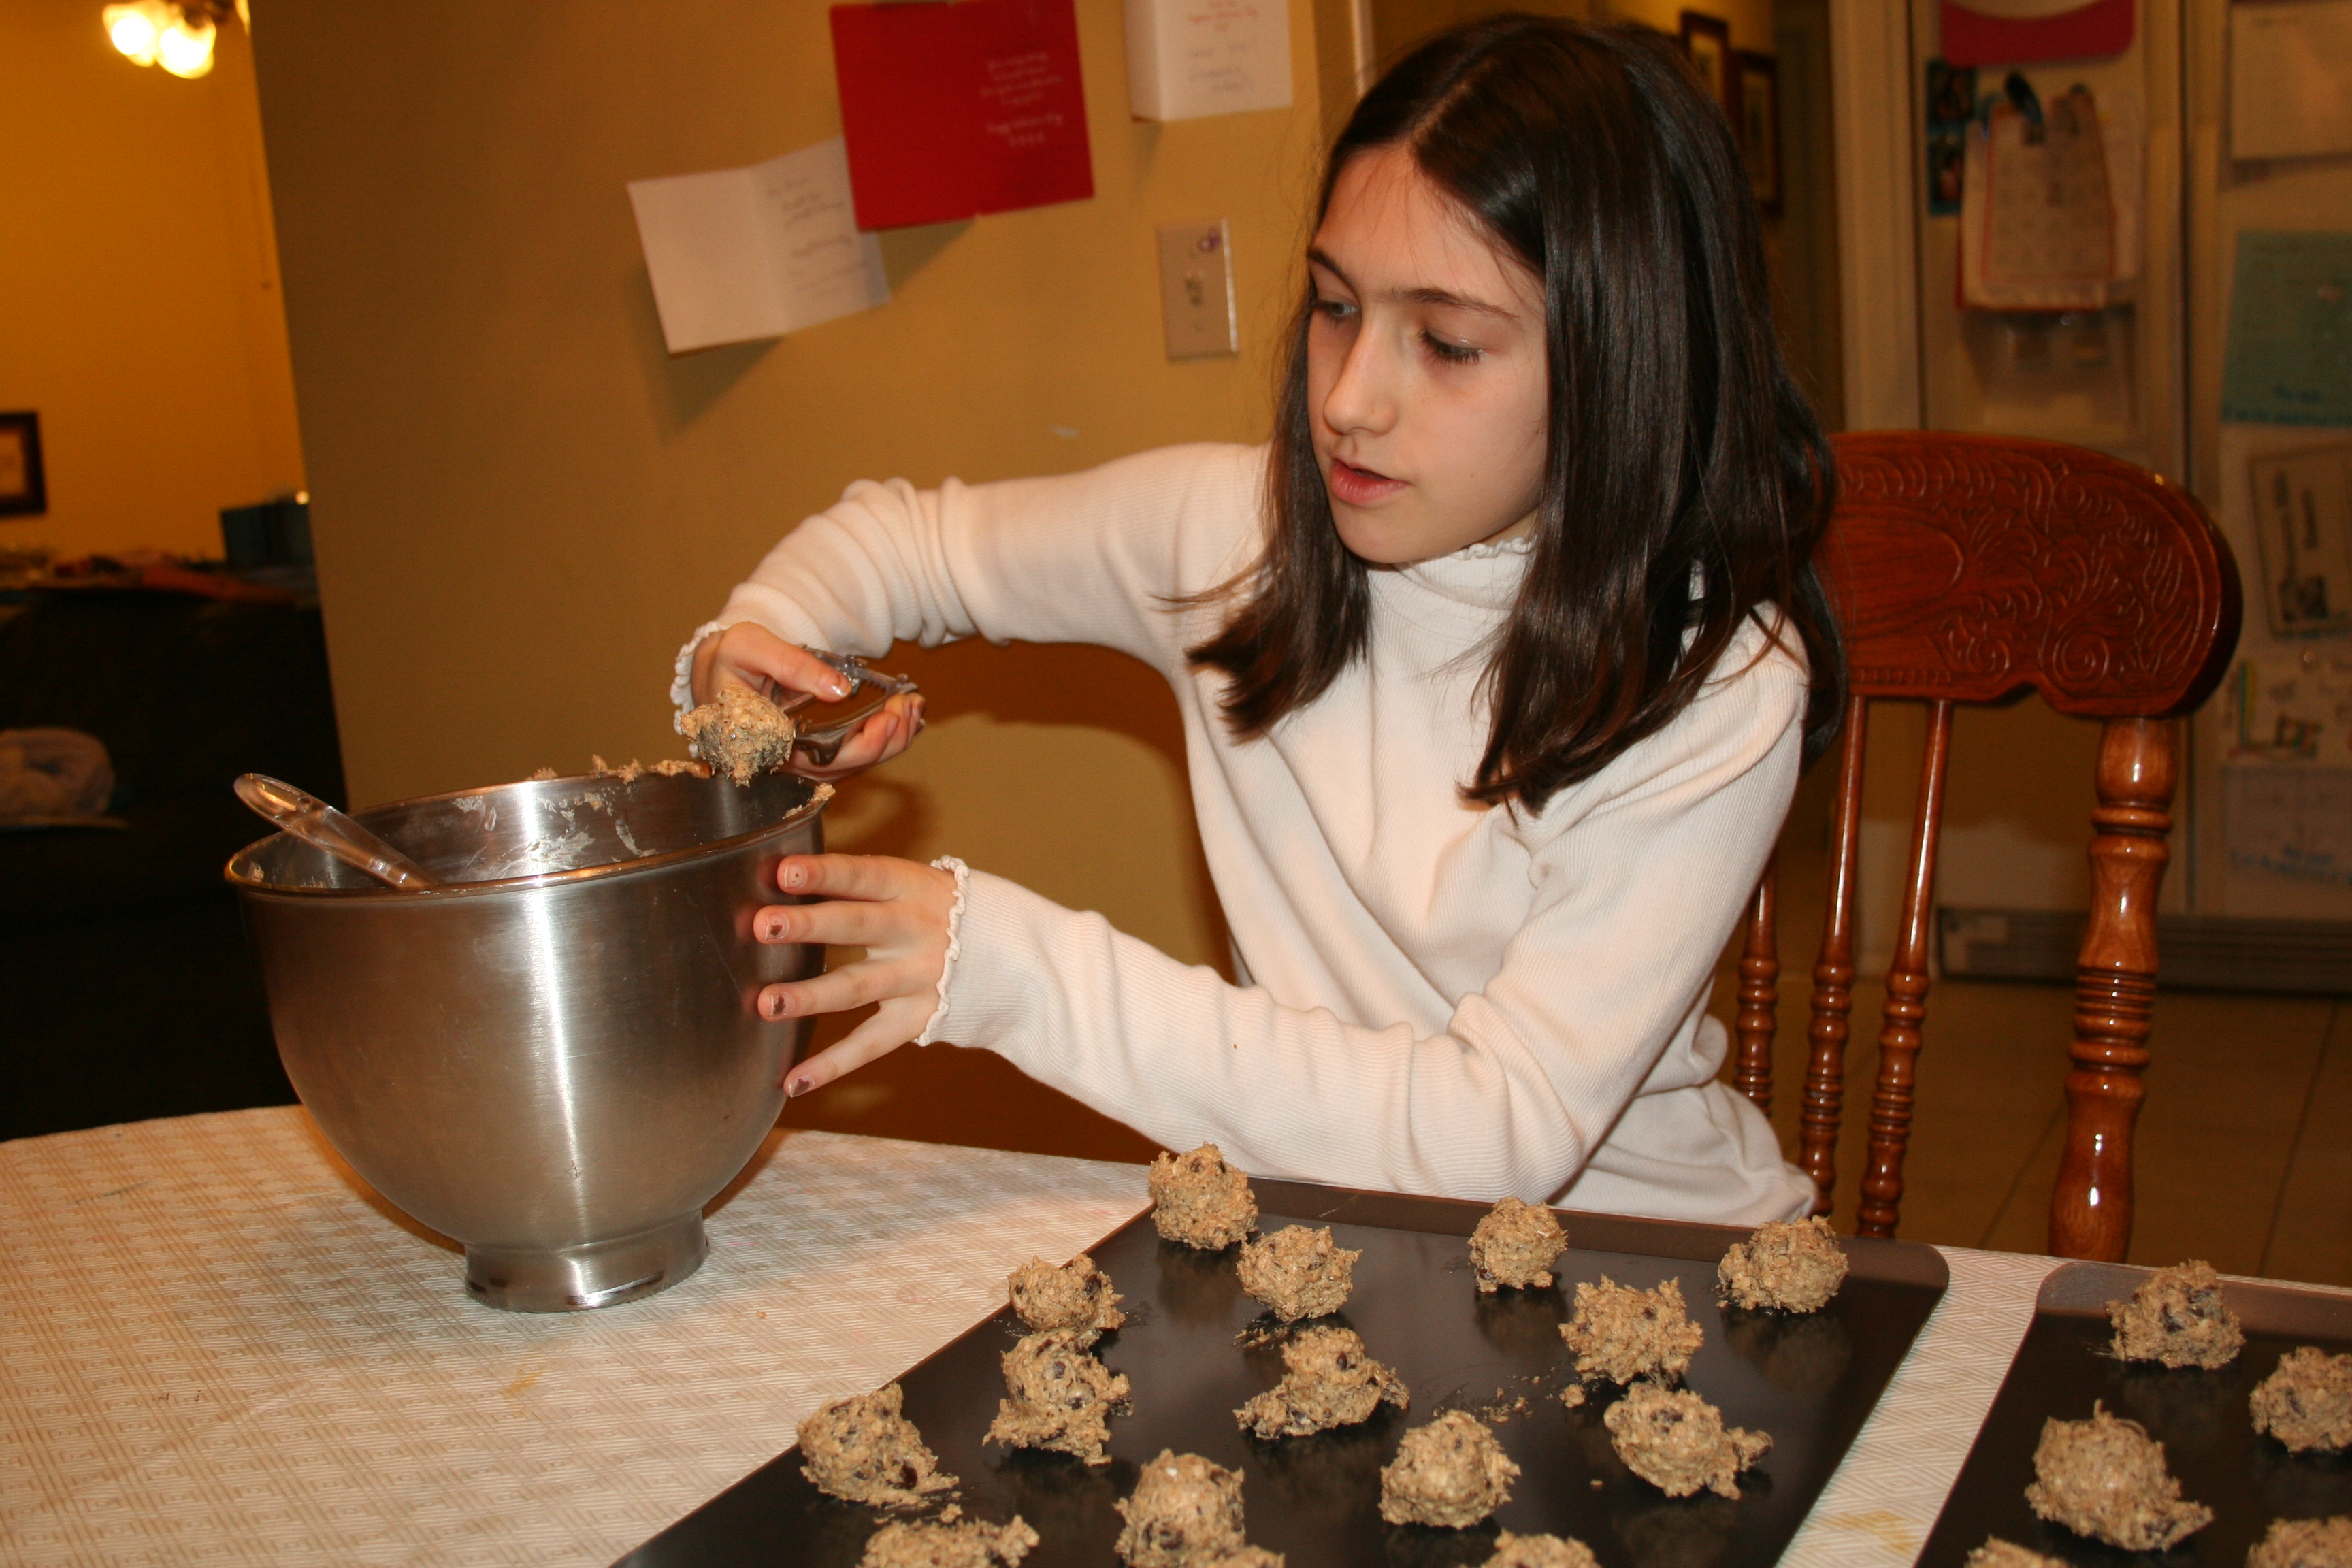
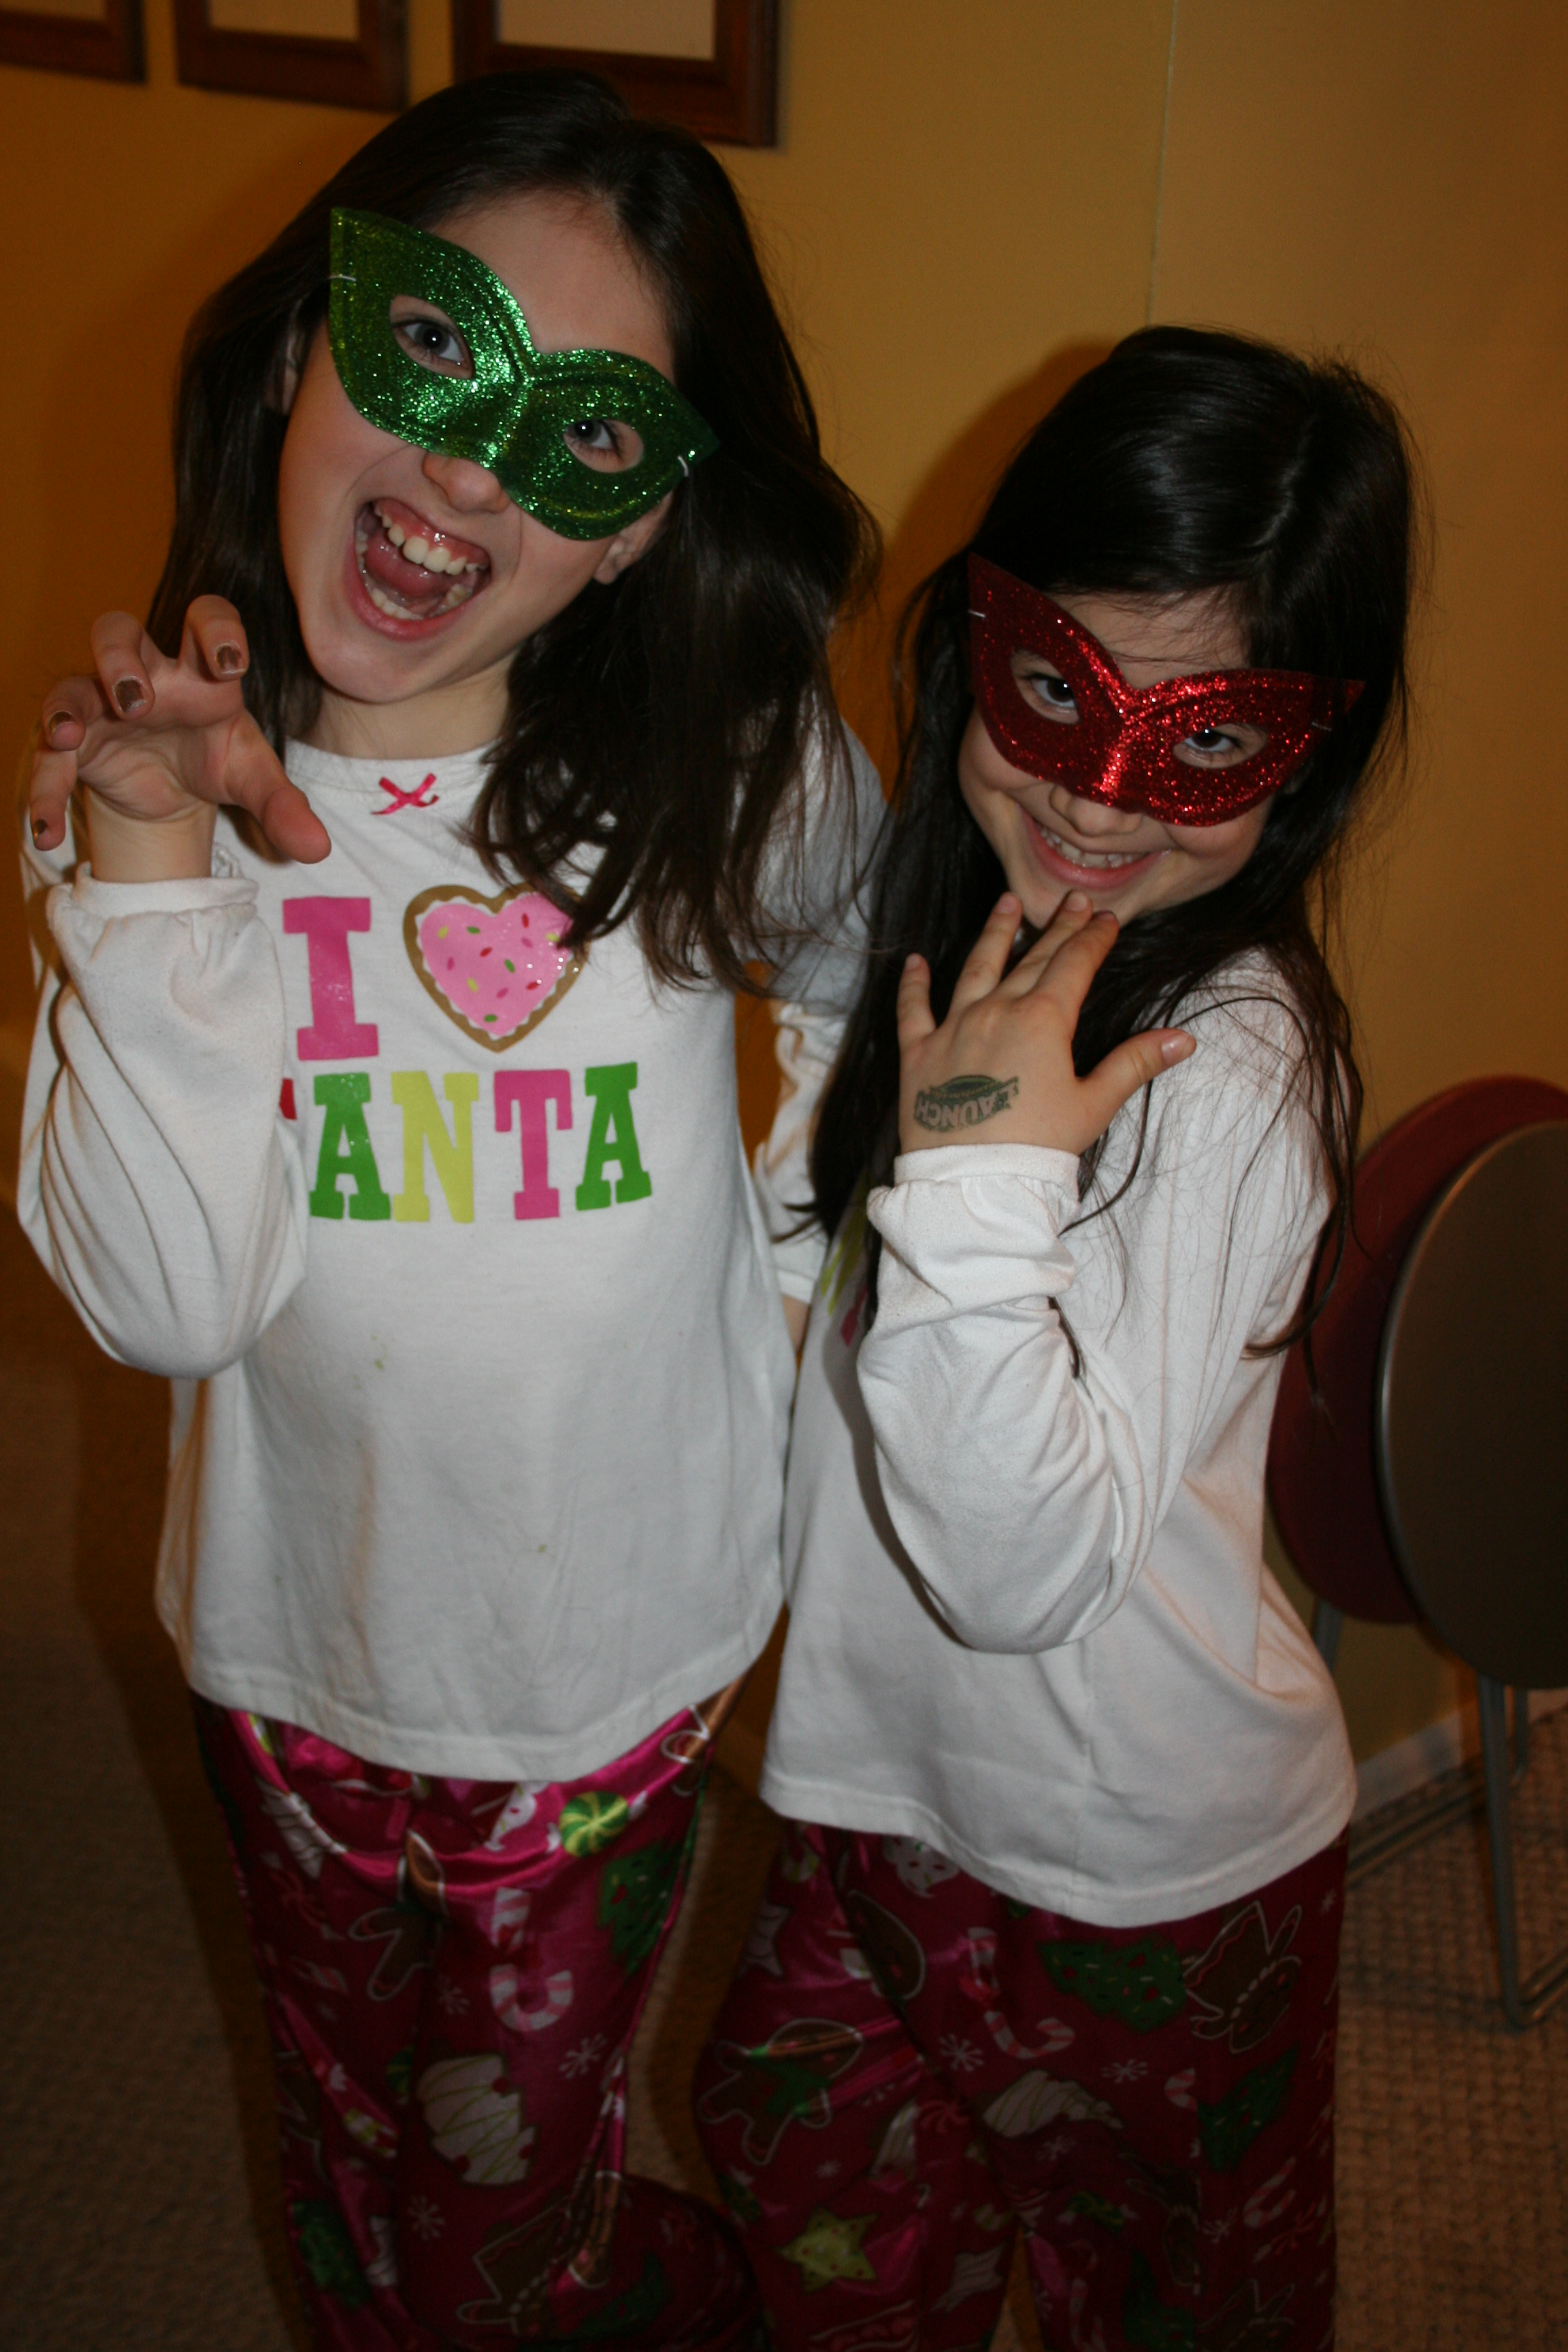
In the memory-making category, we tried to do fun things with the kids so that they’d be remembering this blizzard for years to come, other than for the fact that our walls dripped with condensation for two days.

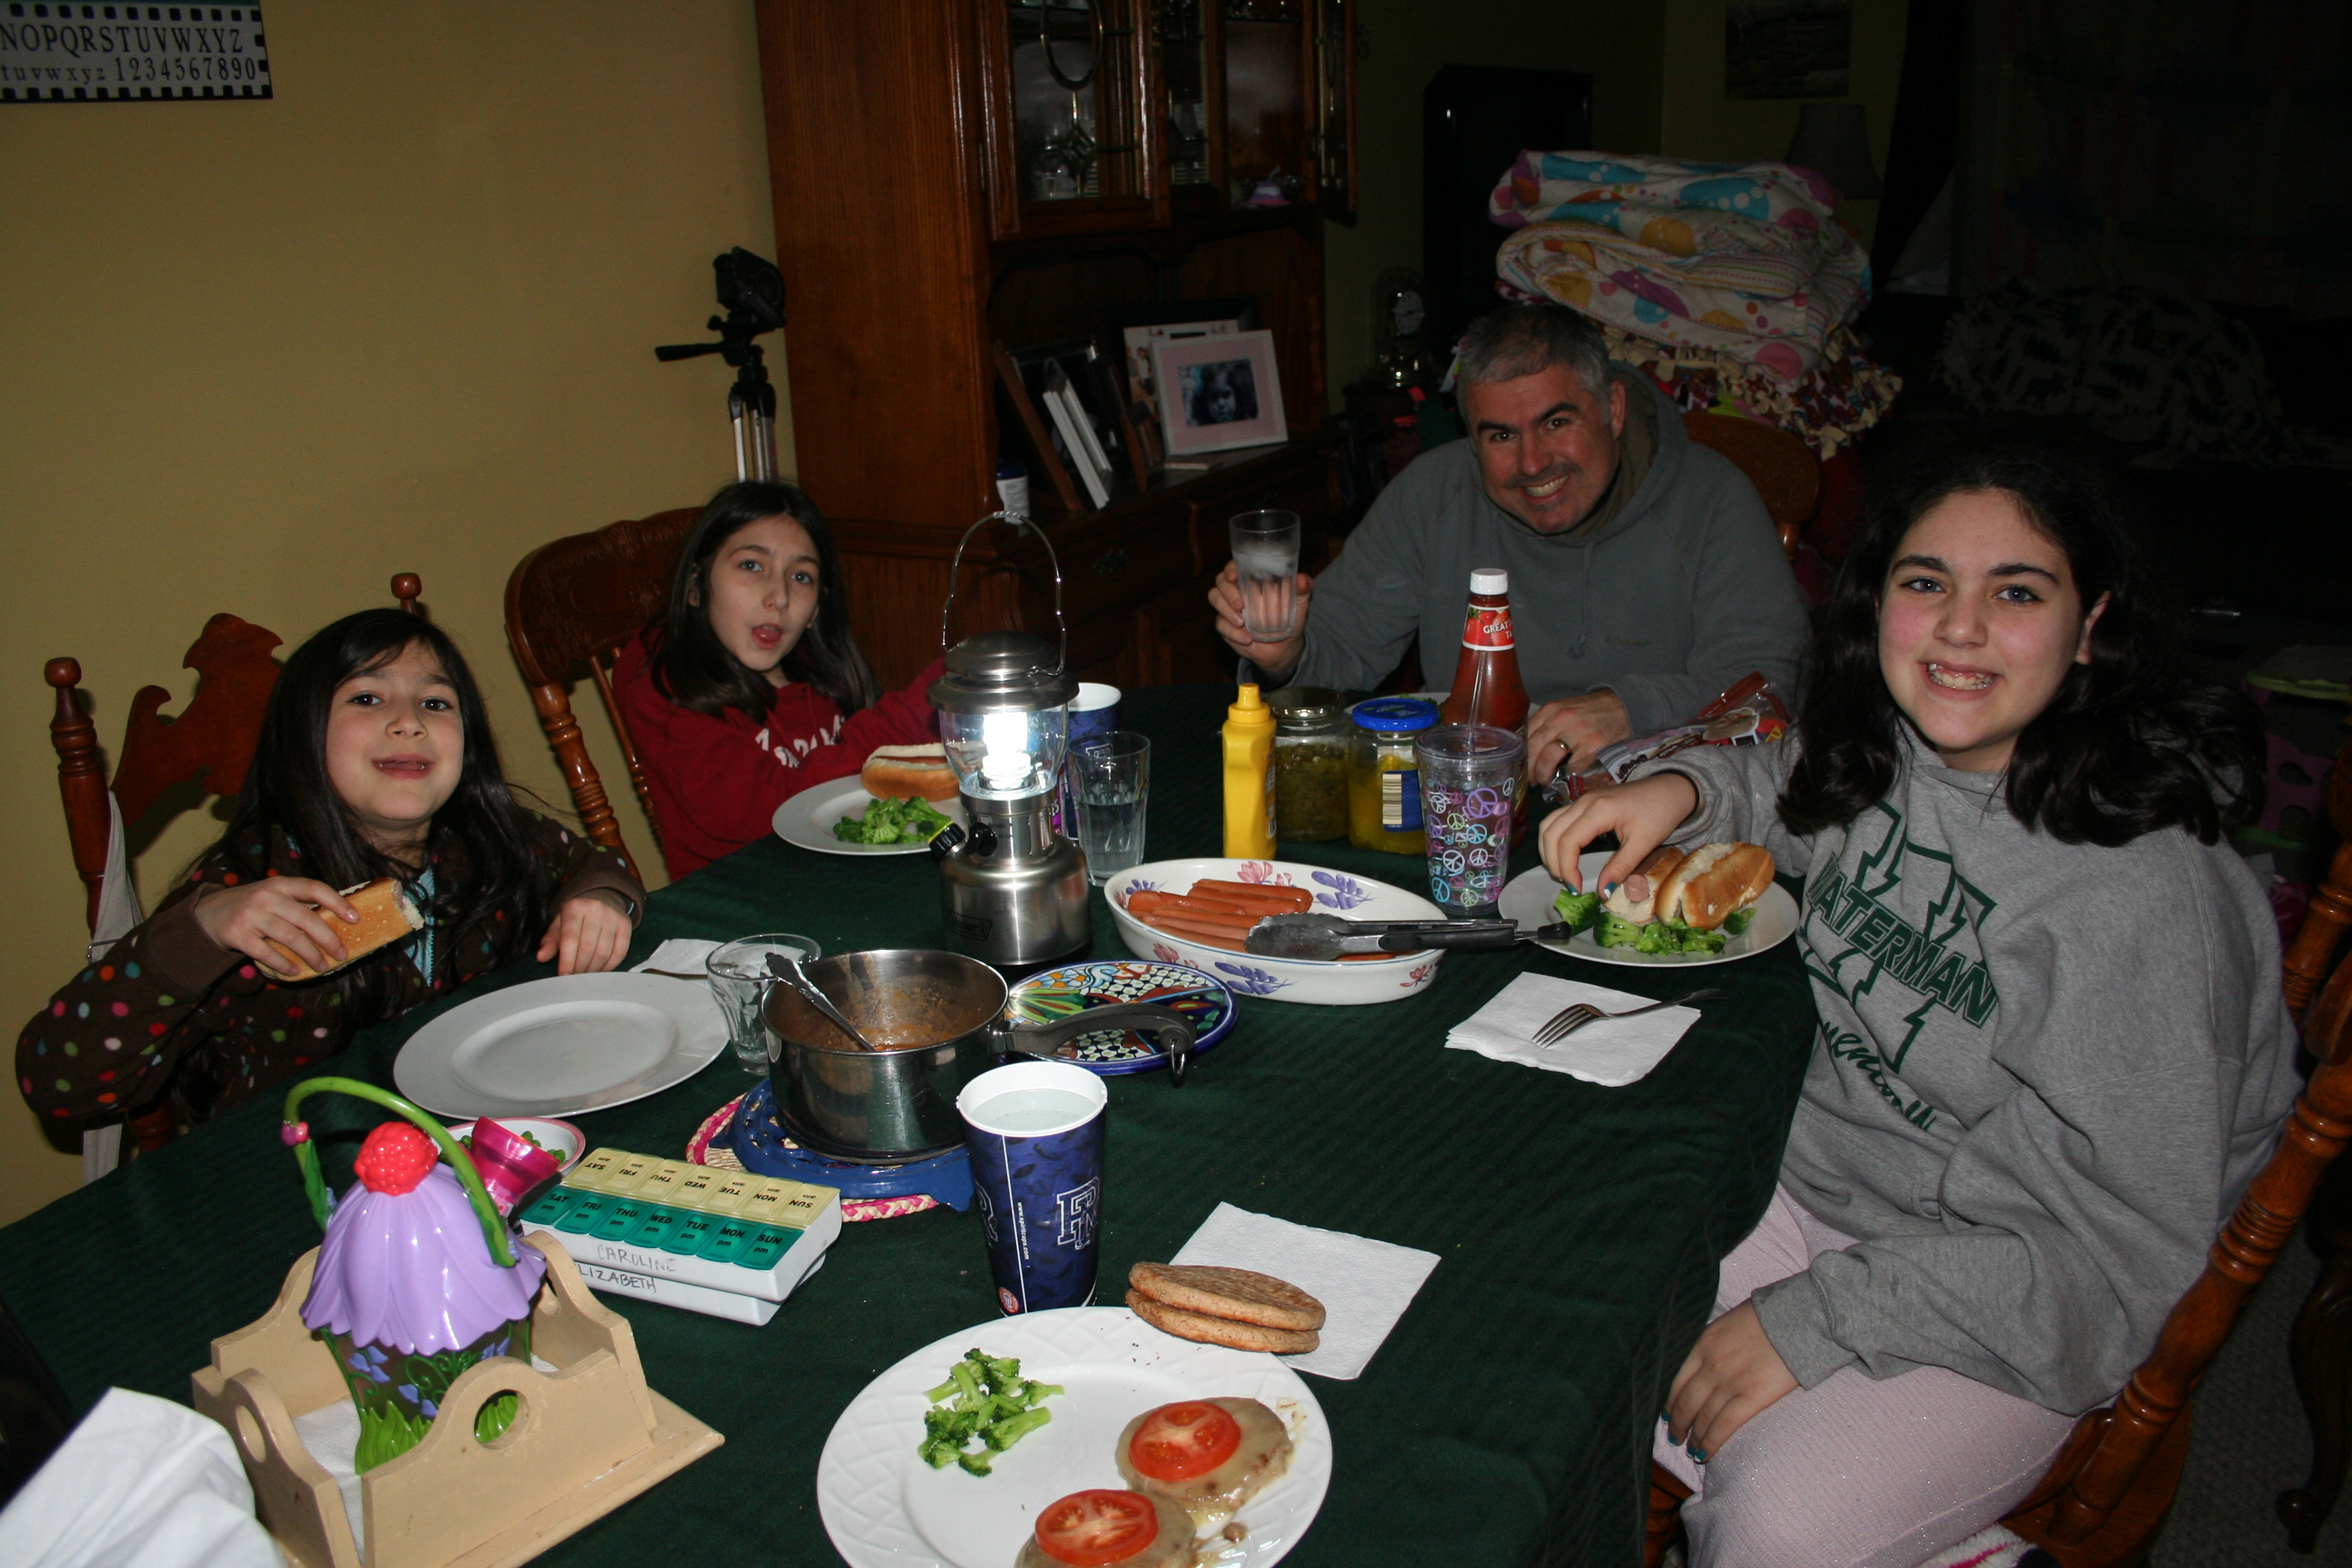
Saturday night’s dinner by candlelight: turkey hot dogs, turkey burgers, and veggies.
We played games: Life, Scrabble, Symbol Simon.
We played with gymp; made keychains and braids.
We ate by lantern light at night, had hot chocolate each morning to warm up, did dishes at night by flashlight, even went out and watched a movie in the car while sitting in our driveway (charging cell phones at the same time) and slept in the living room every night.
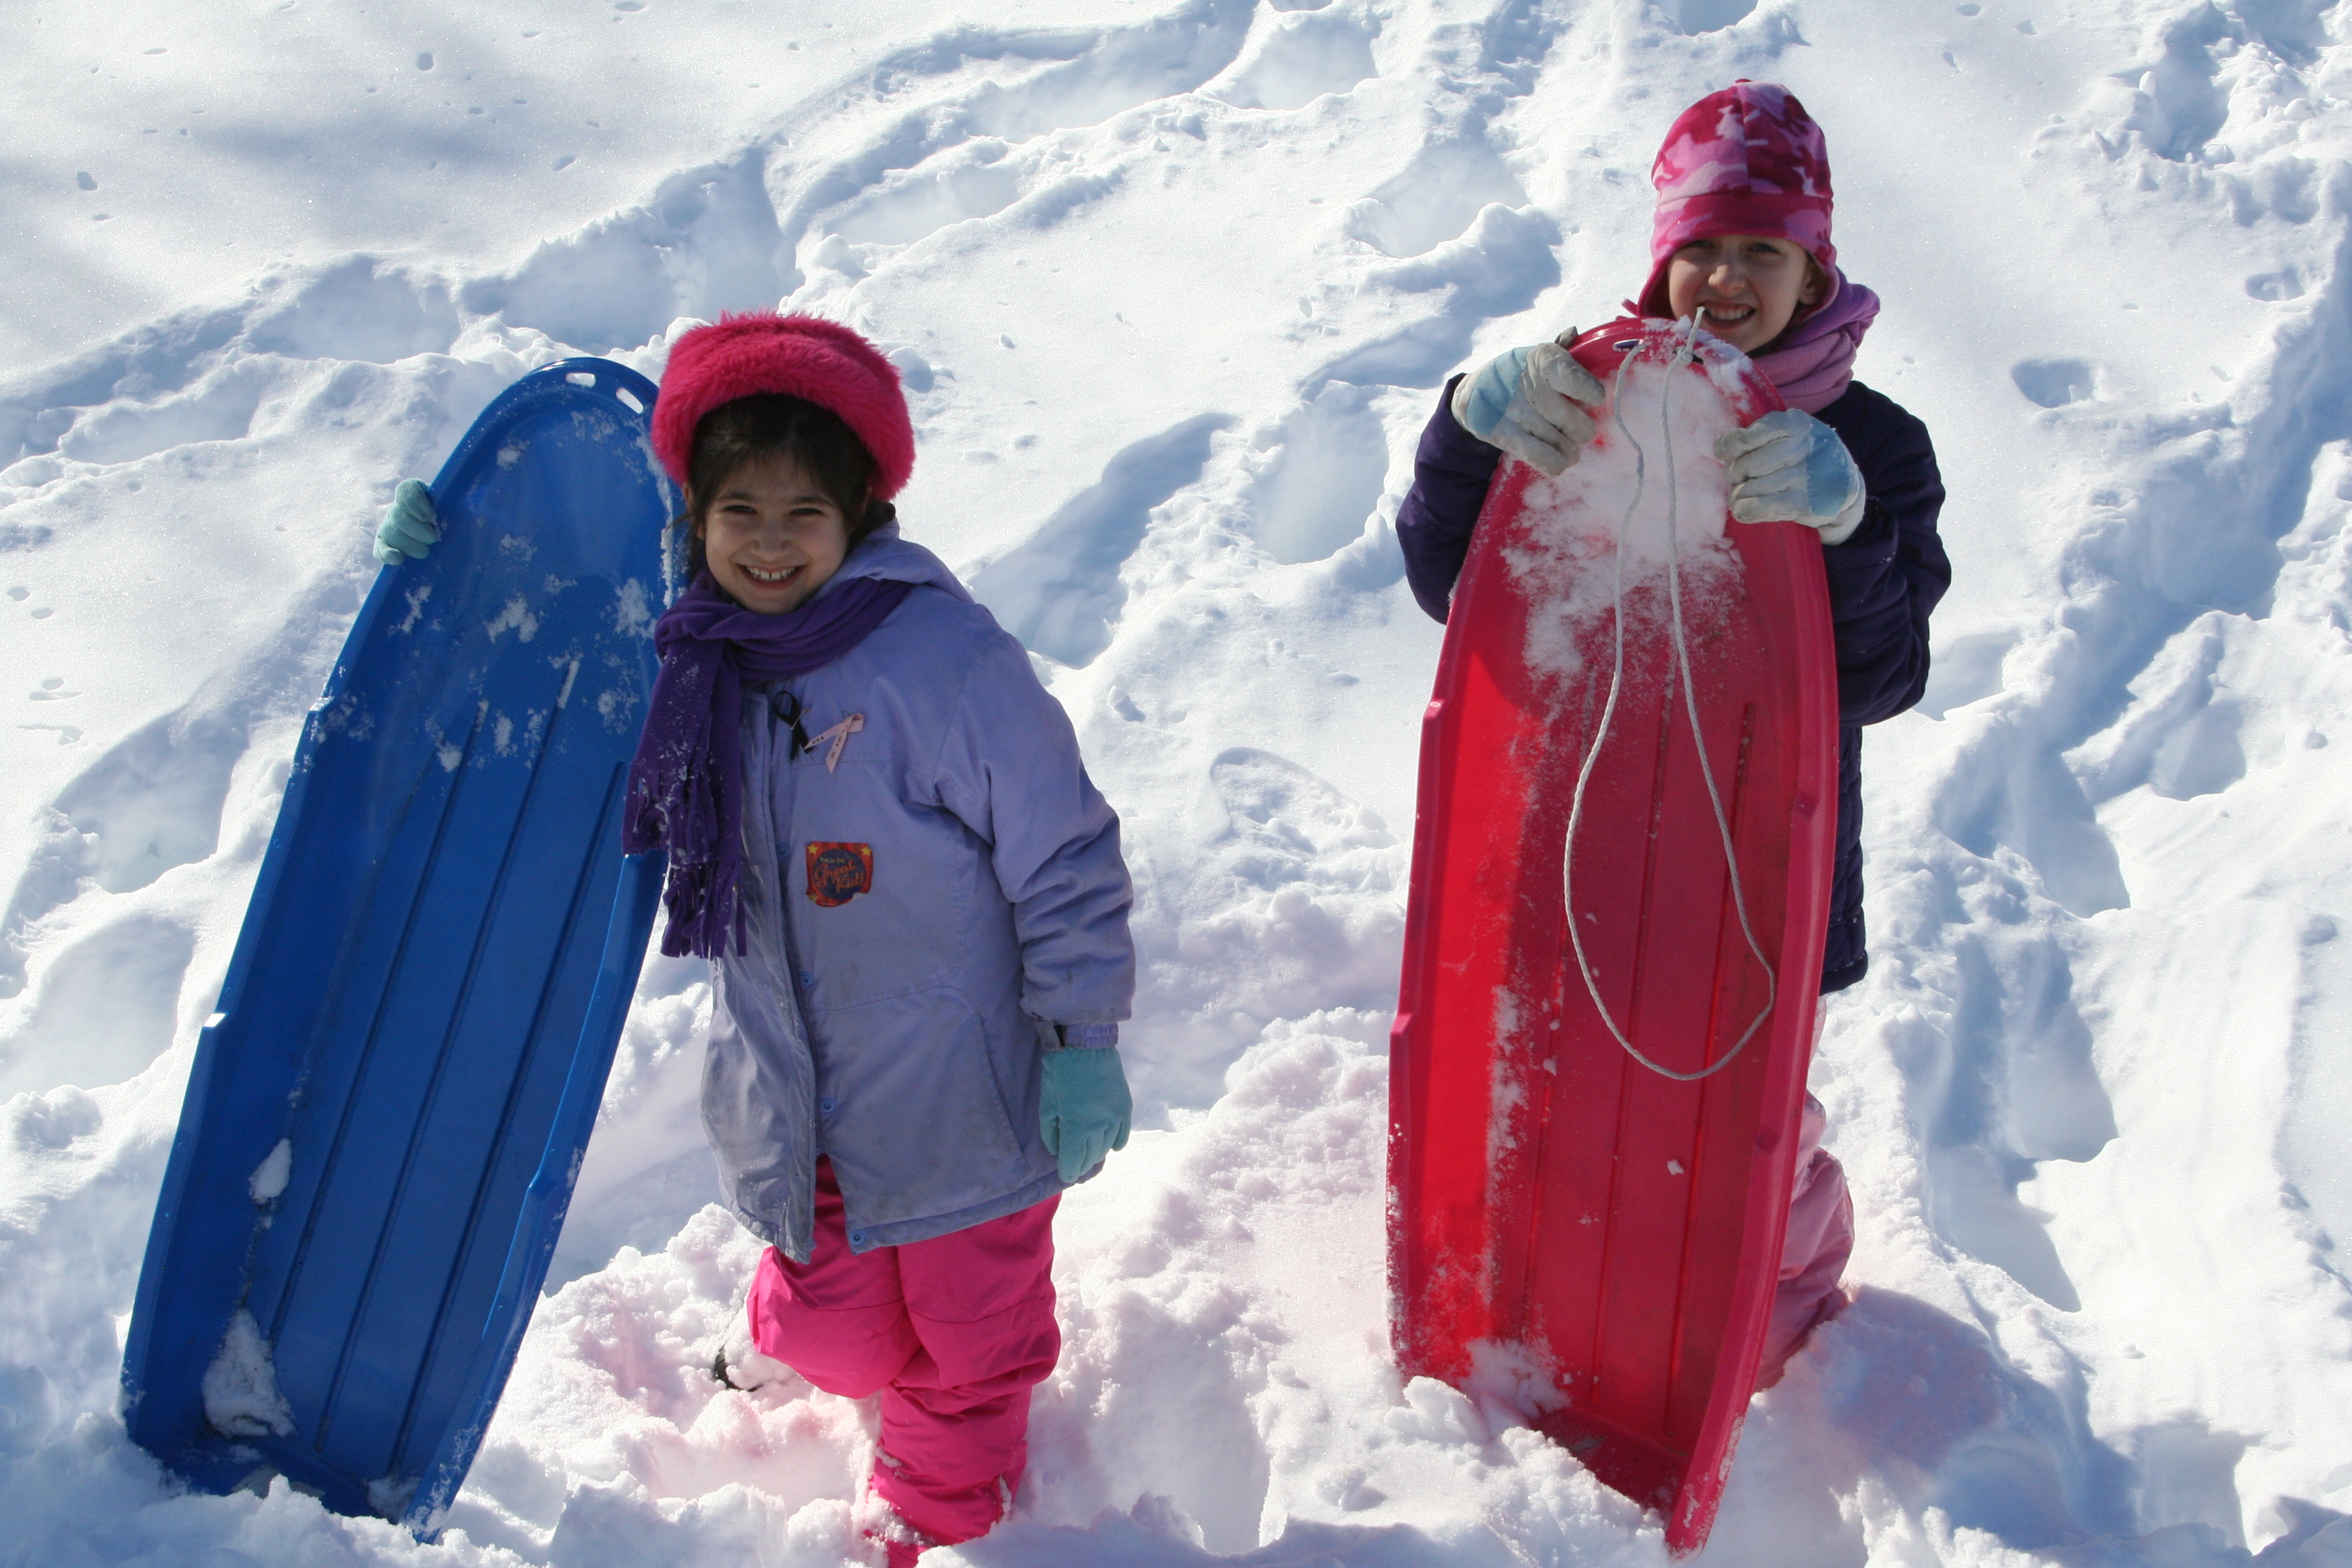
By Sunday morning, we were more than ready for the lights and heat to come on, but we were still doing okay. The kids played in the snow, enjoying the very best part of a good snowstorm: sledding. We thought about the possibility of heading somewhere to shower, to get warmer (without all the steam), but we were really doing okay.

Lots of snow to sled in!
And in the back of my mind, I really didn’t want to leave the whole thing. I wanted my kids to have those memories like I had. In 1978 we had no power for a week. We didn’t leave. Of course, we had a fireplace, but still, a whole week without power. Yikes.
On Sunday afternoon we had just finished showers (warm ones but no hair dryers) and we were in the living room contemplating our next meal, when all of a sudden….the lights came back on. A day earlier than we’d been told by the utility company, and earlier than some other RI residents not quite as lucky.
Just like that.
It was all over.
The kids’ very first question: “Can we still sleep in the living room?”
*Success.*
Below are a few more photos from the weekend.
Enjoy!

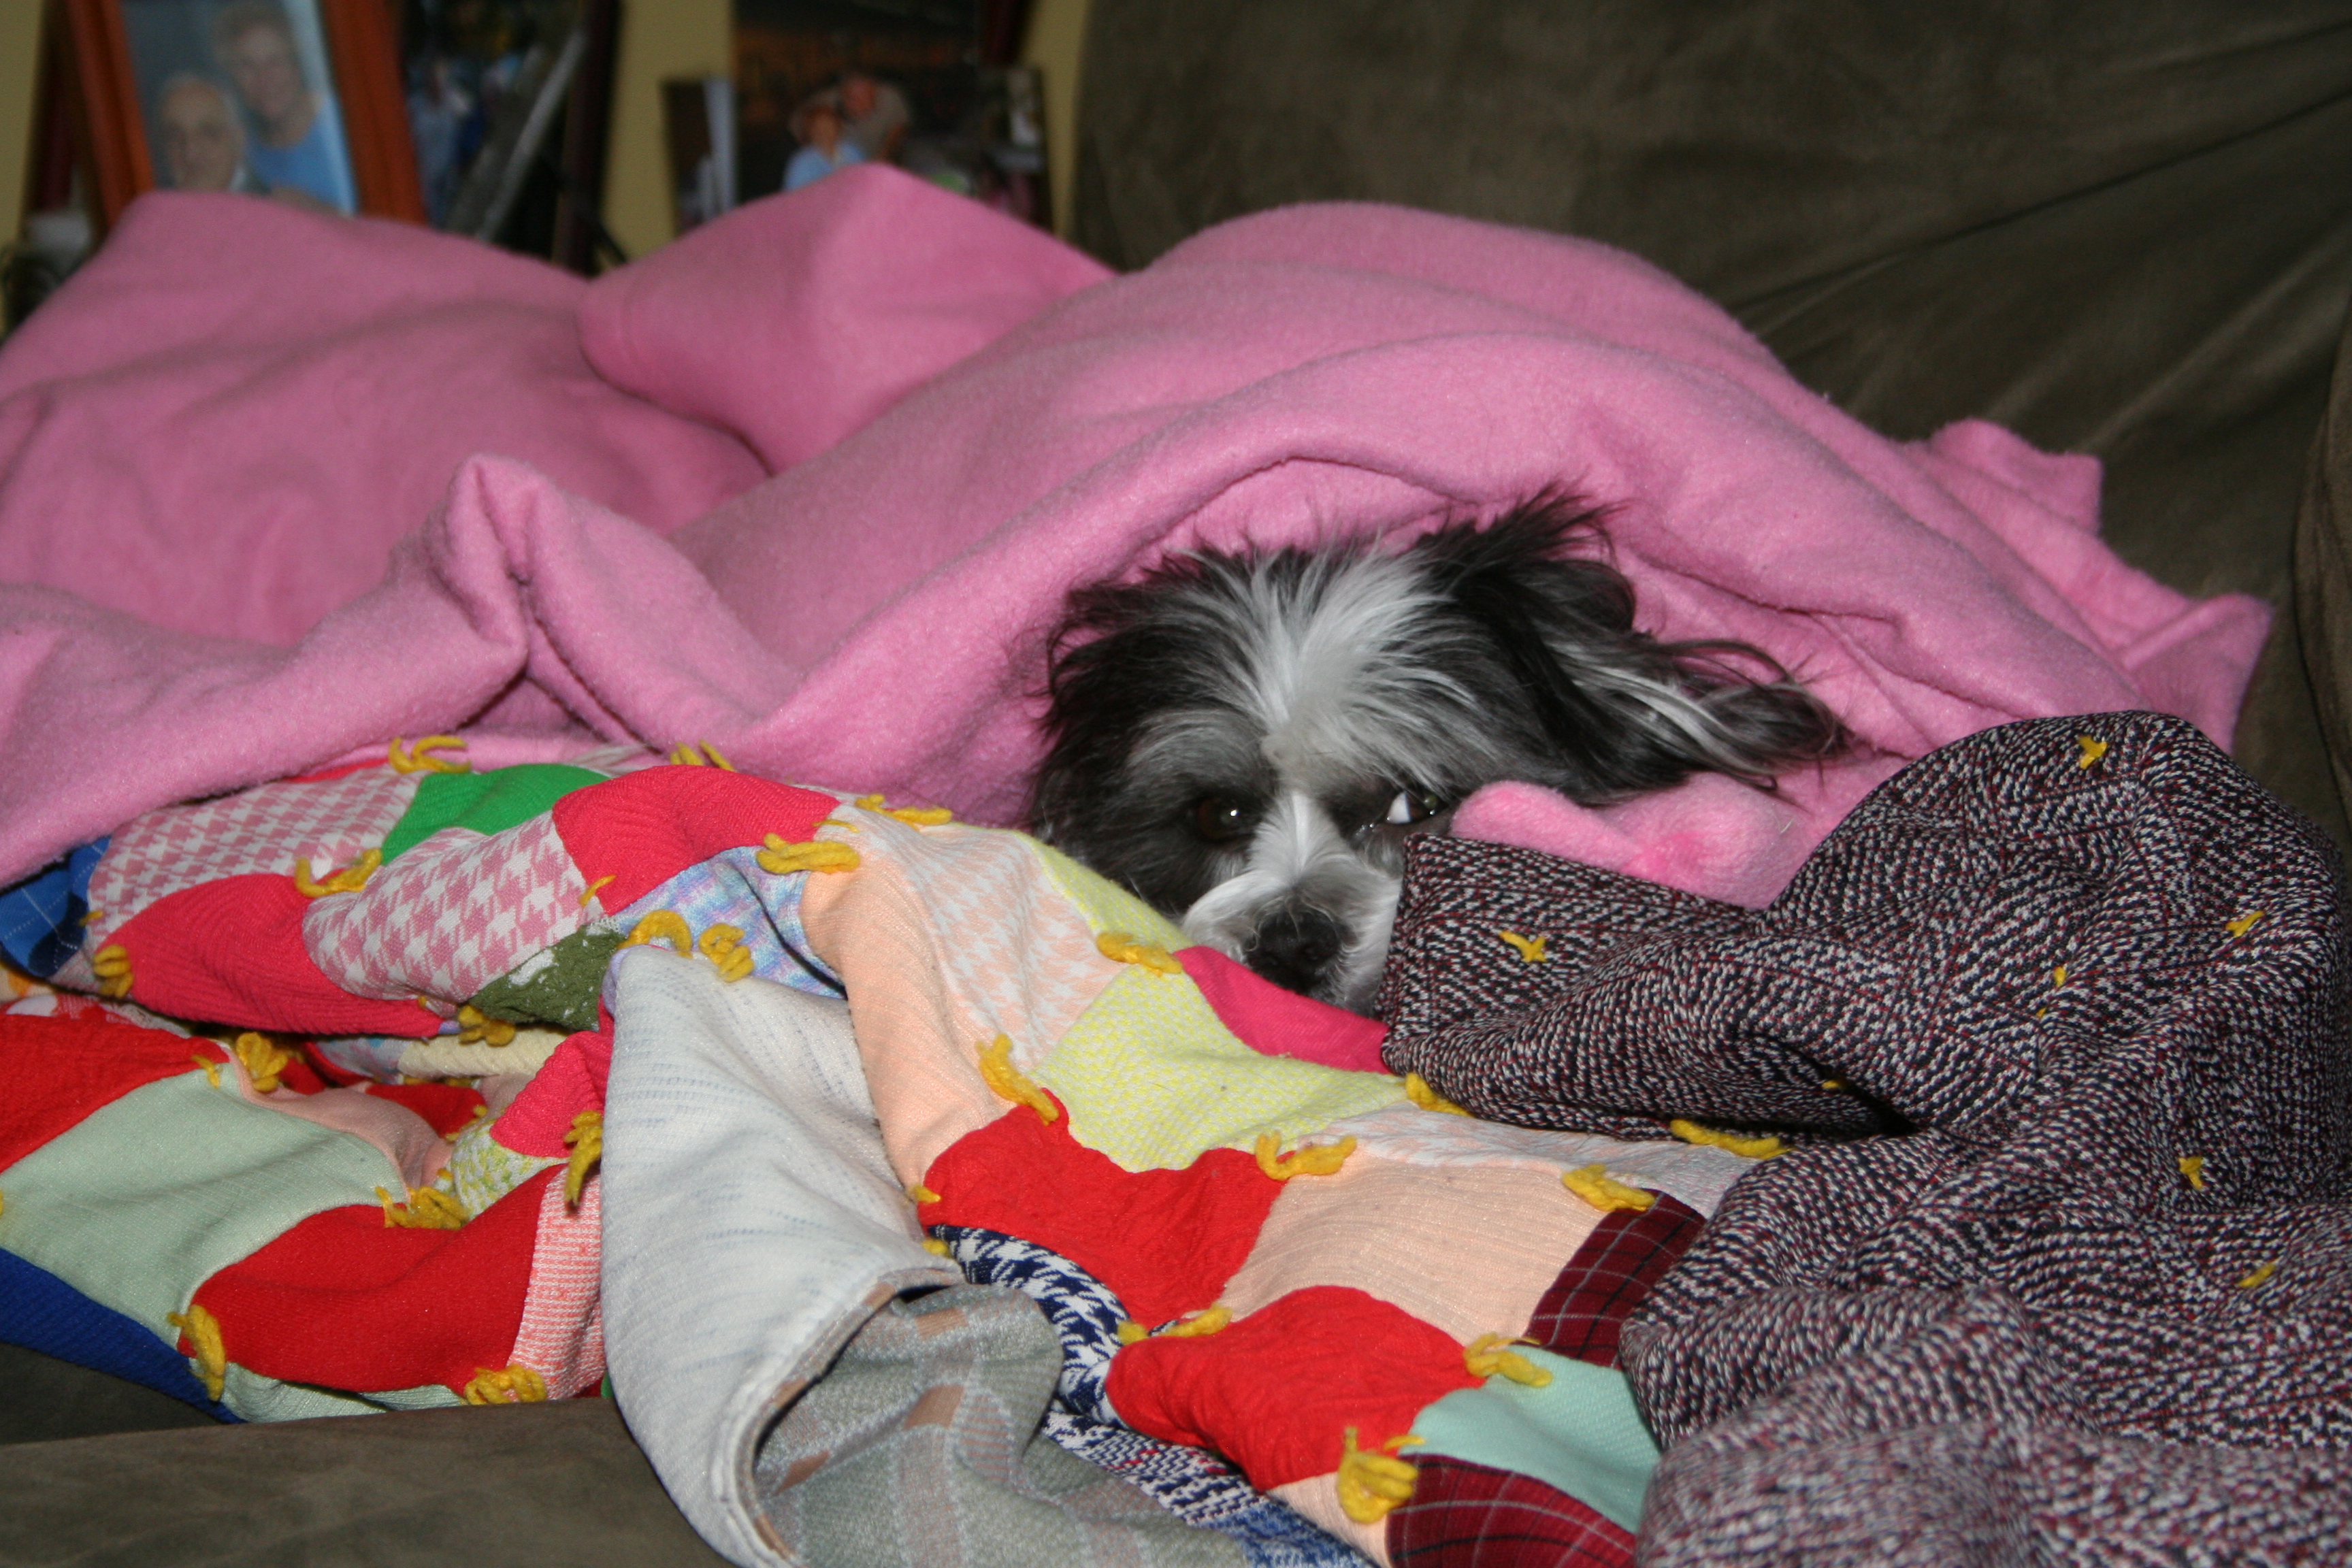
Even Bella was chilly on Sunday morning. Outside it was just eight degrees.

Hot chocolate in sleeping bags every morning in the living room.
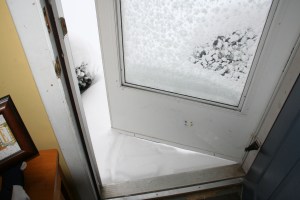
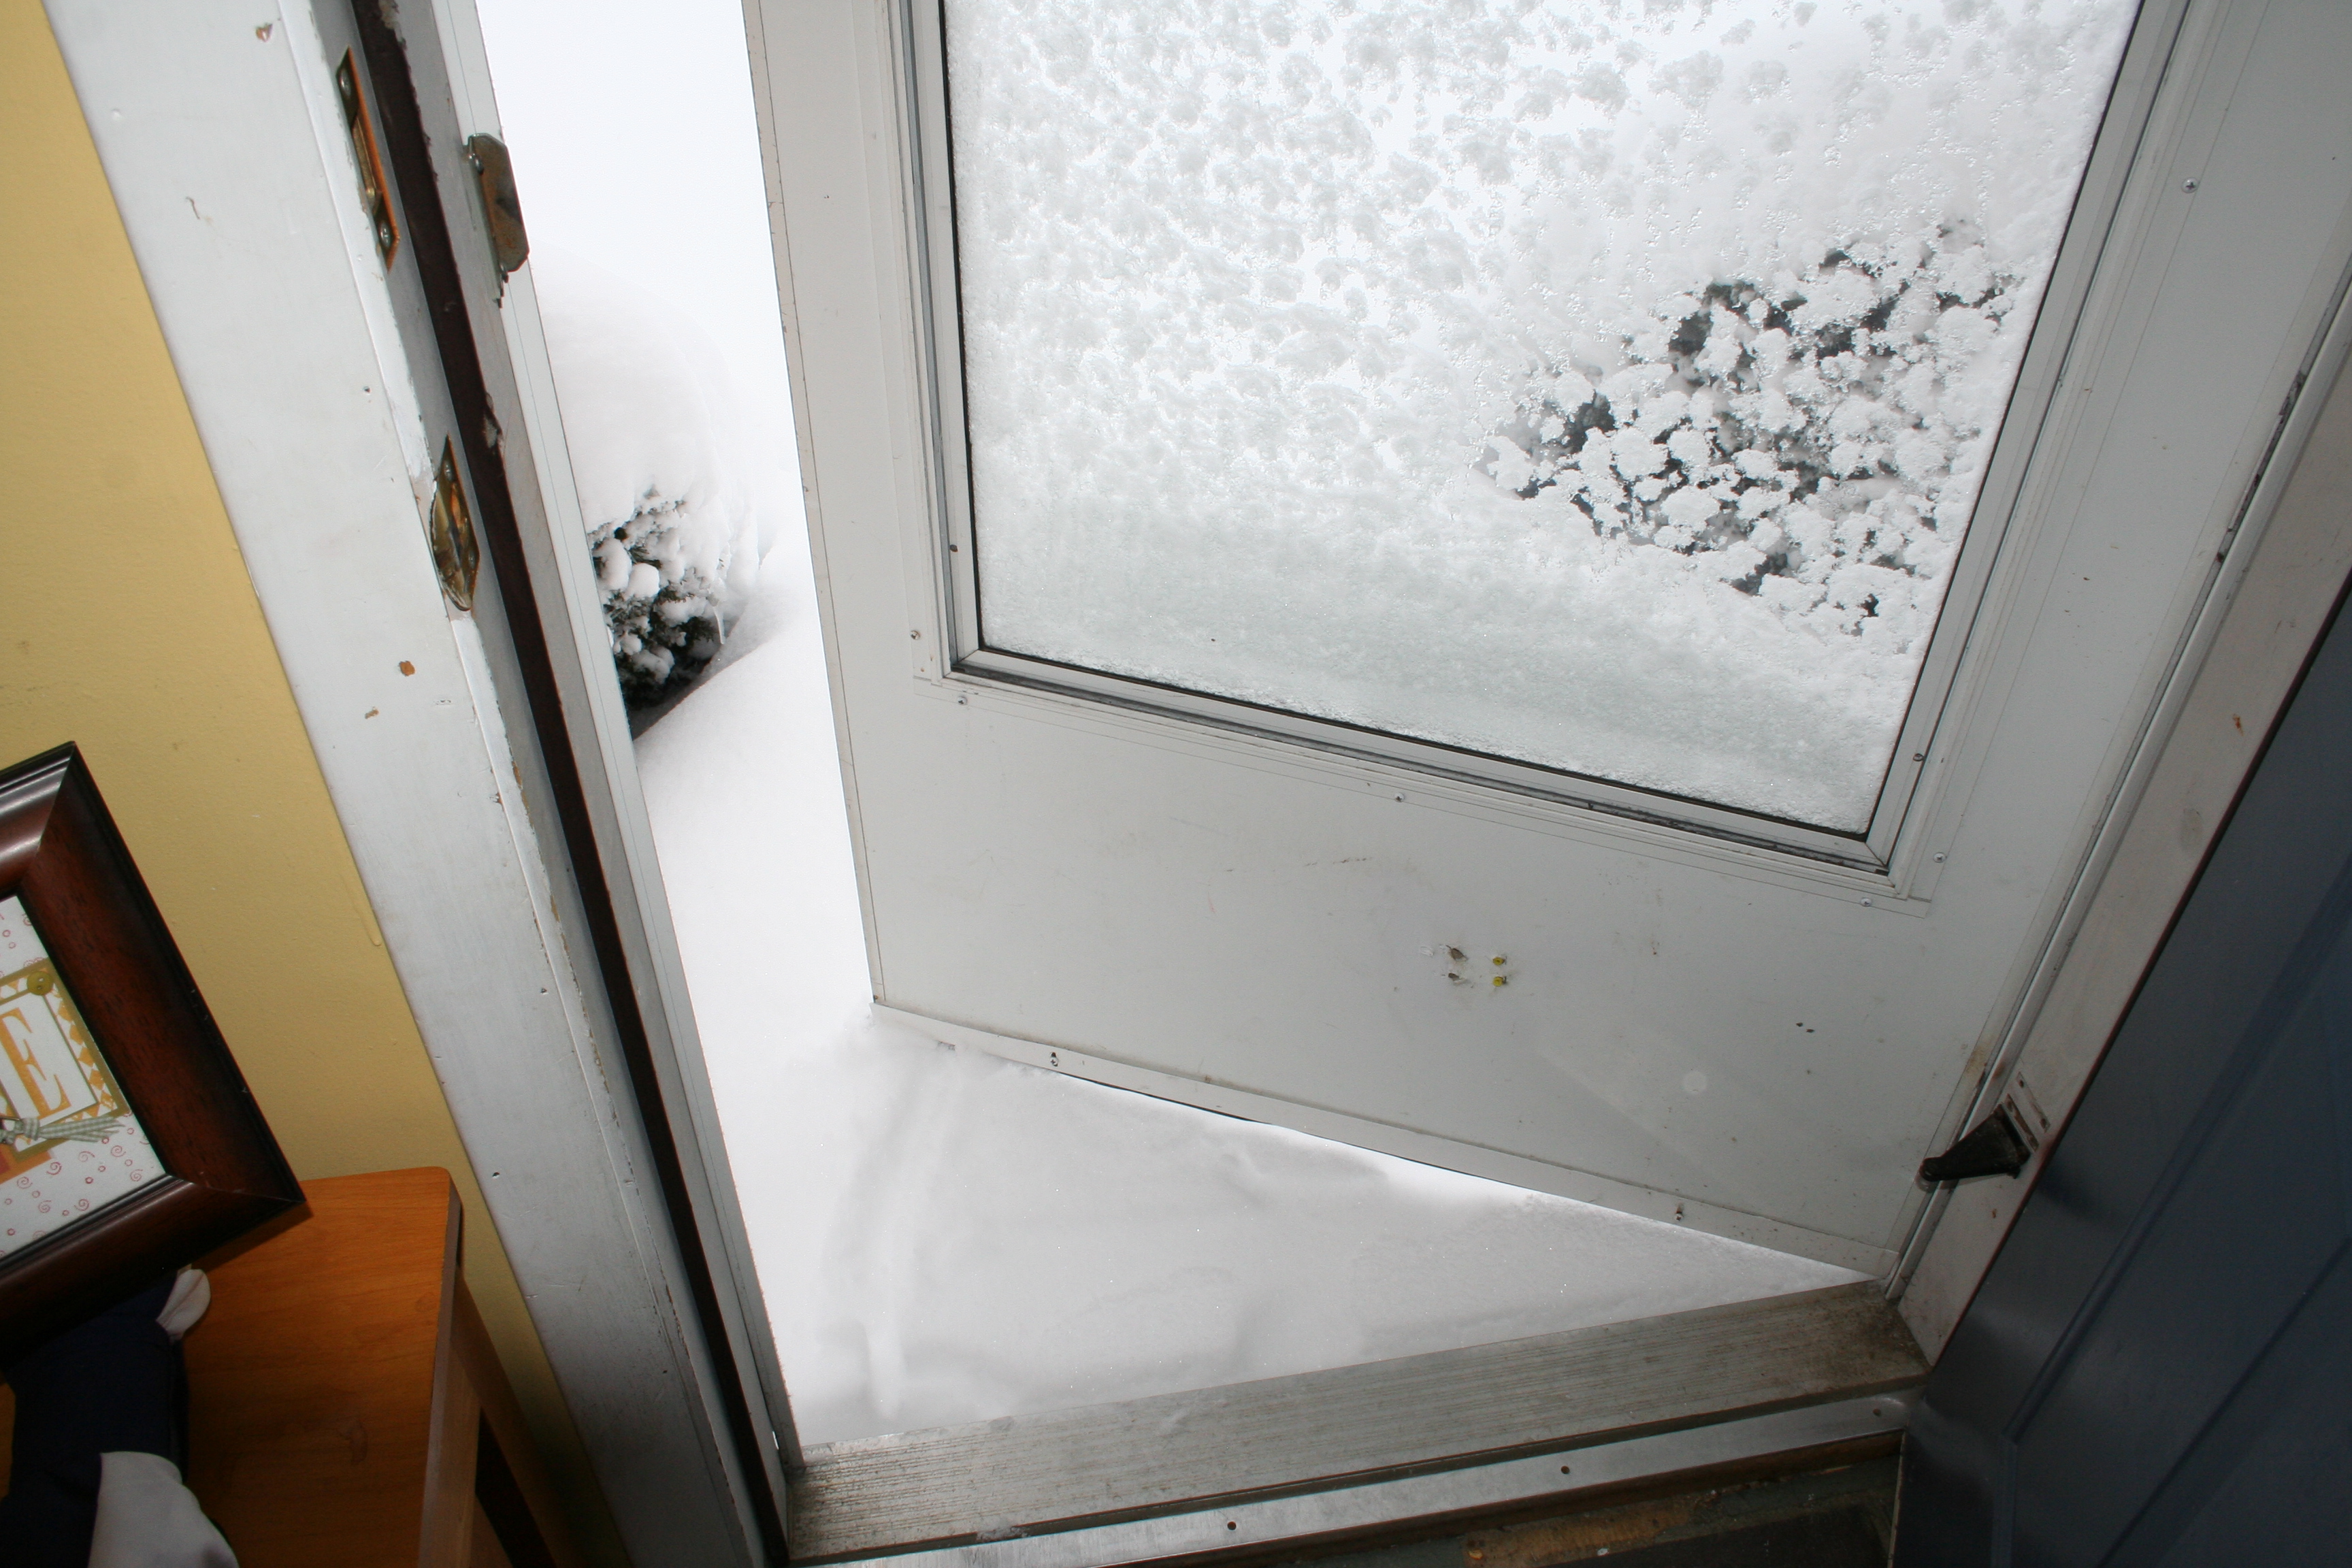
Even under the overhang outside our front door, the snow came right up to the door.
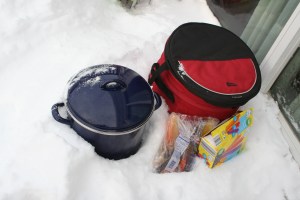
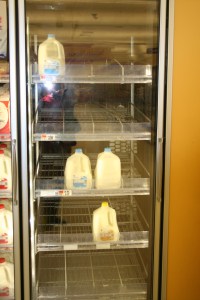
The good thing about losing power in the winter: we just put everything outside to keep it cold. A few things froze, but otherwise we were in good shape and didn’t really lose any food.
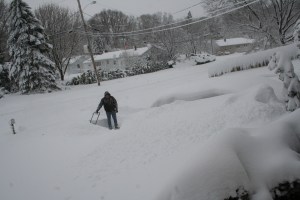
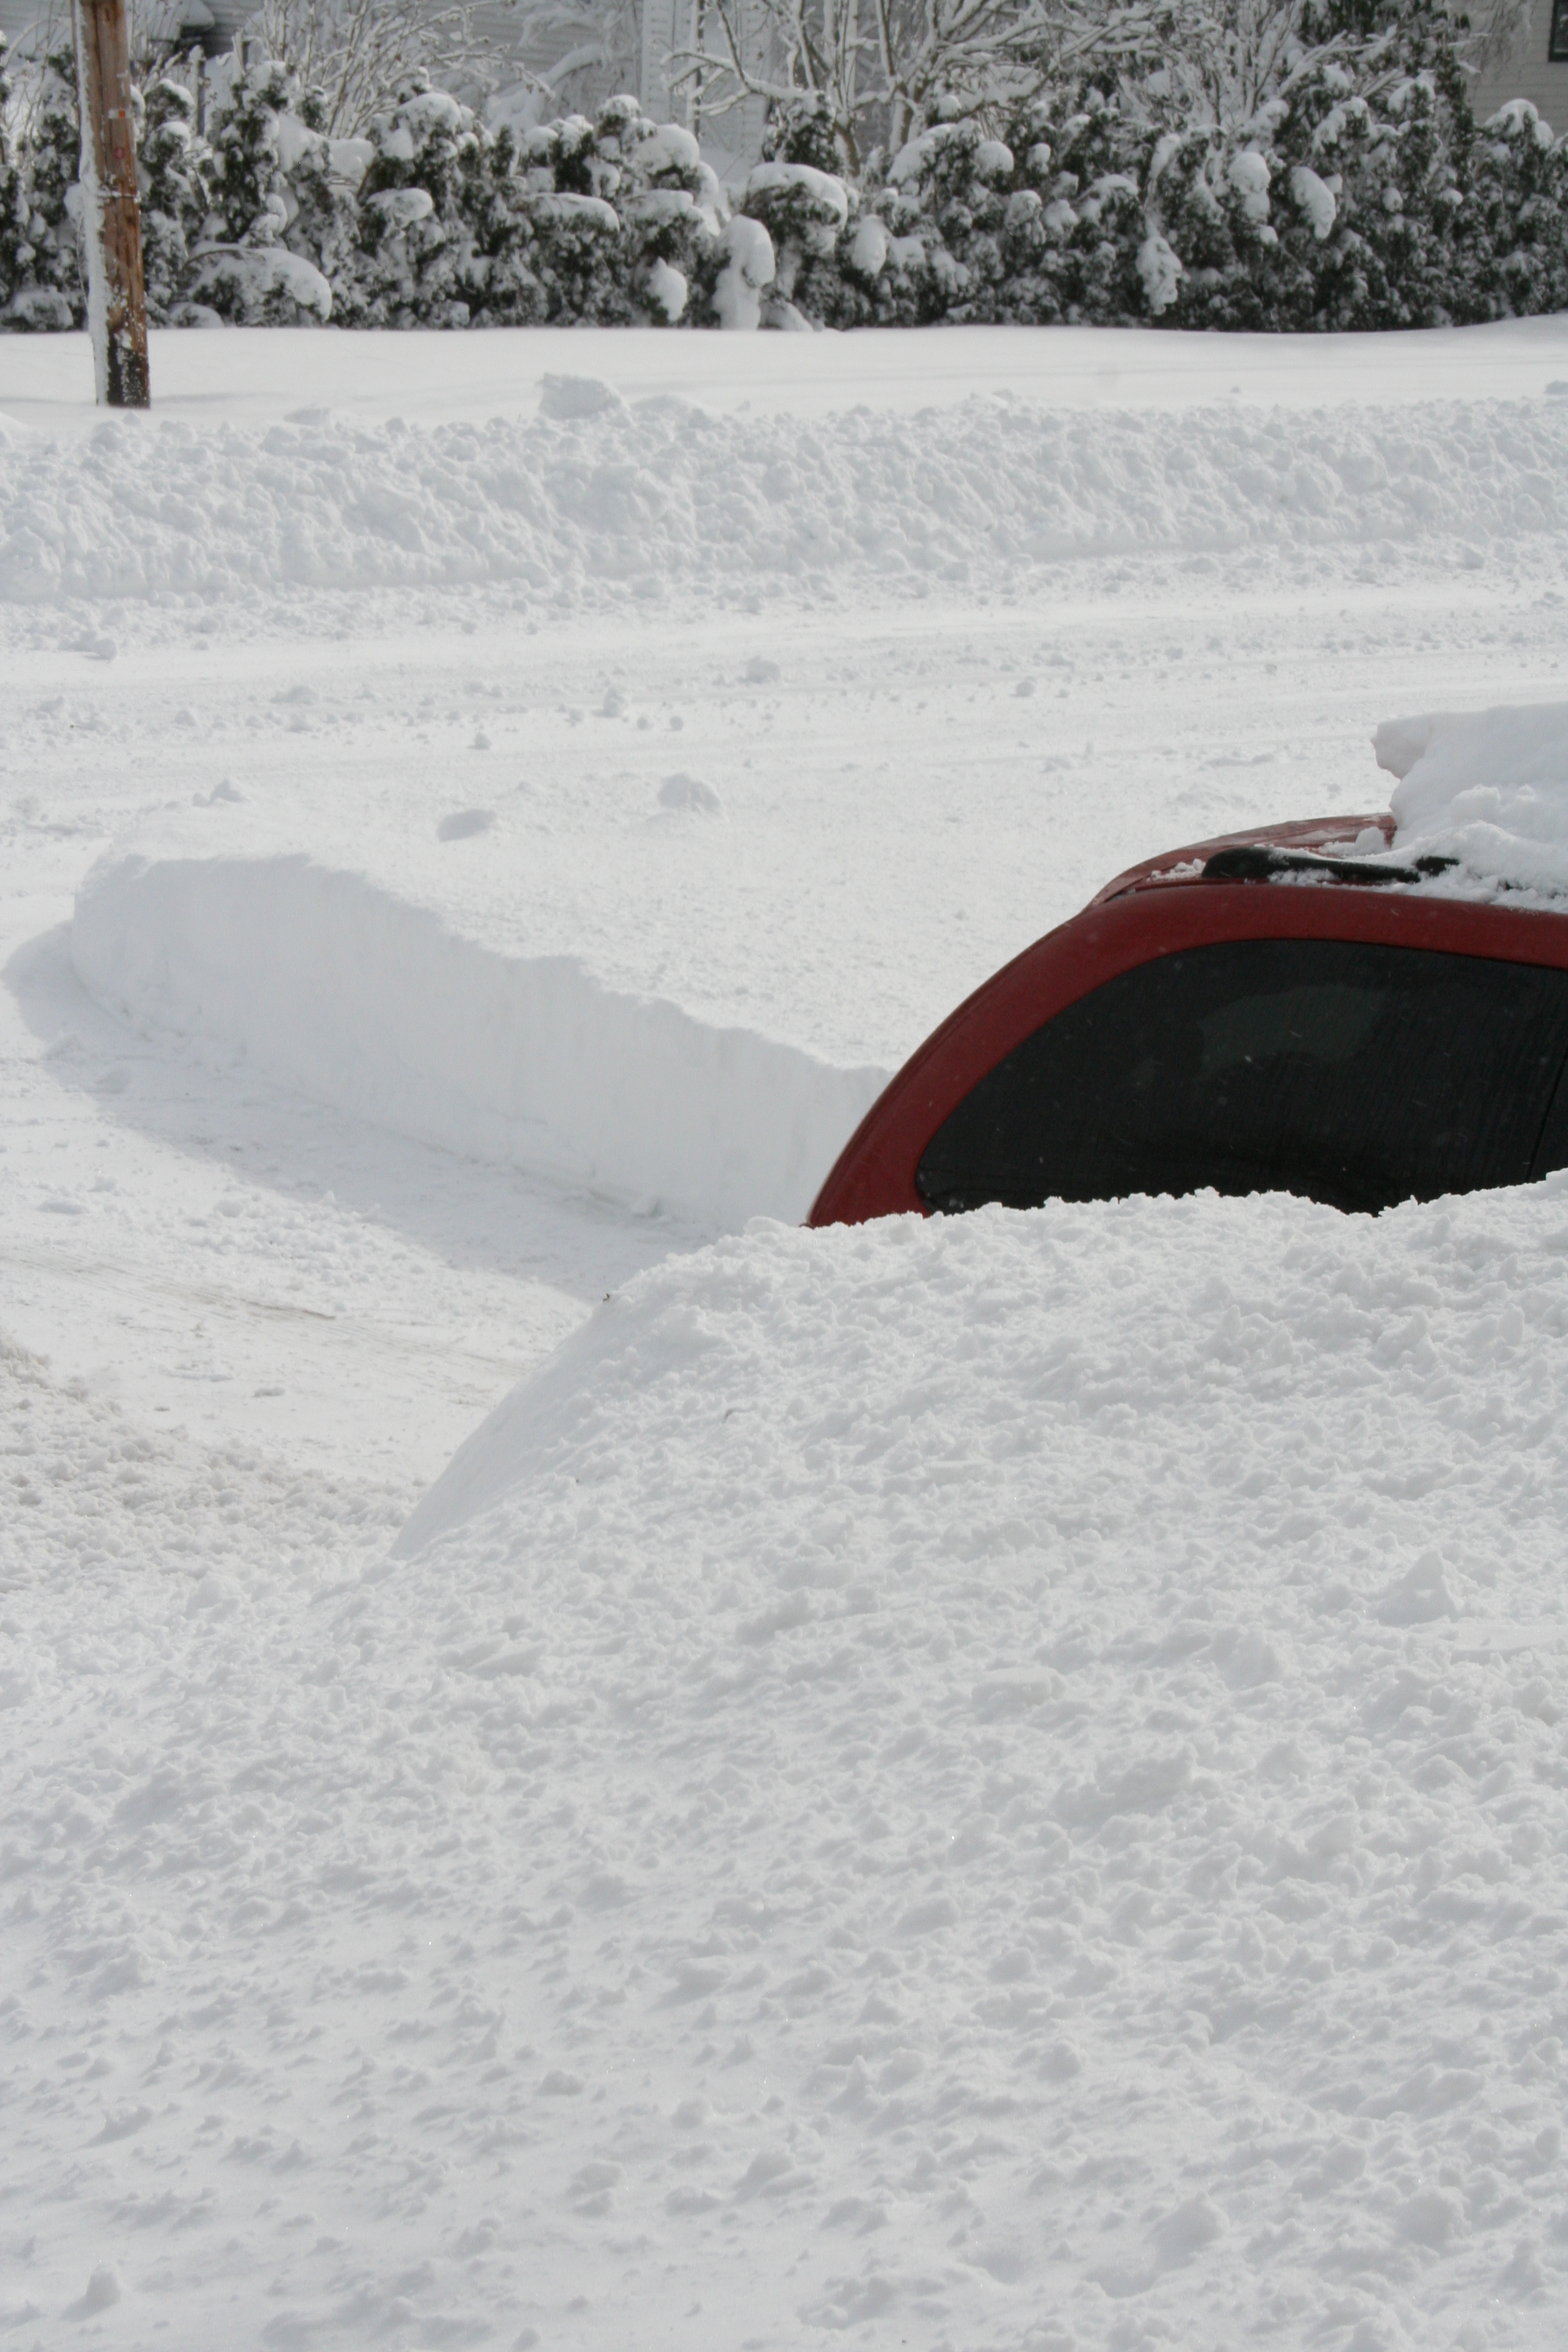
We could not even see the cars in the driveway on Saturday morning.

Took half the day for Don to uncover one car and snow blow half the driveway.

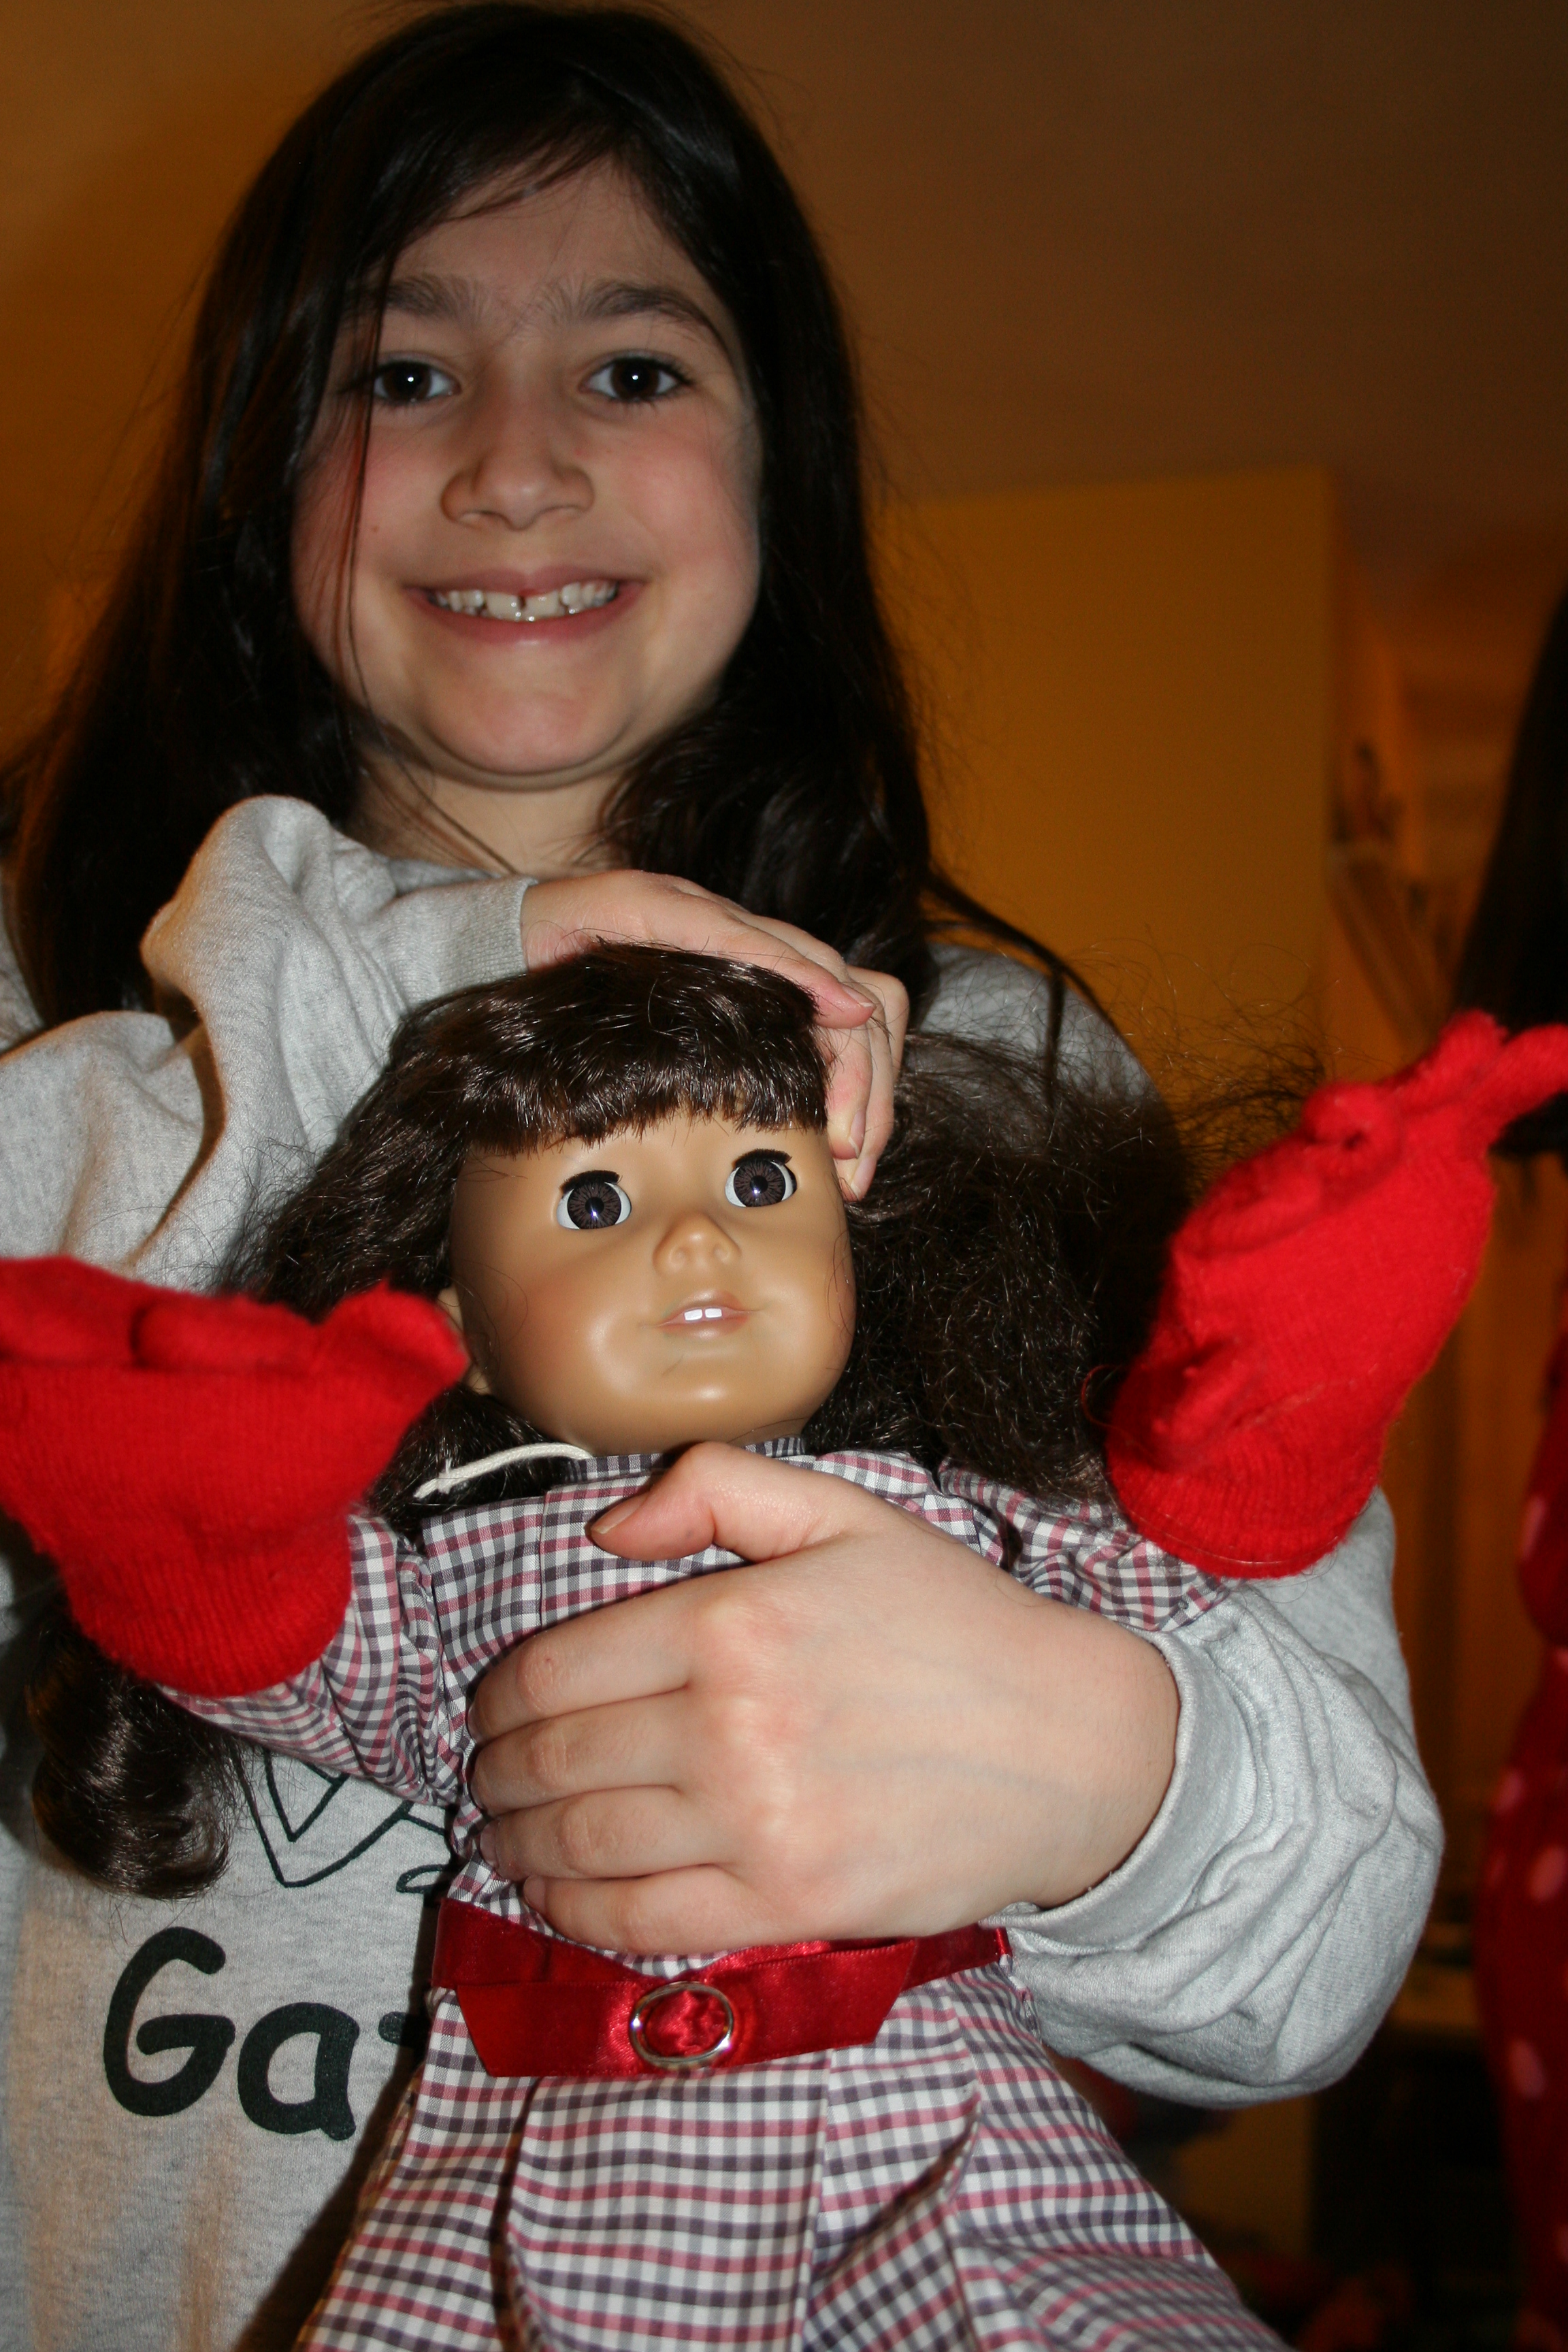
Even Samantha, American Girl, was chilly. Gloves were in order, apparently.
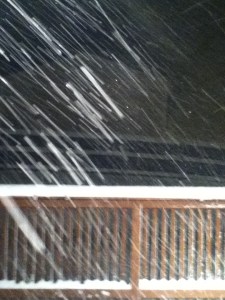
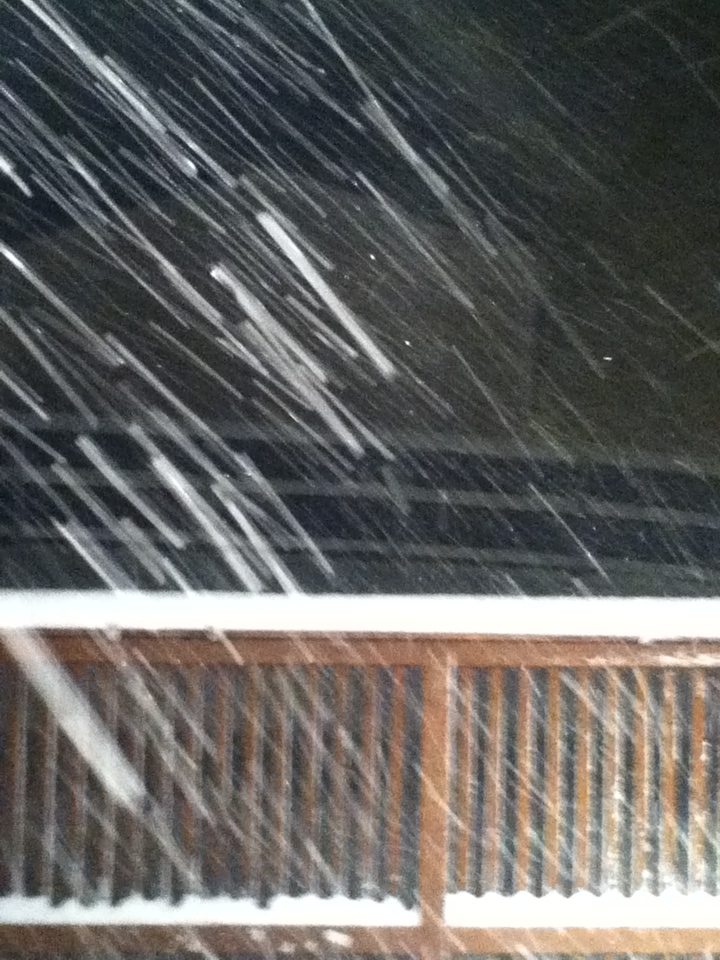
Caroline got this great shot on her iPod touch: It was snowing sideways on Friday night. 75 mph winds.
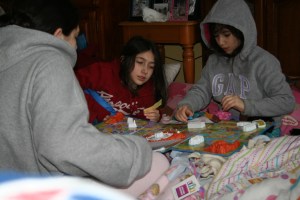
The Game of Life played in sleeping bags to stay warm.
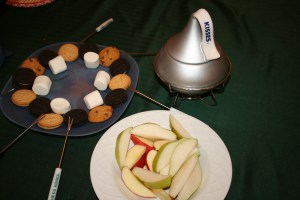
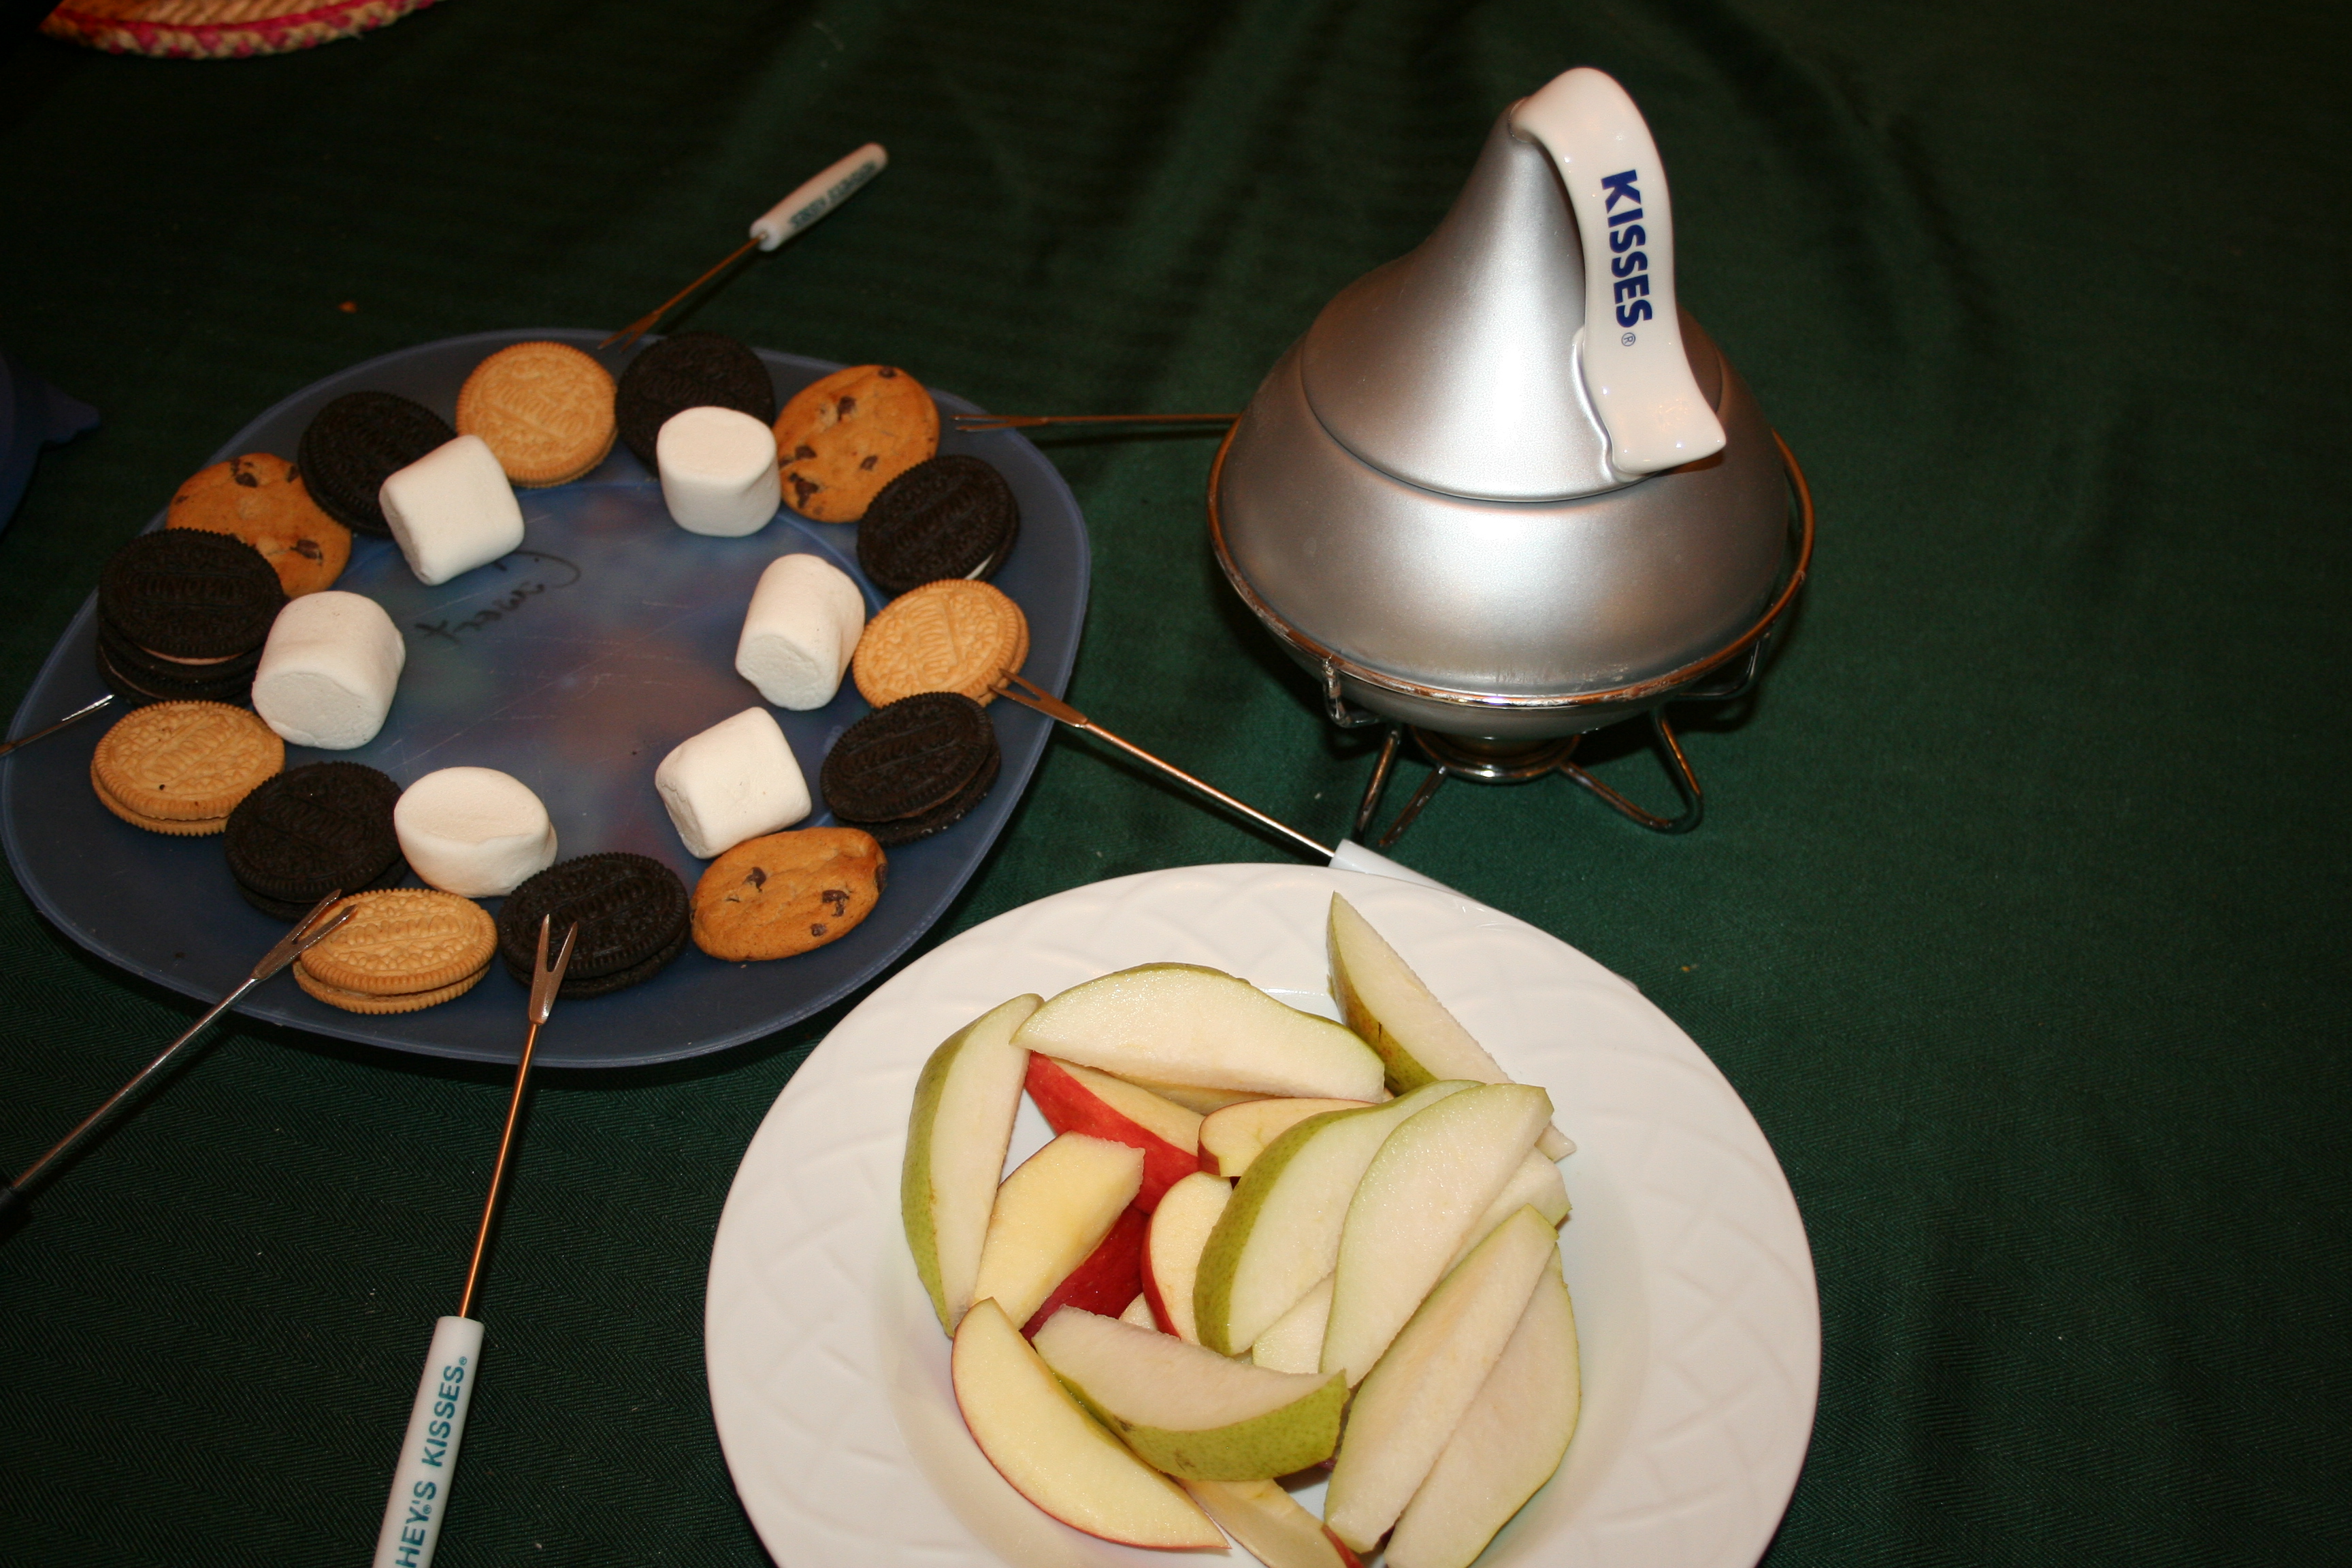
Our Sunday night reward for making it through the days without power: Chocolate Fondue!
Tags: blizzard memories, blizzard Nemo 2013