A new blender for all our delicious smoothies!
You know you’ve been married a long time when a new blender in the house is super-exciting news.
We used to have a blender that we’d had for years and years. It did a decent job and it got quite a bit of use in our kitchen. However, it couldn’t really handle ice, especially when we wanted smoothies, and it was extremely loud when we used it with ice. It didn’t matter though, we kept on using it. If it’s not broken, as they say, don’t fix it.
Well, that philosophy worked until the day smoke came out of the old blender during a smoothie-making session. My husband was making the smoothies and he called out to me from the kitchen.
“I think the blender’s dead,” he said.
“If it’s that black stuff that shows up after you use it, it always does that, it’s fine,” I said.
“And does it always have smoke coming out of it?” he asked.
“The blender’s dead,” I said.
What a bummer: Time to buy a new blender, just a few weeks after our toaster-oven had also passed on into the world of over-used appliances.
But, on the bright side: Yay!!! I get to go blender shopping!!!
I decided that this time, I would shop with purpose. I wanted an affordable blender that could handle the blending of ice and frozen fruits which are so often the ingredients in our cool, refreshing smoothies.
As I wandered through Target one day, the Ninja blender caught my eye. It caught my eye because it had one of those great little red Target signs that alerts you to the fact that not only is something on sale, but you also got a gift card with its purchase.
In this particular case the blender I was looking at was on sale for $139 and you received a $25 Target gift card back with the purchase. Additionally, I am a Red Card carrier, which means I get an additional 5% off of my purchases all the time. The Red Card can be a debit card or a credit card, and ours is a debit card so our purchases still come out of our checking account.
I examined the blender box. It was an 1100 watt blender. It came with not one, but TWO travel-sized cups that fit right on top of the blender so that you blend right into them, cover and you’re good to go. The blender had three speeds as well as a Pulse button, which I never truly understand the purpose of, but it must be important so it’s good that it was there. It had a pour spout on the big blender pitcher, which I loved and it was easy to take apart and clean.
Best of all: it was advertised as being powerful enough to take on ice.

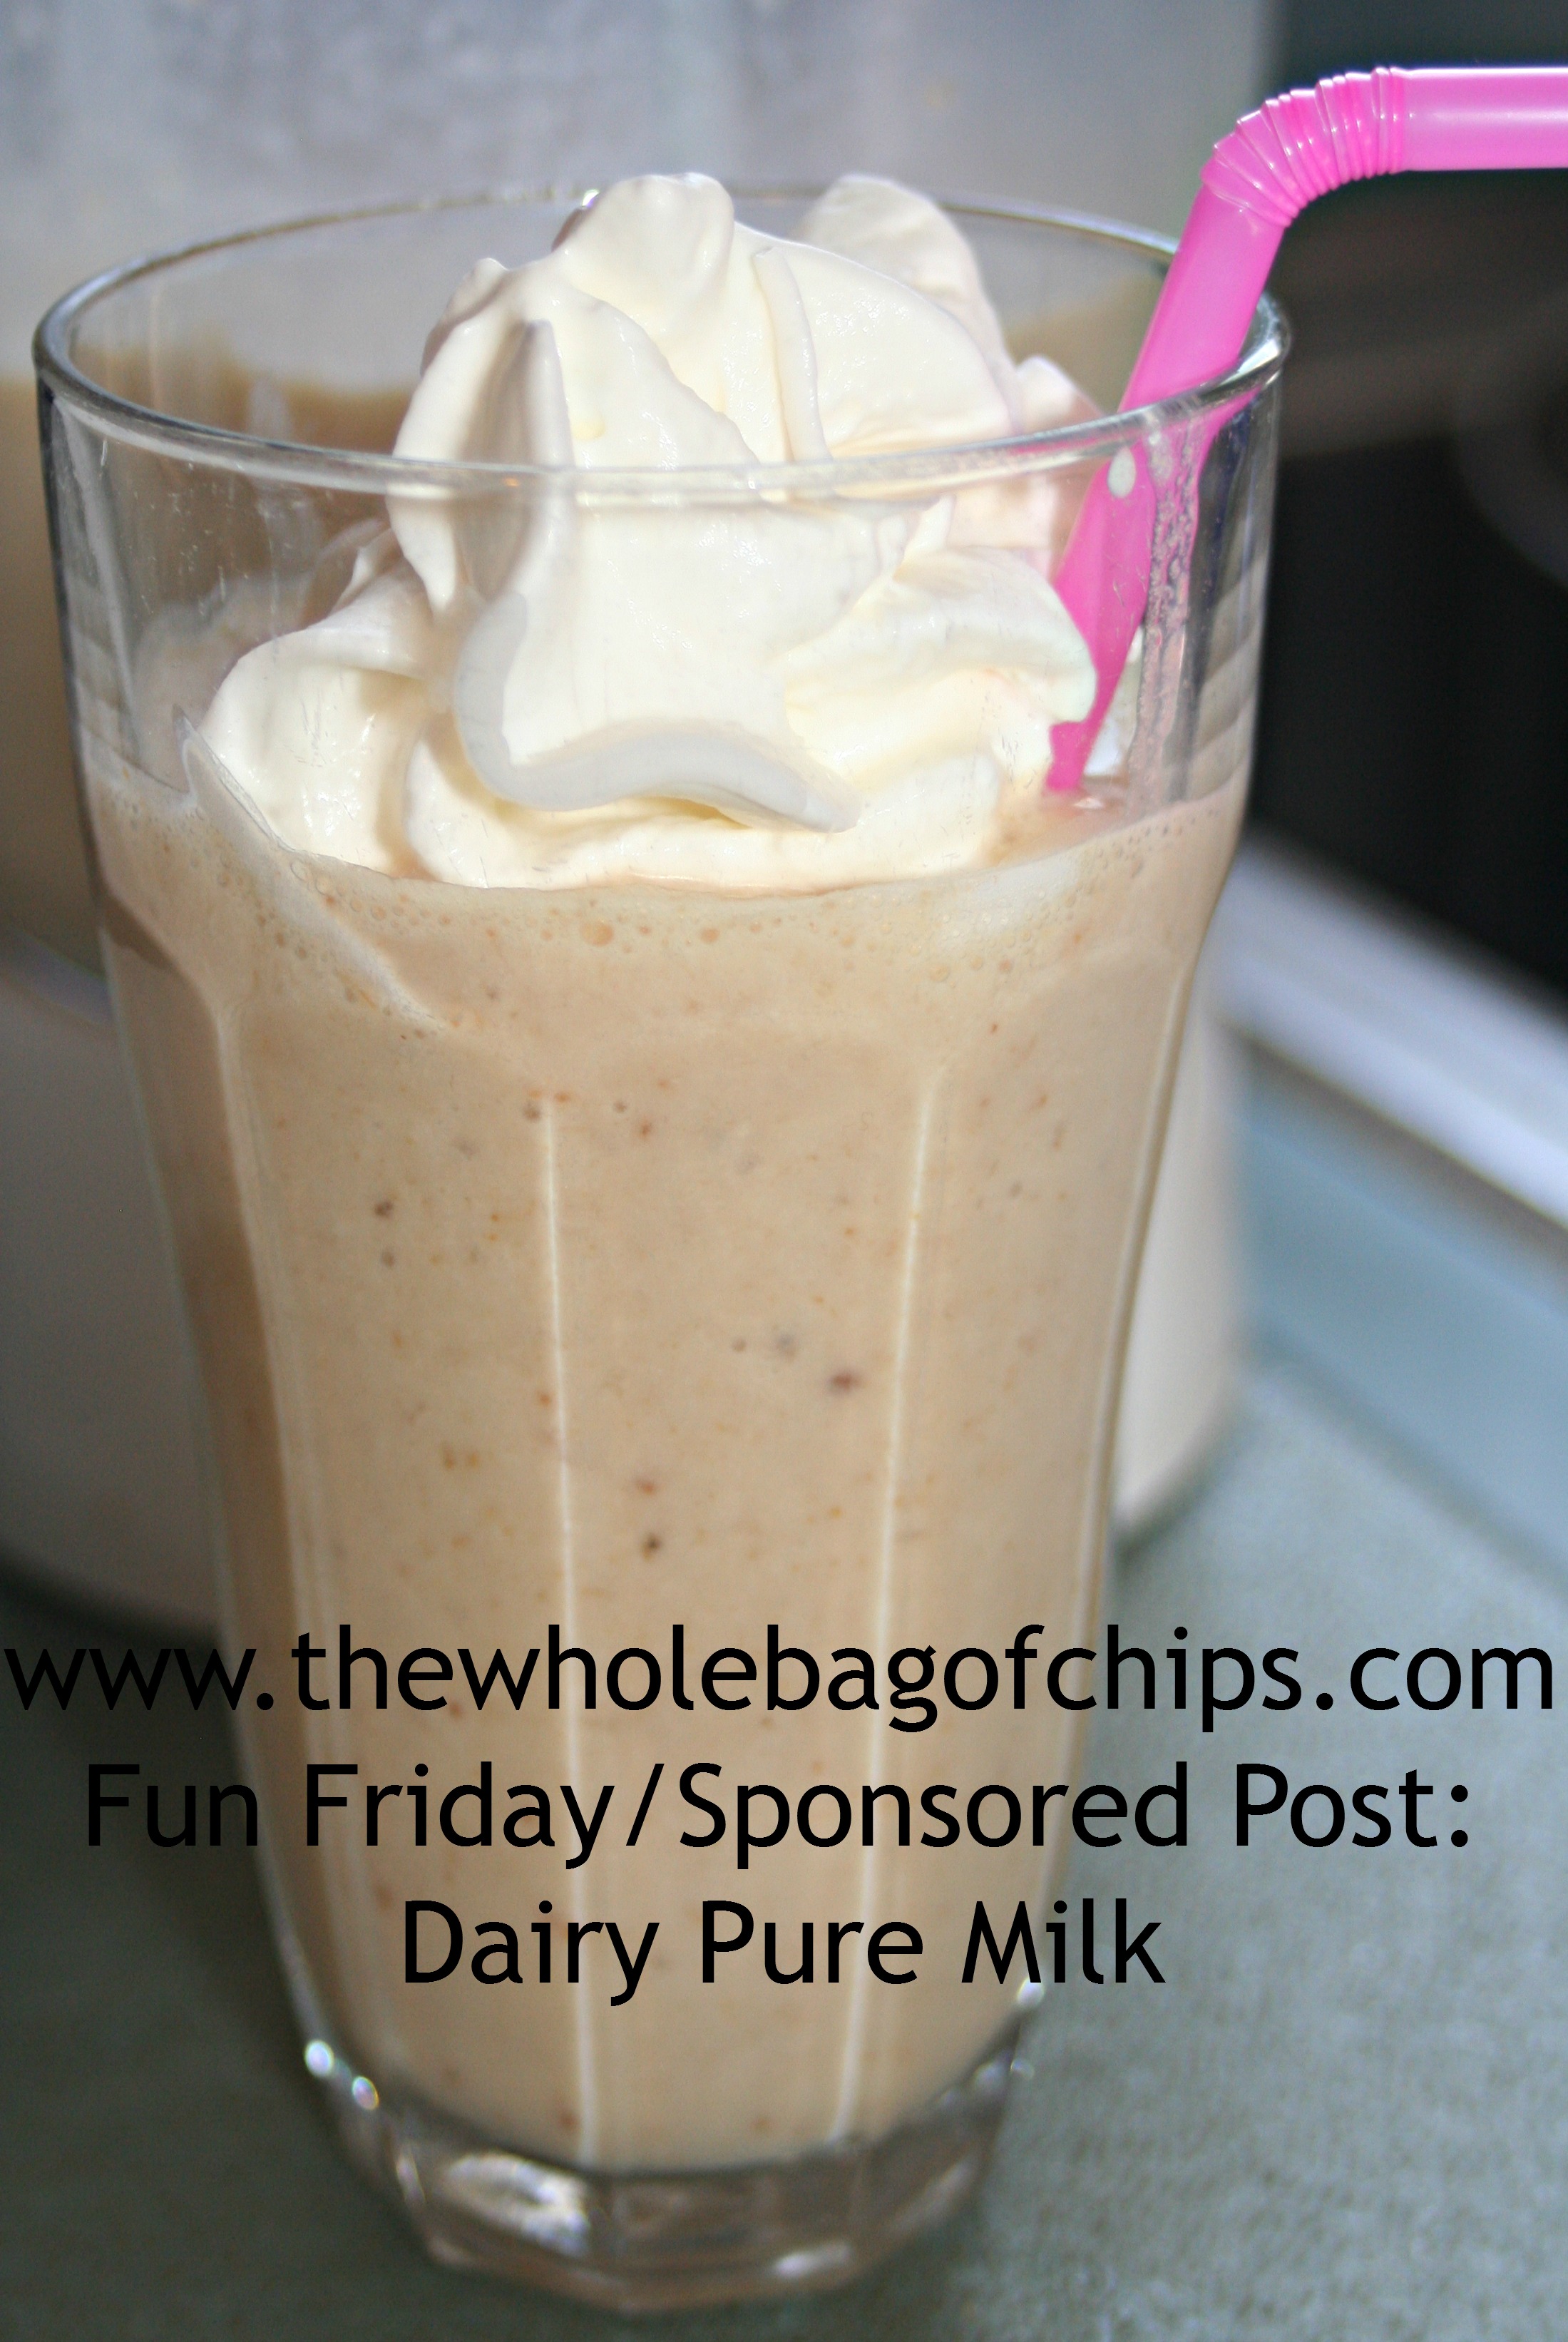
Frozen strawberries gave this smoothie a nice frozen consistency and the blender had no trouble with the frozen fruit.
That’s really all I needed to see. That and the gift card special and I was sold.
On my way out of the appliance section I swung by the frozen fruit case and grabbed a bag of frozen strawberries. I could already envision a delicious smoothing coming together in our new blender that very afternoon.
Once we got the blender open and out of the box, I was really able to see some neat features on the new blender, things that I loved that I didn’t even knew were priorities.
I loved that the cover of the blender locks on and needs to be released to come off. I loved that the cover has a pour spout that opens and closes.
I loved the single-serve shake options. I loved that the measuring markings on the blender were in dark print. My last blender had a glass pitcher and the markings were raised glass so they were hard to see.
Best of all, our smoothies have been delicious.
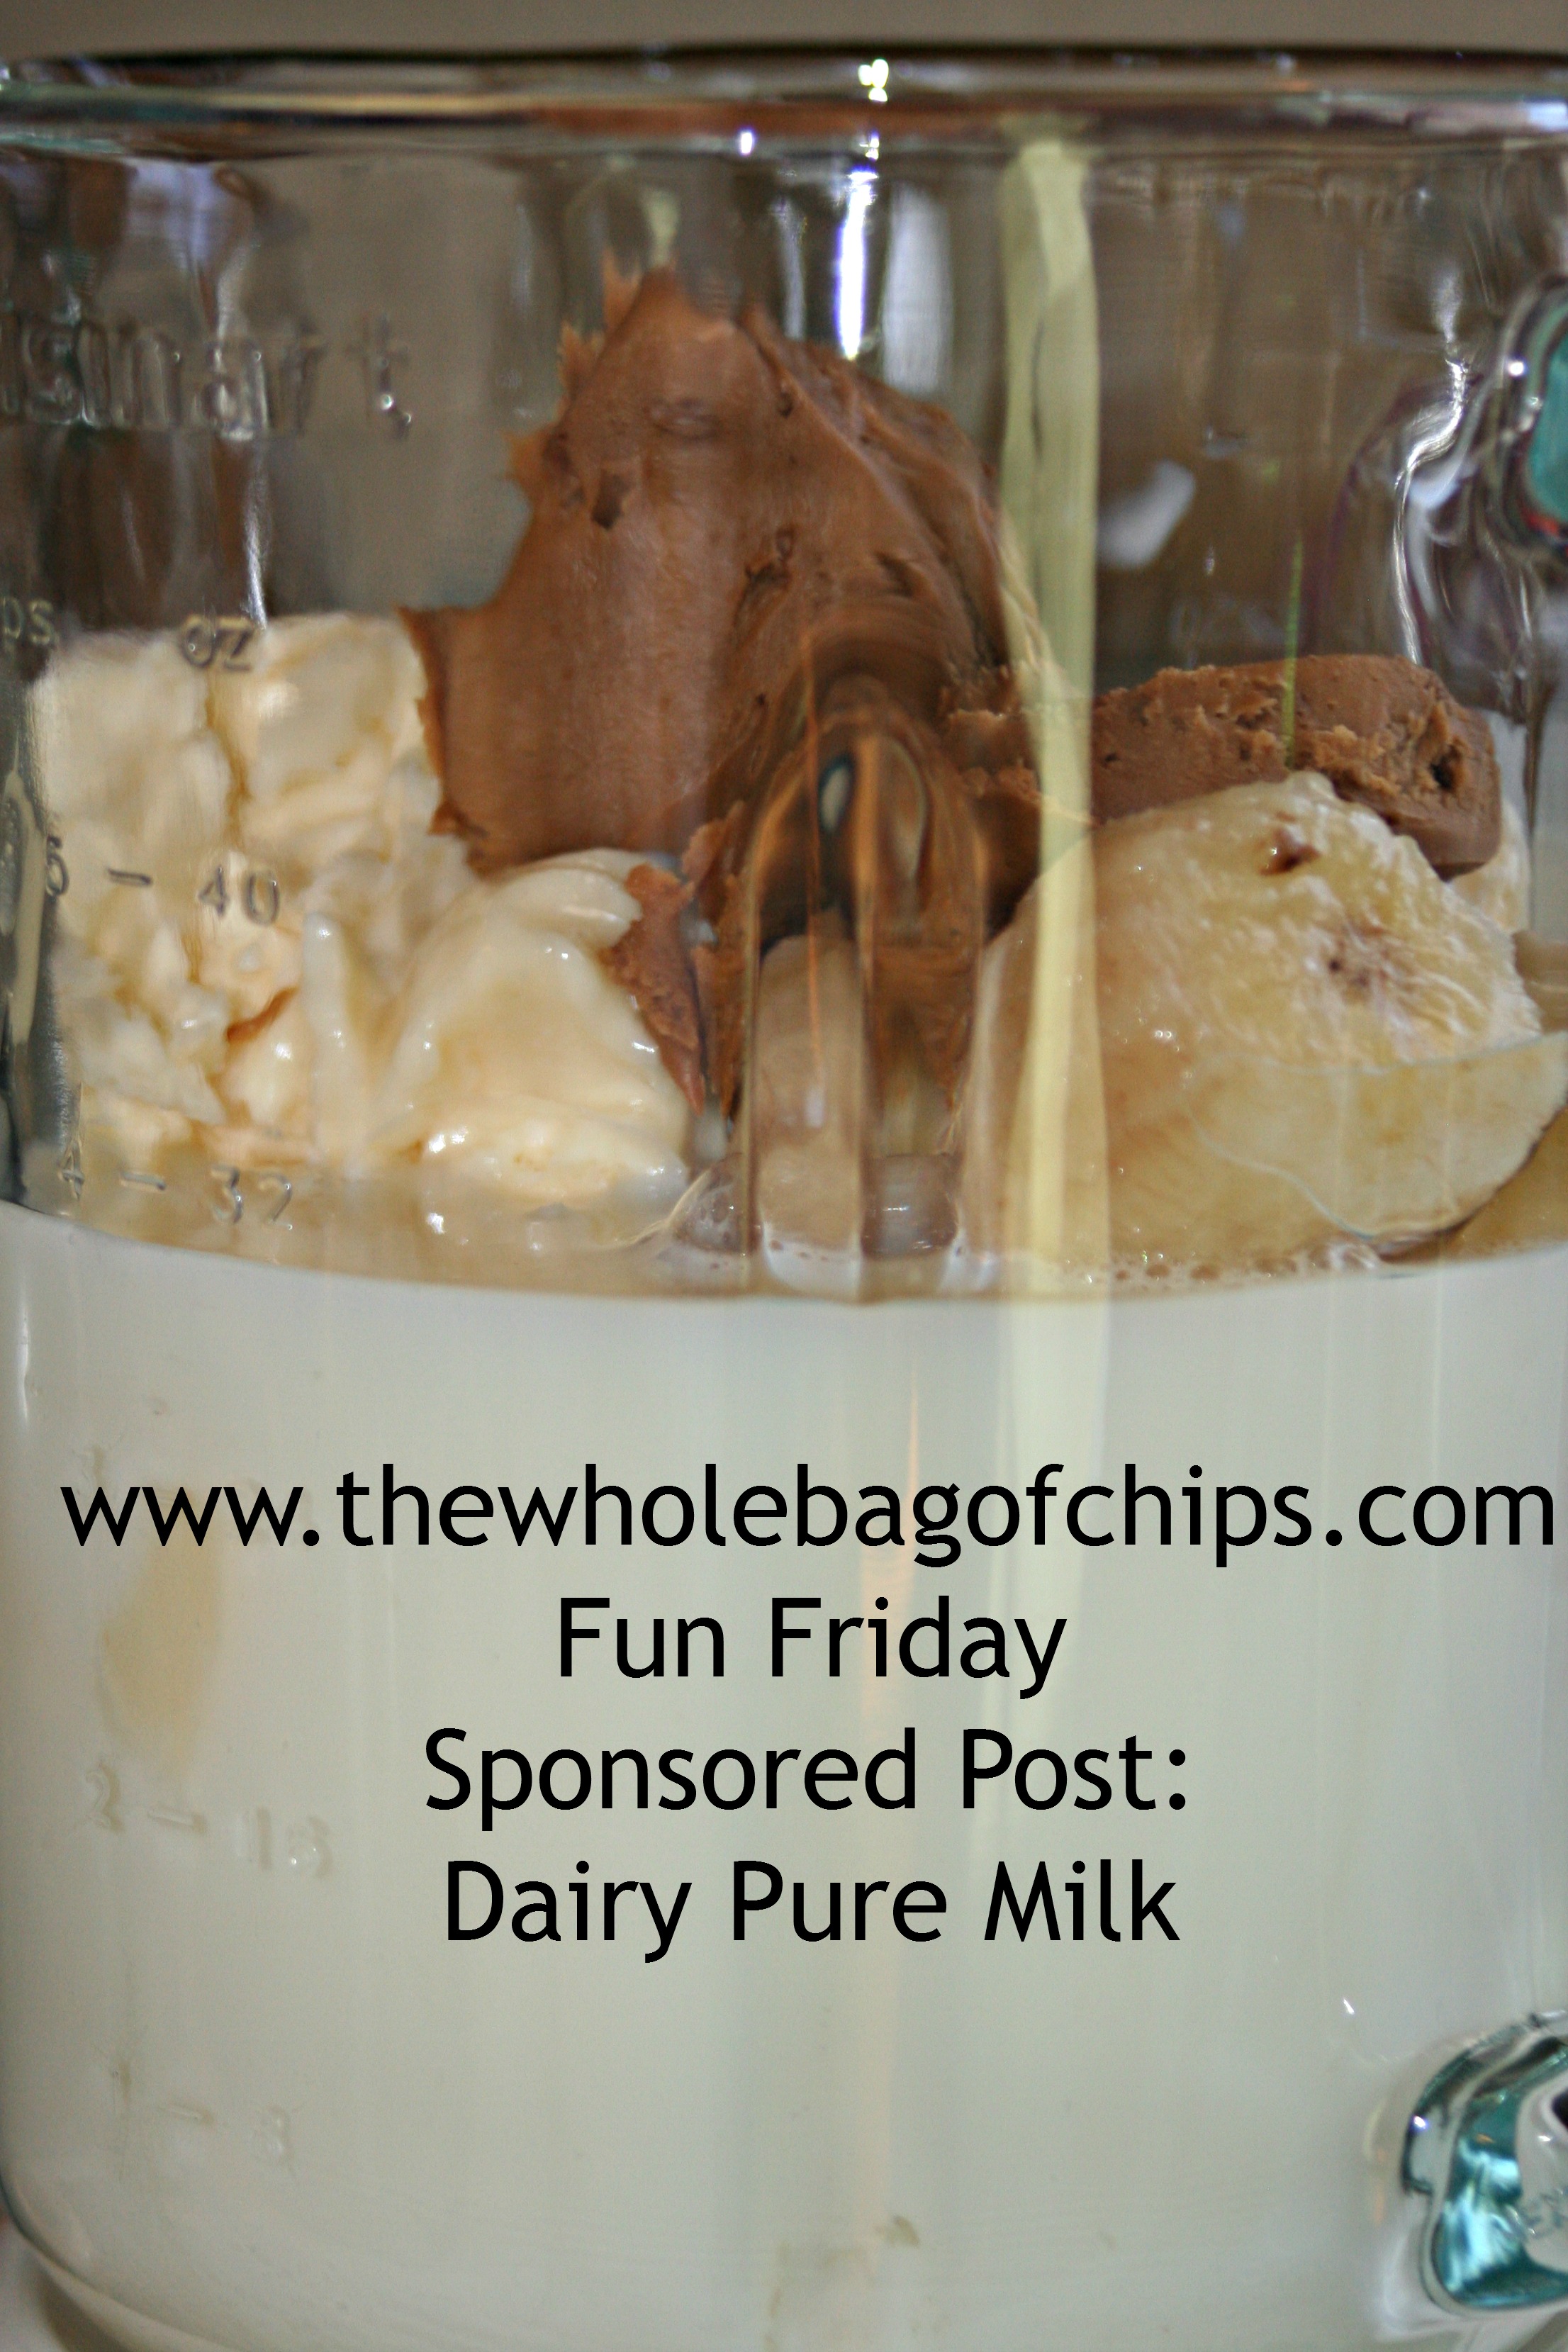
The smoothie above has the following ingredients in it:
Two bananas
1/3 cup Nutella
1 pkg. frozen strawberries (I used 16 oz.)
about 4 cups of skim milk
This smoothie was delicious and had a decent amount of fruit in it for an after school snack!
We’ve also done chocolate/peanut butter/banana/vanilla low-fat yogurt smoothies and even a couple of “adult beverage” “smoothies” for a Memorial Day cookout we hosted. The blender has been great. It’s quieter than our old blender when we use ice and so far, no smoke, no black “stuff.” My husband has utilized the single-sized option several times and takes his smoothie to work with him in the car.
This is definitely a product I’d recommend to others. The price-point was good for our budget and the gift card helped us out too. If you’re in the market for a new blender I encourage you to consider the Ninja blender as an option! Although I have not been compensated by Target or Ninja for this review, I am so pleased with the product, I thought I’d share my opinions and experiences with you.

From after school snacks, morning breakfast to go, and adult beverages, this blender has been a great addition to our appliance family!