Elizabeth couldn’t wait for a chance to help out the Ronald McDonald House in Providence.
I’ve always said that one of the things I love about Girl Scouts is that the kids get the chance to do things they wouldn’t normally get to do. This past spring, in March, Elizabeth had one of those chances. Her troop visited the Ronald McDonald House in Providence. The house hosts the families who have children in treatment at the nearby hospitals, no matter how long the treatment might be.
I was not a chaperone on that trip, Don took her that night. When Elizabeth came home, I asked her how it was, and it was clear to me that the visit had made quite an impression on her. She talked about all that she had seen and heard when she was there, and she said that she wanted to find a way to help out the house.
In the later part of the school year, Elizabeth began planning her 11th birthday party, which would be her first sleepover party. It was then that she told me she wanted to do something for Ronald McDonald House at her party, but she wasn’t sure what to do. Around the same time I covered a story at a local elementary school and there was a speaker there from the Ronald McDonald House.
As I listened to the speaker, taking notes for my story, I realized that there was a lot we could do to turn Elizabeth’s birthday party into a fun night of helping others. I came home and told her some of my ideas. As we talked about it, Elizabeth decided that she would incorporate her invites, her crafts and activities, her cupcakes, and even the colors of the paper goods she chose.

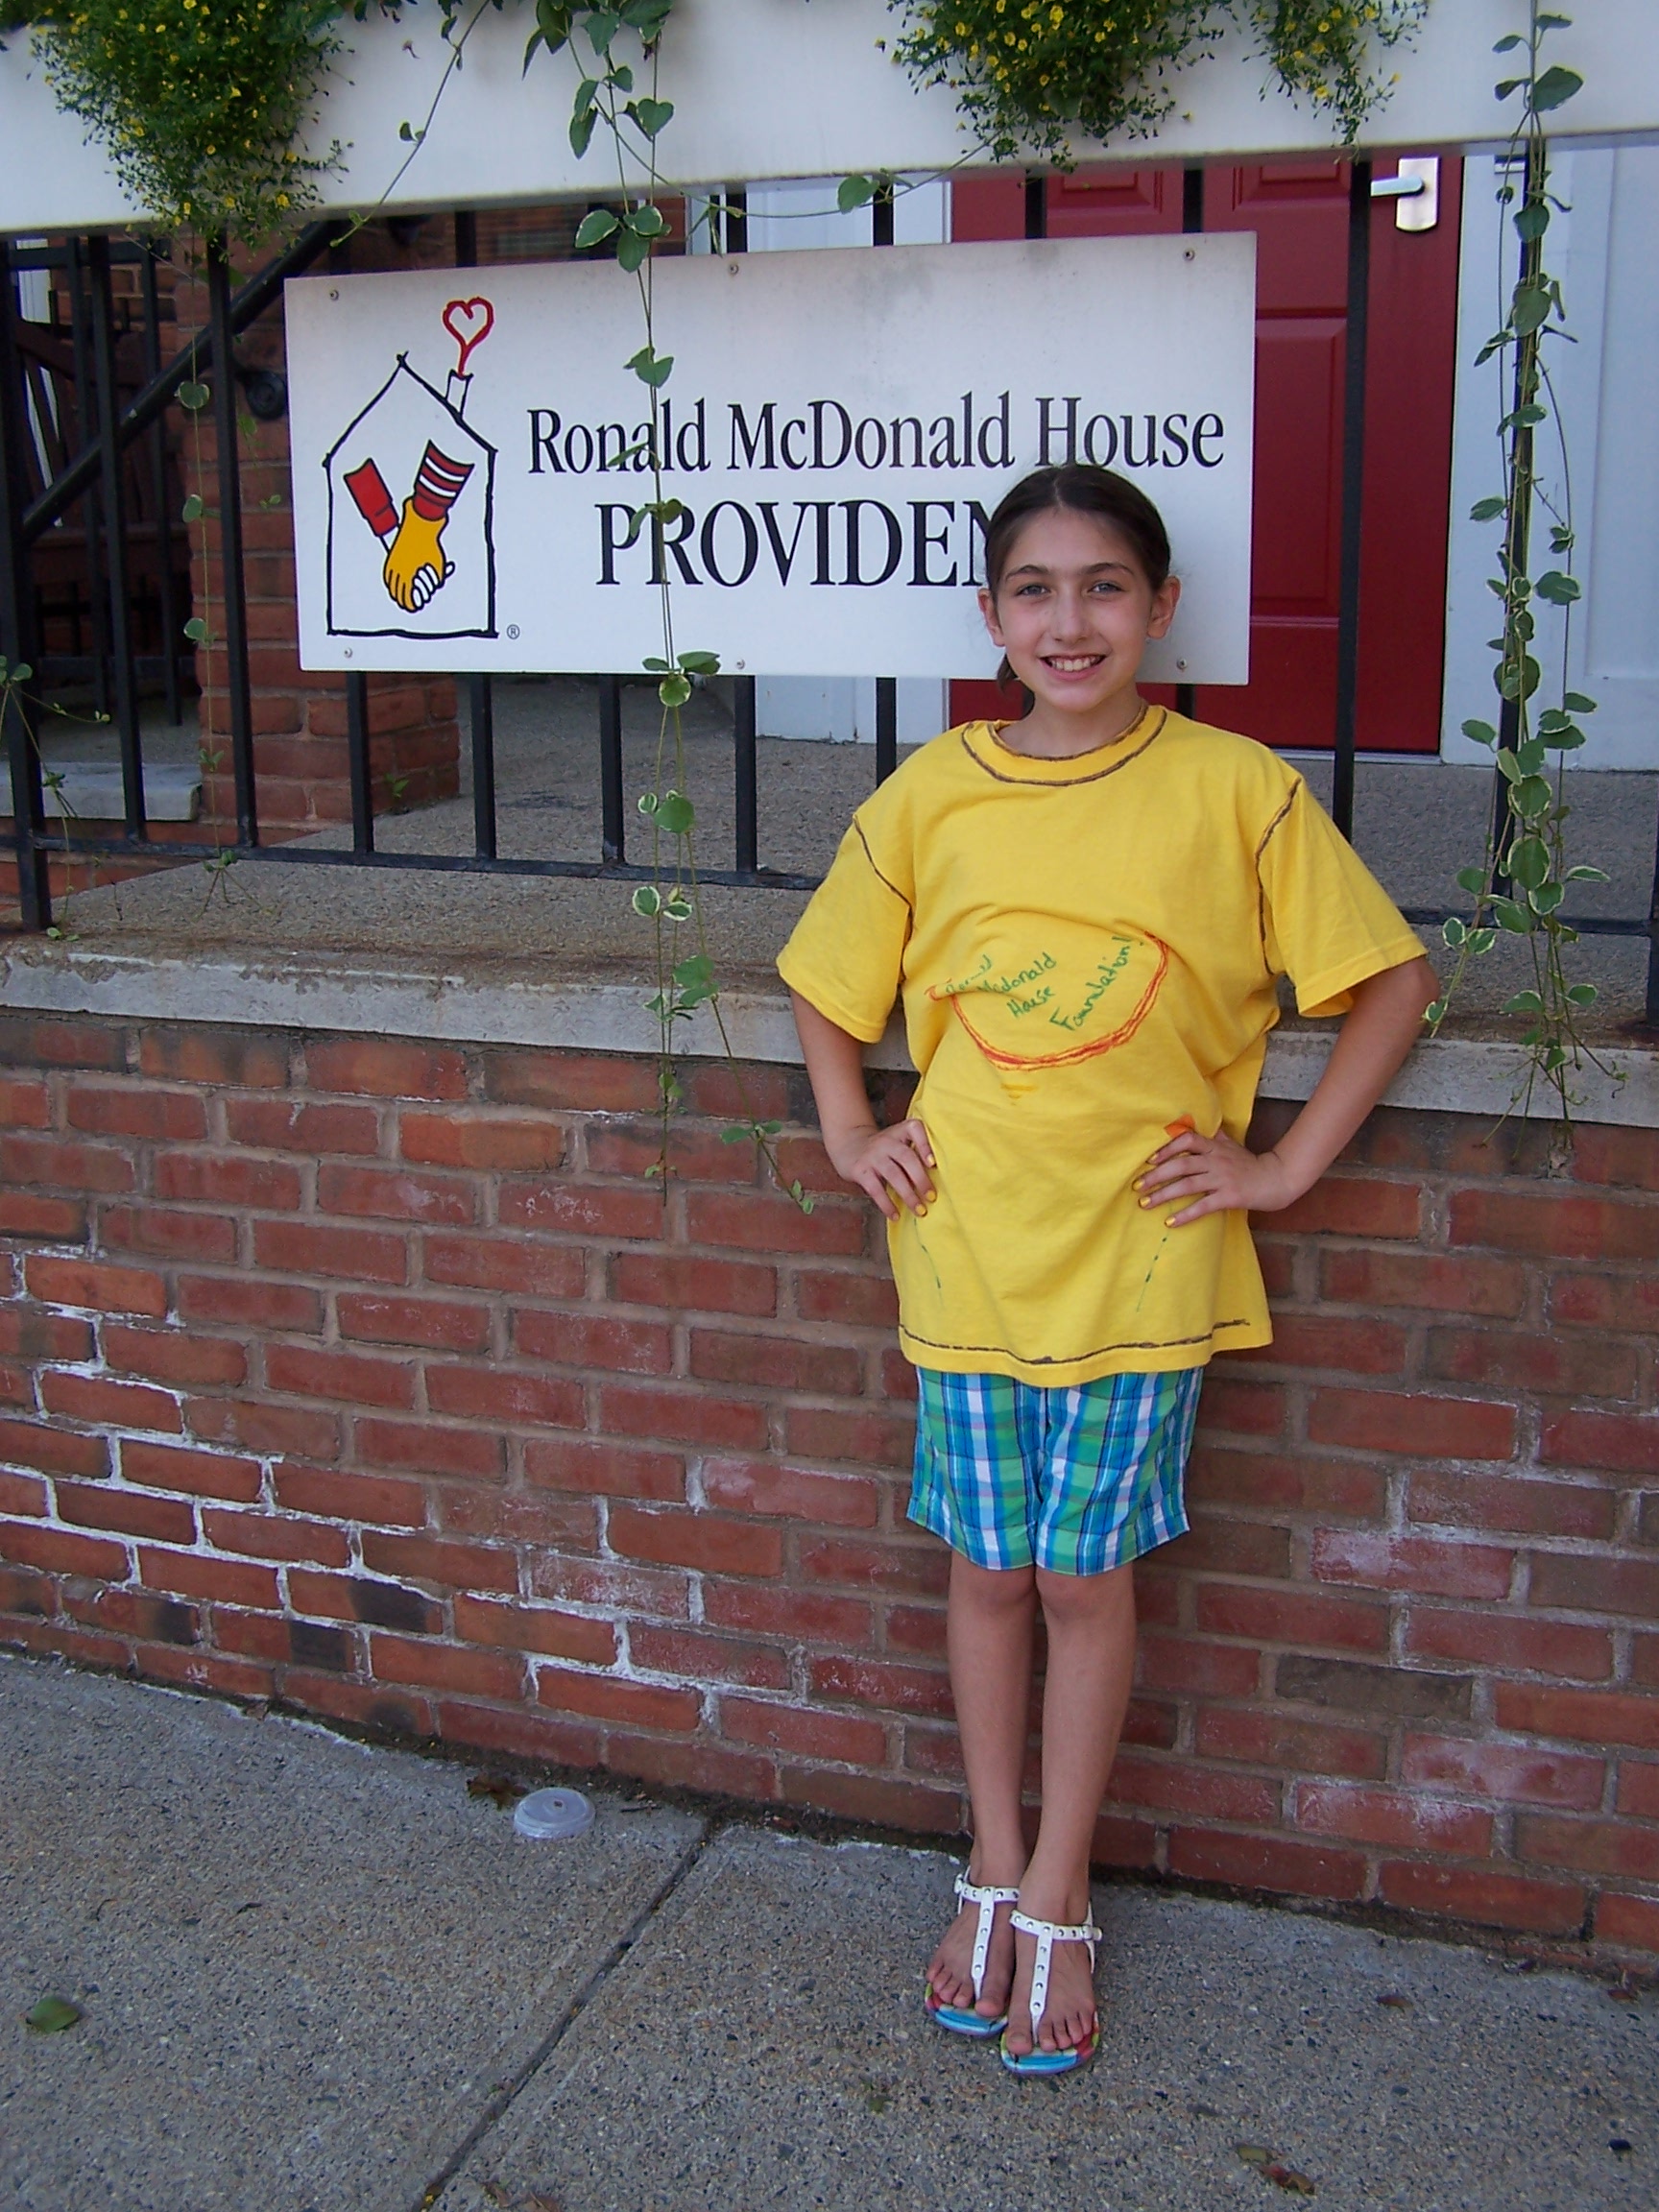
We kicked off our party planning and shopping with a visit to McDonalds where Elizabeth got her color scheme inspiration and took a photo with the RMH Helping Hands.
It wasn’t hard to get excited about this party. Elizabeth’s enthusiasm was catchy. I typed up her invitations before the end of the school year and I put the Wish List from Ronald McDonald House website on the back. Elizabeth added her own message on the front:
** A message from Elizabeth** My theme is Ronald McDonald. Ever since a Girl Scout field trip to the Providence Ronald McDonald House, (which by the way was spectacular) I have been inspired to do something that includes helping other other people! Now that it has come close to my birthday I went with helping the Ronald McDonald house fund. You don’t have to come with anything to donate because we’ll be making things for the house at the party, but if you would like to then the Wish List is on the back!
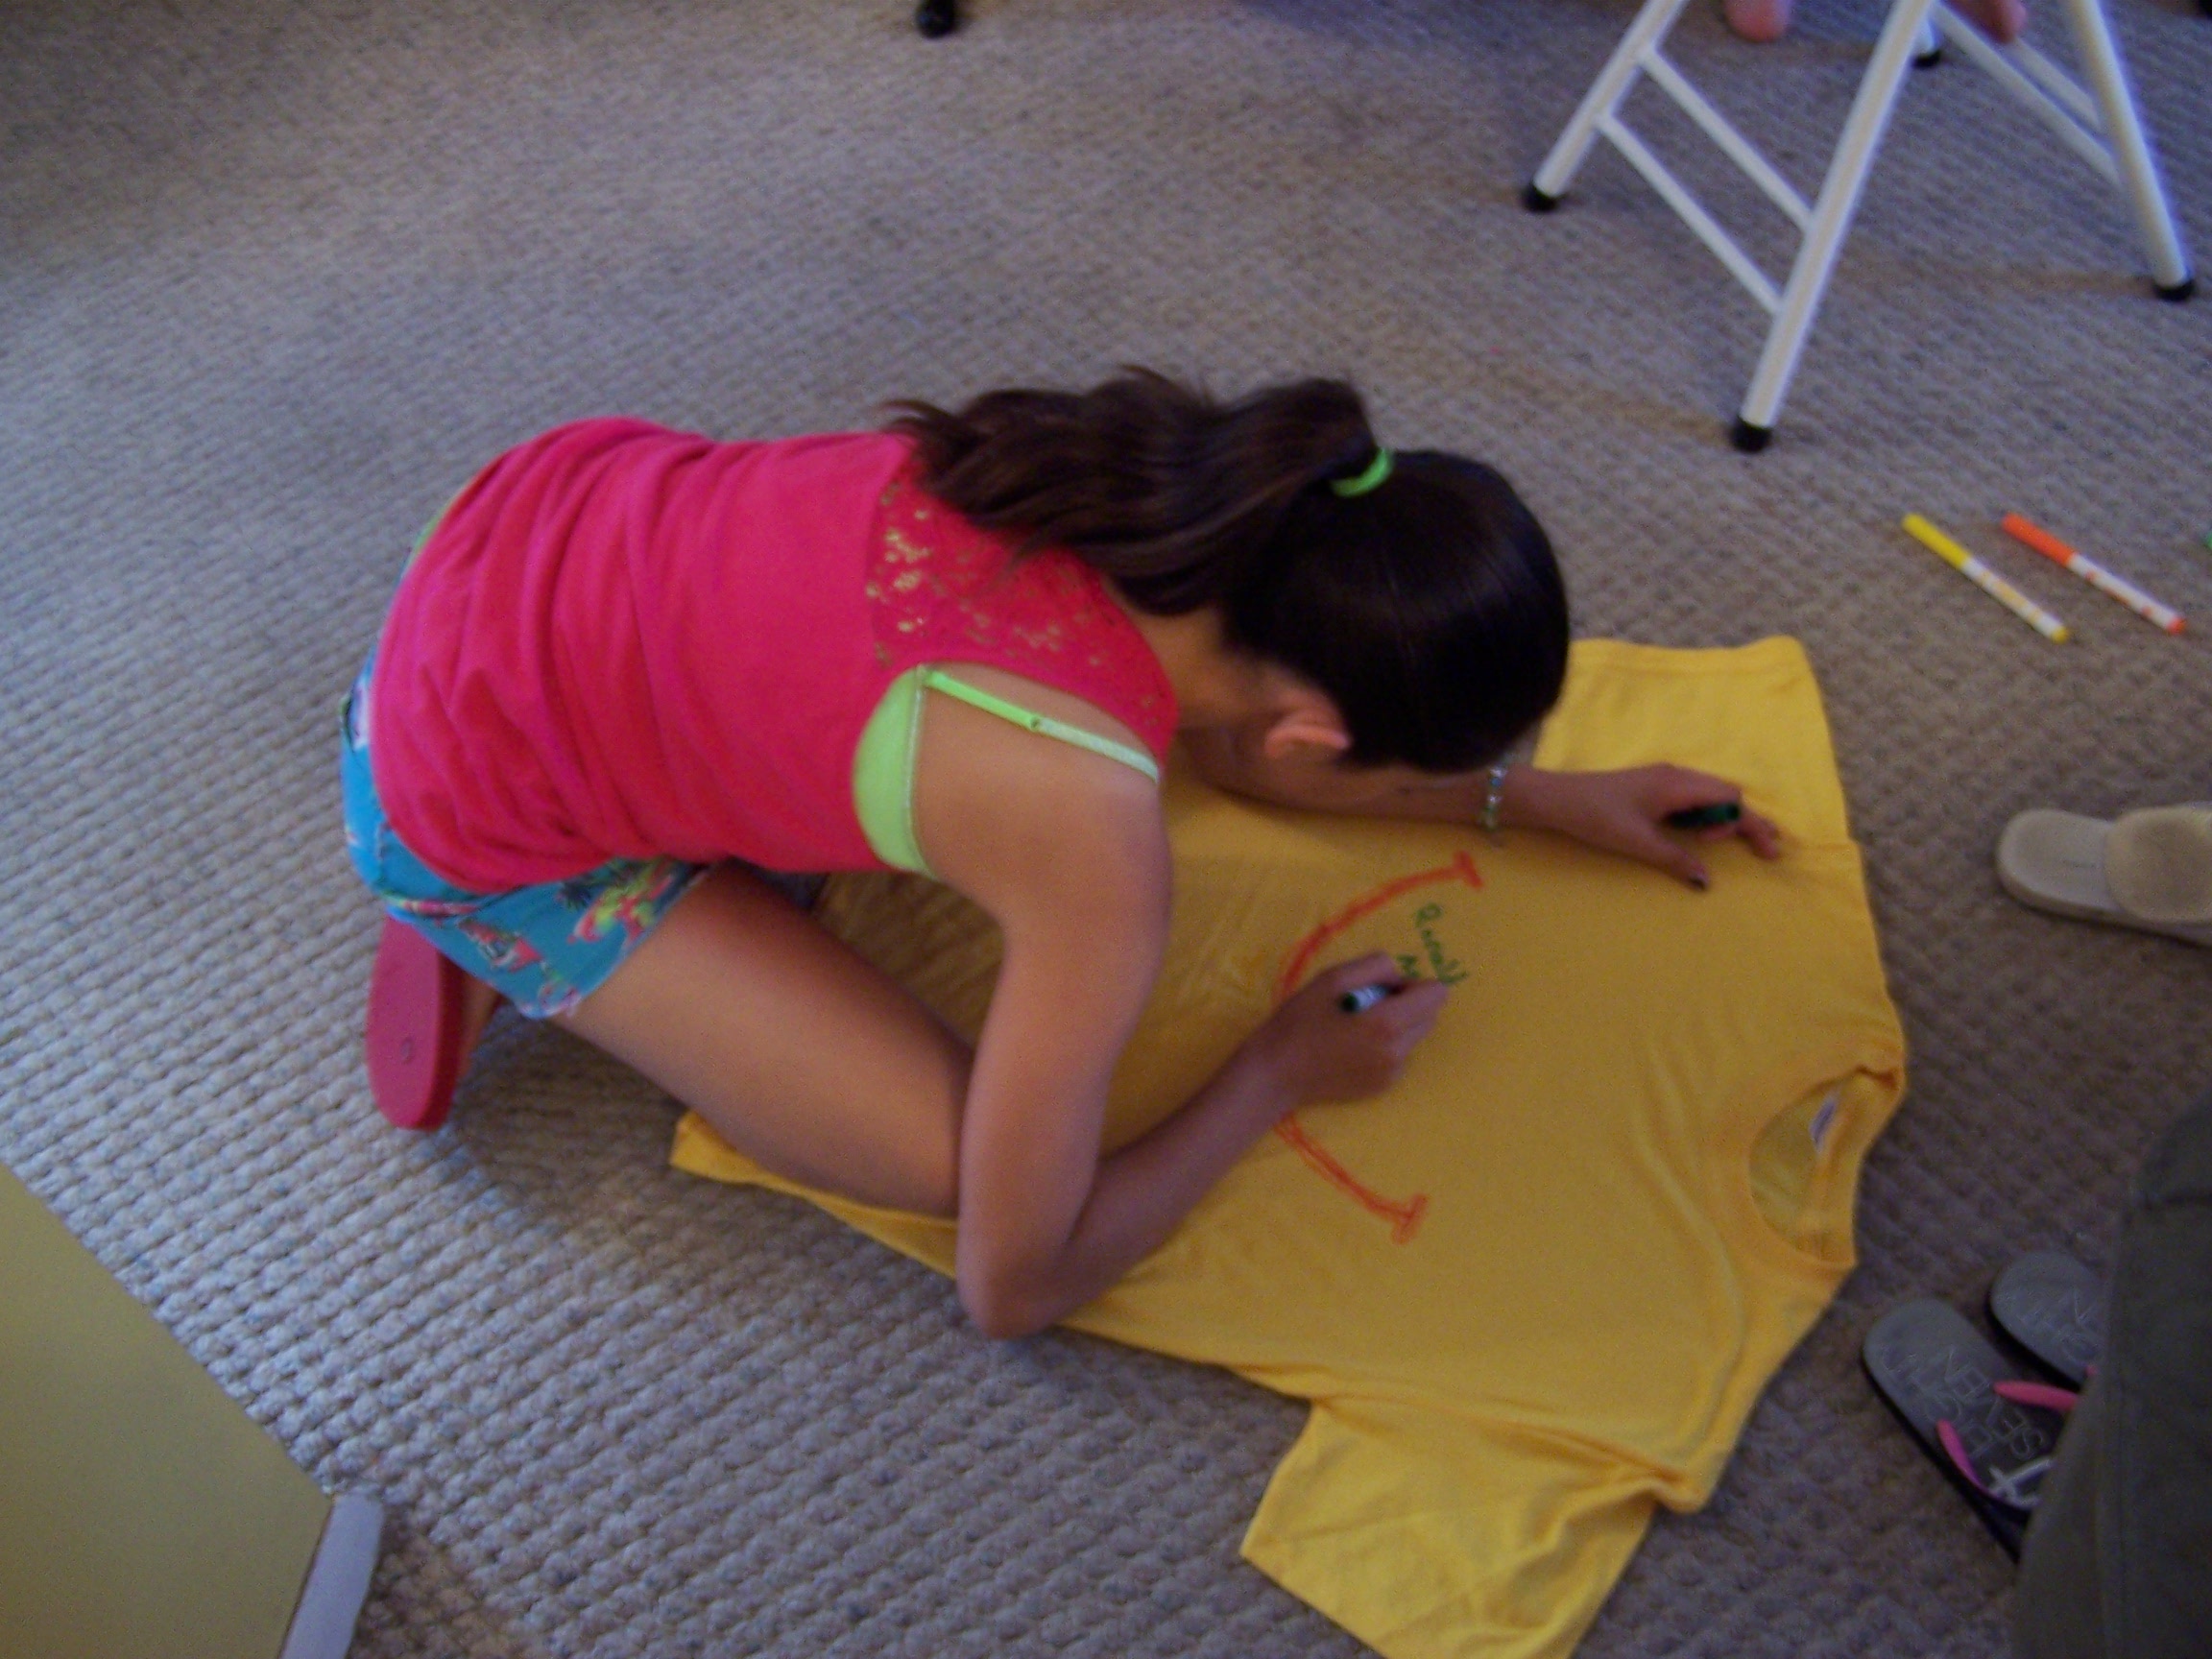
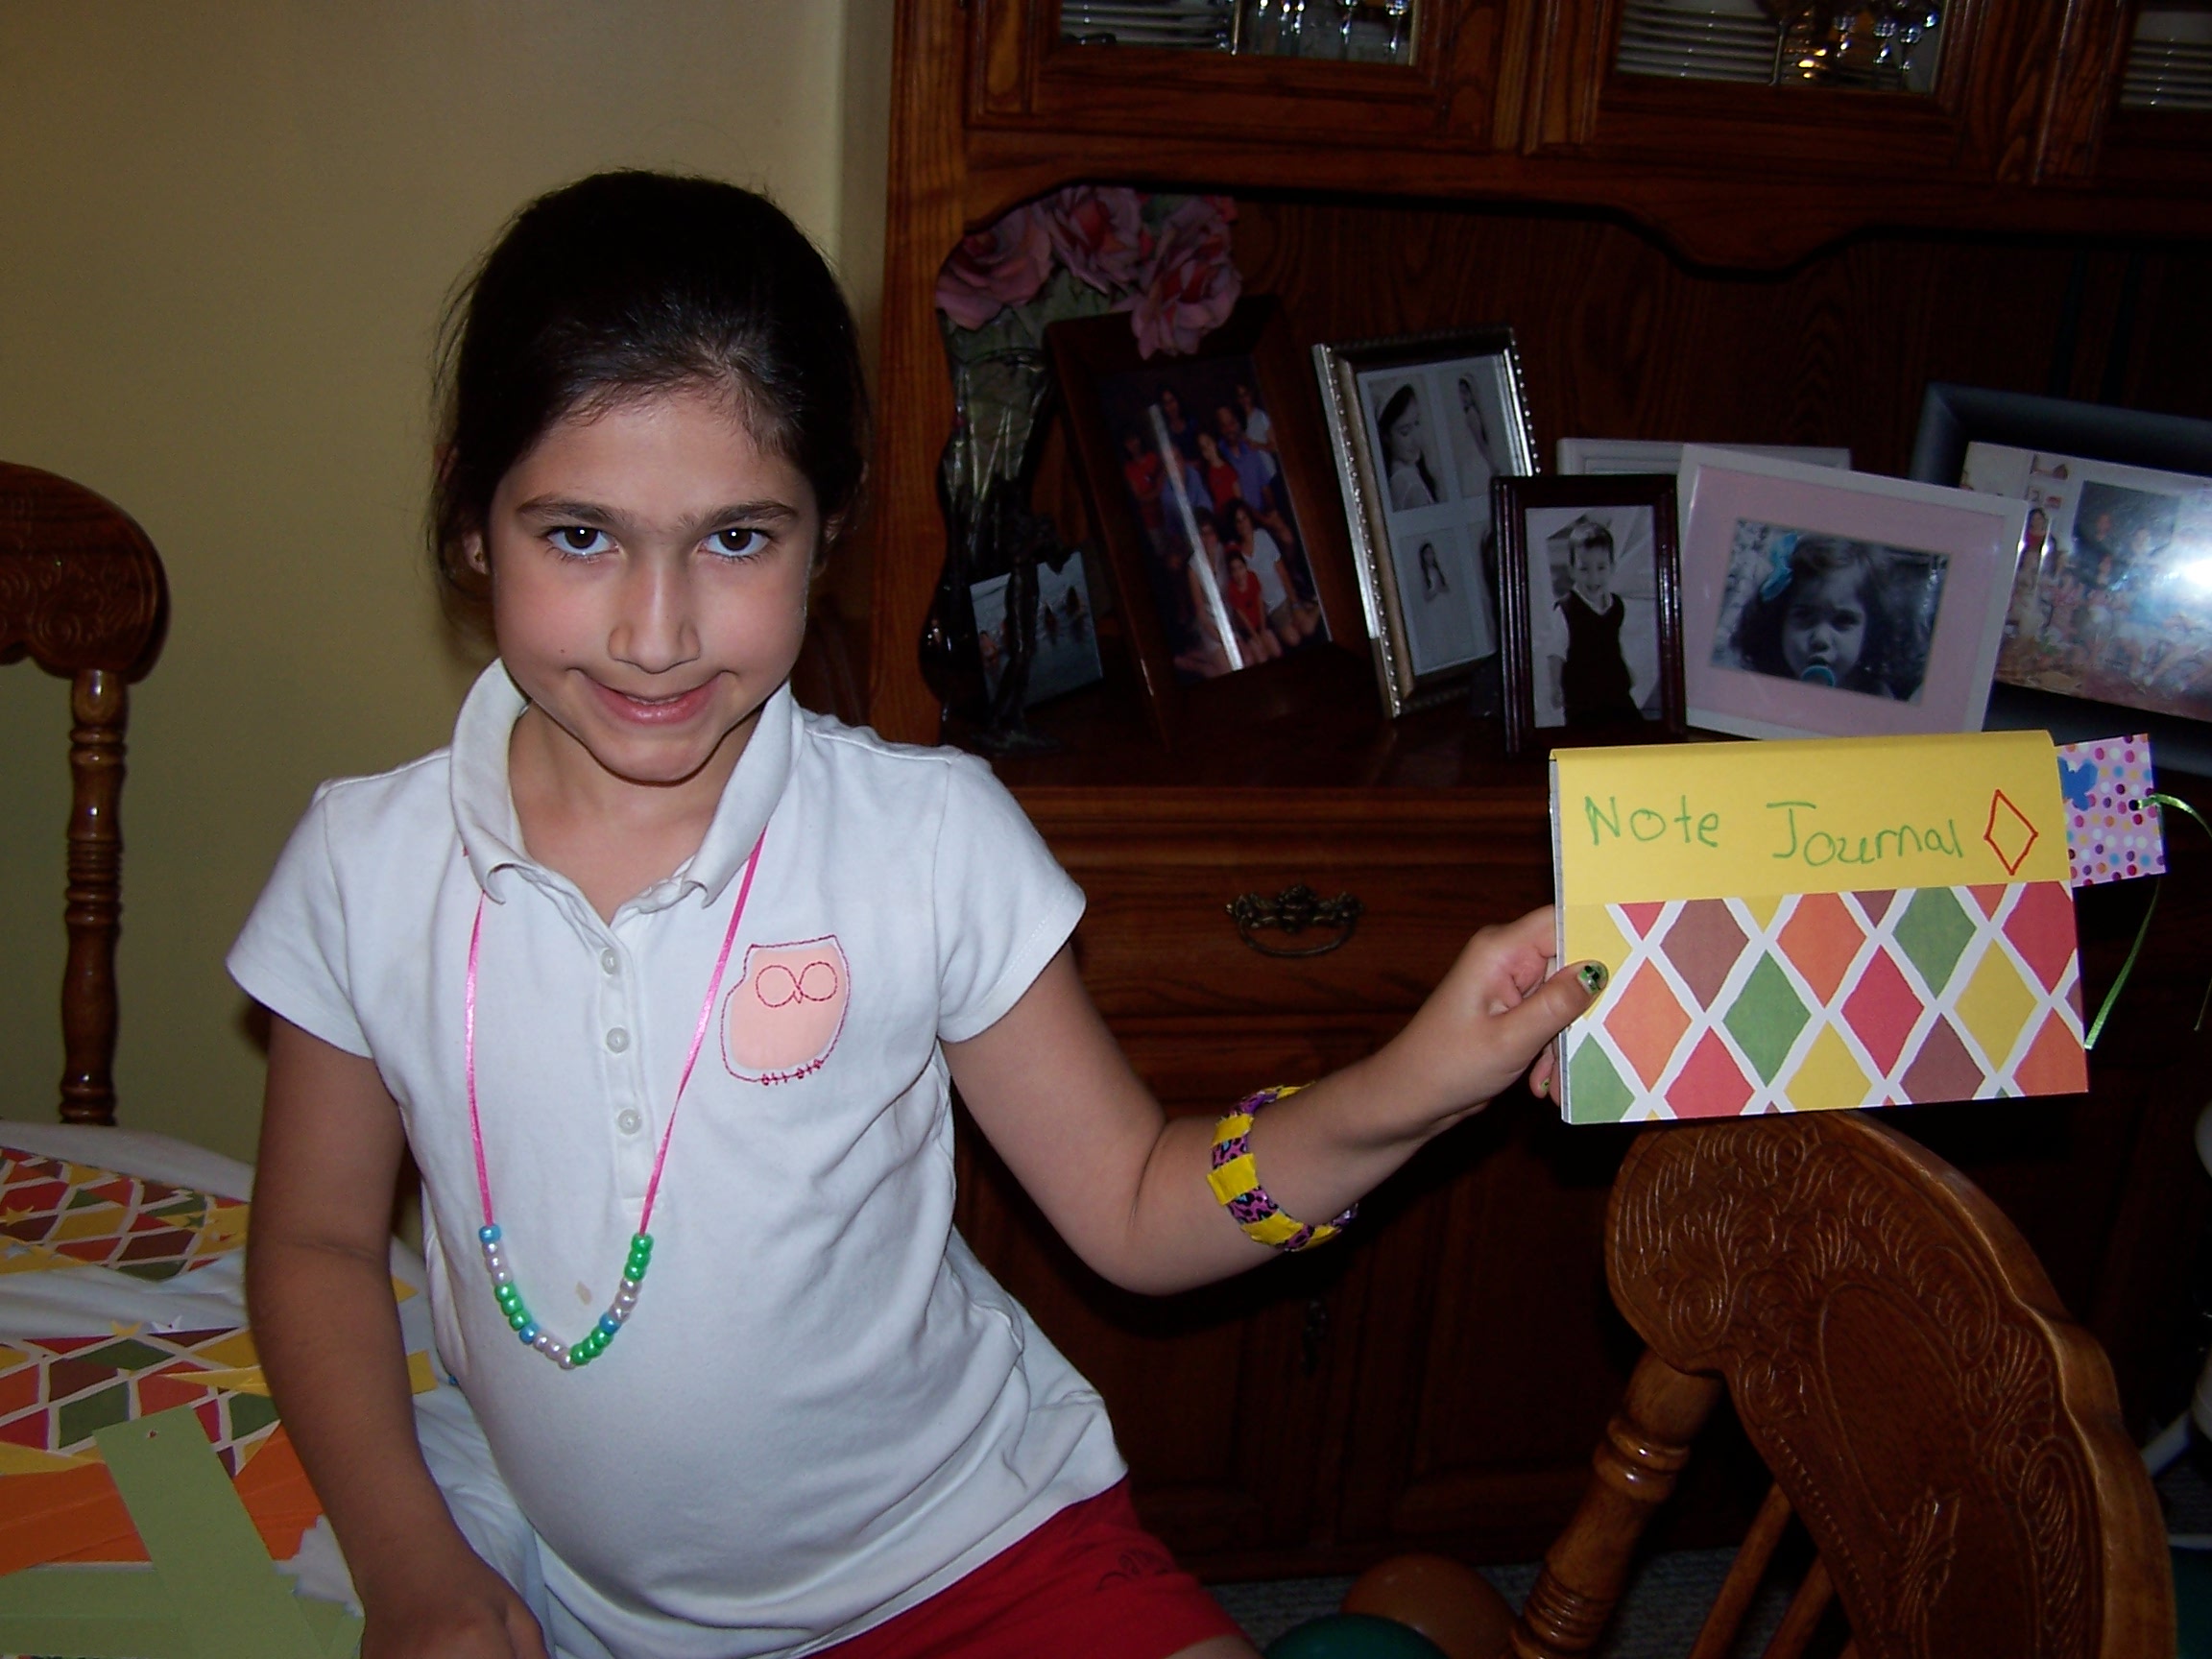
And then came the real fun. Elizabeth had found plates, napkins and streamers in the colors of red, orange and yellow at the dollar store. While we were there, we happened to find bright yellow t-shirts that we could decorate with the fabric markers we had at home; a great activity for the party. We decided to make covered journals and coordinating bookmarks as the craft. We’d use composition notebooks and scrapbook paper to cover them. The bookmarks would be made with the leftover scrapbook paper. These would be for the girls at the party and for the Ronald McDonald House; each guest would make one to keep and one to donate. The journals could either be for kids or adults. They could be used as diaries or for keeping notes at doctor visits or even as gratitude journals.
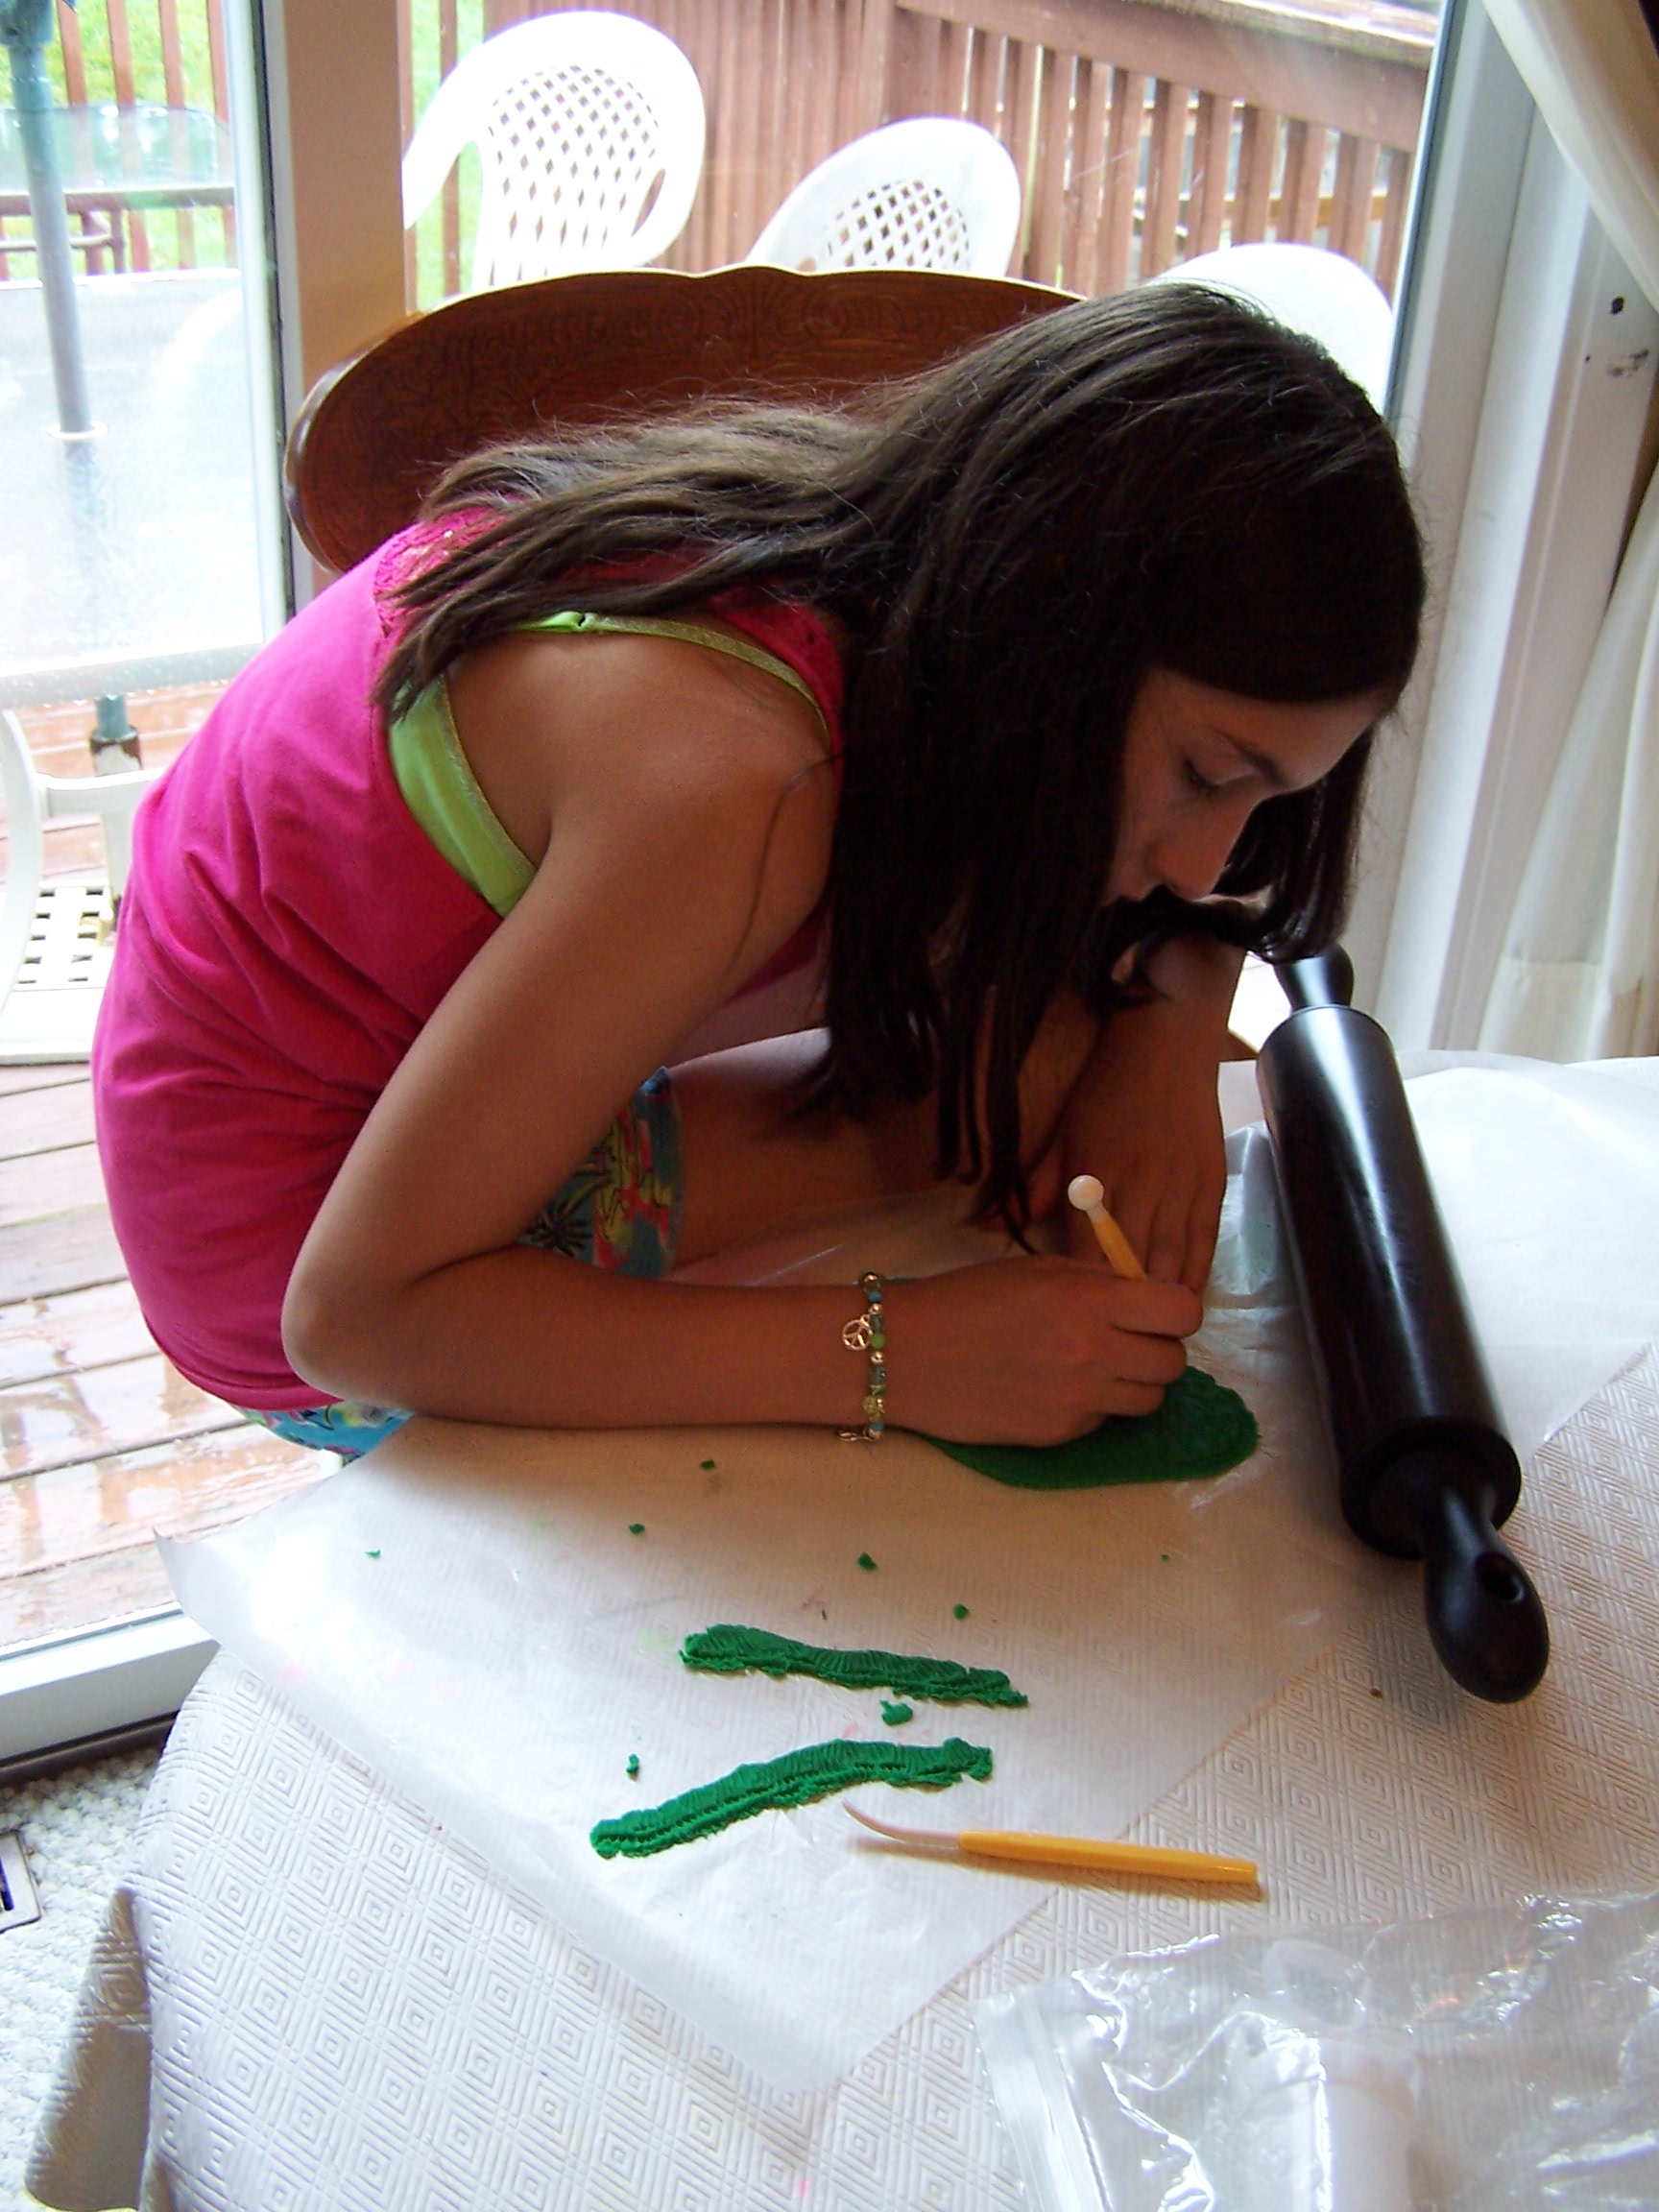
Around the same time, the kids saw an episode of DC Cupcakes on TV and the bakers were designing cheeseburger cupcakes. It was then that Elizabeth knew she’d found her cake. I hadn’t seen the episode myself, but the girls told me how they were made: chocolate cupcakes sliced in half to make burger patties and vanilla cupcakes sliced in half to make buns. Once assembled, fondant and frosting were used to build the “burgers.” That sounded fun and easy.

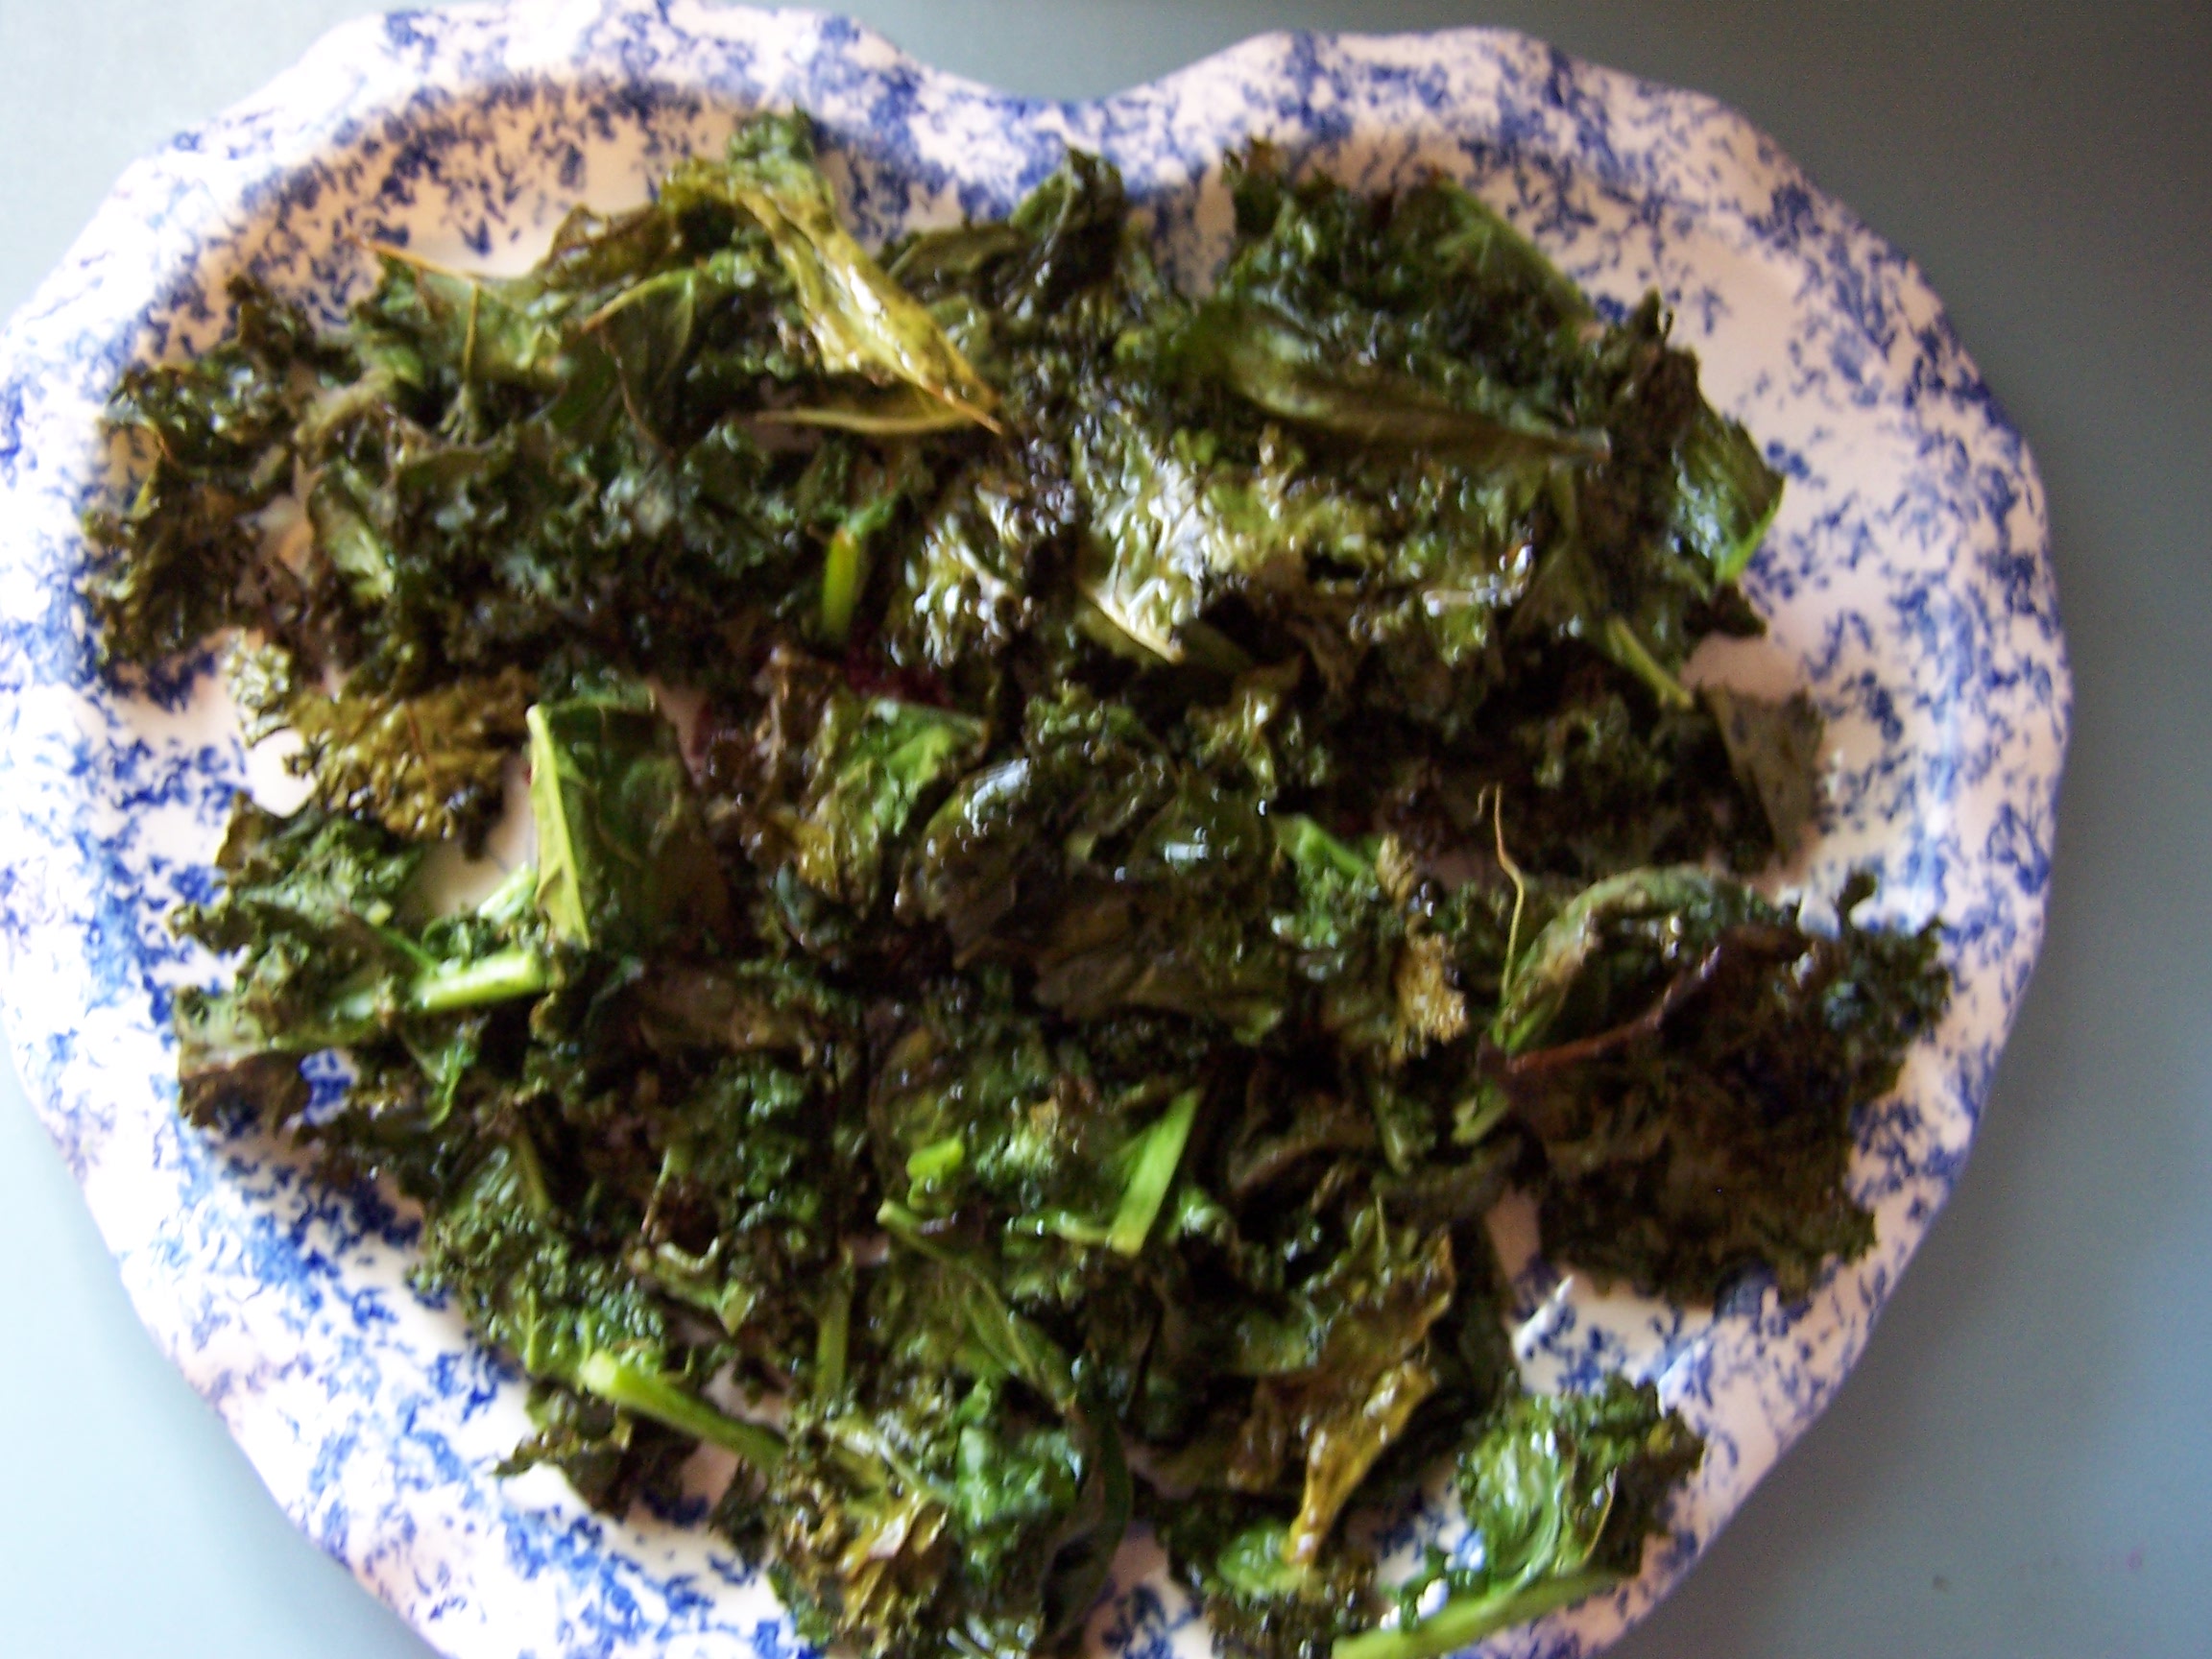
Making fondant lettuce for the “build your own burger” cupcakes for the party.
The day of the party, I used a coupon at Michaels Crafts to get a four-pack of premade fondant in red, orange and yellow. The girls each took a color and made a condiment. Elizabeth made lettuce, Caroline made ketchup and Alex made Swiss Cheese. The white frosting would be the mayo. I baked my two batches of cupcakes and set them out to cool.

These were fun and we used them for the chips and snacks at the start of the party.
Earlier in the month we’d spotted the coolest additions to the party theme: fast-food themed paper goods in the dollar bins at Target. We had plates and napkins already for some of the food, but we could definitely incorporate these items for the rest of the food. We even found similar containers shaped like hot dog holders that we could use for the cupcakes.
The night of the party arrived. All of the guests brought bags of donations for Ronald McDonald House. We had coloring books, puzzle books, toiletries and grocery items. We filled a whole basket with them. The girls decorated their t-shirts any way they wanted to. Our three decided to make theirs Ronald McDonald themed, with big red smiles. Caroline, who loves doing nails, did all the girls’ nails in yellow with big red smiles on the thumbs. So cute!
They seemed to love decorating their journals and creating special ones to put in the donation basket. As the basket filled, they were even more excited. The “build your own burger” cupcakes were fantastic. The girls got such a kick out of creating them and eating them, and they really did look just like burgers!

Ready to deliver!
A few days after the party ended, on a Friday evening, we gathered up our family and Elizabeth got together all of the donations and off we went to Ronald McDonald House in Providence. It was exciting for me to see the house, since I’d missed the original field trip. It was fun to bring in the donations and place them in the house where the families could take a journal and where the donated items would be added to the supplies that are kept on hand for the those who need them.
All in all, this party was a huge success. It was a fun party, it was very inexpensive to put together, and it helped Elizabeth help others, which was her intention from the beginning.
Best of all though, the feeling we had from doing good for someone else, definitely takes the cake.

T-Shirt decorating time!
Below are more photos from Elizabeth’s Ronald McDonald House Birthday party.

Caroline’s shirt

Everyone loved their covered journals and bookmarks! Alex ran the bookmark-making station.

Ready for “Build Your Own Burger” cupcakes

YUM!

Ronald McDonald nails

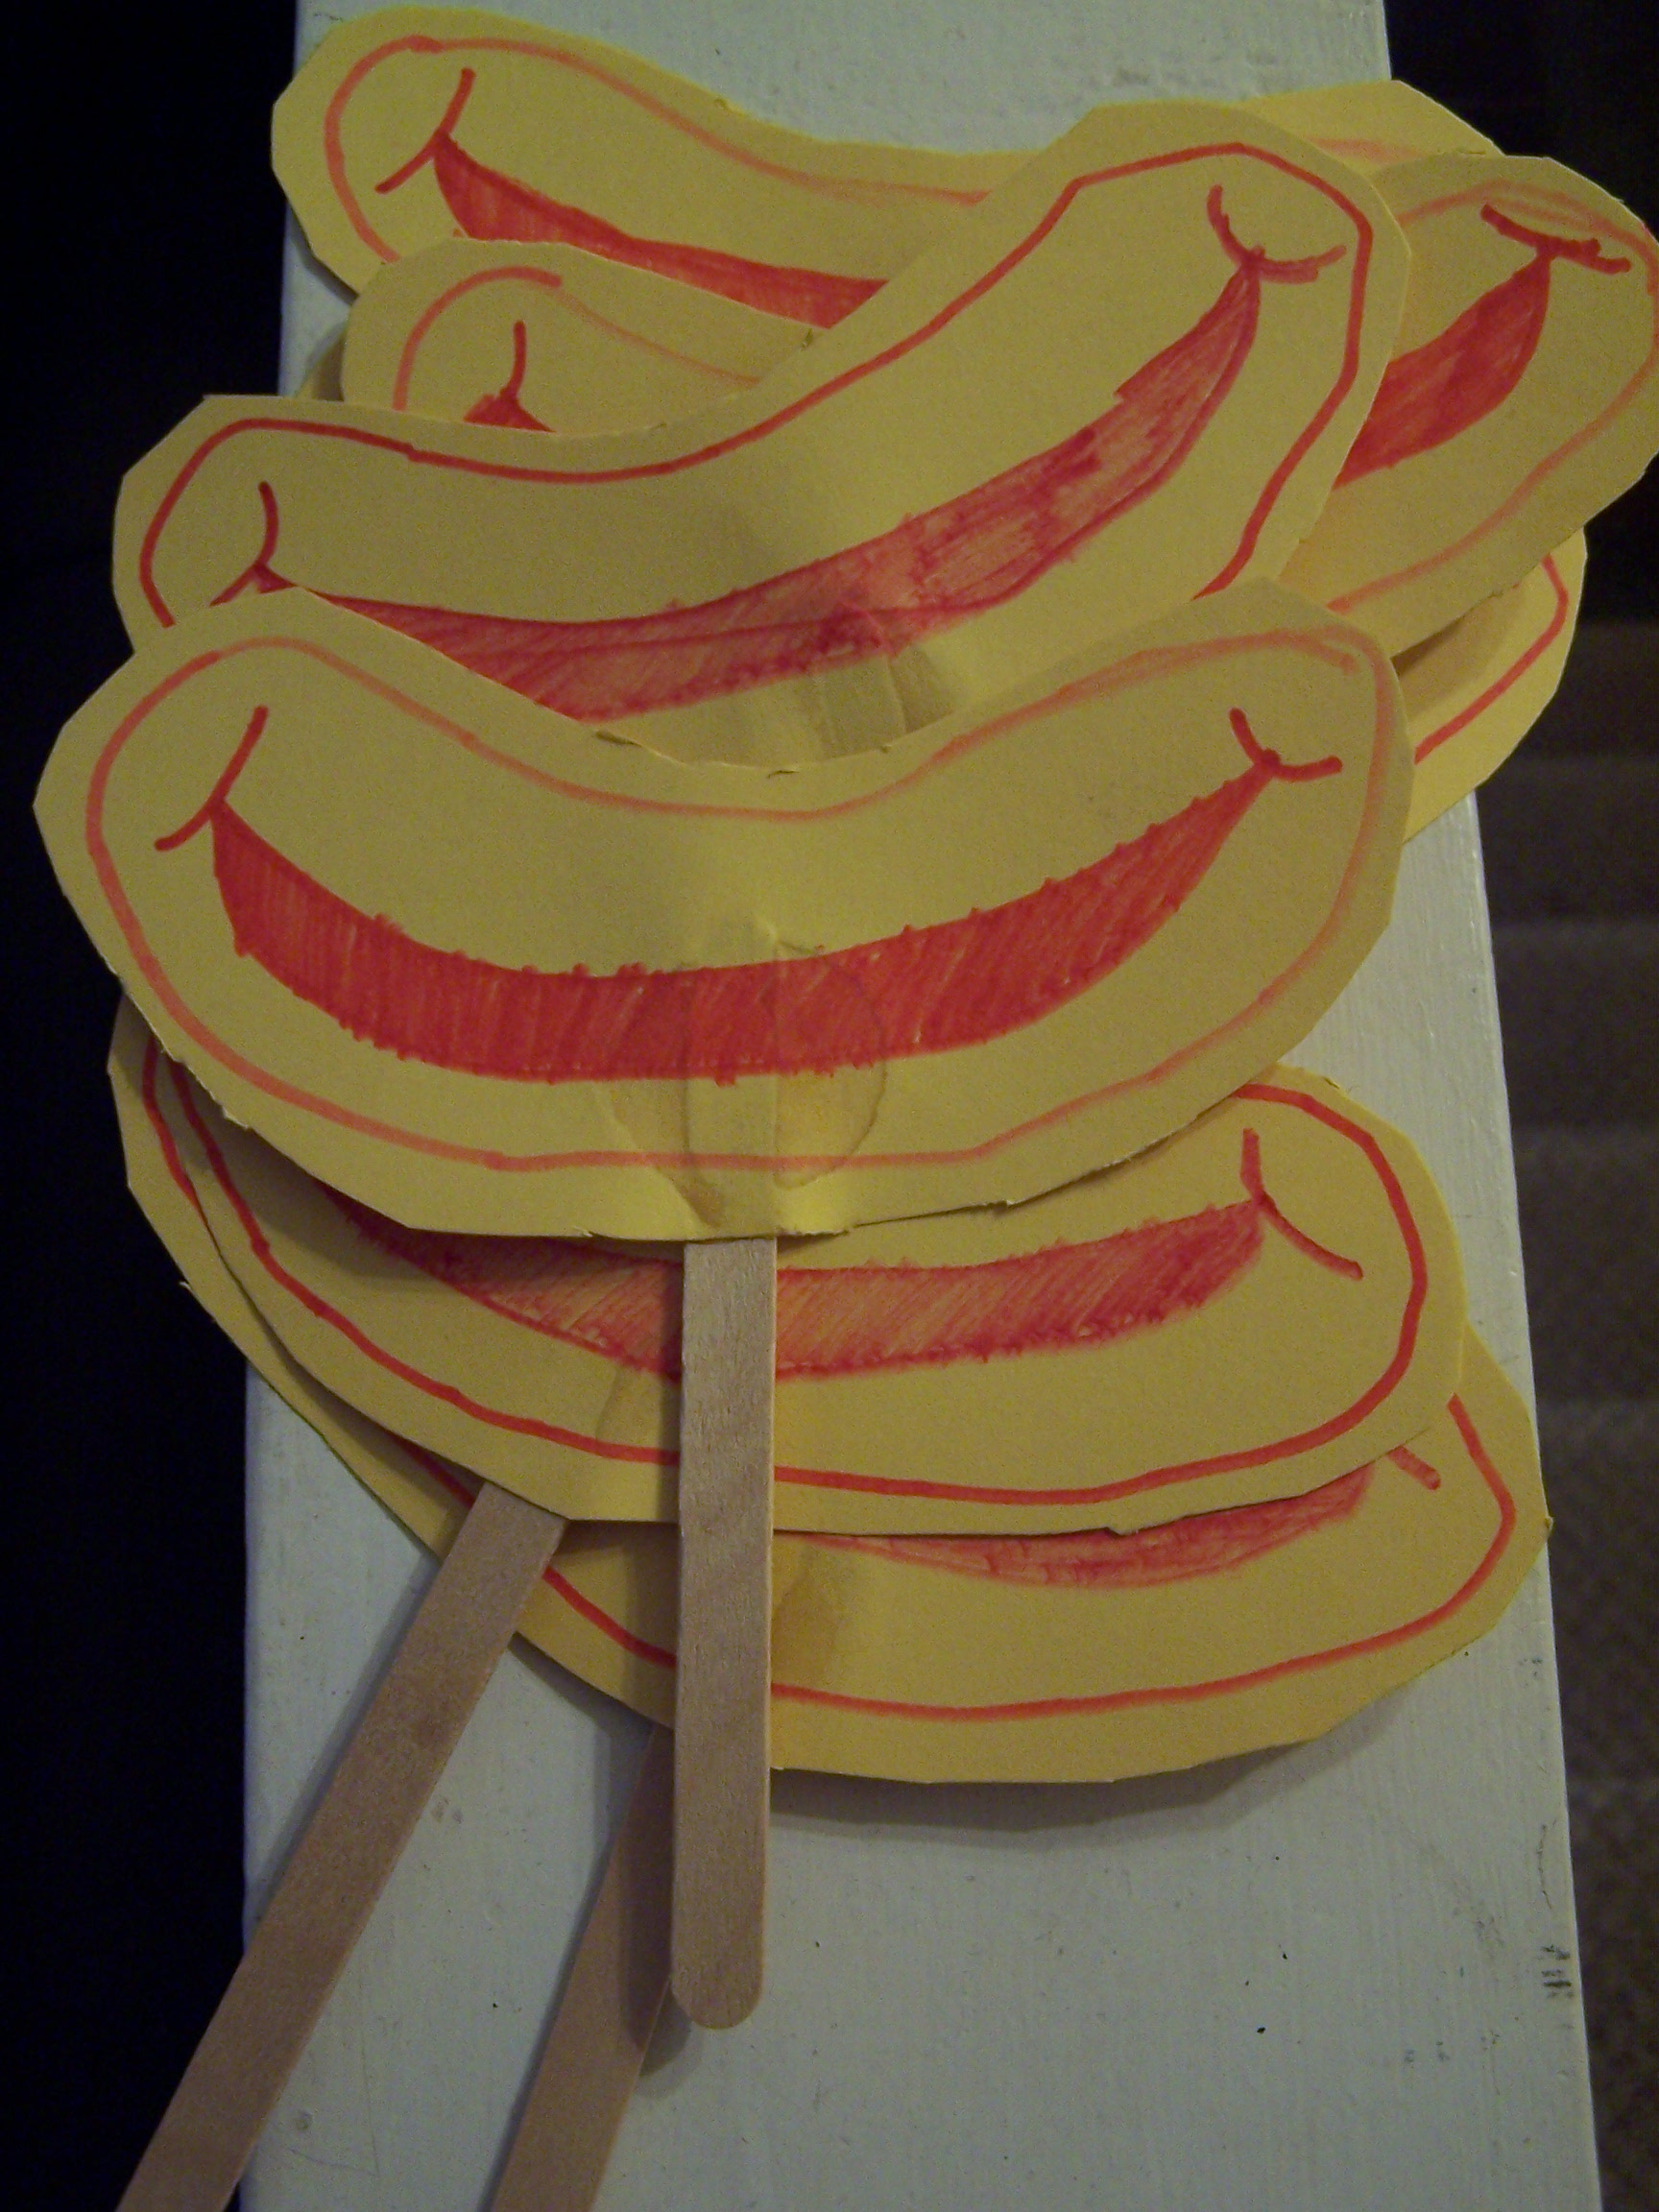
Elizabeth created Ronald McDonald smiles on a stick for all her friends to take home with them.
Tags: baking, cooking with kids, Girl Scouts, Jennifer L. Cowart, kids, Providence Ronald McDonald House, shopping on a budget, summer