Subliminal message for me.
Elizabeth wanted me to make flan.
Really badly.
She saw flan featured on “Sabrina The Teenage Witch,” and figured if it was so great on the show, enough that an entire episode was devoted to it, then it must be so great in real life too.
I had to make it.
She even found me a lower-fat recipe so that we could make one that everyone in our family could try.
We bought the key ingredients.
They sat on our counter for weeks.
I kept forgetting.
It’s not like I don’t ever do *anything* around here.
So I finally told her to get a piece of paper and write me a note and leave it on the table for the next day, a Friday.
I think instead of a note, I got a reminder poster. It was easily a 9×12 piece of paper.
But it worked, I remembered.
How could I forget, with a note like that?
That next day we set to work, making our flan. I personally LOVE flan. I love anything flan-like. Puddings, custards, things like that. Love them.
So I was very excited to try this out.

Recipe or science experiment? Both!
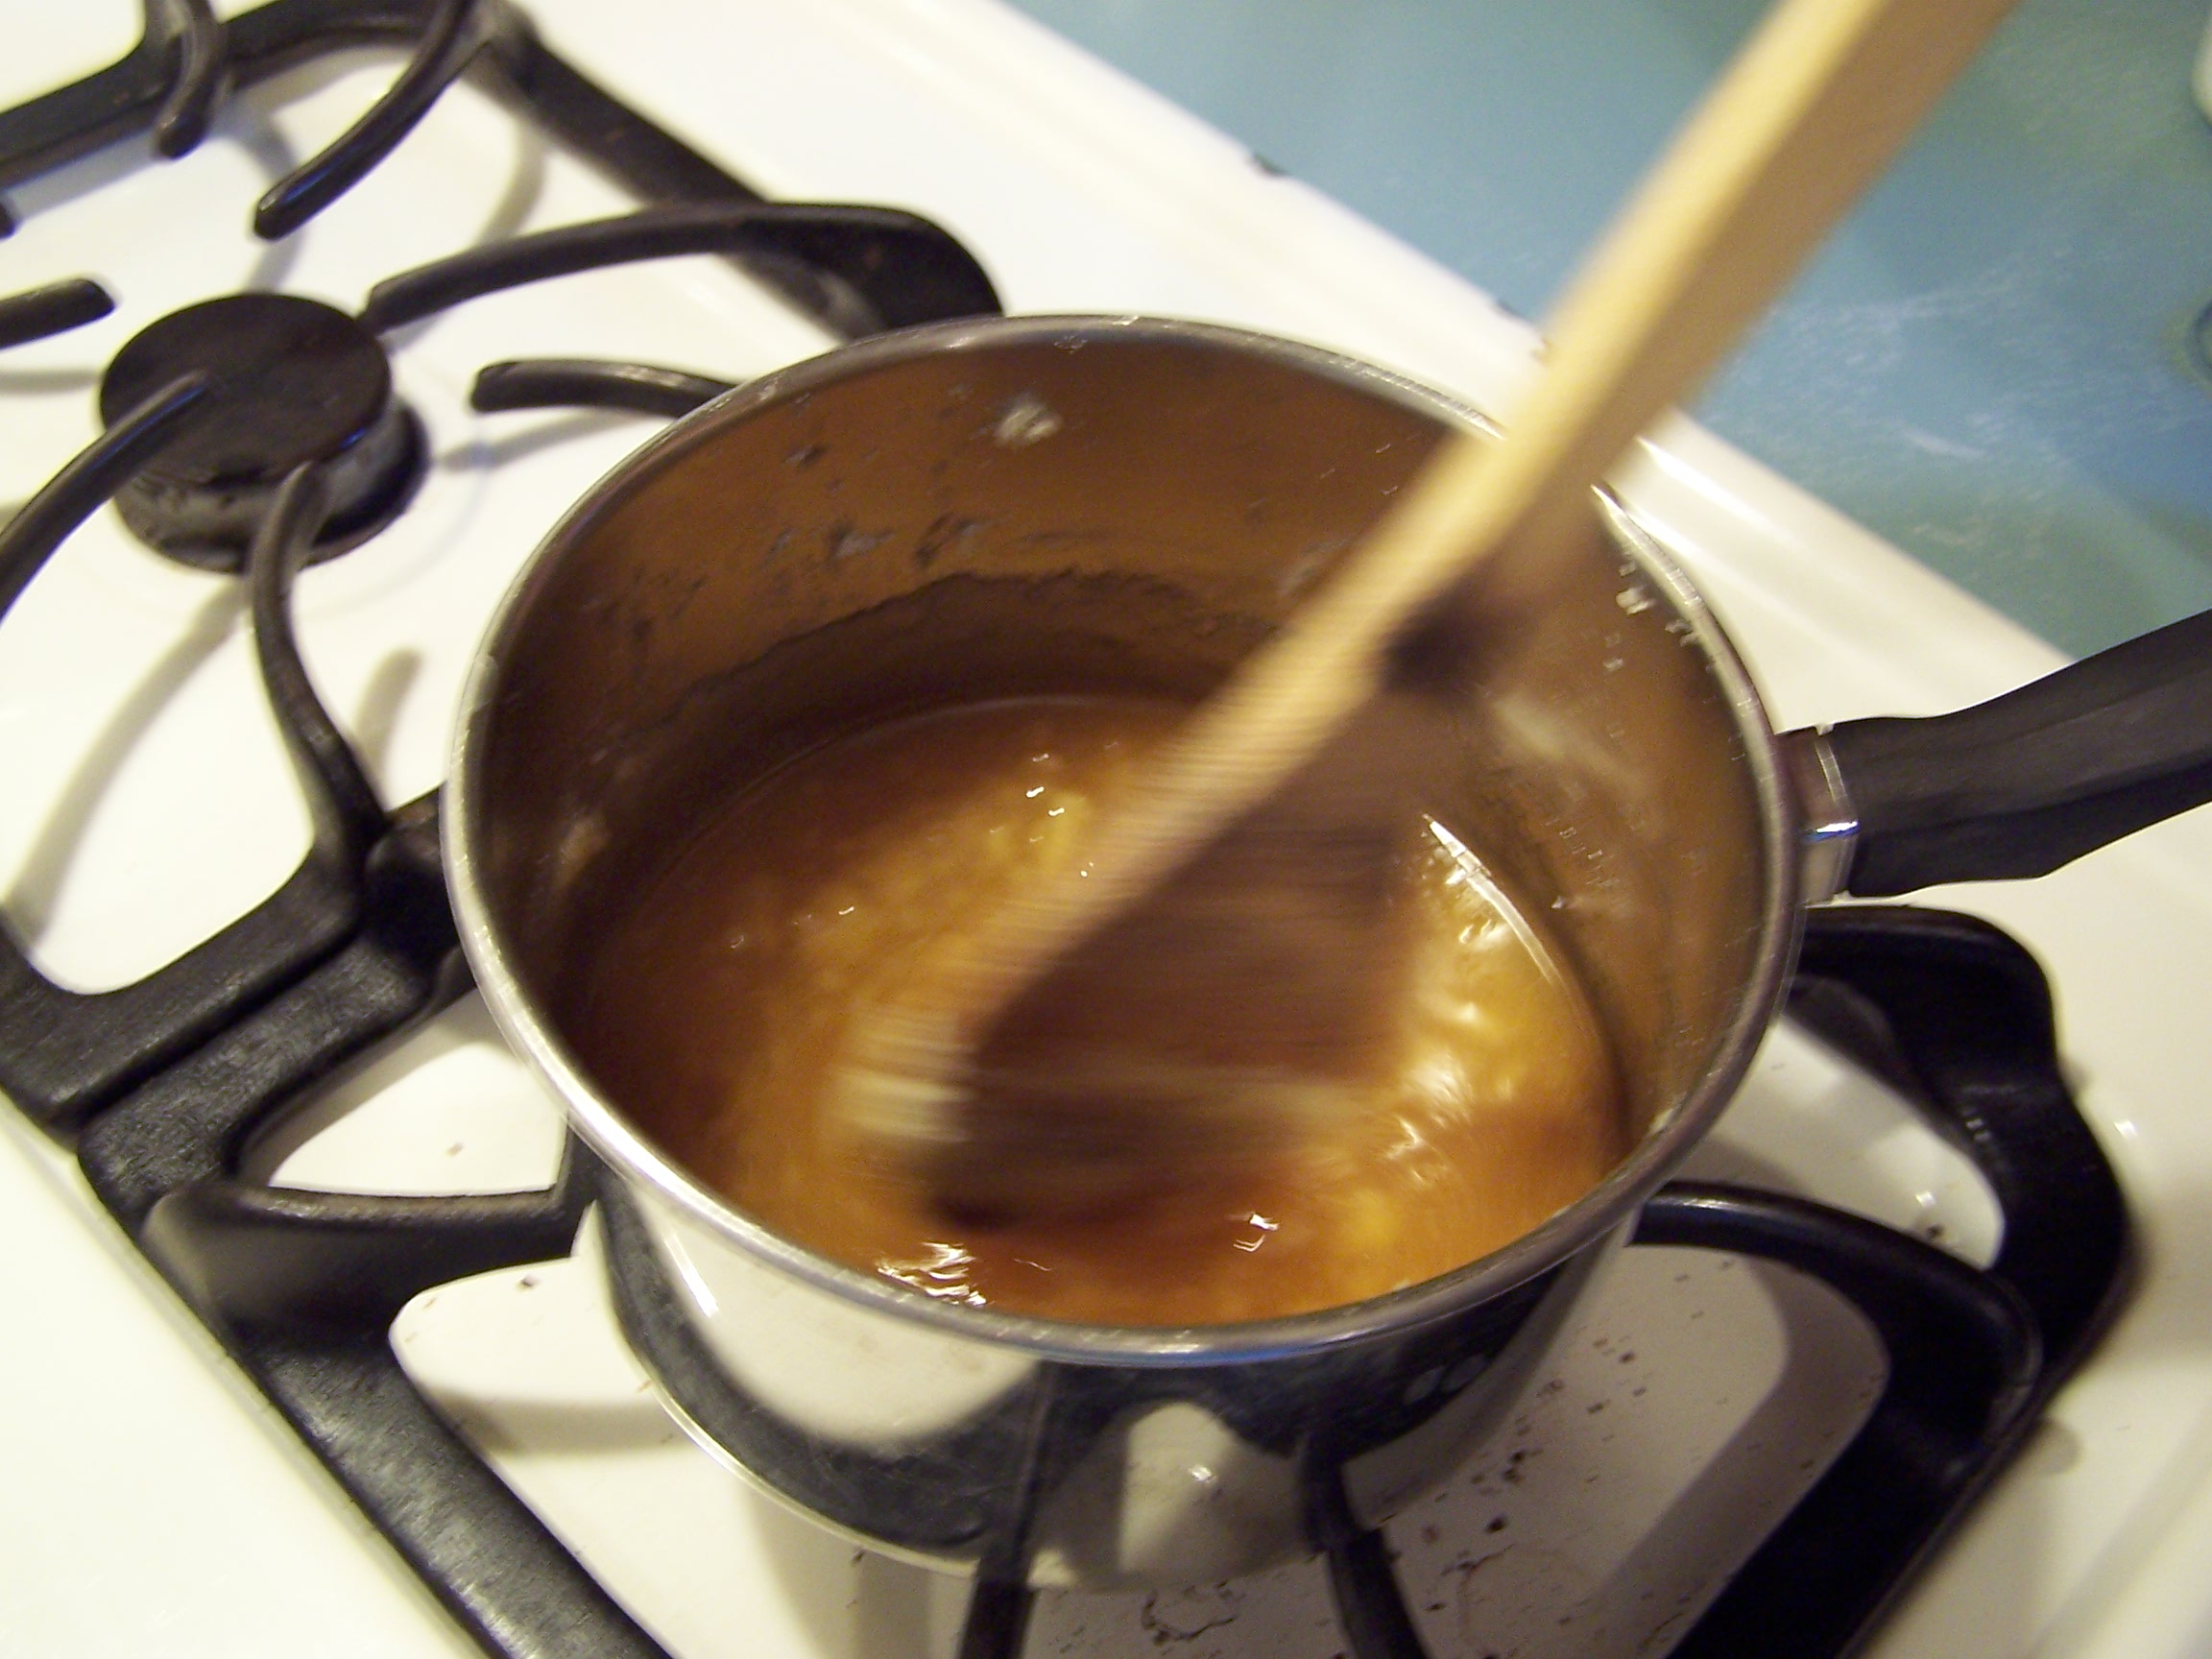
The recipe was easy enough to follow and it was one of those that was like a science experiment. I love that too. The sugar had to be cooked on the stove until it turned a light caramel color and liquified. The kids had never seen that before. It was neat to see and to show them.
The other very cool thing about this recipe was that you cook the flan “right side up” but you serve it upside down.
Once the sugar was liquified, Elizabeth poured it into a pie plate and it hardened right away, which was also very cool. (Cool to see, but hot to the touch, which we learned the hard way.)
She mixed the rest of the ingredients, poured them on top of the hardened sugar and then it was ready to bake for one hour.

Elizabeth was very excited that we were finally making her requested recipe.
Although the prep is relatively quick, the cooking and cooling parts in order to get to the eating part take some time.
While the flan cooked we ate our lunch, and while it cooled, we went and ran some errands. We came back hungry, perfect timing for trying out our new dessert.
I had a little bit of trouble getting the flan out of the pan. Although it was cool and we’d flipped it upside down, it wasn’t coming out. However, using a technique only known to soon-to-be-fifth-graders apparently, Elizabeth banged on the bottom of the baking dish which was now facing bottom up, and out it slid.
“See Mom? I told you that would work. I told you to do it my way,” she said.

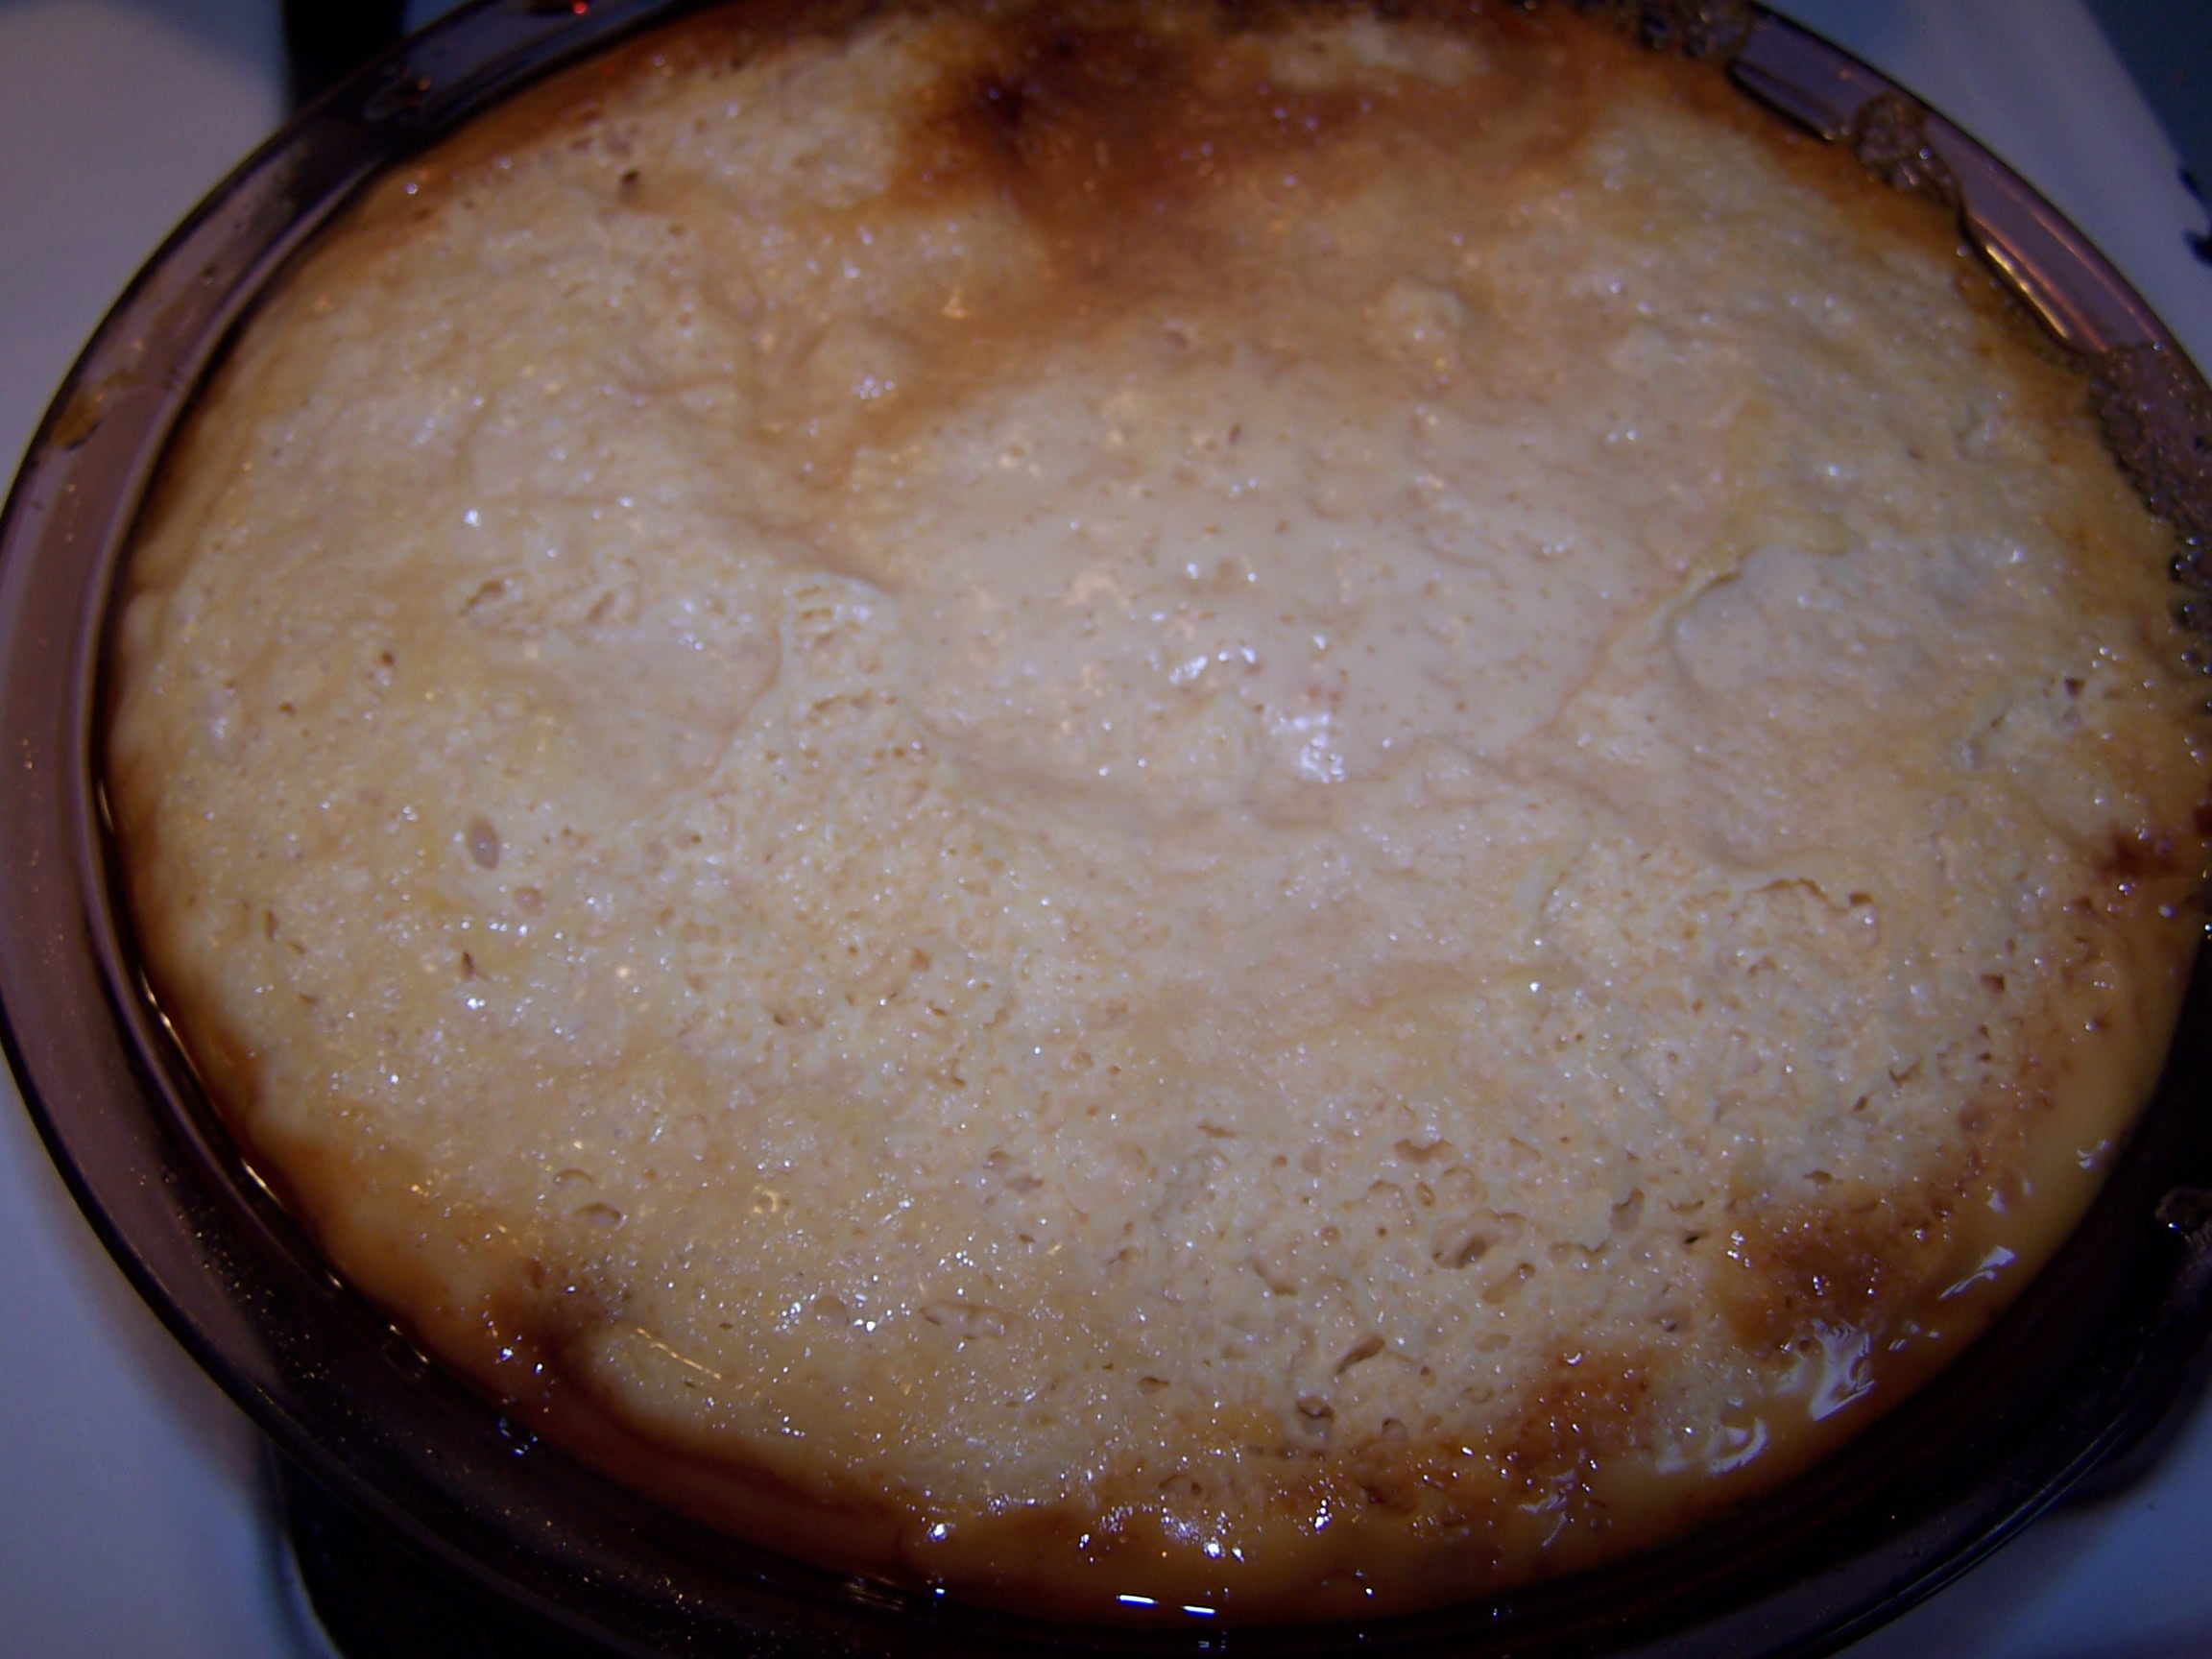
This is how our flan looked when it came out of the oven, before we flipped it over.
I’m a big “I told you so” person too, so I can’t disagree. She did, in fact, state that I should try banging on the bottom of the dish.
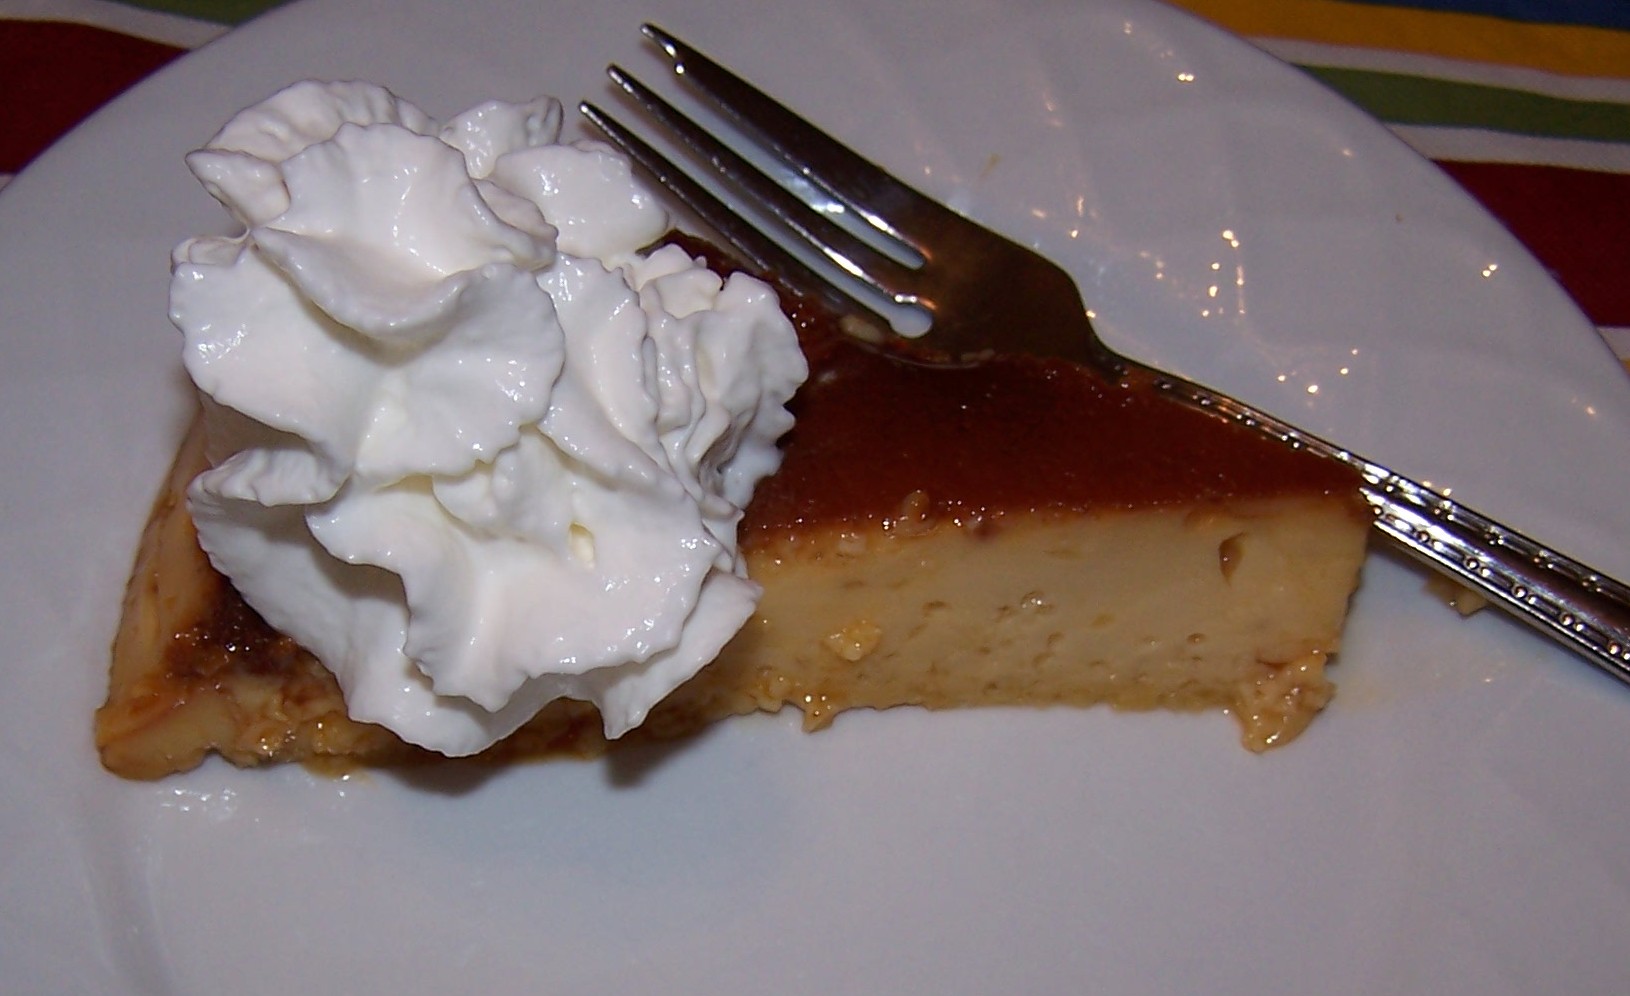
We thoroughly enjoyed our afternoon snack. We had both Cool Whip and Whipped Cream available for topping off the flan, since some people like one or the other. I had to restrain myself from having more than one piece. I was trying to lead by example, but I really wanted at least two slices. I had to walk away. Literally.
Before I share the recipe that Elizabeth found with you, I have to share one more funny tidbit. The girls had recently seen the movie “Napoleon Dynamite,” which is a really silly movie, but the kids got a kick out of it. In this very silly movie there is a character named Lafonda. Having just seen the movie, Elizabeth decided she would actually name her Spanish Flan.
The name she chose: Laflanda.
And now, without further ado, here is the recipe she found for Spanish Flan, on one of our favorite sites: Allrecipes.com.

Our finished product, Elizabeth’s special request: Spanish Flan aka Laflanda.
Ingredients
(From Allrecipes.com)
Recipe makes 1 – 9 inch round
Directions
- Preheat oven to 350 degrees F (175 degrees C).
- In a medium saucepan over medium-low heat, melt sugar until liquefied and golden in color. Carefully pour hot syrup into a 9 inch round glass baking dish, turning the dish to evenly coat the bottom and sides. Set aside.
- In a large bowl, beat eggs. Beat in condensed milk, evaporated milk and vanilla until smooth. Pour egg mixture into baking dish. Cover with aluminum foil.
- Bake in preheated oven 60 minutes. Let cool completely.
- To serve, carefully invert on serving plate with edges when completely cool.
Tags: allrecipes.com, baking, cooking with kids, dessert, eating on a budget, Jennifer L. Cowart, kids, Laflanda, motherhood, Napoleon Dynamite, Spanish Flan, summer