Our third tenth birthday in fifteen years. There’s some math for you.
It’s interesting having multiple children.
That’s probably the understatement of the year.
But more specifically, it’s interesting to us because as parents, although we try to be equal and equitable, things change, trends change, our kids get older and therefore, more involved, and so we must change along with them.
Take birthday parties, for example. We have house rules about when they can start to have “friend parties” and how many people can be invited, and where they can have them.
When our first two daughters turned ten, they both opted to have an “almost sleepover” birthday party where the kids come and stay late, but don’t actually sleep over. They both loved those parties, and we had a great time.
I was gearing up for the Almost Sleepover III this spring, as the next and final tenth birthday rolled around for child number three, when things suddenly changed. Our middle daughter had seen something about movie effects and presented an idea to her sister for her next birthday: A movie premiere party complete with blood and guts.
Movie premiere party, yes. Blood and guts, no. We parents still have veto rights.
She liked the idea. Bye-bye Almost Sleepover party, Hello Hollywood Premiere party.
In general, as a family we tend to be very project-obsessed, very creative and very budget-conscious. It’s a good combination because being obsessive can be costly. Being budget-conscious keeps our spending at bay. It’s our goal to spend less on an at home party than we do on the out of the house parties.
And so the planning began.

It was fun to personalize all of the invitations and the passes with the kids’ names and the party information. Doing it all on my phone though, blew me away.
I created invitations with the help of my oldest daughter, who taught me how to download images onto my phone and use an app to write in all of the information. I created all eight invitations on.my.phone. How amazing is that? We were keeping the party small, a few kids from class and a few kids from out of school, based on our space limitations here at home. I also created VIP passes and golden Hollywood tickets to go along with each invitation. We sent the tickets to them in their invitations and kept the passes here, eventually printing out a schedule of events on the back side as well.

I shopped early for paper goods, putting a few things away as I came across them.
With the Oscars taking place in February, I was able to start putting things aside easily. I found a “Director’s Cut” line of party supplies offered at Party City near me. I picked up some wall decorations, some decorative tapes with cool sayings like “VIP Entrance” “Celebrity Zone” and “No Paparazzi” for the house. Party City also had a backdrop that could be hung, along with a “red carpet” that could be used, so I picked those up as well. I found trophies there that weren’t Oscar himself, but rather little stars. I got two packs.

Trying out the frame and the accessories for the photo booth before the guests arrived.
We tend to have lots of “stuff” and sometimes stuff can be bad, like if you’re bordering on being a hoarder, but sometimes stuff can be good, like if you’re planning to do a photo booth for your at home party. In our case, the stuff we were able to use included pieces of old Halloween costumes, old dance recital costumes, past party favors we’d received, and things like that. A wicker laundry basket was filled with lots of fun accessories and placed in the bedroom on the day of the party, which was now the Dressing Room of the Stars.

We easily determined that several faces fit in our gold frame. It was perfect.
I picked up a couple of fun items at our local Dollar Tree for the photo booth too, including some post it note pads that spelled out OMG, LOL and BFF, as well as some colored hair extensions in blue, green, purple and red. My favorite find of all, however, was a $4 picture housed in a gold frame from Savers, from which I only needed the gold frame. I threw out the cardboard, the picture and the glass and pulled out all the hooks. It could easily fit two or three little faces in it.
I’d found a pack of bulletin board decorations the week before the party at Lakeshore Learning Store, thoroughly by accident. We’d gone in to use the bathroom and the set was on display right near the ladies’ room. It seemed meant to be that the set was perfect, and I got 15% off with my teacher discount card also. I had them laminated later that week so that we could use them over again if we ever needed to.

Bingo cards were easy to make online, just type in all the names for the squares and print!
Between the Party City items I’d found, the Dollar Store items and the new Lakeshore Learning Store pack, we were in good shape. We’d determined ahead of time that the Kids’ Choice Awards were playing the night of the party and that would be the “premiere” we’d be showing. That gave us a great opportunity for voting for our favorites first, and I came up with Bingo cards that went along with the show so that as the kids heard the names of nominees called out on the show, they could mark them off on their Bingo cards. A $1 box of sidewalk chalk and two $1 packs of stickers at the Dollar Store provided me with prizes.

Eight prize were easily made with a couple of dollar store items broken up into smaller sets.
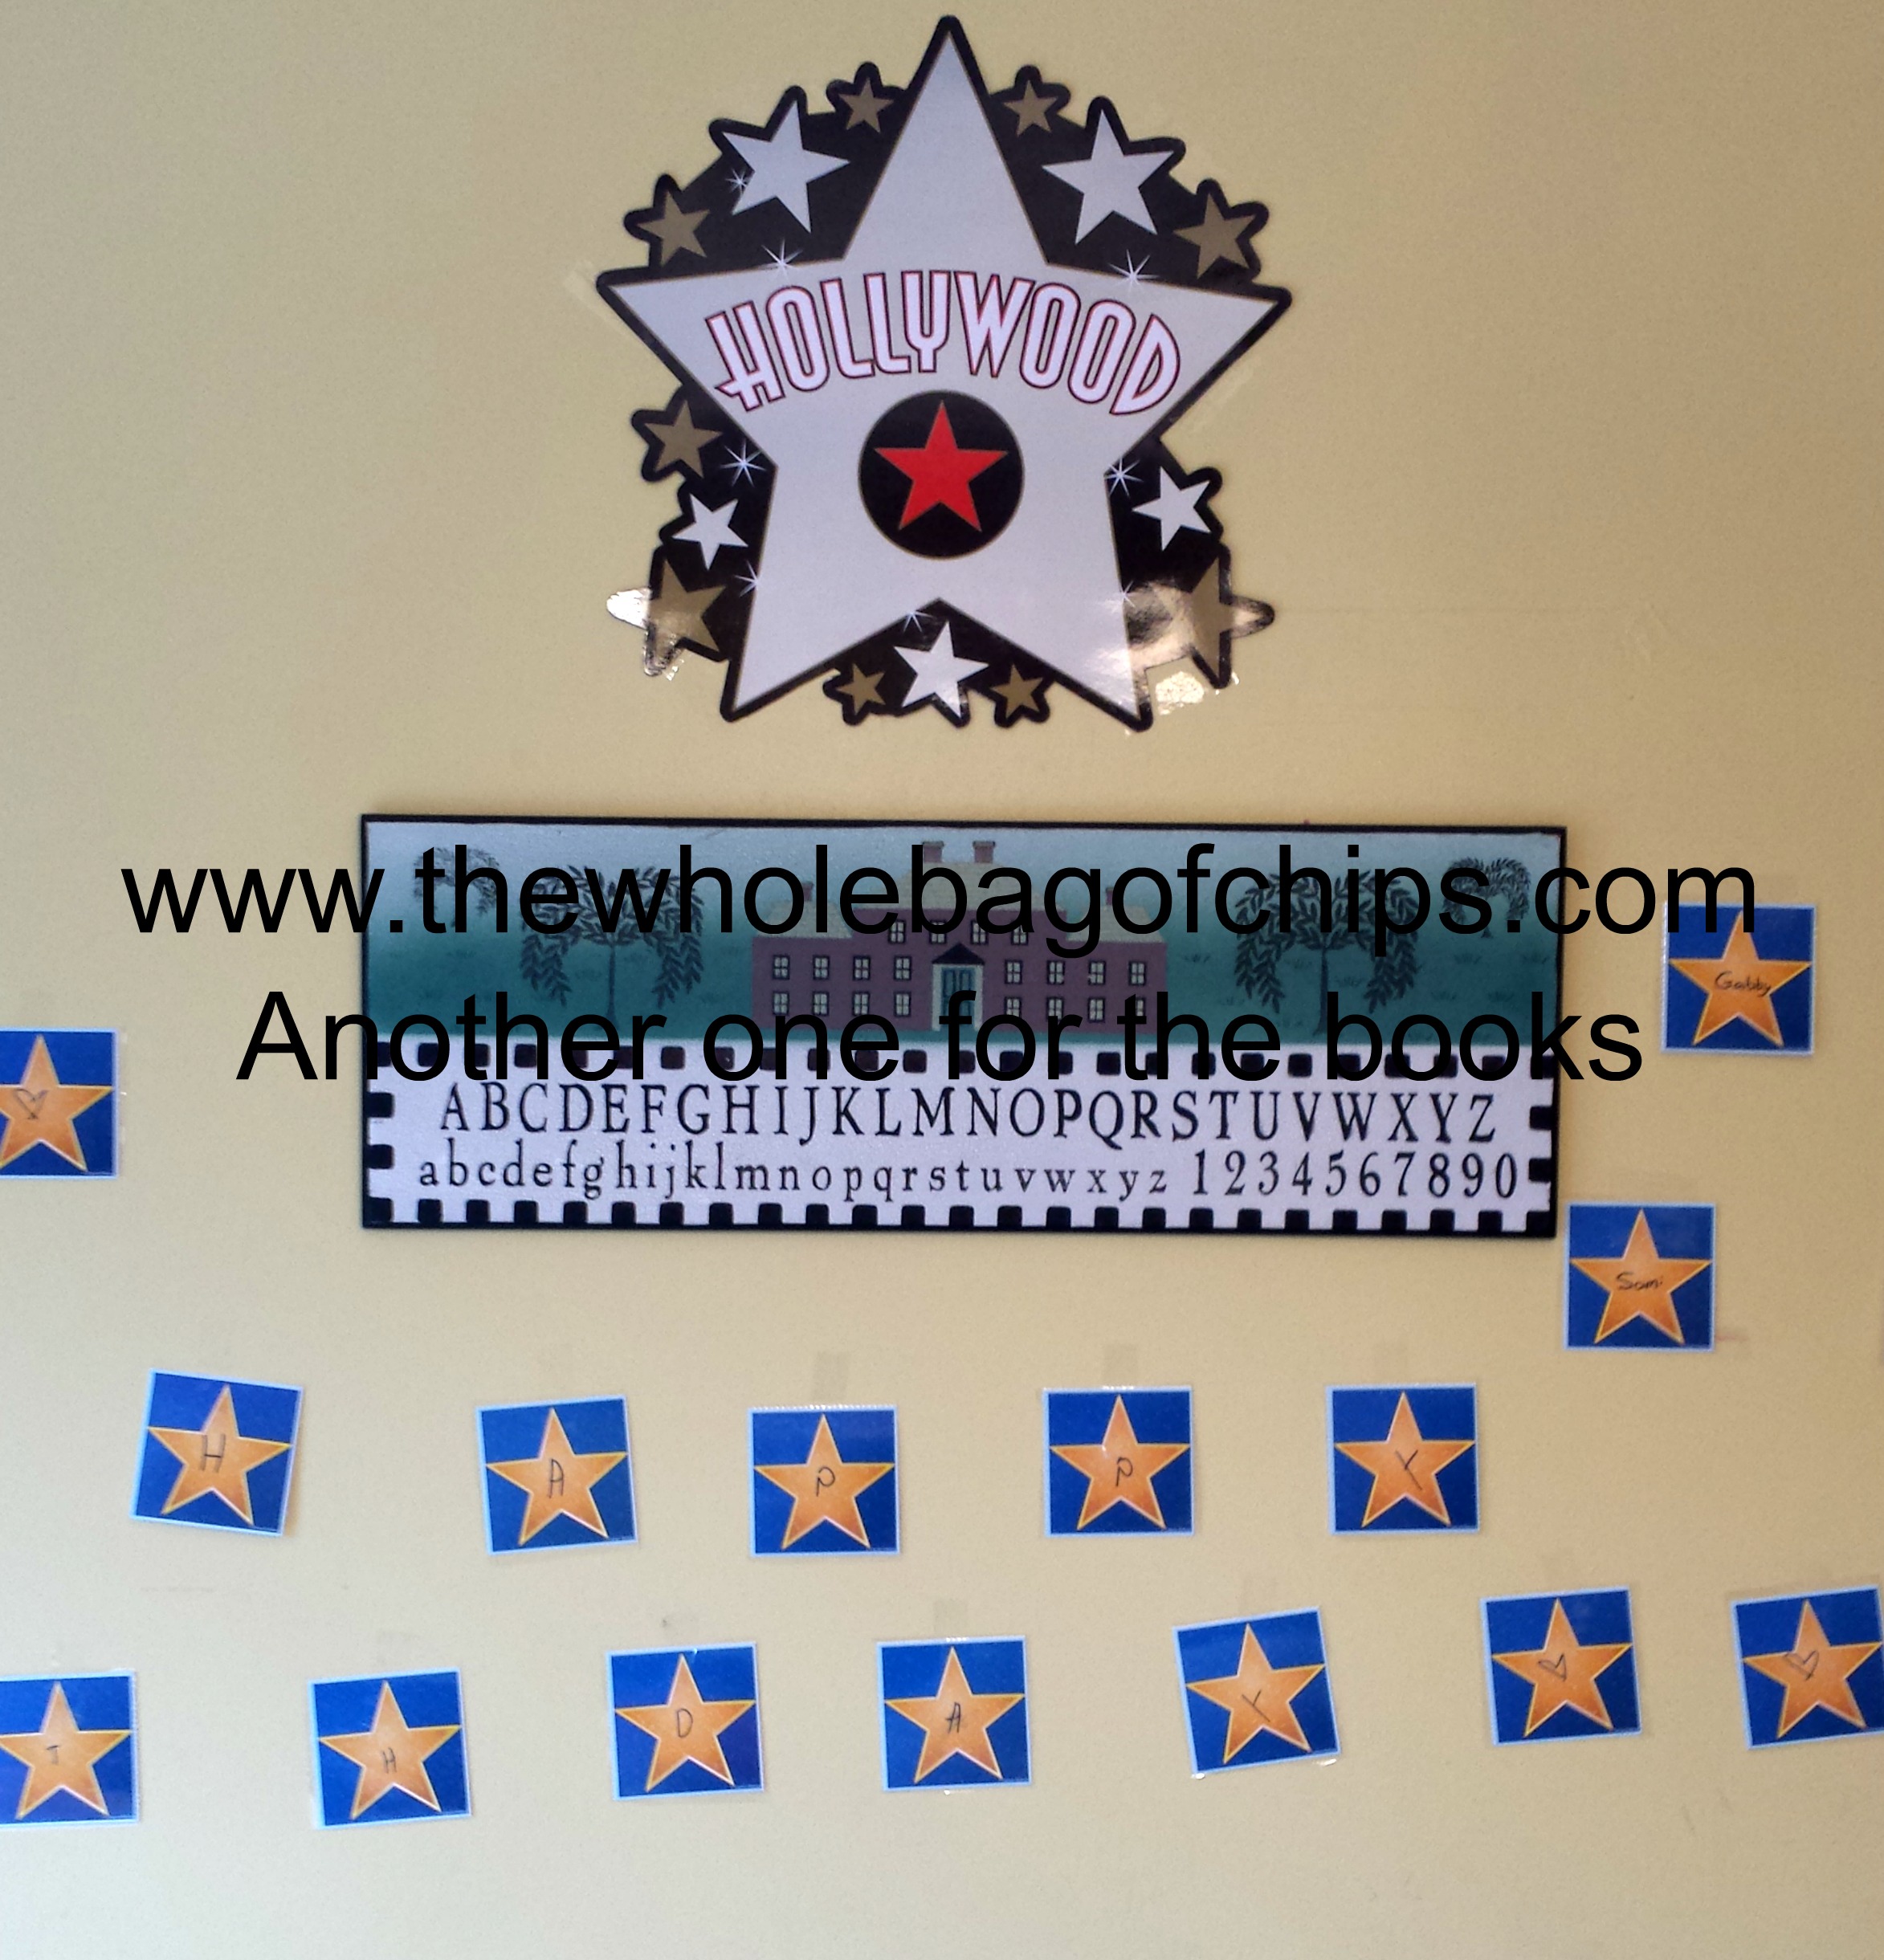
On the day of the party, everyone was involved in cleaning up and decorating. Having all three kids helping and giving input made it much easier for me than having to do it all myself. I loved that my older two wanted to help and that my youngest could have some ownership with this party. She completely took over the wall of “Hollywood Stars,” deciding where she wanted them hung, what she wanted to write on them and doing the hanging.

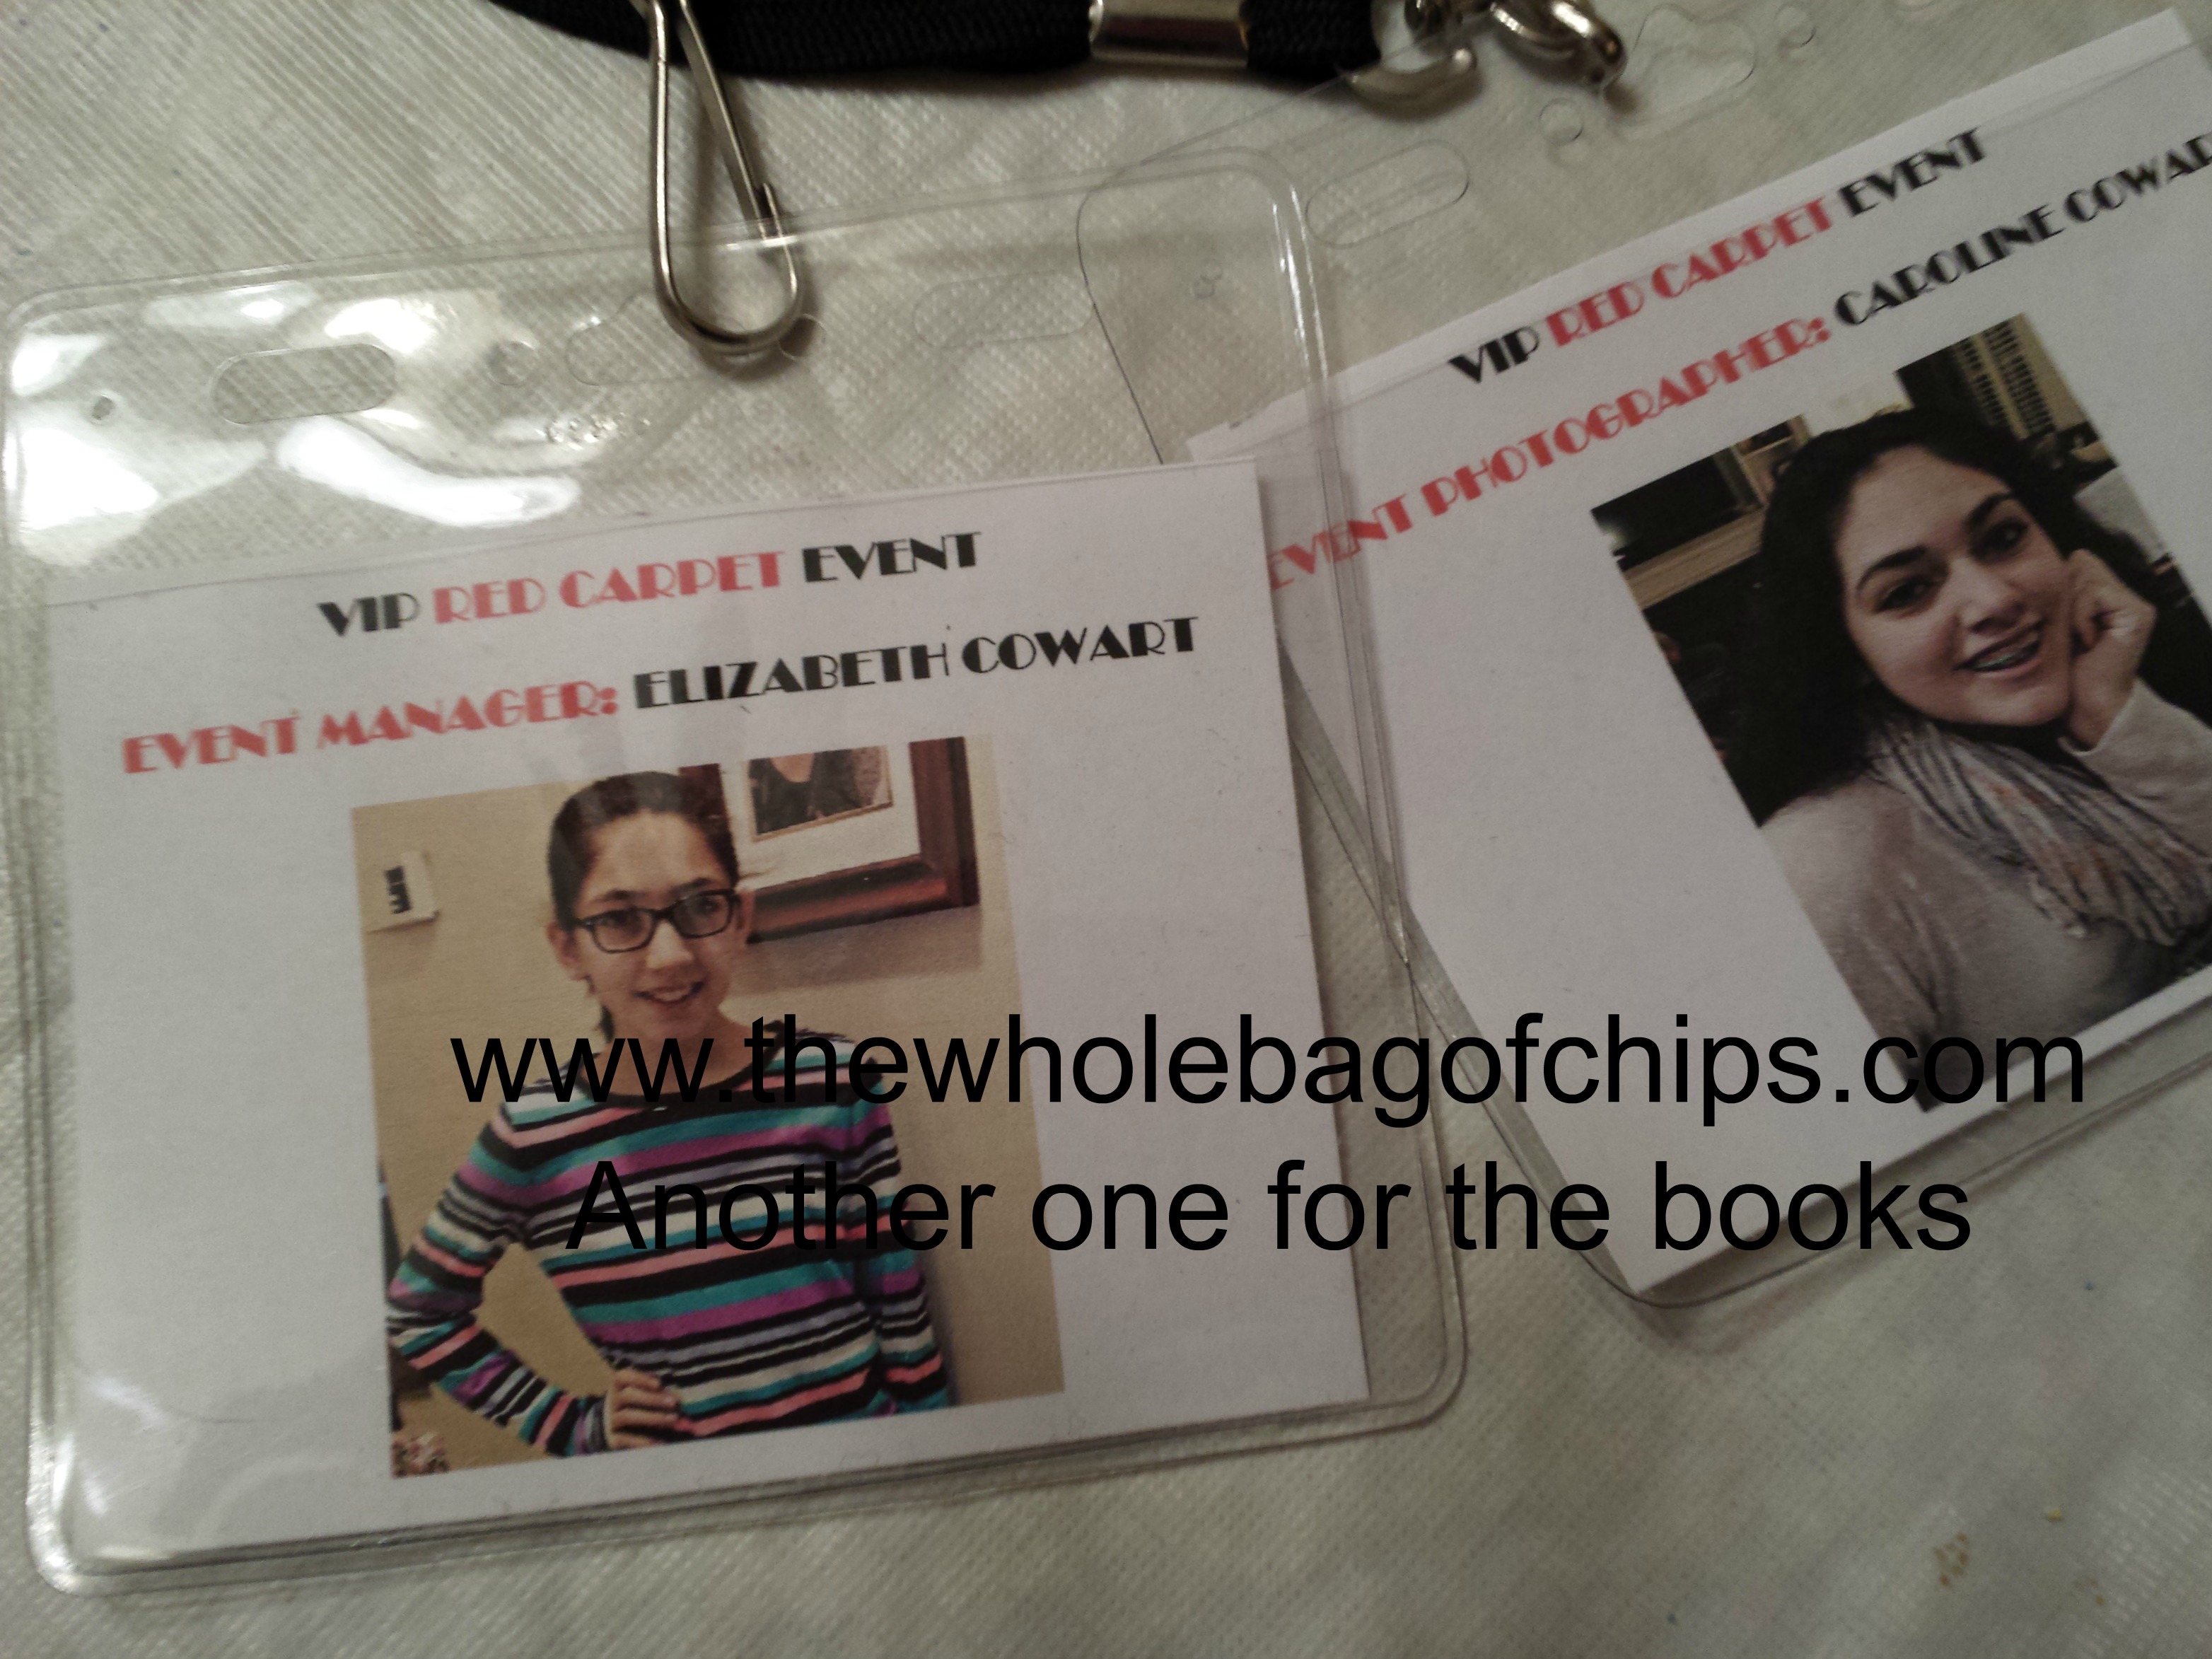
Just for fun, as a thanks for helping out, I created official passes for my older girls to use that night at the party.
One daughter was going to be the photographer and one was going to be my event manager that night, so I used more of my old “stuff” from past events I’d attended, and created event passes for them, just for fun, to thank them for all their help and hard work that they’d be doing that night.

A space for placing our votes for some of the KCA categories.
Although our house isn’t large, it has lots of wall space and we utilize our walls often, hanging things up all the time. This event utilized lots of our wall space and we had a perfect space for everything.

Now showing….how perfect! It hung right over the TV.
We loved using the “Now showing” and the “Starring” words on the walls too, and even put up a voting area for the kids to make some award show predictions for later on that night. In many cases they were right on!
All in all, it was a really fun party and I’d definitely do it again, especially since I now have all the items needed. The photo booth would be great for any event, and I intend to keep it in mind for the future. I loved seeing the kids all come in dressed “fancy” as their invites stated, and then seeing them kicked back in comfortable clothes they’d brought with them for when the show started. We played Bingo and Gestures, but the photo booth was probably the biggest hit of the night. In all we took over 200 photos that night and the majority of them were photo booth photos.
Below are some extra photos from the evening. I did not want to use any photo booth photos of anyone else’s children, but you can get the general idea of some of our props based on the photos I’ve already included here.

We utilized all of our available wall space that day!

It was fun for everyone to have a part in decorating for the party, including the birthday girl who took on the Hollywood Stars wall.

The items from Party City and from Lakeshore Learning Store looked like they’d been made to go together.
Tags: birthday parties, Hollywood Premiere birthday party, Kids' Choice Awards