Stuck inside? No worries!
Living in the Northeast, we are prone to lots of cold, snowy winter weather. Sometimes we can get outside, go sledding, build a snowman. Sometimes though, it’s either snowing too hard or it’s just too cold to be out or out for long.
On those days, when we’re stuck inside, it’s fun to find some neat things to pass the time other than watching TV or playing one device or another.
Lucky for us, this weather usually follows our Christmas holidays and we have lots of great, new things to keep us busy. As I did last year, I thought I’d highlight and review a few of the really great things we received this year, which have already provided us with some great, indoor fun.
Today’s review is for one of my daughter Elizabeth’s (age 11) gifts from Santa: Snap Circuits, Jr.

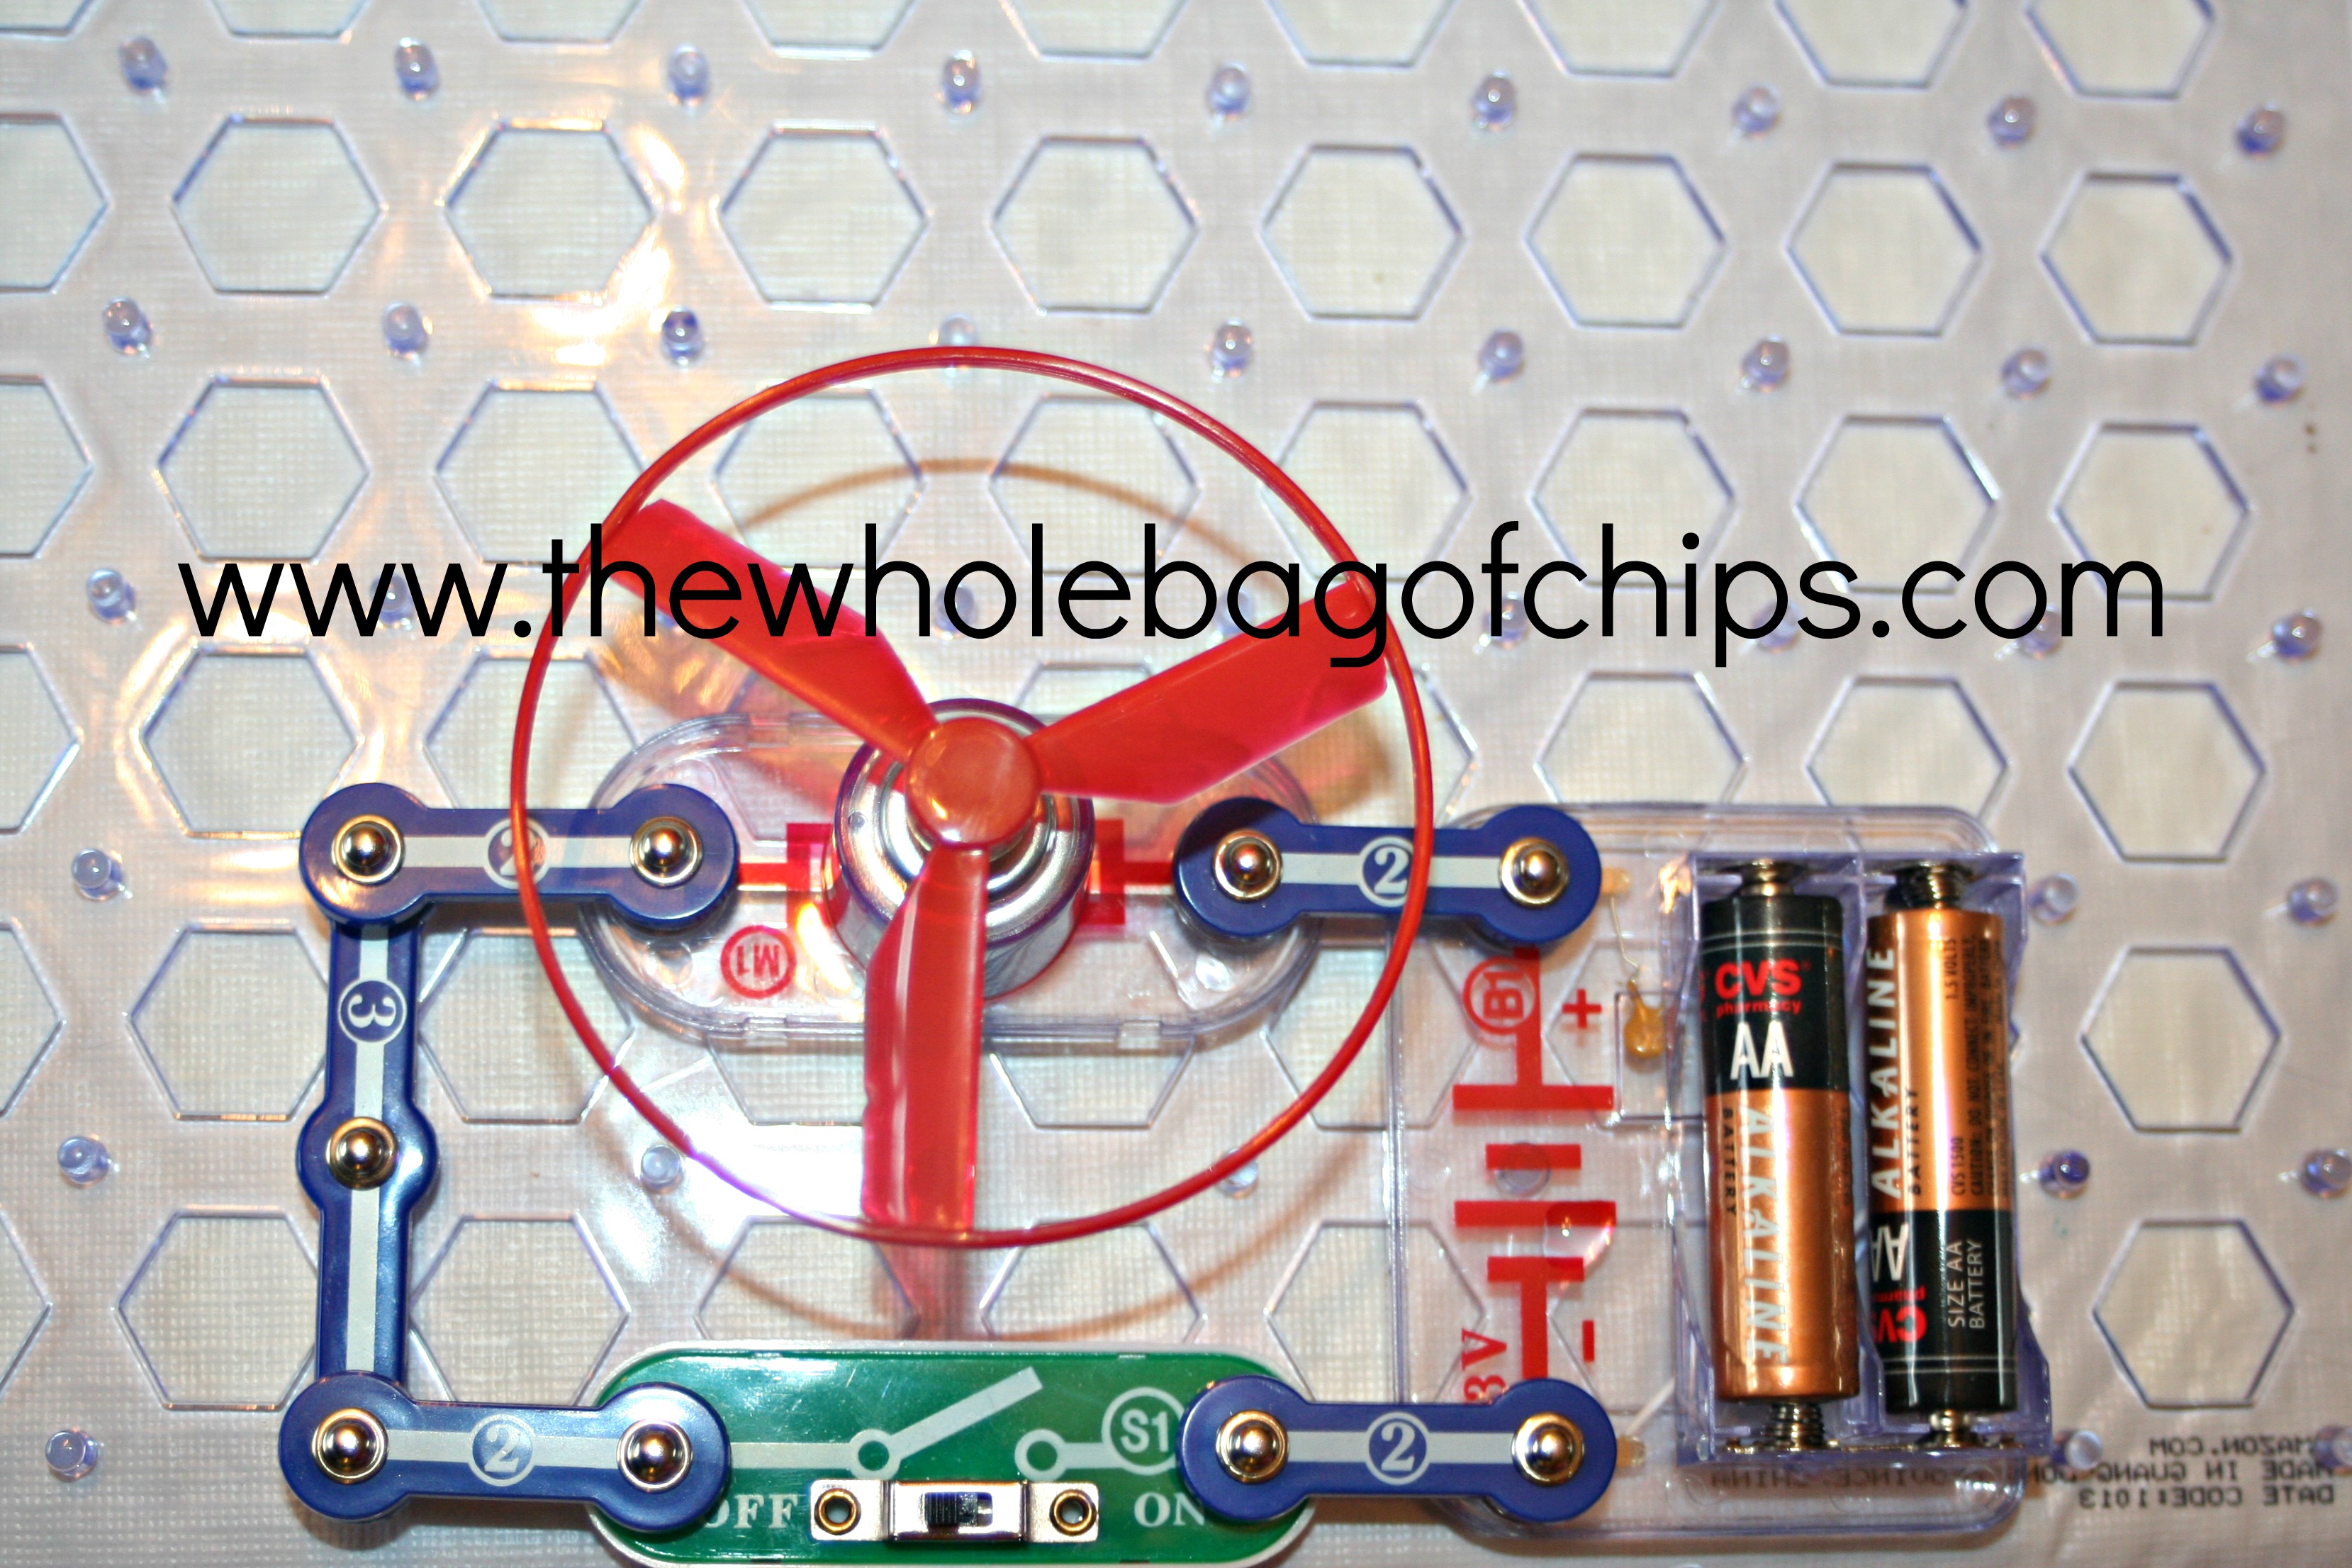
The mat included in the kit really helps the kids to see where to place their pieces.
This was a gift she put at the top of her list after seeing it in a catalog that came in our mail, but it was one that we didn’t know very much about. It has turned out to be one, very cool gift. Focusing on Science, Engineering and Technology skills, this kit contains over 100 projects that the kids can do, all of which produce an action: a light turns on, a fan runs, music stops or starts; things of that nature. To create the action however, the kids must connect a series of circuits. A flat surface is included, similar to the work mat that comes with LEGO kits. The circuits are all able to be created and put together on that mat. The mat helps the kids map out how far apart the various pieces need to be placed in order to be connected.
As a parent and as a former teacher, I liked so many things about this kit and I really had a great time delving into it with her one afternoon when it was just she and I at home for a little while.
First off, I loved that it was STEM related (Science, Technology, Engineering, Mathematics). I was so pleased to see my daughter enjoying utilizing those types of skills. We often tend to lean towards the crafty activities. We love to craft and create, but this was a whole different type of creativity and her eyes lit up that very first time she made the light bulb turn on with a flip of the switch that she’d connected herself.

The kit comes in a box that helps to keep the pieces organized and helps the kids know which piece is which.
Second, I loved how organized and easy to understand this kit was. It has many, many pieces and they’re all organized and easy to store, and come with a map to show you what you should have for pieces, what the pieces are called, and where they go in the box. I taped the map right into the cover of the box to help her put things back in the right spots.
Third, the booklet that comes in the kit is fabulous. The projects are numbered, with a place to check them off once done. They start out easy and basic and get more complicated as you go. Kids see success instantly as they do the first, quick project, and it fuels their fire, making them want to complete the next project, and the next. Each project has an objective, so the kids see what they’re going to do with that project, and then the directions follow, with a summary at the end which explains why the project did what it did. I was especially thrilled when one of the early projects explained to her how a battery connected to the circuit made a propeller spin, and we could connect that to the new spinbrush toothbrush she’d gotten in her stocking, which runs the same way. She went and got her toothbrush, turned it on and watched it spin as she looked at her Snap Circuits propeller spinning too. It was fantastic.
And finally: budget. This is a very affordable activity kit which provides so many hours of fun and learning. The Snap Circuits, Jr. kit runs in the $25 range, depending where you buy it and I’ve seen it online at Walmart, Target and on Amazon.com, but I know it’s also available in other places. I love it when things are affordable! I also know that there are lots of kinds of Snap Circuits kits, ranging from physics to lights, to much bigger and more complicated (and more expensive) kits. You can get replacement parts and there are learning extensions online at their website as well.

As we progressed along in the book, the projects got more complicated, using more pieces, the results more exciting.
I’d definitely give the Snap Circuits, Jr. kit a thumbs up as a parent, and my daughter gives it her vote from a kid’s point of view as well. I highly recommend you giving it a try! It’s great for those rainy or snowy, cold weather days and provides hours of fun and entertainment, while lots of learning is taking place too.
When I looked on Amazon.com, the age recommended for the kit was 8 and up, and I have to agree. I have a daughter who is 8 also, and she likes it too, but my 11 year-old is definitely more independent with it than my 8 year-old. They’ve done some of the projects together as well, which is nice too. It’s also a great gift for both boys and girls, which is not often easy to find.
I can’t wait to see what some of the next, more complicated and more exciting projects will be!
Tags: Christmas gifts, gifts for boys and girls, Girls in math and science, Snap Circuits Jr., STEM, STEM activities