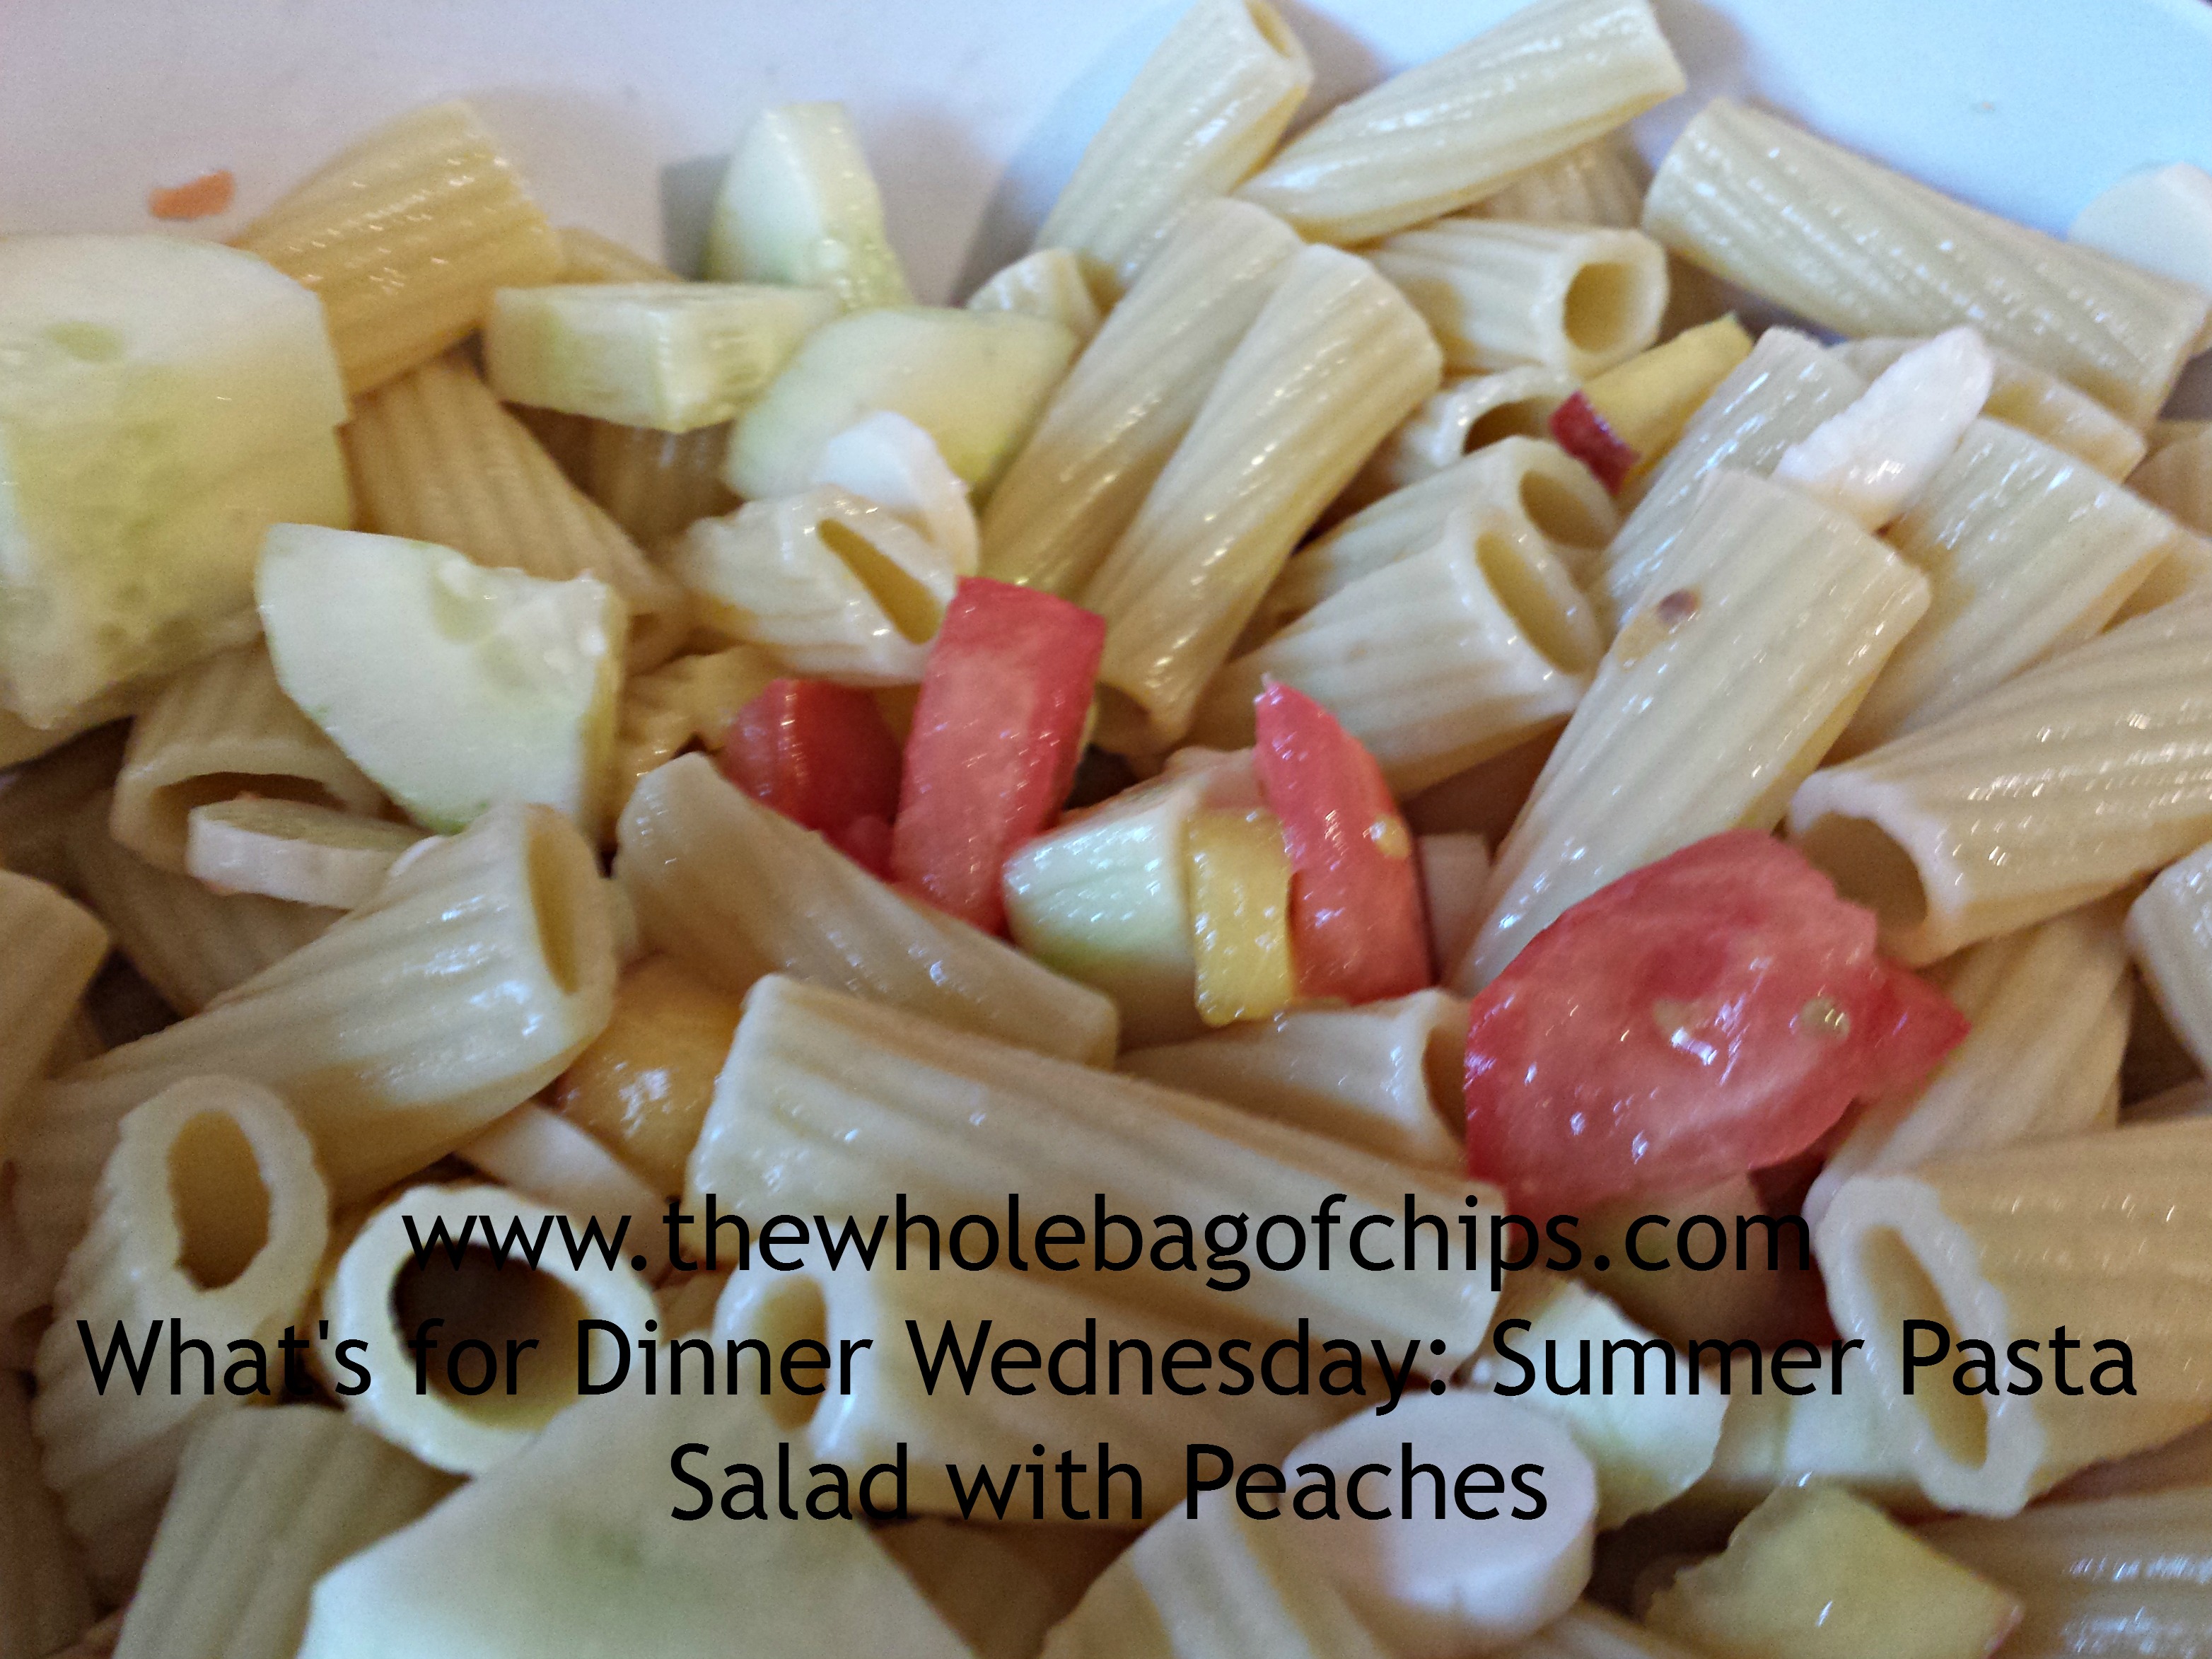
This salad was a hit all around!
I’m always getting emails with recipes in my inbox, and every so often one of them will catch my eye and I’ll open it up. The other day I happened to notice a recipe from Cooking Light for a Summer Peach and Tomato Salad.
The name of the recipe, the combination of peaches and tomatoes made me click on it and read it. Of course other than peaches and tomatoes, yet not all the kinds of tomatoes they recommended, I didn’t have most of the ingredients for the salad. I didn’t have Sherry Vinegar or red onions or Feta cheese (I don’t even like Feta cheese) or fresh Basil.
Even still, the recipe stayed on my mind. I knew I wanted to try it one day. In the meantime, I still had to come up with my meal planning for this week, and one night we were going to be grilling pork chops. I went downstairs to my pantry to see what I could put as a side dish or two with the chops, and of course, we had next to nothing since we hadn’t done our “big shopping” yet. However, we had a box of pasta, we had honey and olive oil, I knew we had tomatoes, cucumbers, mozzarella cheese and….fresh summer peaches. I decided to do a variation on the Cooking Light recipe and make my pasta salad for the side dish, but add in some peaches with the other veggies.
“Ewwww….” my daughter said. “That sounds gross together.”
Excellent. A vote of confidence.
Not.
But no worries, I was going to try it anyway. To me, the tomatoes and peaches sounded like they’d go well together, and I looked up a substitution for Sherry Vinegar which said Rice Wine Vinegar which we always have and like to use.
I put on the water to boil and began slicing my peaches. As my pasta cooked and I sliced, that same daughter wandered into the kitchen.
“Can I help?” she asked.
I let her help despite her lack of confidence in this new recipe. As I sliced up the peaches, she threw them into a big bowl and added in the tomatoes, honey, olive oil and vinegar. As I drained the pasta, she peeled and sliced the cucumber and threw that in too. She took a taste.
“This is actually pretty good together!” she said.
I might’ve said, “I told you so,” but I will neither confirm or deny that.
We tossed in the pasta and mixed it all together noting how pretty the reds and yellows looked together. I was wishing I had fresh Basil to add a touch of green, and I debated adding another peach, but decided for this first time out, just to leave it all as is, and see how well this Summer Pasta Salad with Peaches went over with the rest of the family.
Well….I couldn’t have been happier. Everyone loved it and the combination of the peaches with the other fruits, veggies and seasonings was perfect.
My daughter redeemed herself by exclaiming over and over again how great this was together, and I was happy.
I would definitely recommend bringing some summer into your recipes too, adding in peaches and other summer fruits to some of your regular meals. Making this recipe made me even more excited for the end of school and the summertime and for all the delicious summer-only items that are starting to come into season now.
Next time you’re making a salad, think of Cooking Light and their recipe, of my Summer Pasta Salad with Peaches, and see what variation you can come up with!

Even though initially she thought this salad didn’t sound appealing at all, she was my biggest helper and biggest fan of the recipe at mealtime!