I was so excited to go and get my copy of Anika and Chris’s new book! You’re going to want your own copy too!
What’s more fun on a Friday than a giveaway?!
You might be thinking, maybe a giveaway that includes something yummy to eat?
You’ve got it!!
I do lots of book reviews and lots of giveaways, but it’s always more special to me when I know the author of the book personally.
Therefore, today’s review and giveaway is an extra-special one.
Last spring, I participated in the 2014 Providence Listen To Your Mother show, and I had the honor and privilege of sharing the stage with so many wonderful, talented women.
Anika Denise was one of those women. Anika told a wonderful, funny and yet emotional story about her children and their experience with their pet fish. You can hear her story here.
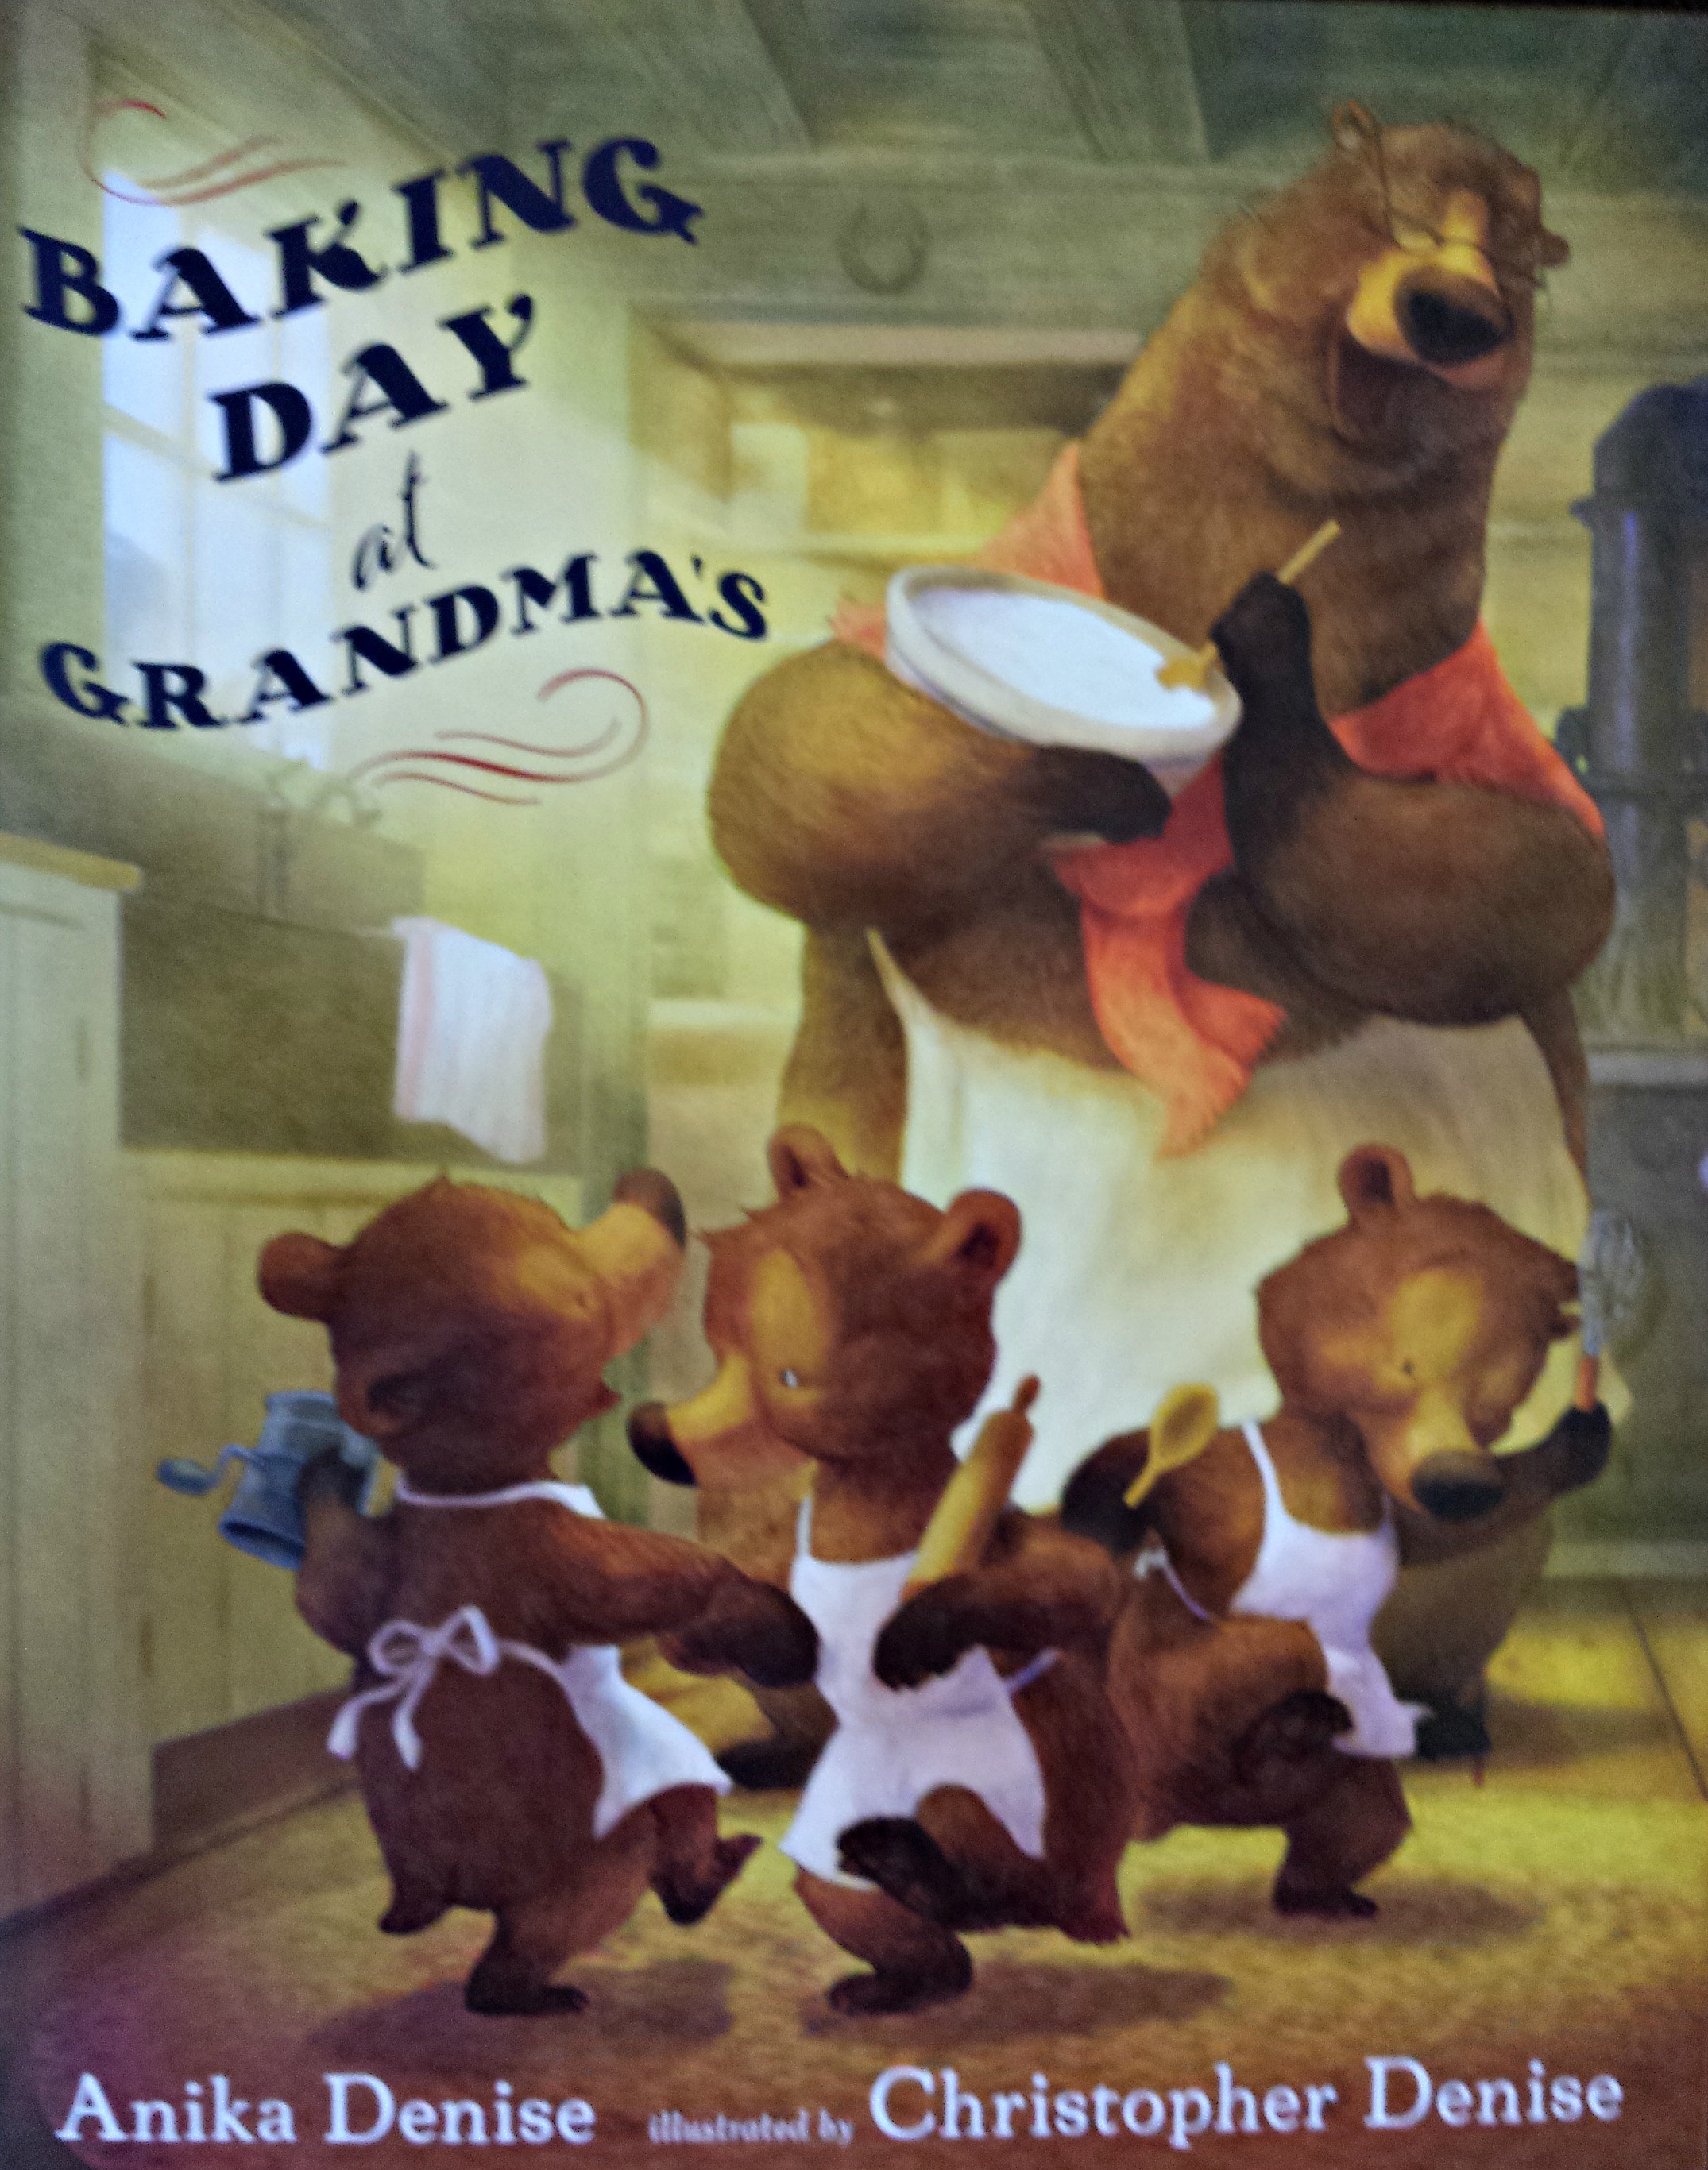
Today’s book review is another story by Anika Denise, a children’s book author, and it holds special meaning for me personally as well. The story behind this sweet children’s book, “Baking Day at Grandma’s” is from Anika’s own childhood as she grew up spending time with her Grandma Rose. Her story reminds me of my own two grandmothers and my mother, and the rich tradition of baking together that has been instilled in me as well as the rich tradition of giving. It’s a tradition I’ve written about each December on my blog as I share my own Grandma Rose’s recipe for her Italian Wine Biscuits and as I’ve shared my Grandma Grello’s recipe for her Christmas Prune Cookies. I’ve written about the years I spent growing up, baking with my mom so that my brother and I could go off delivering trays of cookies each Christmas Eve day. It’s a memory that I hold dear to me, and I’ll continue to share them again this holiday season, beginning next week.
In the book trailer (link below), Anika talks about the fact that growing up she spent a great many summers and winter vacations with her Grandma Rose. I too, spent summers and school vacations with my grandparents, making special memories with them and learning their cooking skills. My kids now spend time baking with my mother as well and carrying on that special bond and tradition.
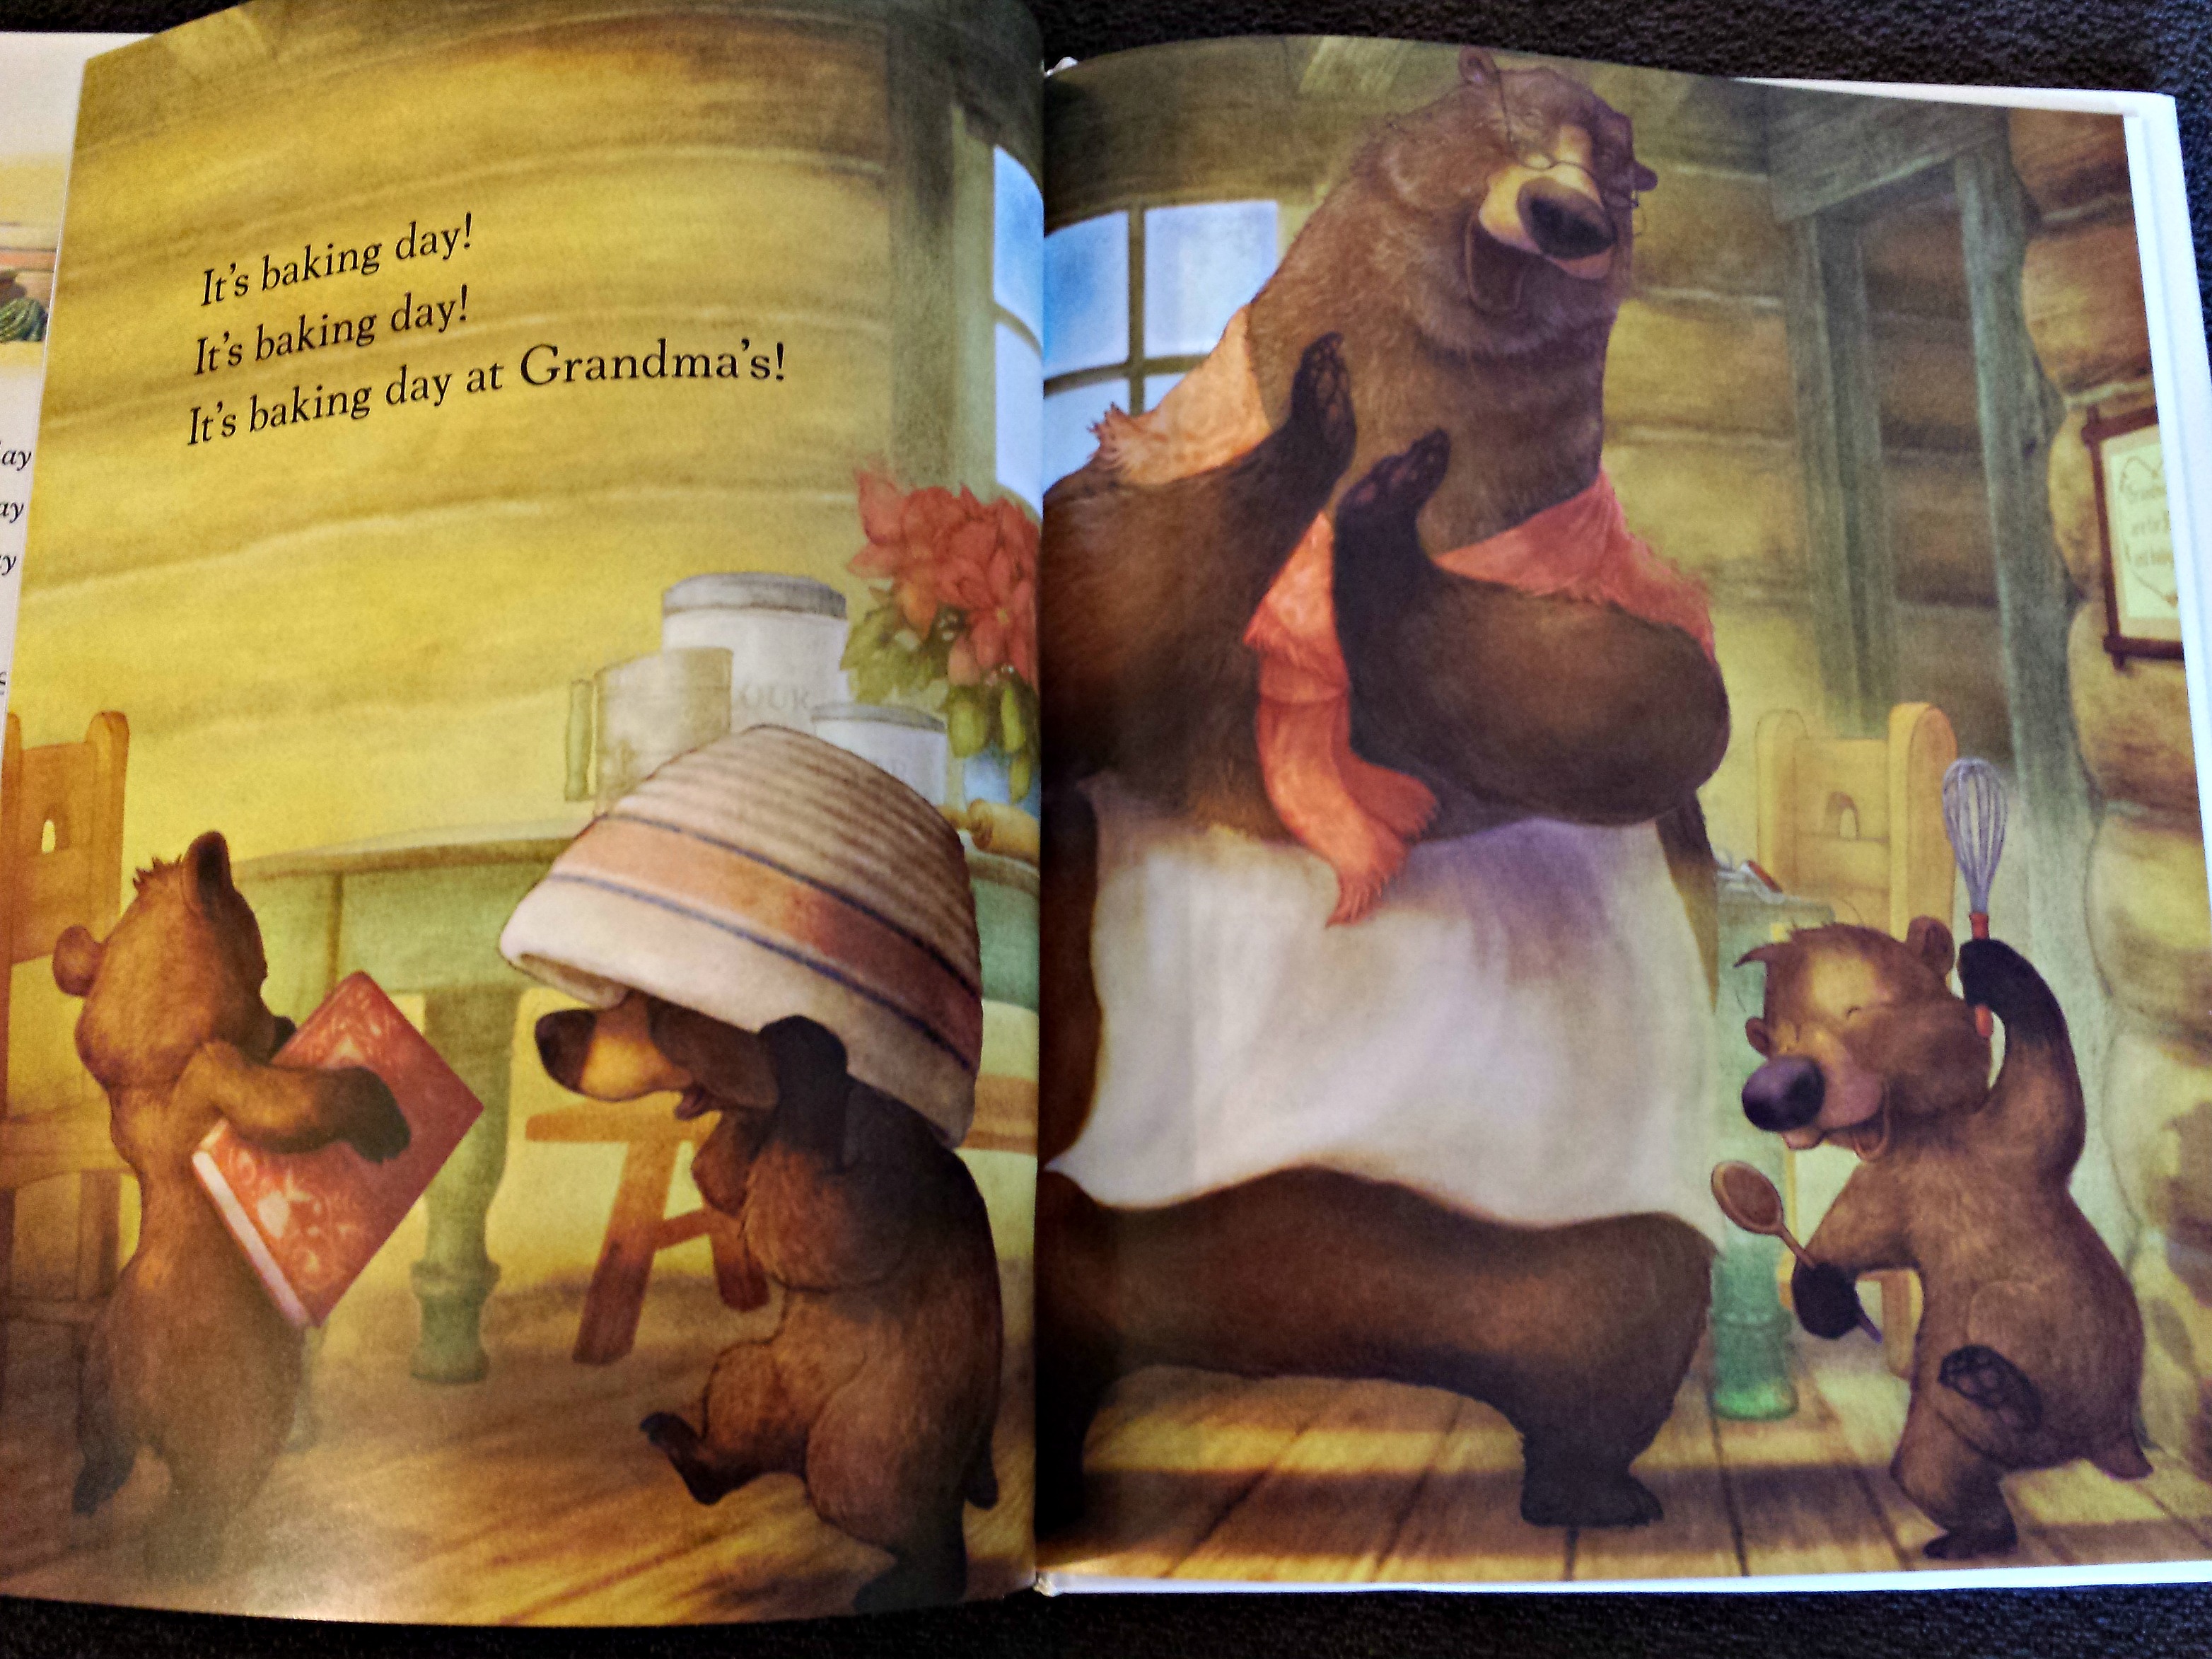
As I flipped through my book, I found each illustration to be more beautiful than the last.
Christopher Denise is the amazingly talented illustrator of “Baking Day at Grandma’s” and in the trailer below he explains where much of his stunning scenery is derived. Each illustration in the book is more beautiful than the last, and the Denise team does a wonderful job of both showing and telling such a sweet story, one can’t help but love it.
One of the best parts of the book, is the recipe Anika shares in the back of the book. It’s her Grandma Rose’s recipe for chocolate cake, and it provides a perfect opportunity for families to bake together, to spend special time together and even (here goes the teacher in me again) to throw in a little hands-on kitchen math and science. I won’t share the recipe here, of course, but when you get your own copy of the book, you’re going to love that extra-special touch.
Given that the holidays are coming up, I think that “Baking Day at Grandma’s” makes a perfect gift! Being a person who loves themed gifts, I can just imagine a kid-sized apron, maybe a matching adult-sized apron, and some cute baking supplies added in. It’d be a wonderful treat for anyone–child or adult, and a great tradition starter or an add-on to an already existing tradition of baking and sharing!
Listen in this trailer for the book, as Anika and her husband Chris, speak about how this story came to be, and then enter my giveaway for your own copy of the book!
HERE’S HOW YOU WIN:
Leave me a comment below telling me who you’d like to have this book for, and why!
Entries will be accepted until Sunday, December 14, and one lucky winner of their very own copy of “Baking Day at Grandma’s” by Anika Denise and Christopher Denise will be announced on Monday December 15.
**This contest is open only to those in the continental United States!**