I had the opportunity to meet Tiffany and her mom last week at Tiffany’s early graduation ceremony at Home & Hospice Care of Rhode Island.
UPDATE: At about 11:30 am today, June 6, I posted this update on the Tiffany’s Care Package GoFundMe page:
Although I knew that at some point I’d have to share this message with you all, I am sorry that this time has come.
I’d like you all to please keep Tiffany and her family in your prayers as I received the news this morning from Cranston West that Bernadette has passed away.
Please know that all of you who have donated to Tiffany’s Care Package and who have been keeping Tiffany in your prayers without even knowing her, have made a huge difference in her life.
As always,
Thank you.
UPDATE: As of 1:oo pm on June 4, one week since beginning our fundraiser, the GoFundMe account is up to $4,235.00. We have also delivered additional cash and checks to the school for Tiffany’s Care Package. Thanks for all your support, we are almost 85% of the way there!
UPDATE: As of 6:30 am on May 30, 2014, we have surpassed our goal of $3000! I am so proud of how hard everyone is working to spread the word about this amazing girl. Thanks to everyone!
UPDATE: As of 11:00 pm on May 29, we are 96.8% of the way to our goal! We have raised $2904. If you haven’t read Tiffany’s story yet, please do. If you haven’t checked out our fundraising site for her on GoFundMe.com, please do!
THANK YOU ALL!!!
**********************************
If you’re a longtime reader of my blog, you know that today is Wednesday and on Wednesdays I usually post a recipe for dinner; a little inspiration to kick-start your day.
Not today.
Today I’m still hoping to give you some inspiration for your day, but it’s way more inspiring than a recipe.
Here’s my story. It’s not really my story actually, it’s Tiffany’s story and I hope you’ll be as moved by her story as I was.
Last week, I received an email from my editor, Dan at the paper. He had a “story opportunity” for me. A high school senior at one of our city high schools, the one my daughter will attend next fall, was about to lose her mom to cancer. With graduation just a few weeks away, it seemed that the occasion would come too late for Tiffany’s mom, Bernadette to see her receive her diploma. The high school, Cranston High School West, was going to be teaming up with the Hospice center where Bernadette was now being cared for, Home & Hospice Care of Rhode Island, and throwing her an early graduation ceremony the very next afternoon.
My editor’s question: Would I cover the ceremony?
I knew that of course I would cover the story, my concern was whether or not I could cover the story. Could I be strong enough to be there to witness this moment in Tiffany and Bernadette’s life and take pictures and notes, and could I then be able to even do them justice by writing them not a news article, but a true story; a keepsake for them to have which would document these final, special moments in Bernadette’s life, the end of one chapter in Tiffany’s life but yet the beginning of another?

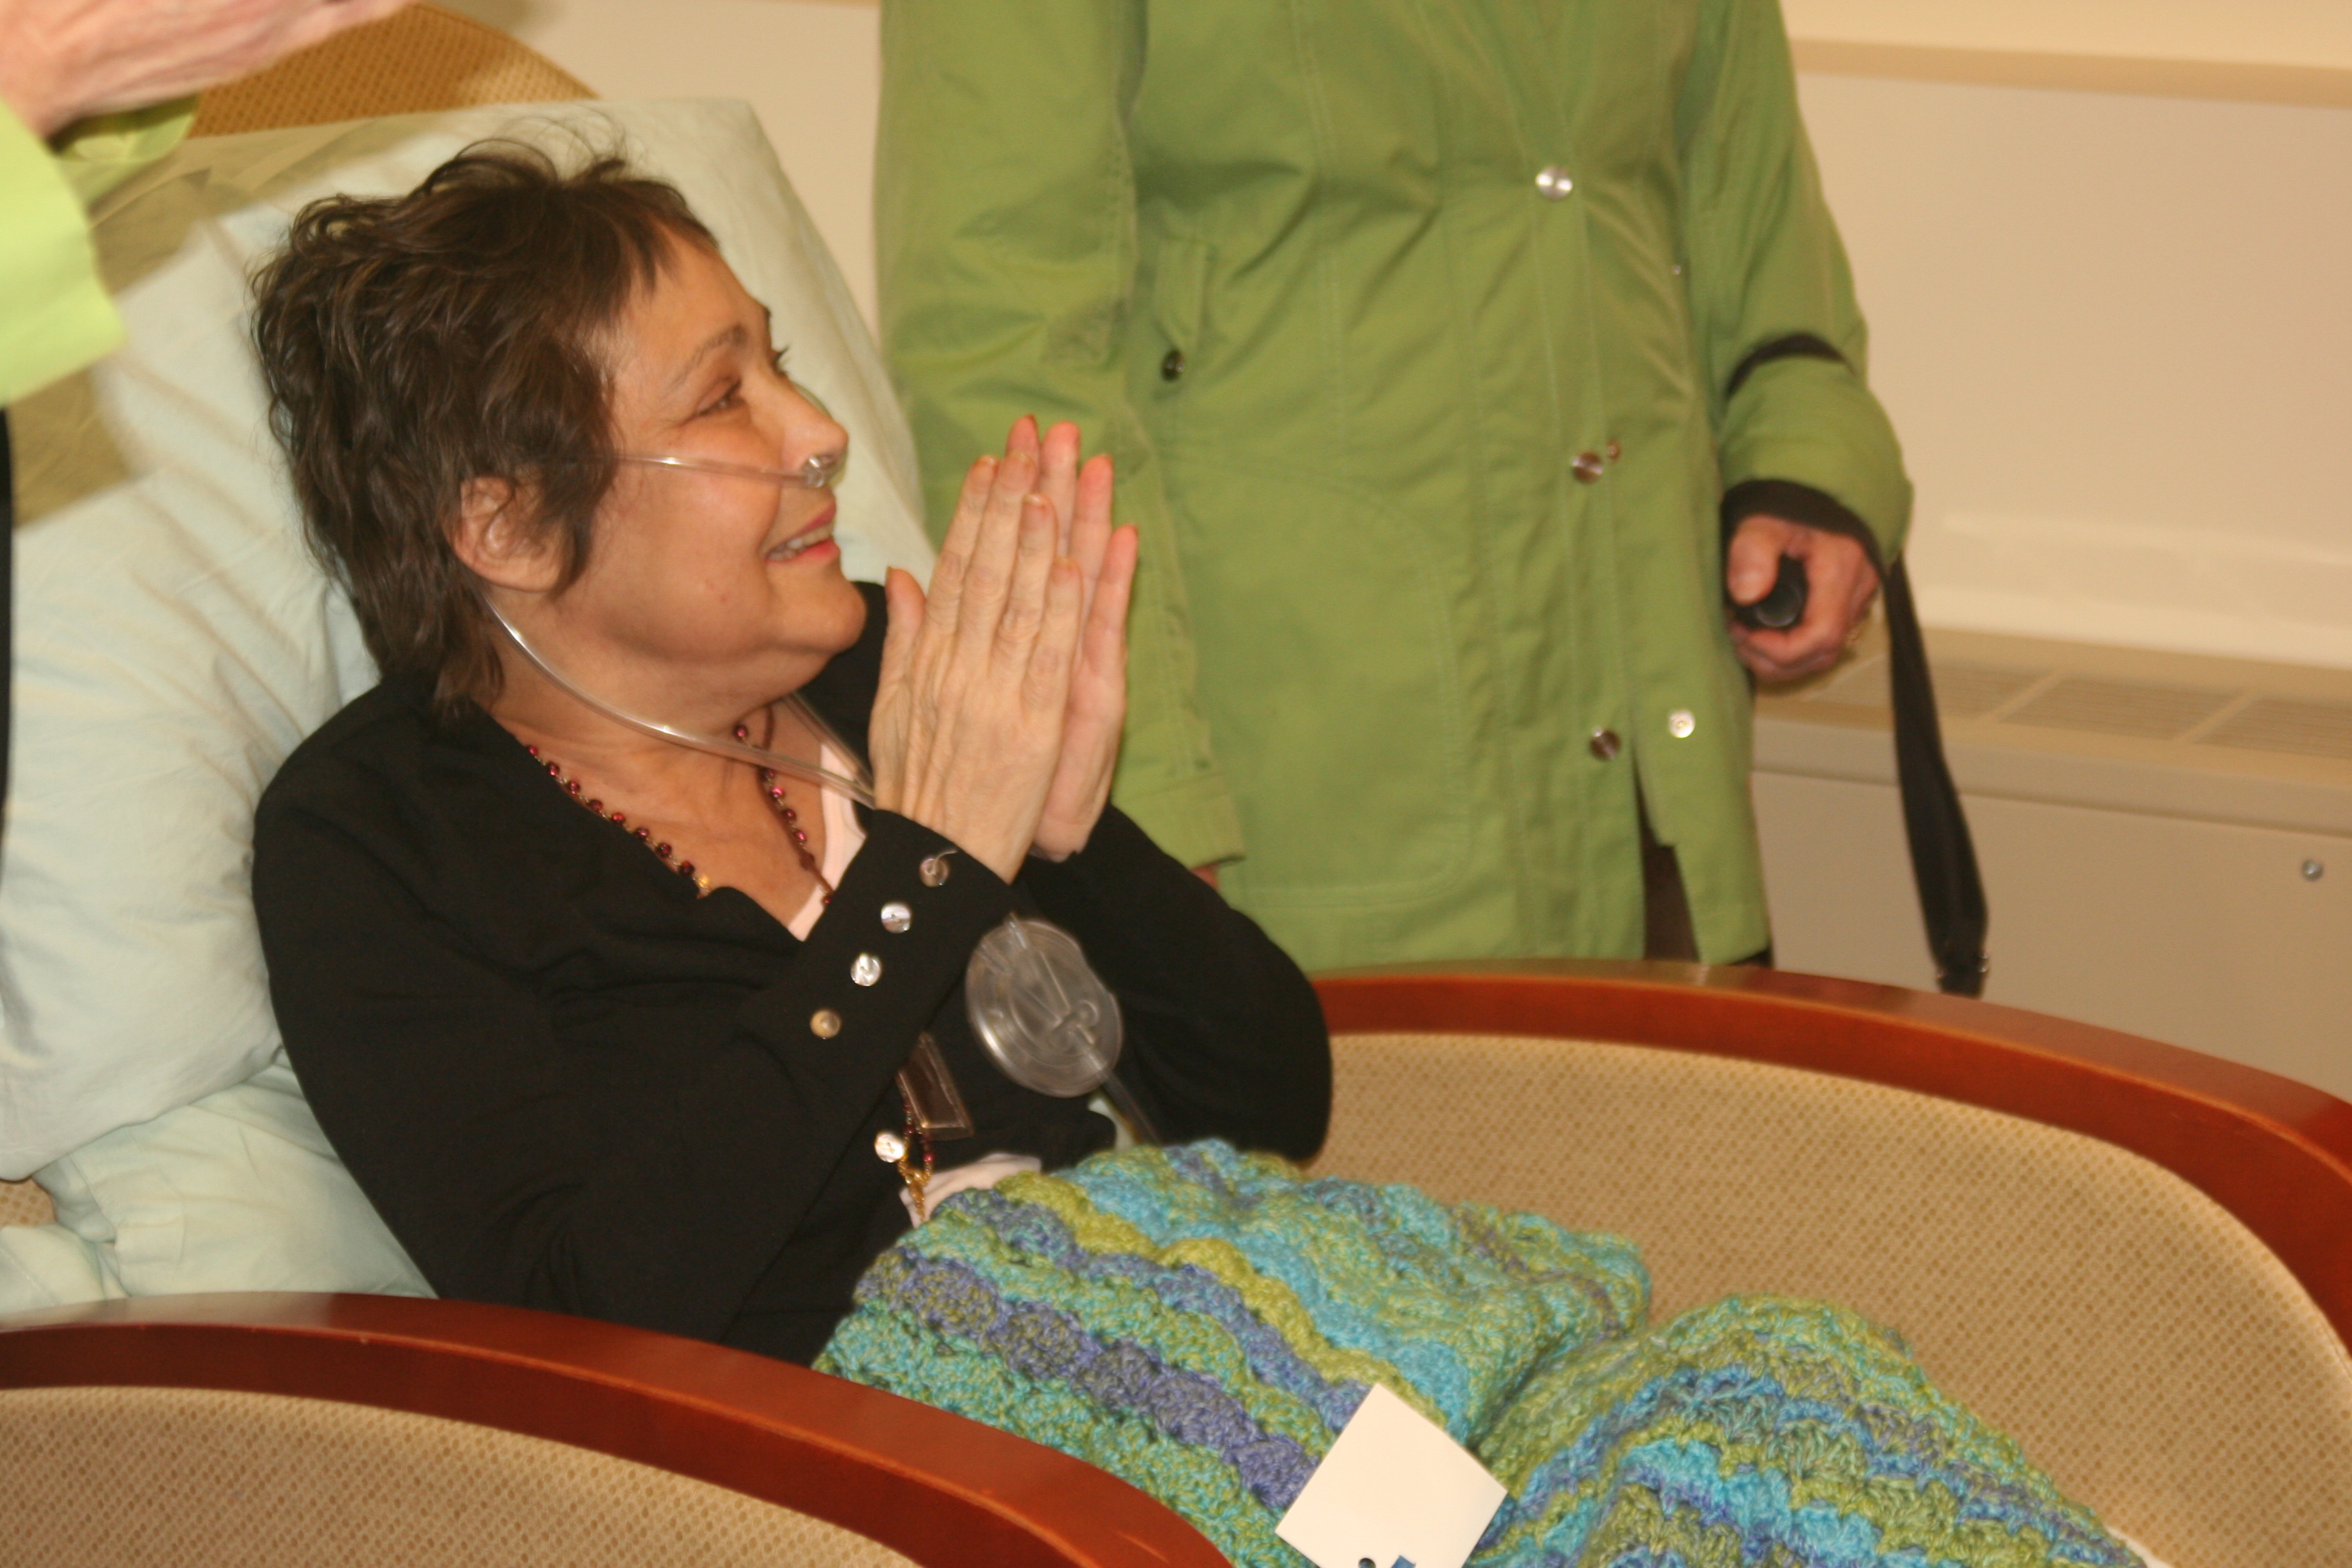
One of my favorite photos of Bernadette as Tiffany was receiving her diploma
I knew that ultimately my desire to be there for this girl who was just a few years older than my own oldest daughter, to be there for this mother who will miss all of the things I hope to be there to see with my own daughters, would outweigh my fear of not being good enough or strong enough to cover the story.
I said yes, and then I braced myself mentally, as much as I could in the next 24 hours for the graduation ceremony. It was as wonderful as such an event could be. I was so proud to be a part of the day, and to be a part of the group of people who pulled together to make it happen. My proudest moment of all though, was when I spoke to Bernadette before I left, kneeling down beside her and placing my hand on her arm as I spoke to her to say who I was, letting her know that their story would be in the newspaper, something her daughter would treasure and something which would memorialize the event forever.
Writing the story was hard, very hard, almost as hard as covering it had been, but my biggest concern was whether or not it was good enough for them. Had I done it as perfectly and beautifully as I could, had I captured every moment I could for them?
It seems I had. The article ran on our Beacon Communication websites early, days before it printed in the paper, so that Tiffany could share it with her family. Within hours it had a couple thousand hits, and within two days’ time it had almost 4000. You can read it here and see for yourself.
But after I sent in the story and after it ran online, I couldn’t get Tiffany and her mom off my mind. I know that I’d done a lot by writing this story for them, but I wanted to do more. I worried about Tiffany, an only child raised by a single mom, finishing high school alone, having to manage going off to college out of state alone. I worried about her. Who would take her shopping for extra long sheets for her bed in her dorm? Who would buy her towels or a college-sized fridge or send her care packages while she was away? As a mom, it was these things that weighed on my mind, in addition to the overall sadness of the situation. I knew that Tiffany was her mom’s primary caretaker all these years prior to Hospice, but who would take care of Tiffany? I know that friends and neighbors were pulling together, sometimes bringing her dinner these past few weeks, but I wondered and I worried.
Today, I decided to do more. In collaboration with Tiffany and her guidance counselor at Cranston West, where a fundraiser is currently taking place for her, I have decided to set up a GoFundMe fundraising page for Tiffany. When prompted by GoFundMe to choose a color for the page accents, I chose red, in honor of Tiffany’s Cranston West Falcon graduation cap and gown. When I was asked to choose a title for the page, I chose the name, “Tiffany’s Care Package,” because it is my hope that we can all show we care and help Tiffany over the next weeks and months as she is faced with saying goodbye to the mother who raised her alone, and tries to look ahead to her college days on her own. I want this to be a giant care package for Tiffany.
When asked to choose a goal amount to raise, I wasn’t sure what to put, and then I thought of 1:25 pm today when my article received its 3000th hit, when the 3000th person read Tiffany’s story. I took a picture of my computer screen with my phone to preserve the moment. So when asked to choose my goal amount to raise, I thought to myself, “If each of those 3000 people had even donated $1.00, that’d be a tremendous help to Tiffany.”
And so, although I’d love to surpass that goal, that’s the goal I’ve set for Tiffany’s Care Package.
I hope that you’ll consider donating to Tiffany through my Go Fund Me account. I purposely did not have anyone sending me money or writing checks out to me personally, so that everyone would know that this was a legitimate fundraiser. Although I know many of my readers do not know me, I hope that you will consider sending Tiffany a care package when you read her story, and donate to her page.

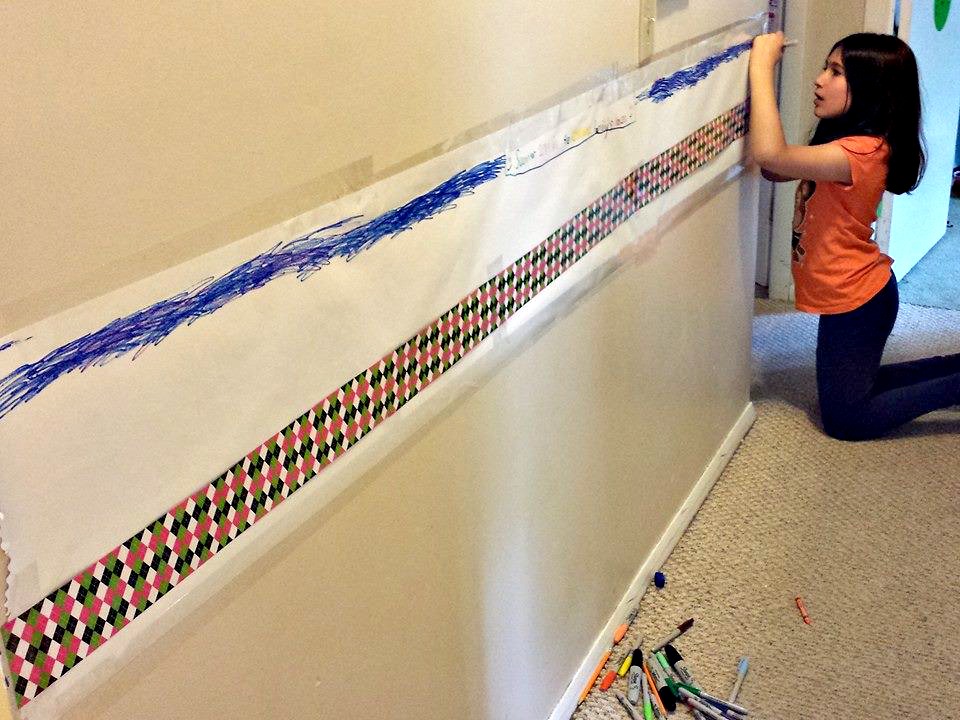
Tossing her graduation cap in the private function room at Home & Hospice Care of Rhode Island while her mom looked on.
Tags: An Unforgettable Day, Tiffany Turchetta, Tiffany's Care Package