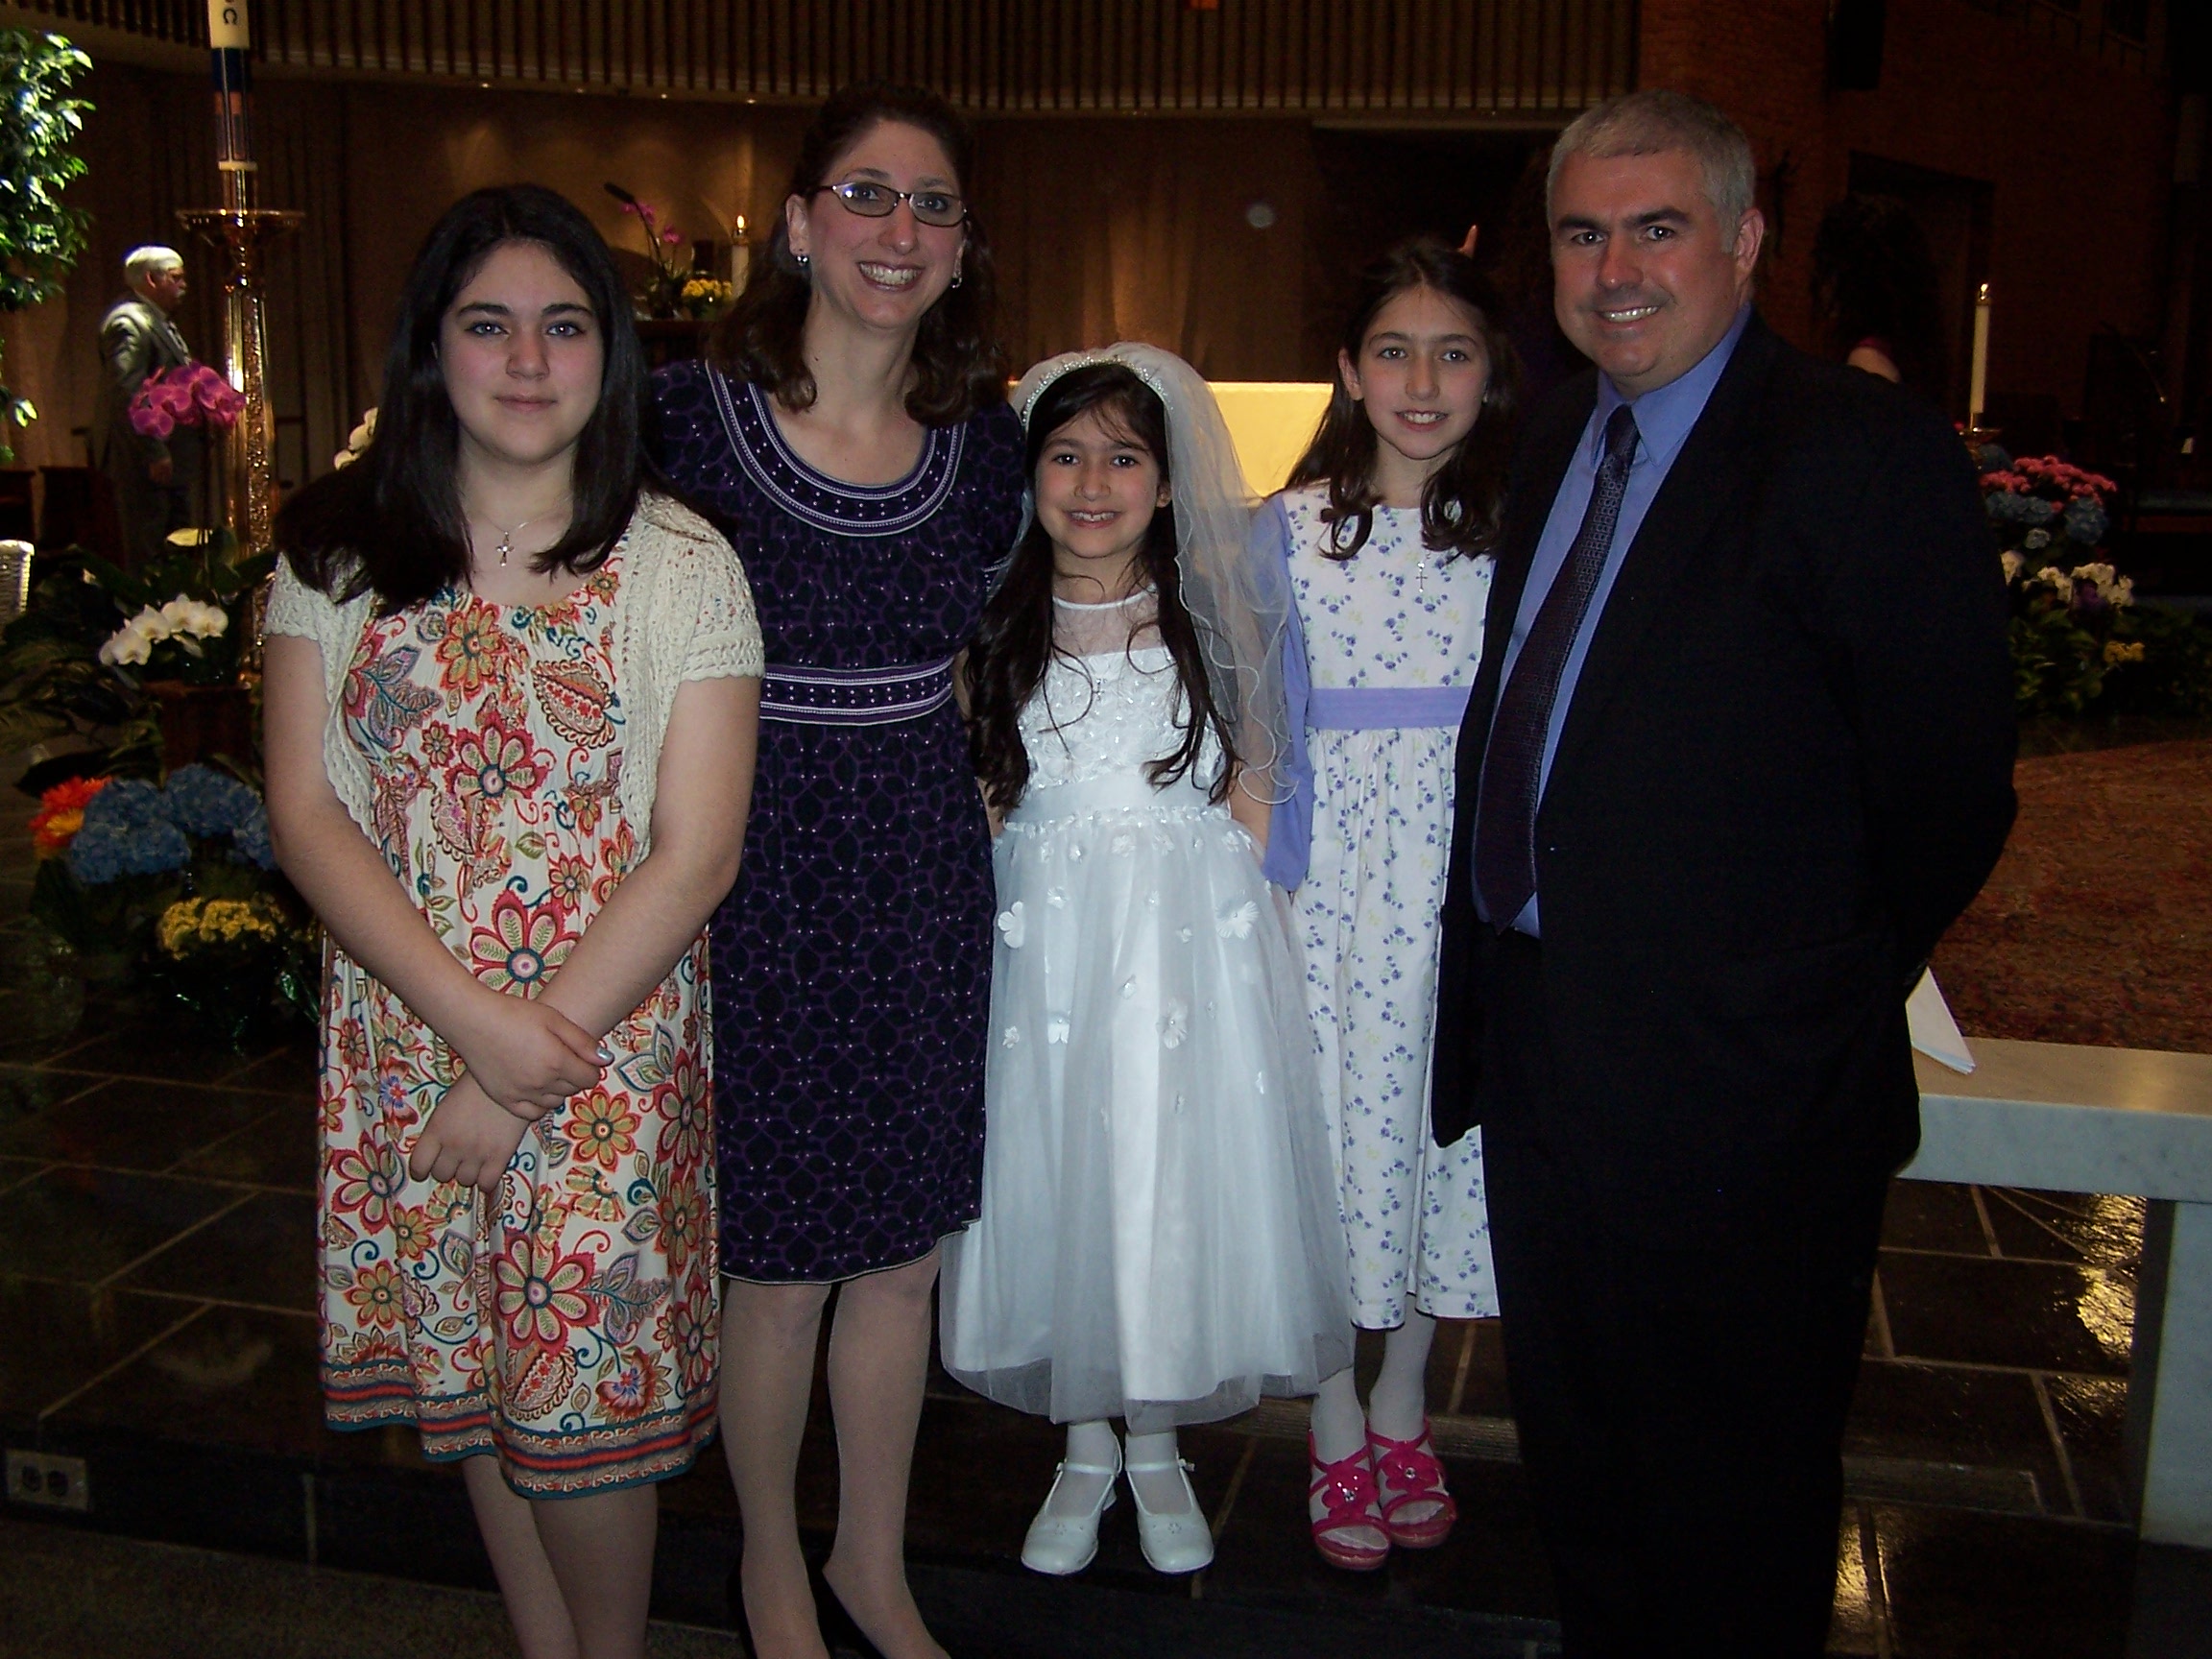
Alexandra had a perfect day for her First Communion on Saturday.
Saturday was our last First Communion. It was a special day for Alexandra, our youngest daughter, the baby of our family.
First Communion is a special day, a rite of passage for those who are Catholic and it’s always an exciting occasion. This time though, knowing it was our last one, it made it seem all the more special, all the more exciting, and for me, a little bit sad that it was our last.
Having three daughters, we do a lot of handing down of items from clothes to shoes to backpacks, from sisters and cousins, but we opted not to hand down First Communion dresses.
After shopping with Caroline for her dress six years ago, I realized it was equivalent to shopping for a prom dress or a wedding gown, in that everyone has their own personalities, likes and tastes, and their dresses reflect those things. Caroline’s dress was so pretty and very “her.”
When it came time for Elizabeth to get her dress, it was so polar opposite of what Caroline had chosen, and it was clearly very much reflective of her personality and style. Gorgeous, and so very “her.”
This time around, shopping for Alexandra’s dress was the same experience. The dress she ultimately chose was so her, even the photographer who did her pictures prior to the event remarked that the dress suited her sweet personality perfectly.
We did our best to keep the experience equal for all three. They all got to go shopping with myself and my mom for their dresses, going out to breakfast first. Having that one-on-one time was an exciting thing that they all looked forward to as their shopping day arrived.

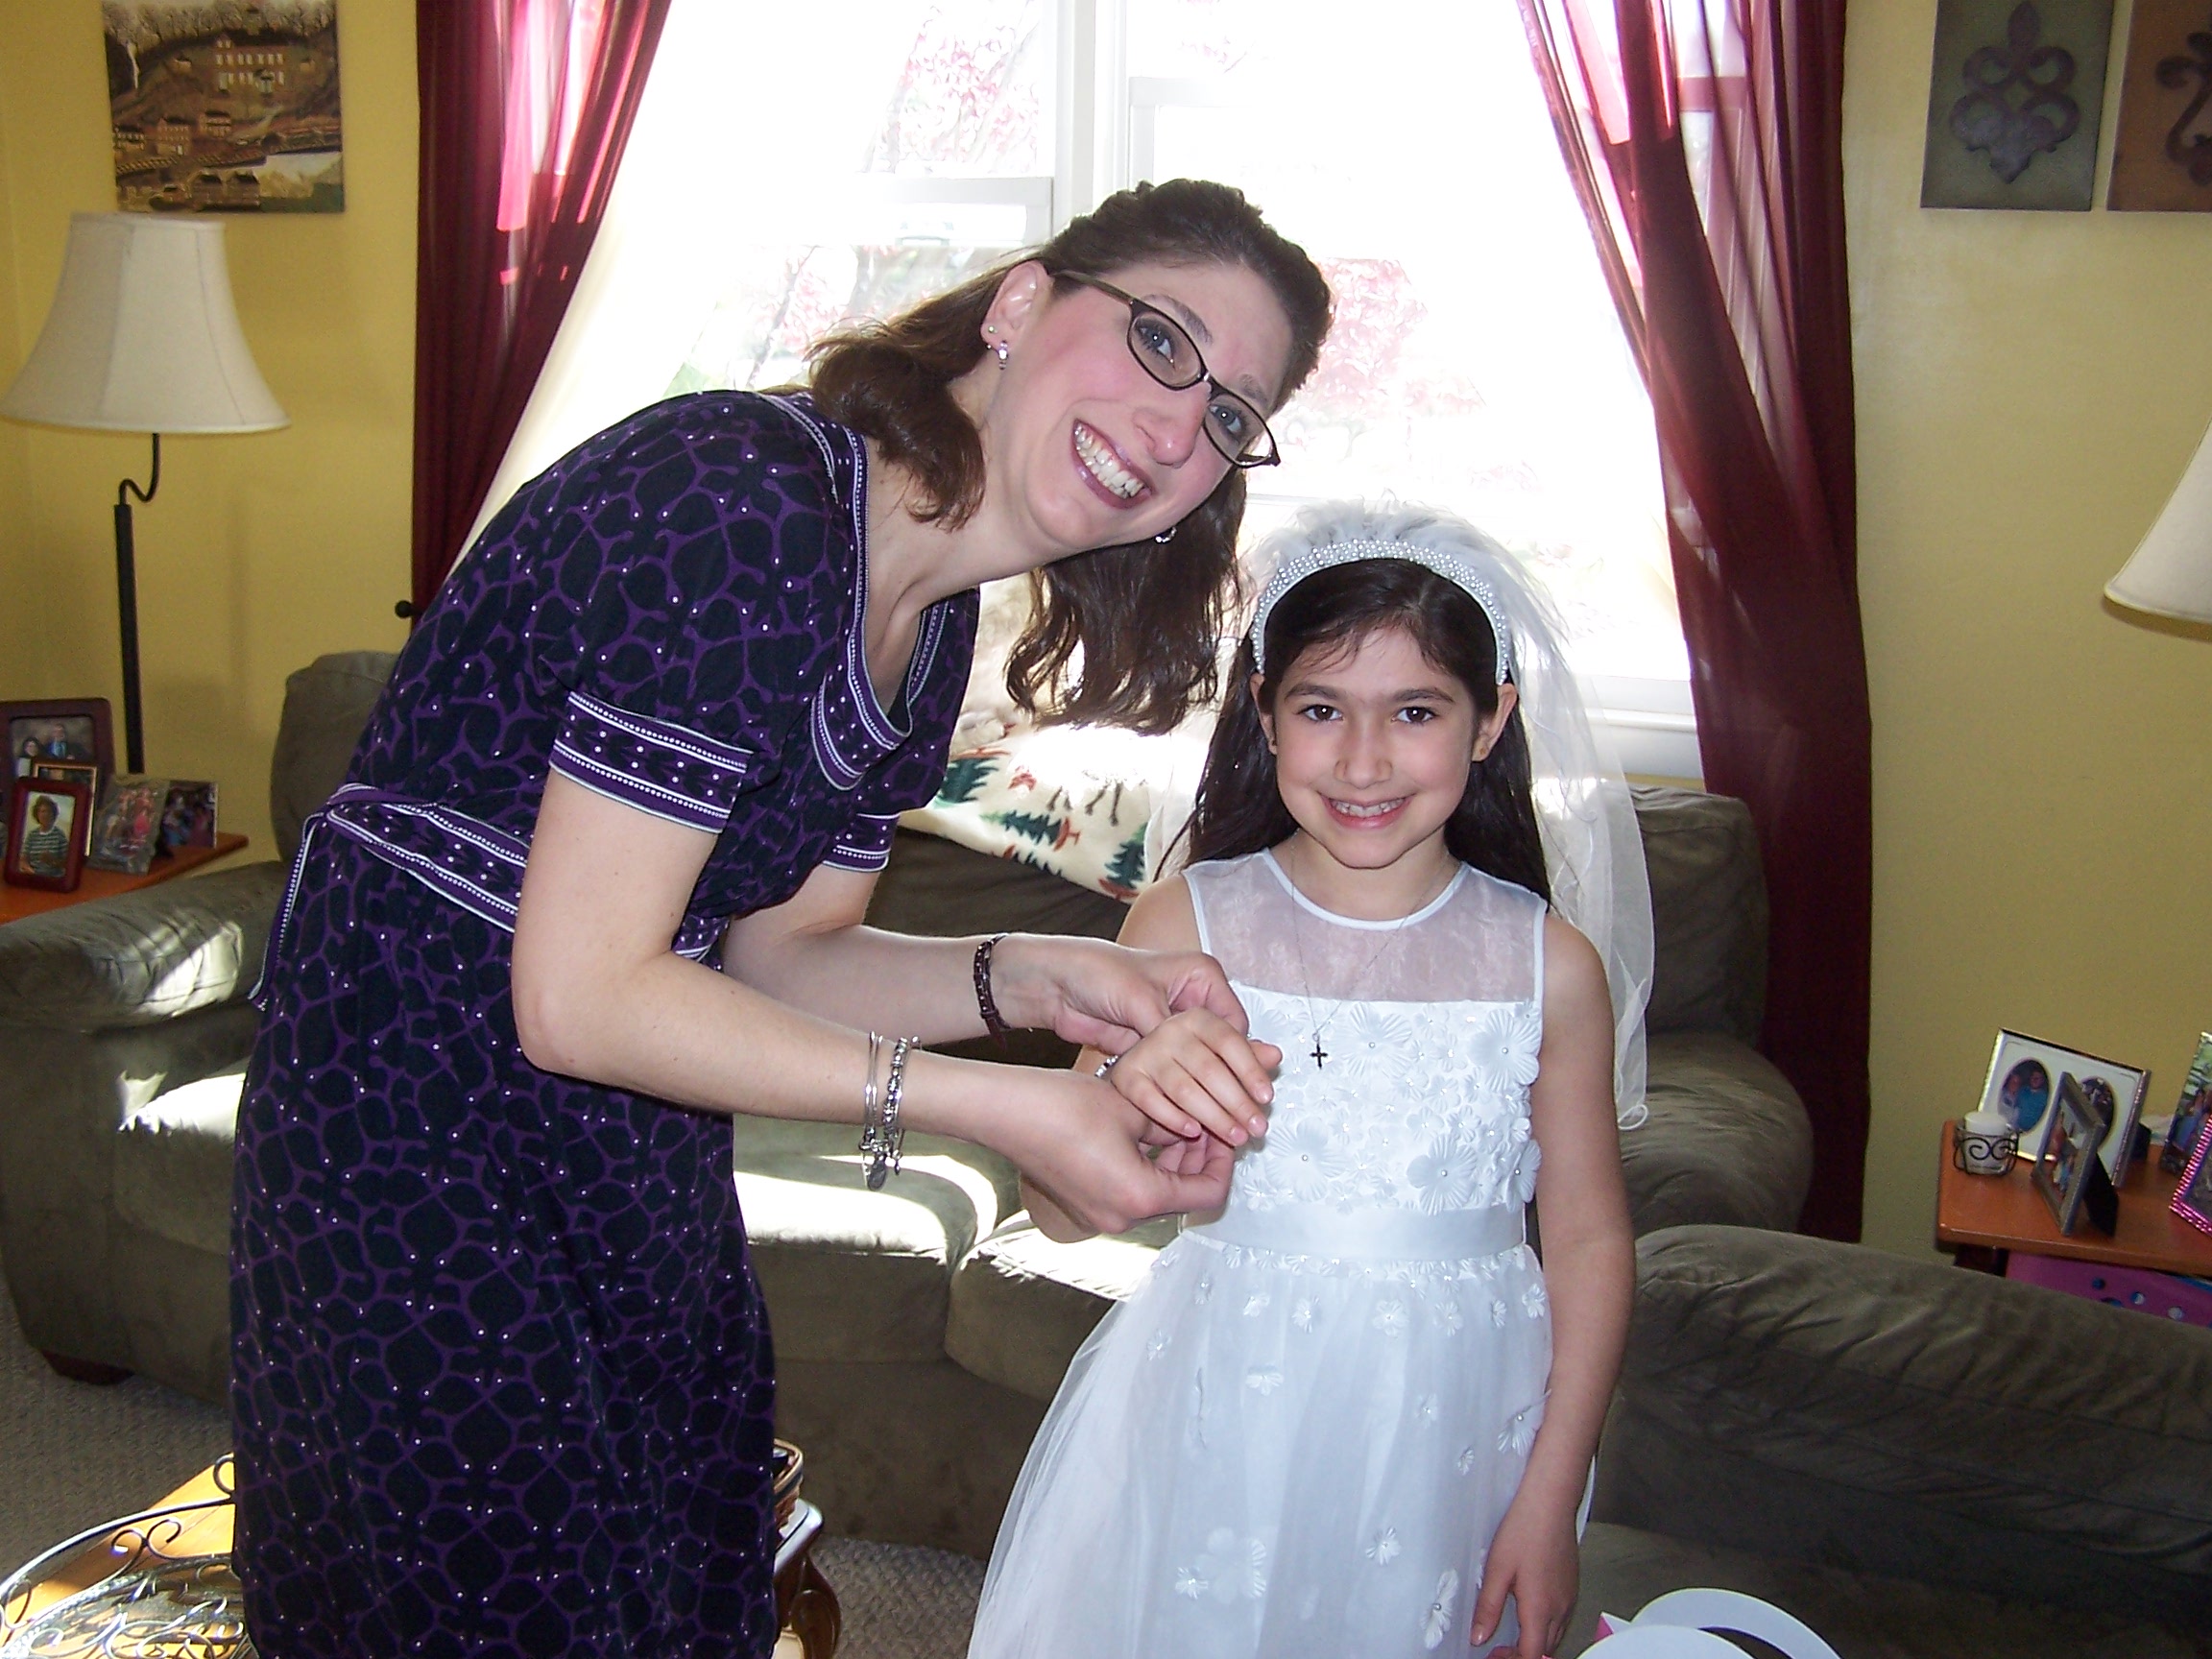
Giving Alexandra her special First Communion bracelet, a tradition we started with Caroline.
We also tried to create some special traditions that would go for each of them: they each wore the same head piece, a gift from their godmother. They wore the same shoes, a pair of “high heels” that clicked on the floor when they walked, which is a special sound when you’re in second grade. They each wore a necklace from their great-grandmother, picked out by her for each of them, many years ago, before she died and long before they’d be making their First Communions, and we got them each a special bracelet from us to wear that day as well that had beads of their own favorite color mixed in with the pearls.
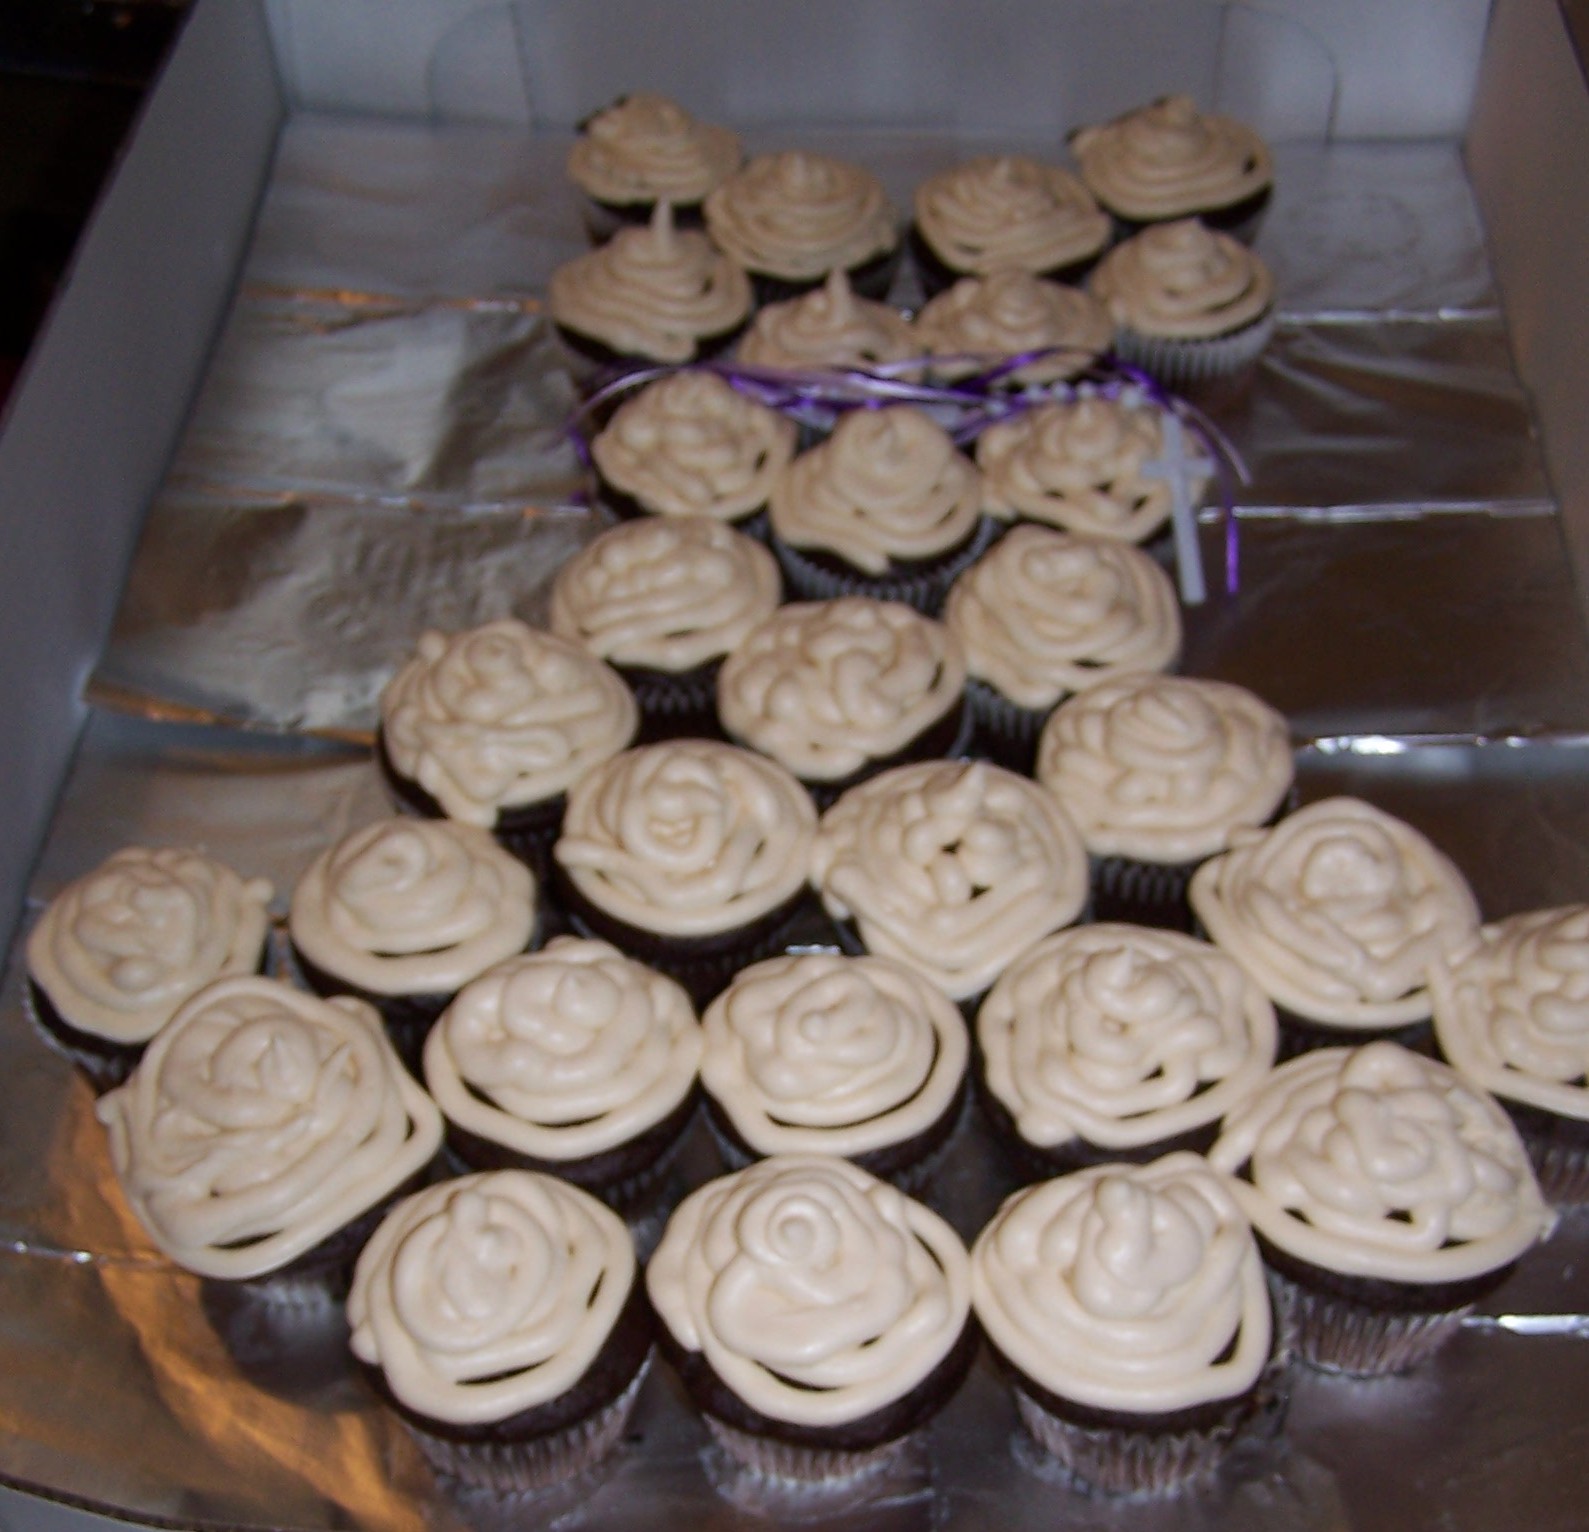
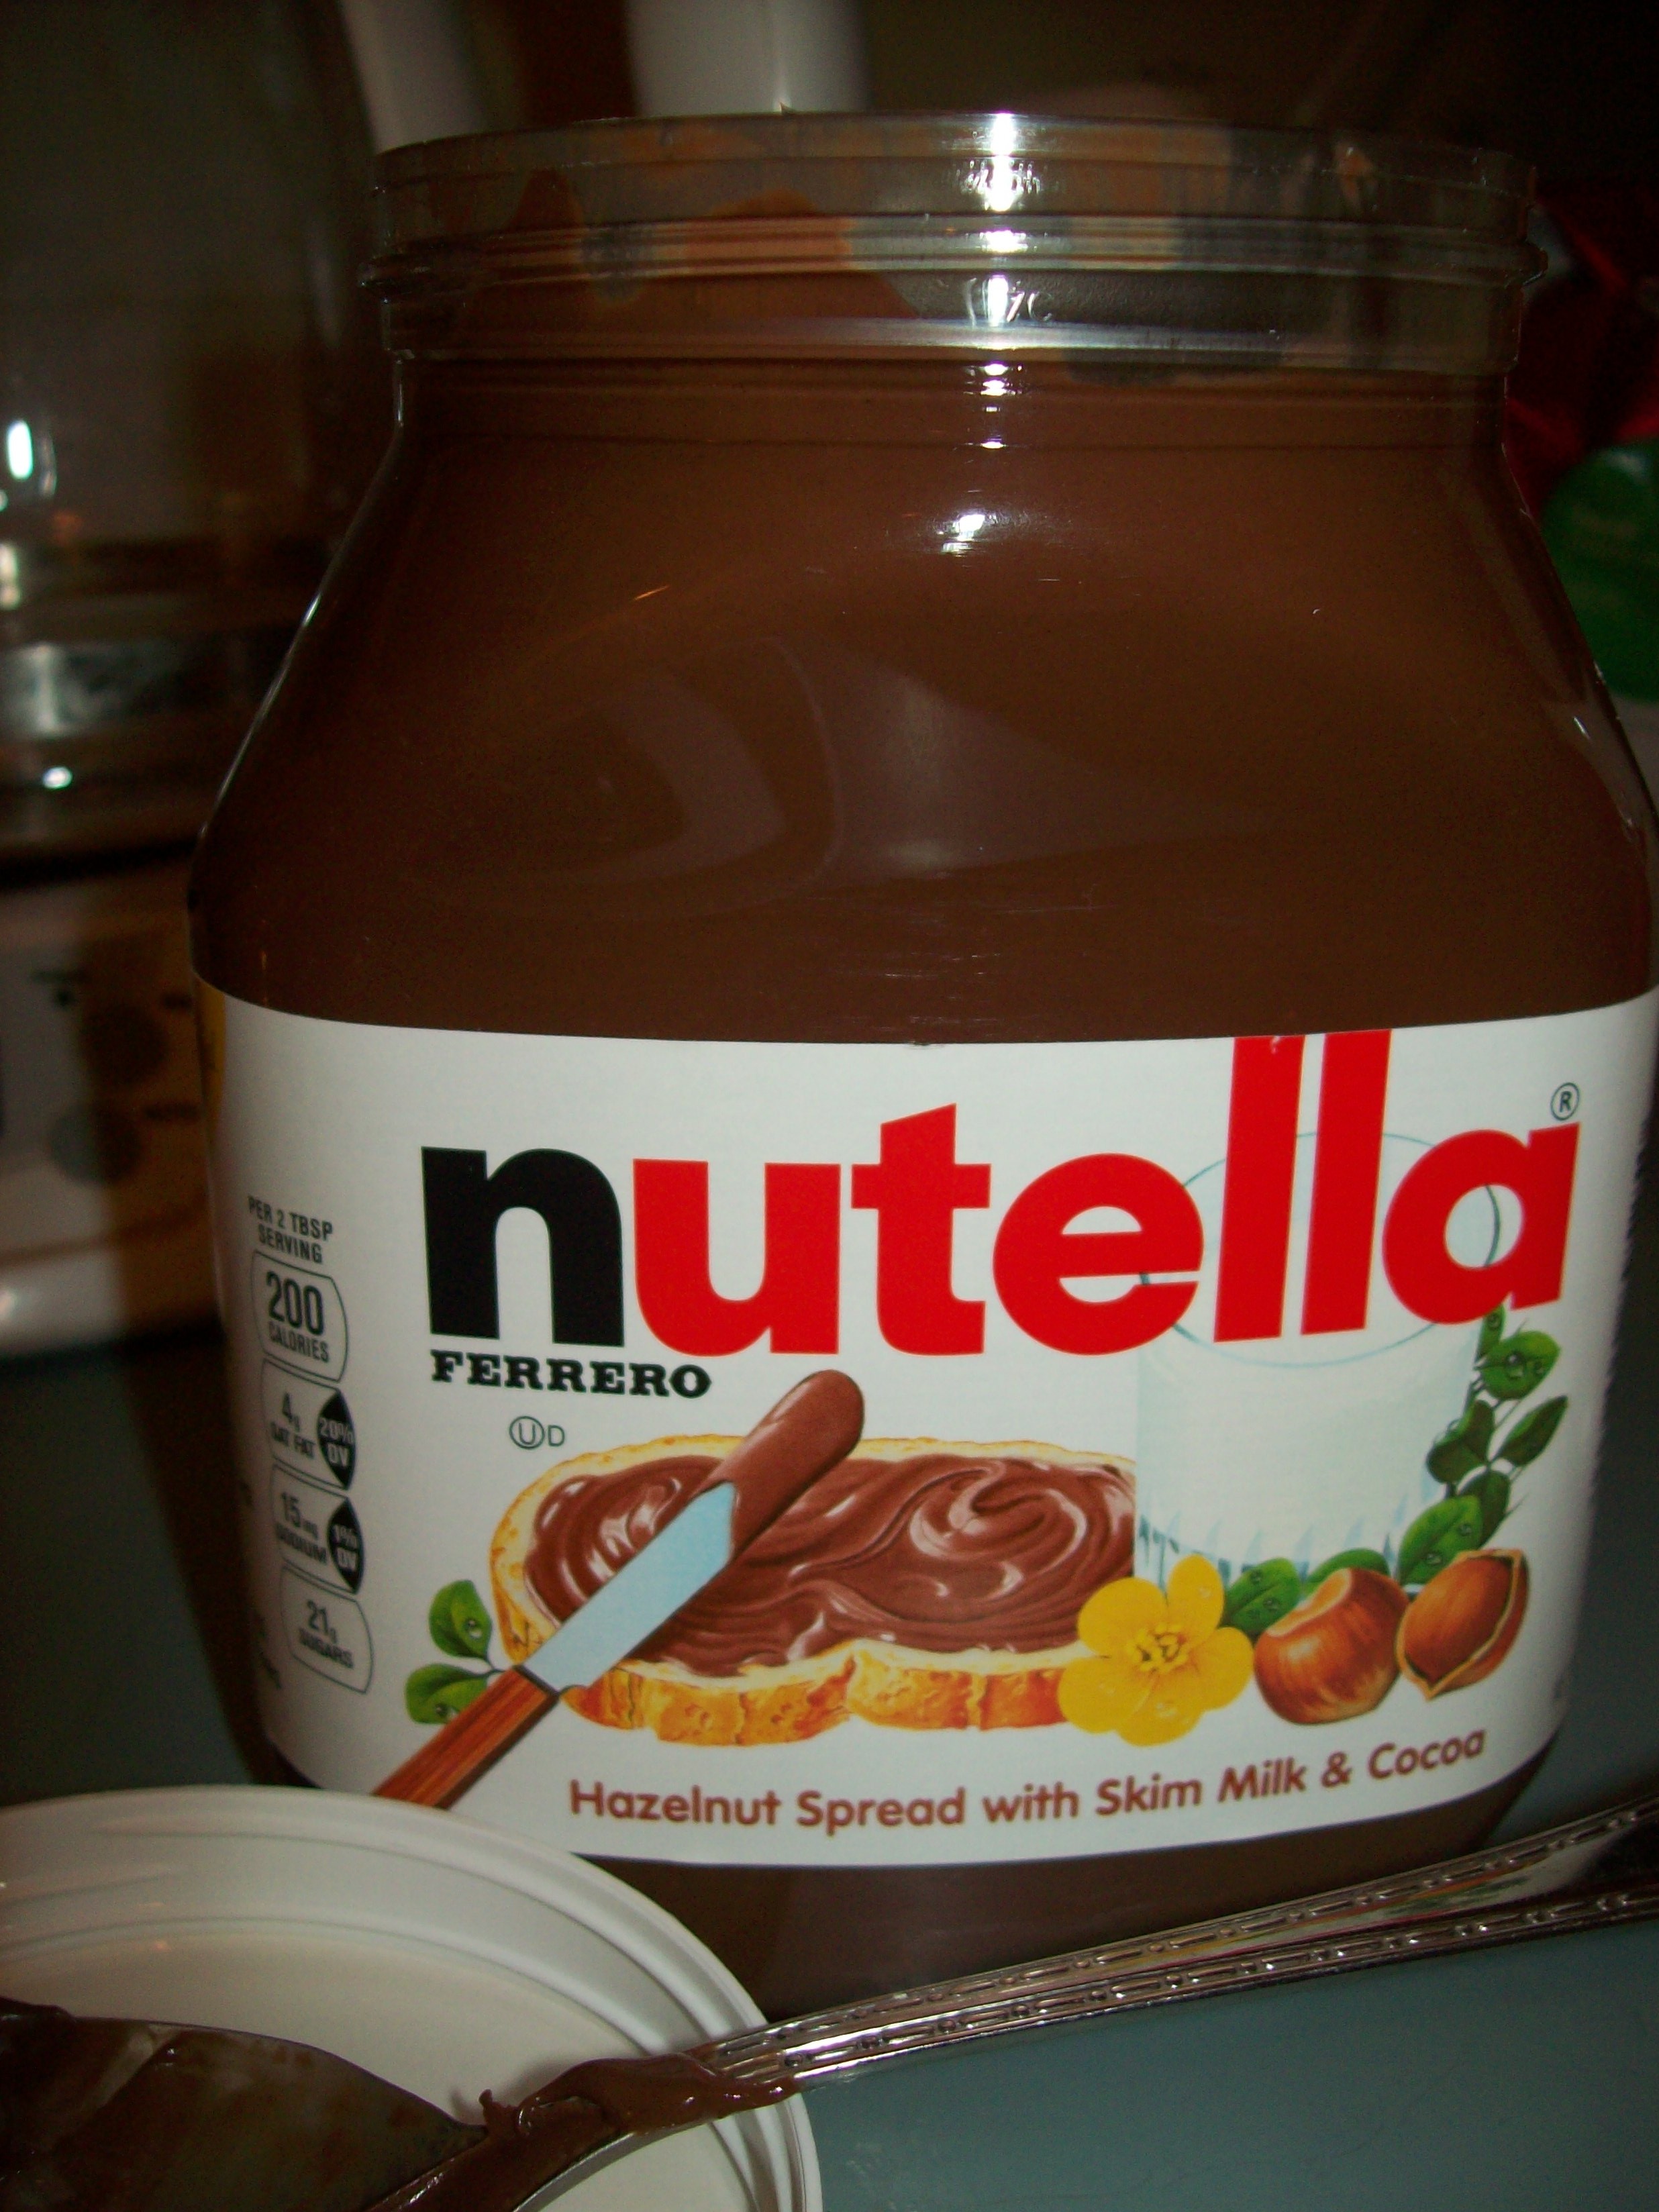
So when I came across a unique idea for a cake, I thought right away that Alexandra would love it. It was made out of chocolate cupcakes frosted in white, and it formed the shape of a dress. I think in the photo it might’ve been designed as a wedding dress, but to me it screamed First Communion and it was *so* very Alexandra.
It was perfect.
And yet, I almost didn’t do it.
Not because I’d have to cancel the bakery cake I’d already ordered and paid for, not because I’d have to add in baking a double batch of cupcakes and a double batch of frosting to my already hectic list of things to do for the event, and not even because I didn’t think I was capable of making it look like the picture, although I had my doubts there.
I almost didn’t do it because I didn’t do it for the other two. I instantly felt guilty for doing something so unique and special for her that I had not done for them.
But, I couldn’t get the dress cupcake cake out of my head. She’d love it. I knew she would. She loves chocolate and she loves buttercream frosting, which the bakery cake would not have. In fact, the bakery cake would have the kind of frosting that no one in our house likes. But overall, she’d love that the cake was shaped like her dress.
It took me up until the week before the event to decide that I was going to do something for her that I hadn’t done for them. I let them in on my secret, making it a surprise from all of us, not to be told to her or shown to her until that very moment that we took the lid off the box.

The surprise cupcake cake, shaped like a First Communion dress.
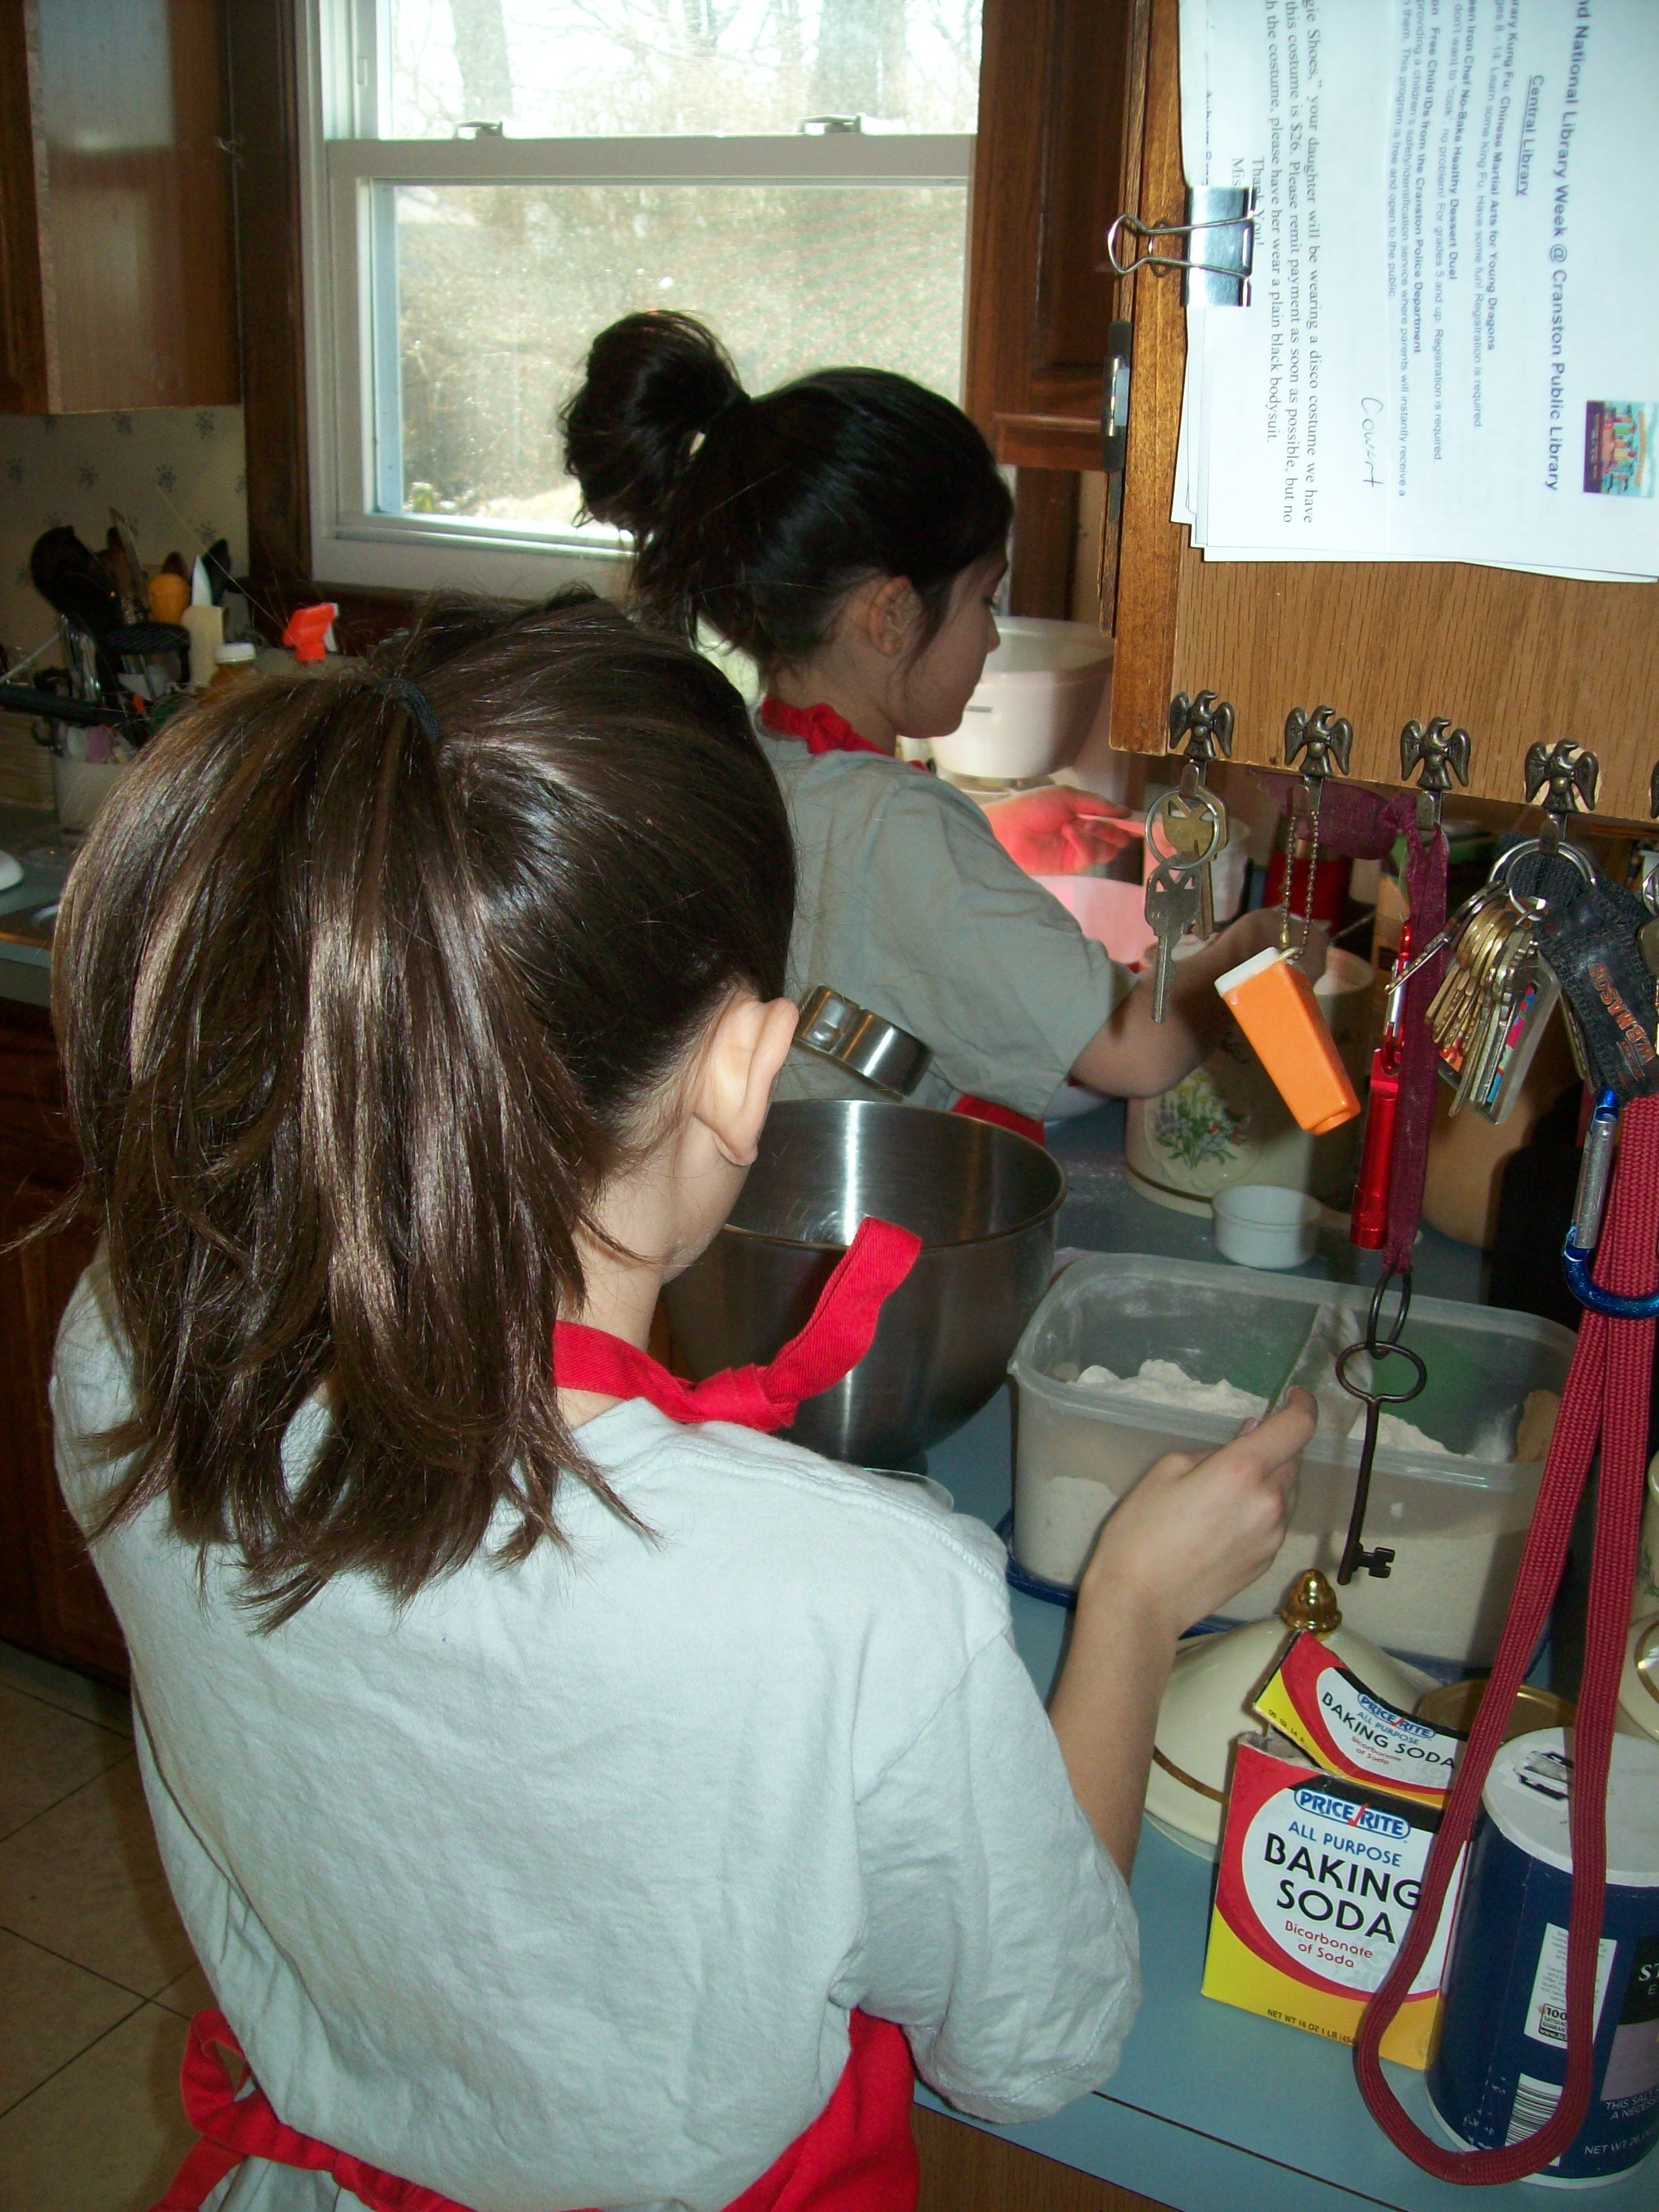
I instantly felt better. I was excited, they were excited and the guilt was gone. I canceled the bakery cake. I planned out how and when I’d bake the cupcakes (day before) and frost them (fifteen minutes before serving them, since I had no place to store that many frosted cupcakes).
And I have to say, I’m so glad I did it.
Alexandra loved the surprise, and she loved her cake. It wasn’t perfectly like the photo I’d seen, but it was perfect to her, and to me.
At the end of the day, my mother-in-law asked her if she had a good day (she did) and what her favorite part of the day was.
I waited, hiding off to one side in the kitchen, to see what her answer would be.
A list of possible answers ran through my head, thinking like a second grader: the dress, the gifts, the party, the ceremony….what would it be?
Her answer: The Cake.
I almost cried. I literally ran out of the kitchen and hugged her, I was so happy. I think I actually startled her.
As parents of multiple children we work SO hard to keep everything as equal as we can. To them, they may think one gets more than another somehow, or one never gets anything, but we know in our hearts and minds that we work very, very hard to try to offer the same opportunities and traditions and memories to each of them. I never wanted to be the kind of parent who gave their all to their first and nothing to their last. I work sometimes to exhaustion to make that not happen here. It keeps me up some nights.
But this one time, I took a risk and did something for one that I hadn’t done for the others. I knew that had I found a cake that one of them would just love, at the time of their Communions that I would have done it for them. And I know now, that I have “one in the bank,” if I find something unique in the future that is perfect for them, I can do it guilt free, knowing I already did this for Alexandra.
It’s not about keeping score, and I know that, but it was a big deal for me to do this, and not do *exactly* what I did for them.
Instead, it’s about creating traditions and making memories, and making things special for each of them, just as their dresses are special for each of them. There’s something to be said for being sure that their events are not cookie-cutter copies of their sisters’ events also, that we take the time to make sure their memories are theirs alone as well as being full of shared traditions.
It’s a fine line, but this weekend, I think it we hit a home run.

Celebrating Alexandra’s First Communion, our last celebration of this kind.
Tags: baking, dessert, First Communion, First Communion cake, First Communion Dresses, Jennifer L. Cowart, kids, making memories, motherhood, parenting, wedding dress cupcake cake

 PLUM CRUNCH