Tag Archives: Christmas cookies

Your Tray or Mine? Cookie Tray Recipe of the Day: Chocolate Chip Butterballs

2 Dec

These cookies could be made with nuts instead of chocolate chips if you prefer!

ORIGINALLY POSTED DECEMBER 5, 2011

Today’s recipe is another one of my favorite cookie recipes, one we’ve made for years and years. Way back when I was a Girl Scout, I used to participate in the Girl Scout Bake Off each year and one of the years I earned second place with these cookies! That’s how long my family has been making them.

We call them Chocolate Chip Butterballs, but they have many other names: Snowballs, Mexican Wedding Balls, Hazelnut Balls and probably other names I don’t even know about.

Traditionally they are made with nuts. I don’t like nuts, my family never baked with nuts growing up and I don’t either We all really love Chocolate Chips though, so my mom has always subbed in the chocolate chips for nuts. You can choose either mini chips or the regular sized chips. Personally, I prefer the big ones, but if you don’t, switch them for the minis instead. If you’re into tasting batter, this one is safe to eat, there are no eggs in this recipe. I’m always pretty sure I’d come out with about six more cookies in each batch if I ate less batter!

This recipe can be made fast and easy if you have extra set(s) of hands to help you roll the batter into balls! This is one I often let my kids help with. I don’t usually have them roll the hot ones in the sugar though, even though I use a spoon for that. Their “part” is the cold batter getting rolled into the balls for baking.

Be sure to check back tomorrow to see what the coordinating kids’ activities are for this recipe!

Enjoy!

Chocolate Chip Butterball Cookies

INGREDIENTS

2 cups flour **for a healthier version, I have used one cup of wheat flour mixed with one cup of white flour**
1 cup butter or margarine  **for a healthier version I have substituted “I Can’t Believe It’s Not Butter” for regular**
4 TBL granulated sugar
1/4 tsp salt
2 tsp vanilla

one 12 oz. package chocolate chips

Bowl of confectioner’s sugar

DIRECTIONS

Combine flour, butter, granulated sugar, salt, vanilla in bowl of electric mixer. Mix well.

Add in chocolate chips, mix them into the batter.

Refrigerate dough 30 minutes (or longer.)

Form into 1″ balls, place on cookie sheet. These don’t spread, so you can put a lot on a sheet, no need to spread them out a ton.

Bake at 375 for 15-20 minutes.

Cool only slightly, maybe a minute or so, and then roll each one in a bowl of confectioner’s sugar.

Roll a second time in confectioner’s sugar before serving.

It’s that time of year again: a cookie recipe a day!

6 Dec

How is it already that time of year again?

I don’t know how it happened, but I blinked and now it’s December. It’s cookie-baking time again. Starting tomorrow, one cookie recipe or bar recipe will run every day until December 21, so be ready! You’ll have them all at your fingertips when you’re ready to start baking.

Have a wonderful holiday season!

Christmas Dessert: Mocha Roll and Christmas Cookies

29 Dec
Christmas cookie tray

All together now: all of the cookies made by my mom, me and both grandmas, all on one tray.

ORIGINALLY POSTED DECEMBER 29, 2011

This week I’ve been posting in retrospect about our Christmas Dinner. To me, the best part of any dinner is always the dessert. And like our Christmas Dinner, which is much the same every year, our dessert selection is as well.

First off, there’s the tray of Christmas Cookies. Together with my mom and two grandmothers, we put together a tray of cookies that has about 13 different varieties to choose from. We all have our favorites.

But…we’ve been eating cookies on and off now for two weeks. Well, at least I have. So we have to have another choice also. Enter…the Mocha Roll.

My mom makes the most fabulous frozen dessert called a Mocha Roll.

The Mocha Roll, before the first piece has been cut.

The Mocha Roll before the first piece has been cut.

This picture looks nice enough, but you truly can’t get a good enough idea of what this dessert really is unless you see it cut into a serving, which you will in a minute, when I post the recipe. However, I first must give tons of thanks to my mom here, because I decided to ask her for the recipe *just* as she was getting ready to leave for a cross-country, day-after-Christmas trip and I’m sure she had better things to be doing than emailing me recipes, but sure enough, there it was in my inbox this afternoon. So 1) She made it for yesterday’s dessert, 2) she typed up the recipe for me already so I don’t have to do it and 3) she took the time to send it to me. Thank you Mom!!

Single serving mocha roll

Here’s my dish, whipped cream on the side because I don’t actually like whipped cream. I did that just for you!

Here’s the recipe for her Mocha Roll for you!

FROZEN MOCHA ROLL

(Good Housekeeping Magazine – 1974 or earlier)

Note:  Can be made and frozen one month ahead.

INGREDIENTS

5 eggs, separated, at room temperature

1 cup confectioner’s sugar, divided

Cocoa

Dash salt

Mocha cream (recipe follows)

DIRECTIONS

Day before or early in day:

Preheat oven to 400º.  Grease 15½ X 10½ jelly roll pan with shortening.  Line plan with waxed paper, then grease again and flour.

Separate eggs while they are cold, taking care not to get any yolk mixed in with the whites because if any egg yolk is present in whites, the whites will not beat to their highest volume.  Also, for greatest volume, cover bowl and let egg whites warm to room temperature before beating.

In large bowl, with mixer at high speed, beat egg whites until soft peaks form.  Beating at high sped, sprinkle in 1/2 cup confectioner’s sugar.  Beat until sugar is completely dissolved.  Do not scrape sides of bowl.  (Egg whites should be stiff with glossy peaks.)  Set aside.

In small bowl, with mixer at high speed, beat egg yolks until thick and lemon-colored.  At low speed, beat in 1/2 cup confectioner’s sugar, 3 Tablespoons cocoa, and dash of salt, occasionally scraping bowl with rubber spatula.  Gently fold yolk mixture into whites until blended.  (To do this, with a gentle downward motion and using a spatula, cut through the center of the whites, across the bottom and up the side of the bowl.  Then, give the bowl a quarter turn and repeat the cutting motion until egg-white mixture is broken to the size of small peas.  Fold just until all ingredients are combined, using spatula or whisk.  Over-folding breaks air bubbles, causing a flat jelly roll.)

Spread batter evenly in pan and bake 12-13 minutes.  Cake is done when top springs back when lightly touched with finger.  Do not overbake.

Meanwhile, sprinkle a clean cloth towel with cocoa.  (A flat weave towel, rather than a terry towel, works best.)

When cake is done, use a small spatula to immediately loosen edges from sides of pan.  Invert cake onto prepared towel.  Gently peel waxed paper from cake.  Roll towel together with cake from one of the narrow edges (jelly-roll fashion).  Roll as tightly as possible, but do not press down on cake.   Cool completely, seam-side down, on a wire rack.  Meanwhile, prepare mocha cream.

When cake is cool, unroll from towel.  Evenly spread Mocha Cream on cake almost to edges.  Starting at same narrow end, roll up cake without towel.  Place cake seam-side down on top of plastic wrap.  Wrap cake and then place on heavy duty foil; wrap and freeze cake for several hours or overnight.

About 15 minutes before serving, remove cake from freezer; unwrap; let stand for easier slicing.

MOCHA CREAM:

In medium bowl, whip together, until soft peaks form:

1 cup heavy cream

1/4 cup light brown sugar

3 teaspoons instant coffee (prefer decaf, but not required)

(You can buy 16 oz. container and use remaining 1 cup to whip and serve with cake; add a little confectioner’s sugar to cream before whipping.)

Serves 8 to 10. This can be refrozen if there are leftovers!

Whole Wheat Snickerdoodles

11 Jan
I love making and eating Snickerdoodles and I was glad we didn't need to give them up this Christmas!

I love making and eating Snickerdoodles and I was glad we didn’t need to give them up this Christmas!

You all I know how much I love a good cookie.

A few years back I discovered a recipe for Snickerdoodles and ever since, I have used them on my trays for Christmas.

This year, before Christmas even came, way back in October, I found a recipe on one of my favorite blogs, Budget Gourmet Mom, for Whole Wheat Snickerdoodles.

I knew even back then, that I’d be trying out this recipe for my cookie trays this year.

Little did I know then, that I’d be overhauling our entire cookie tray plan as well. Thankfully, these cookies were easy to adapt to the lowfat diet we needed to incorporate.

Here is the recipe from the Budget Gourmet Blog, along with any notes or changes I might’ve made along the way to fit our needs. Snickerdoodles are great any time of year, and they’re a great recipe for involving your kids in the kitchen, so give this new recipe a try!

At Christmas time I need as much help as I can get so it's all hands on deck for cookie baking!

At Christmas time I need as much help as I can get so it’s all hands on deck for cookie baking!

BUDGET GOURMET MOM
WHOLE WHEAT SNICKERDOODLES
INGREDIENTS

  • 1/2 cup butter, softened (I used I Can’t Believe It’s Not Butter sticks for my baking this year.)
  • 3/4 cup packed brown sugar
  • 1 large egg
  • 1 teaspoon vanilla
  • 1 1/2 cups whole wheat flour
  • 1/2 teaspoon baking soda
  • 1/2 teaspoon cream of tartar
  • 1/4 teaspoon salt
  • 2 tablespoons granulated sugar
  • 1/2 teaspoon ground cinnamon

DIRECTIONS

Preheat oven to 375°.

In a medium bowl cream the butter and brown sugar.

Add the egg and vanilla and mix until combined.

In a separate bowl sift together the flour, baking soda, cream of tarter and salt.

Add to the creamed mixture and stir until it forms a dough. It helps to work it with a rubber spatula until it comes together.

In a small bowl mix the additional sugar and cinnamon.

Form tablespoon sized balls, roll in the cinnamon and sugar,  and place on a baking sheet 2″ apart.

Press slightly with the bottom of a cup (we used our fingers) and bake 8-10 minutes.

Rolled cookies are particularly great for kids who want to help out.

Rolled cookies are particularly great for kids who want to help out.

Not just rolling, but tasting is another favorite job for my little helpers.

After rolling and placing on the trays, pat them down slightly.

A new year, a new direction for The Whole Bag of Chips

31 Dec
Happy New Year!

Happy New Year!

It’s New Year’s Eve!

It is the very last day of 2012!

You know what that means? It means that it’s New Year’s Resolution time for many. I know that last year I talked a little bit about the fact that because our entire family runs on a school year schedule, I’m kind of programmed to set my own personal goals and resolutions for the “year” in September, rather than January.

And that’s still true, but this new year is going to be a bit different, and you’ll be seeing it with some changes to The Whole Bag of Chips as well.

This blog is designed so that it often follows the twists and turns of our family’s life. As with any family, there are always lots of twists! We like to keep things exciting at our house.

Some of you may know that for years we have had a variety of stomach issues here. I know I’ve mentioned it in some of my posts. It’s one reason we don’t eat out often (besides the financial reason), it’s the reason I do my “sweets” after school rather than at night before bedtime, and it’s the reason why we work so hard to make our meals from scratch, and try to eat as healthy as we can.

That said, we still love our homemade desserts.

A lot.

However, in an interesting twist, it was recently suggested to us that eating a strict low fat/healthy fat/healthy carb diet might  be beneficial in helping us to fight the chronic belly aches here at our house. It was suggested that one of us may have something similar to an allergy to fats.

The first reaction I had was similar to the day I was told that one of my kids was allergic to dust.

She’s doomed.

But, in keeping with my overachiever, Type A personality, my next reaction was to take a deep breath and find out all that I could about cooking a low fat/healthy fat/healthy carb menu for my family.

Immediately.

We needed to see if this suggestion held any water.

And it did.

It was recommended that if we wanted to truly try this out and we were looking for recipes, that The South Beach Diet might be a good one to try for guidelines and new menu ideas. I checked one cookbook out of the library the very next day and read the entire thing cover to cover in about two days’ time, the first weekend of December.

December.

Christmas month.

Cookies, desserts, parties.

Not the easiest time to make such a switch, but I was going to give it 100%.

And so, here it is, December 31, almost a full month into our experiment, and although the chronic stomach pain has not completely disappeared, we have seen an improvement, enough that we want to keep up with this new way of eating. Our family is not on the diet, per se, not following the strict Phase I, II and III plan, but rather using the facts in the beginning of the book about fats and carbs and sugars, along with the recipes throughout the book, to overhaul our menu.

Therefore, in keeping with many people’s top New Year’s Resolutions: losing weight, and staying fit and healthy, The Whole Bag of Chips recipes will be featuring the recipes that we have been using in our meals as of late. We have switched our entire family over to this “diet” so that we are all eating the same thing and all eating as healthy as possible, together.

I tried to keep my healthy versions as close to my regular versions as possible.

I tried to keep my healthy versions as close to my regular versions as possible.

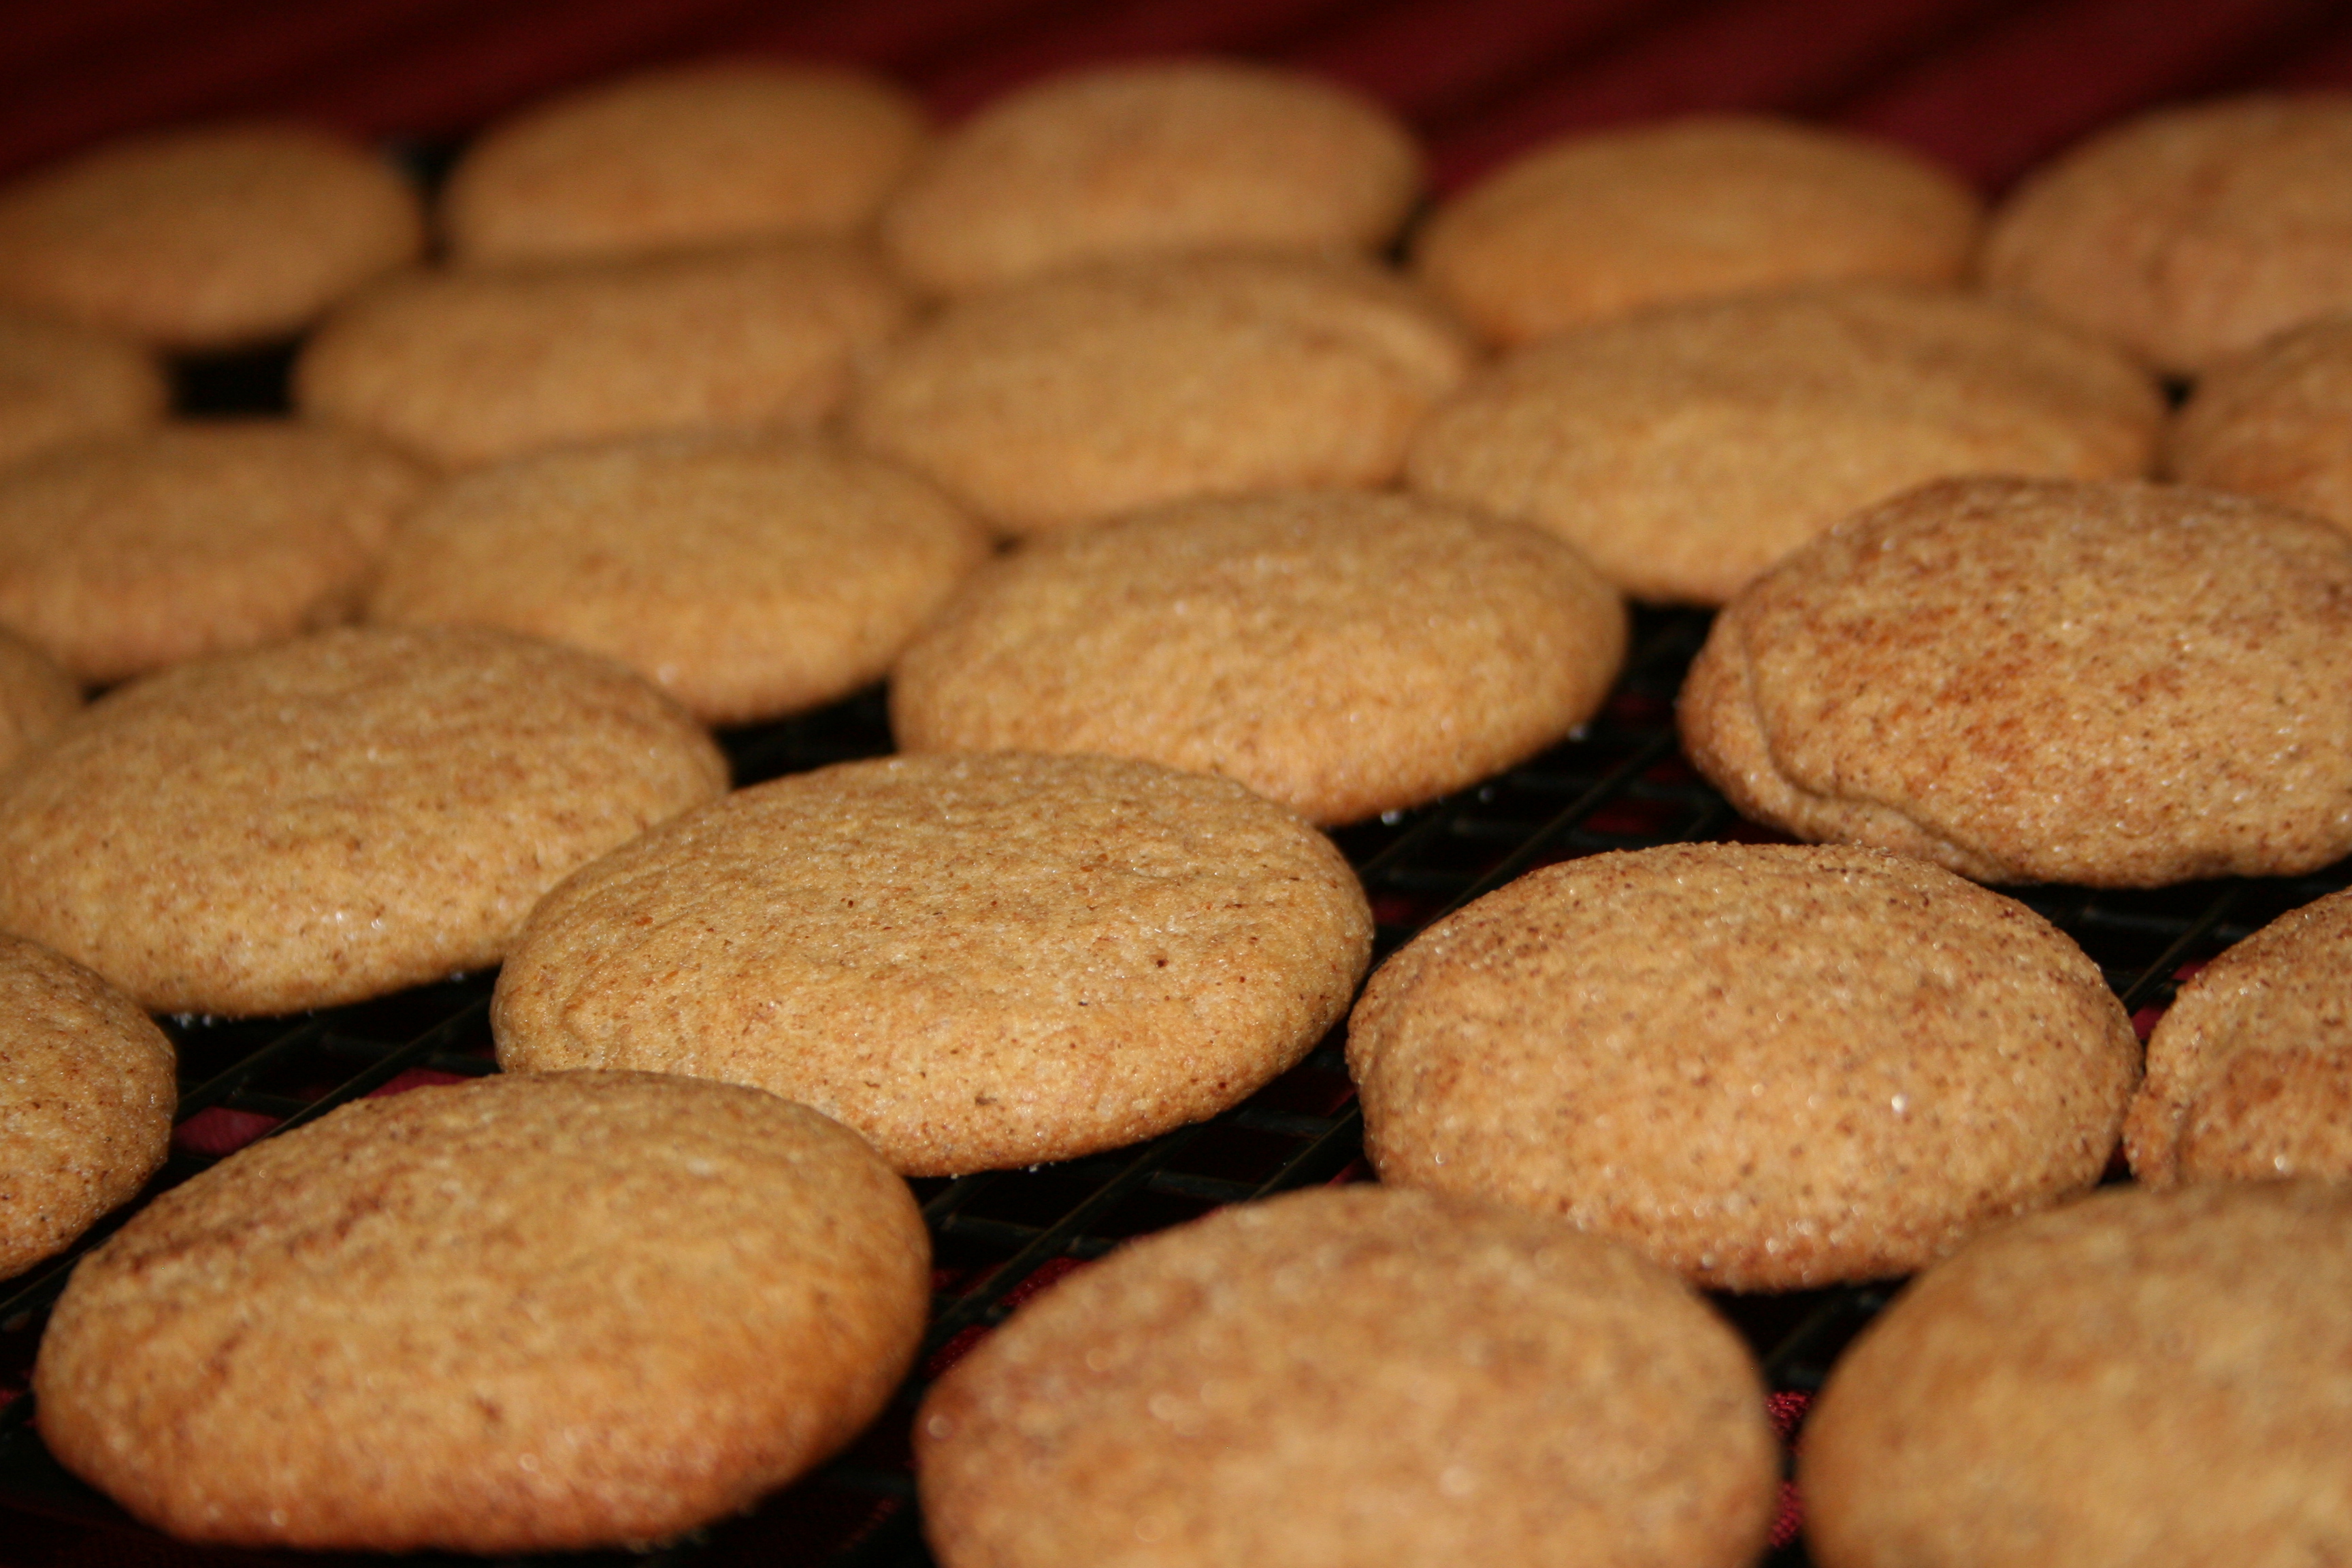
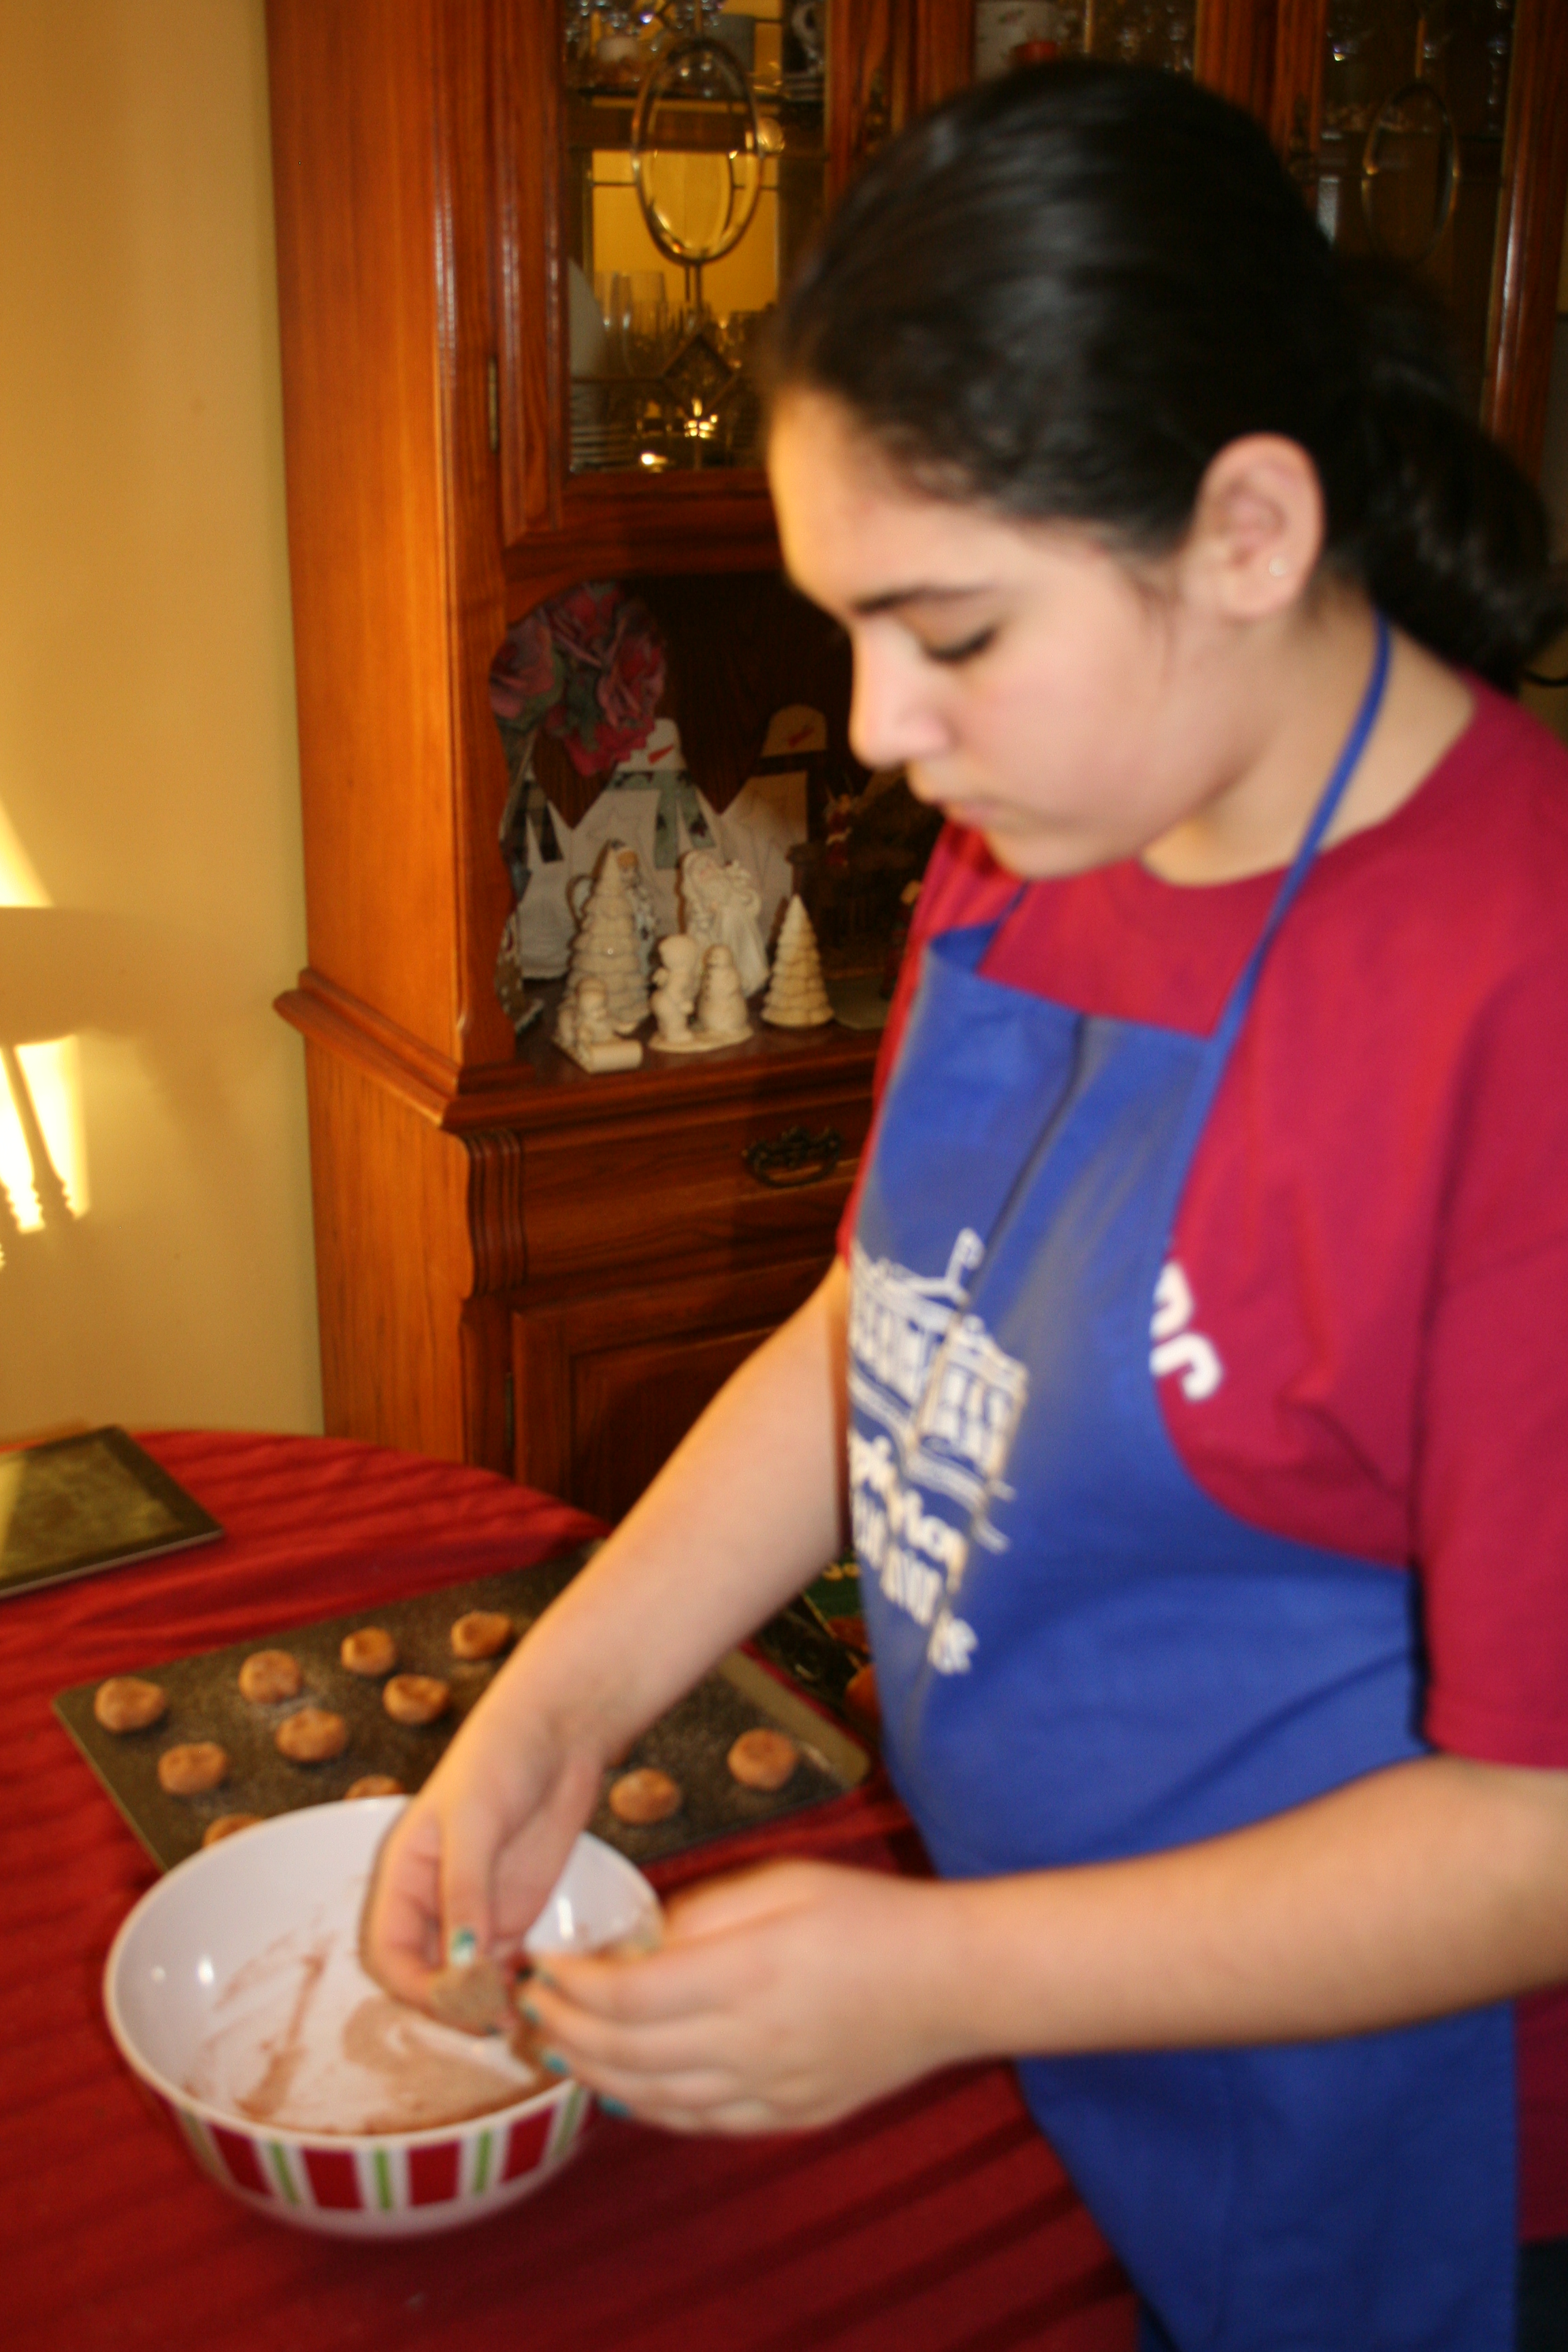
When it came time for Christmas Cookie baking, I made two sets: a regular set of our favorites for our trays and a healthy set of our same favorites, using modified ingredients, for our family. We did not want to give up the things we loved but yet we needed to try to keep to as low fat a diet as possible, even at Christmas.

So today, in preparation for your New Year’s Day breakfast, I will post for you a breakfast recipe that you can use tomorrow morning if you would like to start your 2013 eating healthier too.  The recipe is a modified version of our homemade pancake recipe along with a delicious hot peach compote recipe to go on top. Neither is far off from what we normally would make (in fact this pancake recipe hardly differs from our own), but they both are in keeping with the low fat/healthy fat/healthy carb guidelines. One is a South Beach cookbook recipe and one is from the Farm Girl Gourmet blog that I found online.

Happy 2013 and enjoy!

PANCAKES (from the South Beach Diet Cookbook)

My entire family loved this compote and it was so easy! I'd double the recipe next time.

My entire family loved this compote and it was so easy! I’d double the recipe next time.

INGREDIENTS

2 cups whole wheat or whole grain pastry flour (We have always had whole wheat flour at our house all the time and will often do half wheat, half white flour in our recipes.)

1 tsp. baking soda

1/2 tsp. baking powder

1/2 tsp. salt

1 egg

1 egg white (we just did two eggs instead of one egg and one egg white)

2 cups buttermilk (to make buttermilk use 1 T. white vinegar to 1 cup milk, so two and two here)

1 tablespoon vanilla extract

2 teaspoons canola oil (I used plain nonfat yogurt instead of oil, which is a tip we learned a few months back. We love how fluffy it makes our pancakes and waffles.)

DIRECTIONS

In a large bowl, whisk together the egg and egg white until very foamy. Whisk in the buttermilk, vanilla extract, and oil.

Stir into the flour mixture just until the batter is combined and pourable.

Heat a large, nonstick skillet coated with cooking spray over medium heat.

Pour 1/3 cup batter into the skillet to form a 4″ pancake. Cook for 2-3 minutes, or until the bottom is browned.

Turn and cook for 1-2 minutes or until golden brown.

I had everything I needed for this recipe at home already.

I had everything I needed for this recipe at home already.

FRESH PEACH COMPOTE (from the Farm Girl Gourmet blog)

INGREDIENTS

1 pound fresh peaches, skinned, pitted and sliced (or frozen)  *I used a bag of Aldi’s frozen peaches.
1/2 cup brown sugar
1/4 cup water
1 teaspoon cinnamon

DIRECTIONS

In a medium saucepan, add the peaches, brown sugar, water and cinnamon, bring to a boil.

Turn heat down to medium low and simmer for 15 minutes, stirring occasionally until mixture is thick and liquid is syrupy.

A week off for me, a cookie recipe for you!

28 Dec
IMG_8409

These are a great cookie for any time of year, but they have made it onto our trays for the past two years now.

With the holidays in full swing, I took a week off from my regular blog posting in order to prepare for, and celebrate the Christmas holidays with my family.

Today, however, I have one last cookie post for you. It’s a recipe I posted last year also, but it’s great for any time of the year, so I thought it would be a good one to post.

Next week you can look forward to a return to my regular posting schedule once again. I will be showing a few of the great gifts that we received for Christmas this year that I think you’ll enjoy, and I will be back to posting recipes again too.

My blog will also be taking on somewhat of a new twist in the new year, but you’ll have to wait until next week to see exactly what that means.

Until then, enjoy today’s recipe!

Oatmeal Scotchies
INGREDIENTS

1 1/4 cups all purpose flour
1 tsp baking soda
1/2 tsp grd. cinnamon
1/2 tsp salt
1 cup (2 sticks) butter or margarine, softened
3/4 cups granulated sugar
3/4 cups packed brown sugar
2 large eggs
1 tsp vanilla
3 cups quick or old fashioned oats
1 2/3 cup (or one 11 ounce bag) butterscotch chips

DIRECTIONS

Preheat oven to 375 degrees.

Combine flour, baking soda, cinnamon and salt in a small bowl.

Beat butter, granulated sugar, brown sugar, eggs and vanilla in large mixing bowl.

Gradually beat in flour mixture.

Stir in oats and chips.

Drop by rounded tablespoonfuls onto ungreased cookie sheet.

Bake 7-8 minutes for chewier cookies, 9-10 for crispier cookies.

Cool on cookie sheet 2 minutes, transfer to rack to cool completely.

Family Movie Night & a Recipe: Homemade Hot Chocolate

7 Dec

ORIGINALLY POSTED DECEMBER 9, 2011

It’s a Friday and for us Friday nights are sometimes Family Movie Nights. It’s the end of the week and it’s often a wind-down night as well. We look forward to it.

In the winter, our Family Movie Night movie is usually “The Polar Express” at least once.

I got this book in 1993, before there even *was* a movie!

We have the hardcover version of the Chris VanAllsburg book, and it’s even autographed. We also have the special bell from the story as well as the cd of the story from a gift set that we received a few years back. You can find the book and the movie here on Amazon.com.

There are several bell crafts you could do to go along with “The Polar Express” if you’d like.

Cups, pipe cleaners, stickers and glitter make for an easy jingle bell craft. If you have a real jingle bell, you can put it inside so that the bell actually rings.

You could:

1) Cut out a bell from construction paper and decorate it with glitter or other materials,

and

2) Turn a styrofoam drinking cup upside down, put a pipe cleaner through the top (gold works well) turning it into a bell that way, decorating it on the outside any way you’d like.

During the winter months, Family Movie Night often includes a special treat: Homemade Hot Chocolate. My kids LOVE this recipe and it came from a cookbook I received as a gift from one of my Stampin’ Up! customers several years back. The cookbook is called “Old Fashioned Holiday Recipes.” It was full of many great recipe ideas, but this one has always been a favorite find and perfect for our Family Movie Nights. It would go especially well with the “Krispie” Chocolate Chip Cookies recipe from yesterday!

Two mugs of hot chocolate

Hot off the stove tonight!

Creamy Hot Chocolate
INGREDIENTS

1 (14 ounce) can Eagle Brand Sweetened Condensed Milk (NOT Evaporated Milk)
1/2 cup unsweetened cocoa
1 1/2 teaspoons vanilla extract
1/8 teaspoon salt
6 1/2 cups hot water
Marshmallows, optional

DIRECTIONS

In a large saucepan over medium heat combine Eagle Brand, cocoa, vanilla and salt; mix well.

Slowly stir in water. Heat through, stirring occasionally. Do not boil.

Top with marshmallows (optional.)

Store covered in refrigerator. Makes about 2 quarts.

Hot chocolate can be stored in the refrigerator for up to five days. Mix well and reheat before serving.

A word about re-runs

19 Oct

Yup, I’m already thinking now about my holiday baking!

Fall is here, and winter is coming. Last year I began posting daily around this time of year, in order to fit in all of my holiday-worthy and seasonal recipes.

I also featured winter crafts and children’s book recommendations to go along with each of the recipes in December.

This year I will be re-running some of those recipe posts as I see fit, in order to let my newer followers in on those yummy treats. Although I do try out new recipes once a week or so, when it comes to my holiday baking, I am steeped in tradition and I do not veer off that path very often. Therefore, I won’t have 20 new Christmas Cookie Tray recipes for you again this year, since I shared most all of my tray treats with you last year. So if you are a regular, long-time reader, you may see a few things that ring a bell as looking awfully familiar. I hope those re-runs will remind you that you always wanted to try that recipe last year and never got to, or that you loved it so much you can’t wait to make it again.

In the meantime, if you’d like to look back at my holiday treats from last year right now, you can type in Pumpkin Palooza (Thanksgiving) or Your Tray or Mine? (Christmas), or even click on November and December 2011 to take a look!

As always, if you have a recipe you’d like me to try, feel free to email it to me and I’ll add it to my list, which is super-long, of things I want to try one day! Thank you in advance for sharing your recipes with me and for being such a great, supportive blog audience!

Jen

Product review: Wilton Holiday Air Insulated Cookie Sheets

5 Jun

These cookie sheets were wonderful when I made my cookies last weekend!

For Christmas this past year I received a set of two Wilton Air Insulated cookie sheets from my sister in-law, Jessica. I couldn’t wait to try them out, but then we traveled back home, I put them away, and forgot all about them! I haven’t made a ton of cookies since Christmas either, but whenever I did, I forgot I had these new cookie sheets to try out.

Then, last weekend when I was making the Chocolate Chip Oatmeal Cookies for our friends’ Memorial Day Weekend cookout, I went to pull out a cookie sheet and there they were. Still wrapped in their original plastic.

I was so excited! Something new to try! It was like Christmas all over again as I unwrapped the plastic and took them out. They were soooo smooth and shiny.

Yes, I do get pleasure out of the small things, like shiny cookie sheets.

On the Wilton site, these cookie sheets are advertised as “Two quality aluminum layers sandwich an insulating layers of air for perfect browning without burning,” and can I tell you, that’s exactly right?

I can’t wait to use these cookie sheets again, and to get a few more of them!

These baking sheets did a fabulous job with our cookies! I wish I had about four more of them (they came in a set of two.) They were different from my old ones because they were heavier, being that they had the air insulation component to them. They were also flat all around except on one end, which is the end you grab onto when you pull them out of the oven.

But, my favorite thing of all had to do with my very first impression of them when I took off the plastic: they were smooth and shiny, and that allowed the cookies to literally slide right off the pan.

Of all the dozens of cookies we made that day, not one single cookie stuck to the baking sheets. There were no cookie remnants left on the sheet after you scooped the cookies off, no mess to clean, really.

Nothing burned, nothing stuck, the cookies cooked evenly all around and got that lightly browned edge that I love so much. They were perfect.

I am in*love* with these cookie sheets and I absolutely recommend them to anyone who is a cookie baker. I can’t wait to use them at Christmas time when I bake all those cookies for my trays!

A few not-so-random post-Christmas thoughts

26 Dec

By the time this post is read, Christmas will be over and done! I know it will be wonderful as we will be surrounded by family for the whole week! In pre-typing a post to run after Christmas, I wasn’t sure what to write, since the holiday events, both expected and unexpected happenings, haven’t actually happened yet! Therefore, I thought I’d post a few random thoughts, or not so much so.

kitchen photo

This photo just proves you can do a lot with a small space! A new kitchen is a huge want of mine, but not a need!

First off: My kitchen.

You all know by now I, we, do a ton of cooking and baking out of this here, raised ranch, gazebo style (apparently that’s what it’s called due to its round shape) kitchen. The house was built in 1976 and I’m pretty sure the kitchen is just about original, other than the relatively new appliances that we’ve purchased since we moved in 12 years ago. I just figured I’d show you were I do most of my cooking and baking from, and it’s right here in this little corner of the kitchen between the sink and the stove. You can see that you don’t need a ton of space to do a ton of cooking! I utilize the space right on top of the stove all the time. You can even see the cabinets where I stick all my little recipe cards into the grooves, so I can read while I bake. The one that’s there permanently all winter is the one for the Creamy Hot Chocolate.

dining room baking cookies

When I need to spread out, there's always the dining room table.

If I find that I need more work space than my corner of the kitchen, I move into our dining room and use that table. We do not have an eat-in kitchen or an island in the kitchen, so this is where we eat all of our meals, and do all of our crafts, where I type my articles and blog posts, where the kids do their homework, etc. At our school we have a “multipurpose room” which serves as the gym, the auditorium and the cafeteria. We call it the Cafa-gym-atorium. Well in our house, this is our island-a-kitchen-dining-room- table-atorium. Again, as much as I want more space, this works just fine.

And last but not least, I’m the baking and recipe sharing queen, according to my friends, fans, and loyal readers. In past weeks I’ve had many requests for holiday morning breakfast ideas and I’ve shared many. Therefore, I know you are just dying to know what OUR family has for breakfast on Christmas morning. Probably some huge meal, prepared for hours the day before to be out and piping hot on Christmas morning, right?? Wrong. On Christmas Eve and Christmas morning, we’re off duty so that we can enjoy our time together and just have fun. Here’s what we have for breakfast on Christmas morning, much to my kids’ delight:

Great Value Cinnamon Buns

Our Christmas morning breakfast

Yup! Cinnamon Buns and hard-boiled eggs. I don’t even make the buns from scratch–at least not yet. I buy whatever store brand I’m in during my travels the week of Christmas, either Walmart (as these are) or PriceRite or Aldi’s. We usually throw in some fruit or some Christmas cookies along with it, but that’s it, that’s our breakfast!

We host Christmas dinner so that’s quite a bit more elaborate than our breakfast, but this takes the pressure off of me, of us, for just a little while, so that we too can enjoy Christmas Eve, Christmas morning and all that goes along with it.

And, the cinnamon buns…. are just delicious!!

This week for part of the week I’ll be spending a few days discussing our Christmas dinner meal and how we pull off a lot of it by preparing it ahead. Be sure to check back each day. I promise it’ll leave your mouth watering!