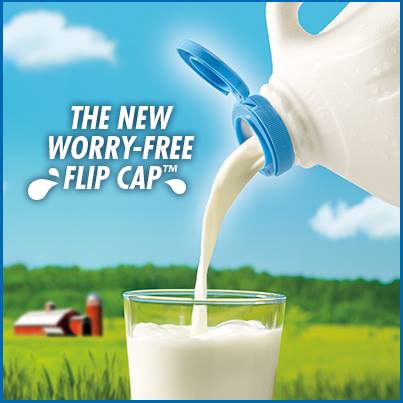
Have you seen it yet? Dairy Pure Milk has a great new Worry-Free flip cap!
Do you ever have one of those “Why didn’t I think of that,” moments when you see something new on TV? I know I do!
I recently had one of those moments when I saw the television commercial for Dairy Pure’s new “Worry-Free” flip cap. I can’t tell you how many times our milk caps have gotten lost, accidentally thrown in the trash, or gone flying on to the floor upon being opened. In the past, I’ve had to put plastic wrap over our milk cover with an elastic band or use an old cover, or put all the milk into a pitcher, all to solve our milk cap problems.
Clearly, I’m not the only one whose household has had these types of milk cap worries, because Dairy Pure Milk recently introduced their new Worry-Free flip cap, which now keeps the cap ON the milk, where it’s supposed to be.
You can say it, I know you want to: “Why didn’t *I* think of that?”
Exactly.
Since we’re big smoothie people, especially now that the warmer weather is coming, I was excited to try out Dairy Pure milk and the great new worry-free cap, for a new smoothie recipe, which I’ll share below. I also enjoy using locally produced products and Dairy Pure is made by Garelick Farms in Franklin, Massachusetts, which is the town where both my husband I used to work.

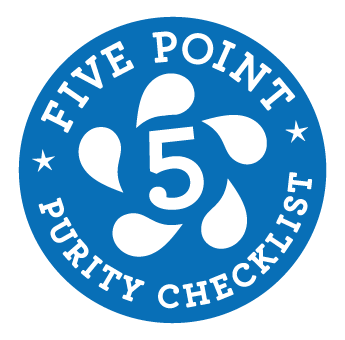
Five important points!
When I tried out the Dairy Pure Milk, I made note of their Five Point Purity Checklist, which states the following:
*Our Farmers pledge NO artificial growth hormones
*We test our milk for antibiotics
*Continuously quality tested to ensure purity
*Only from cows fed a nutritious diet
*Cold-shipped fresh from your trusted dairy within hours
Those five points are all important, and I was pleased to know that Garelick takes those things seriously.
But it’s the cap….I love that cap! My days of plastic wrap, elastic bands and pitchers are a gone with the Worry-Free cap.
Before I share my smoothie recipe with you, I wanted to also pass along the Dairy Pure Recipe page in case you’d like to find even more recipe inspiration using Dairy Pure Milk!
And remember: Be sure to read to the end of this blog post, as I’ll be putting my instructions there for a Dairy Pure special giveaway!

Dairy Pure Milk with a Worry-Free cap is an excellent choice for your own smoothie concoctions!
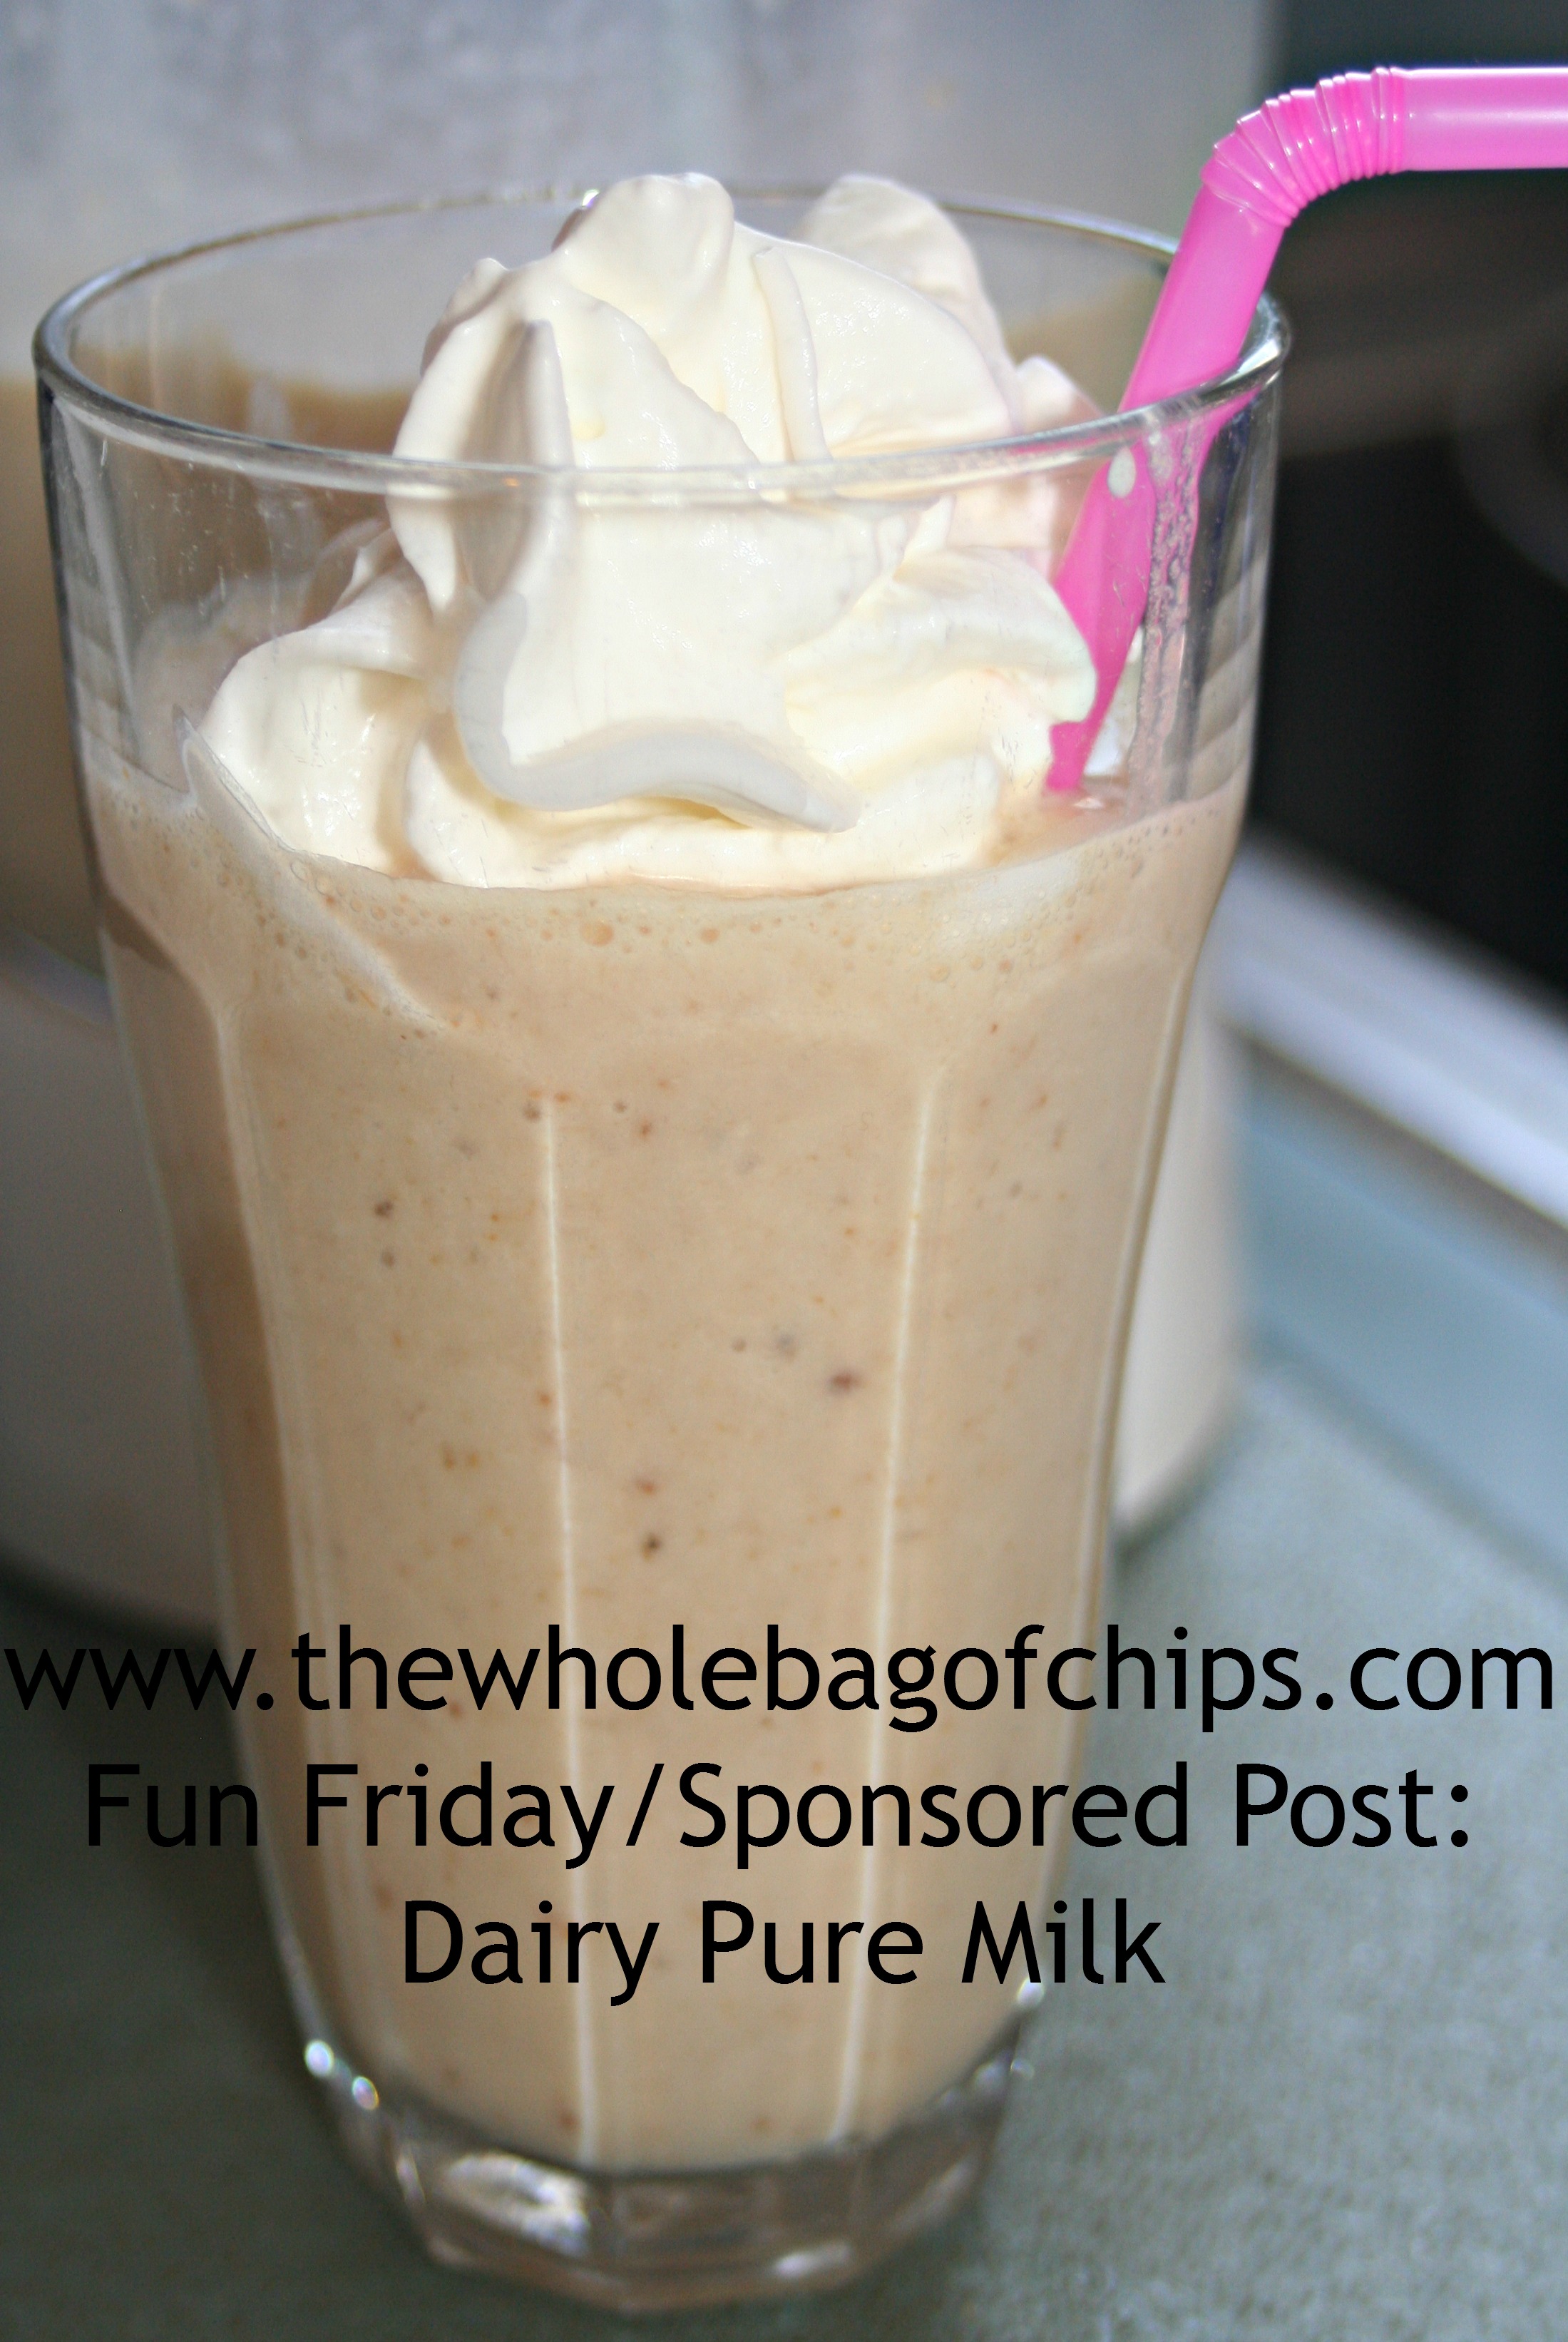
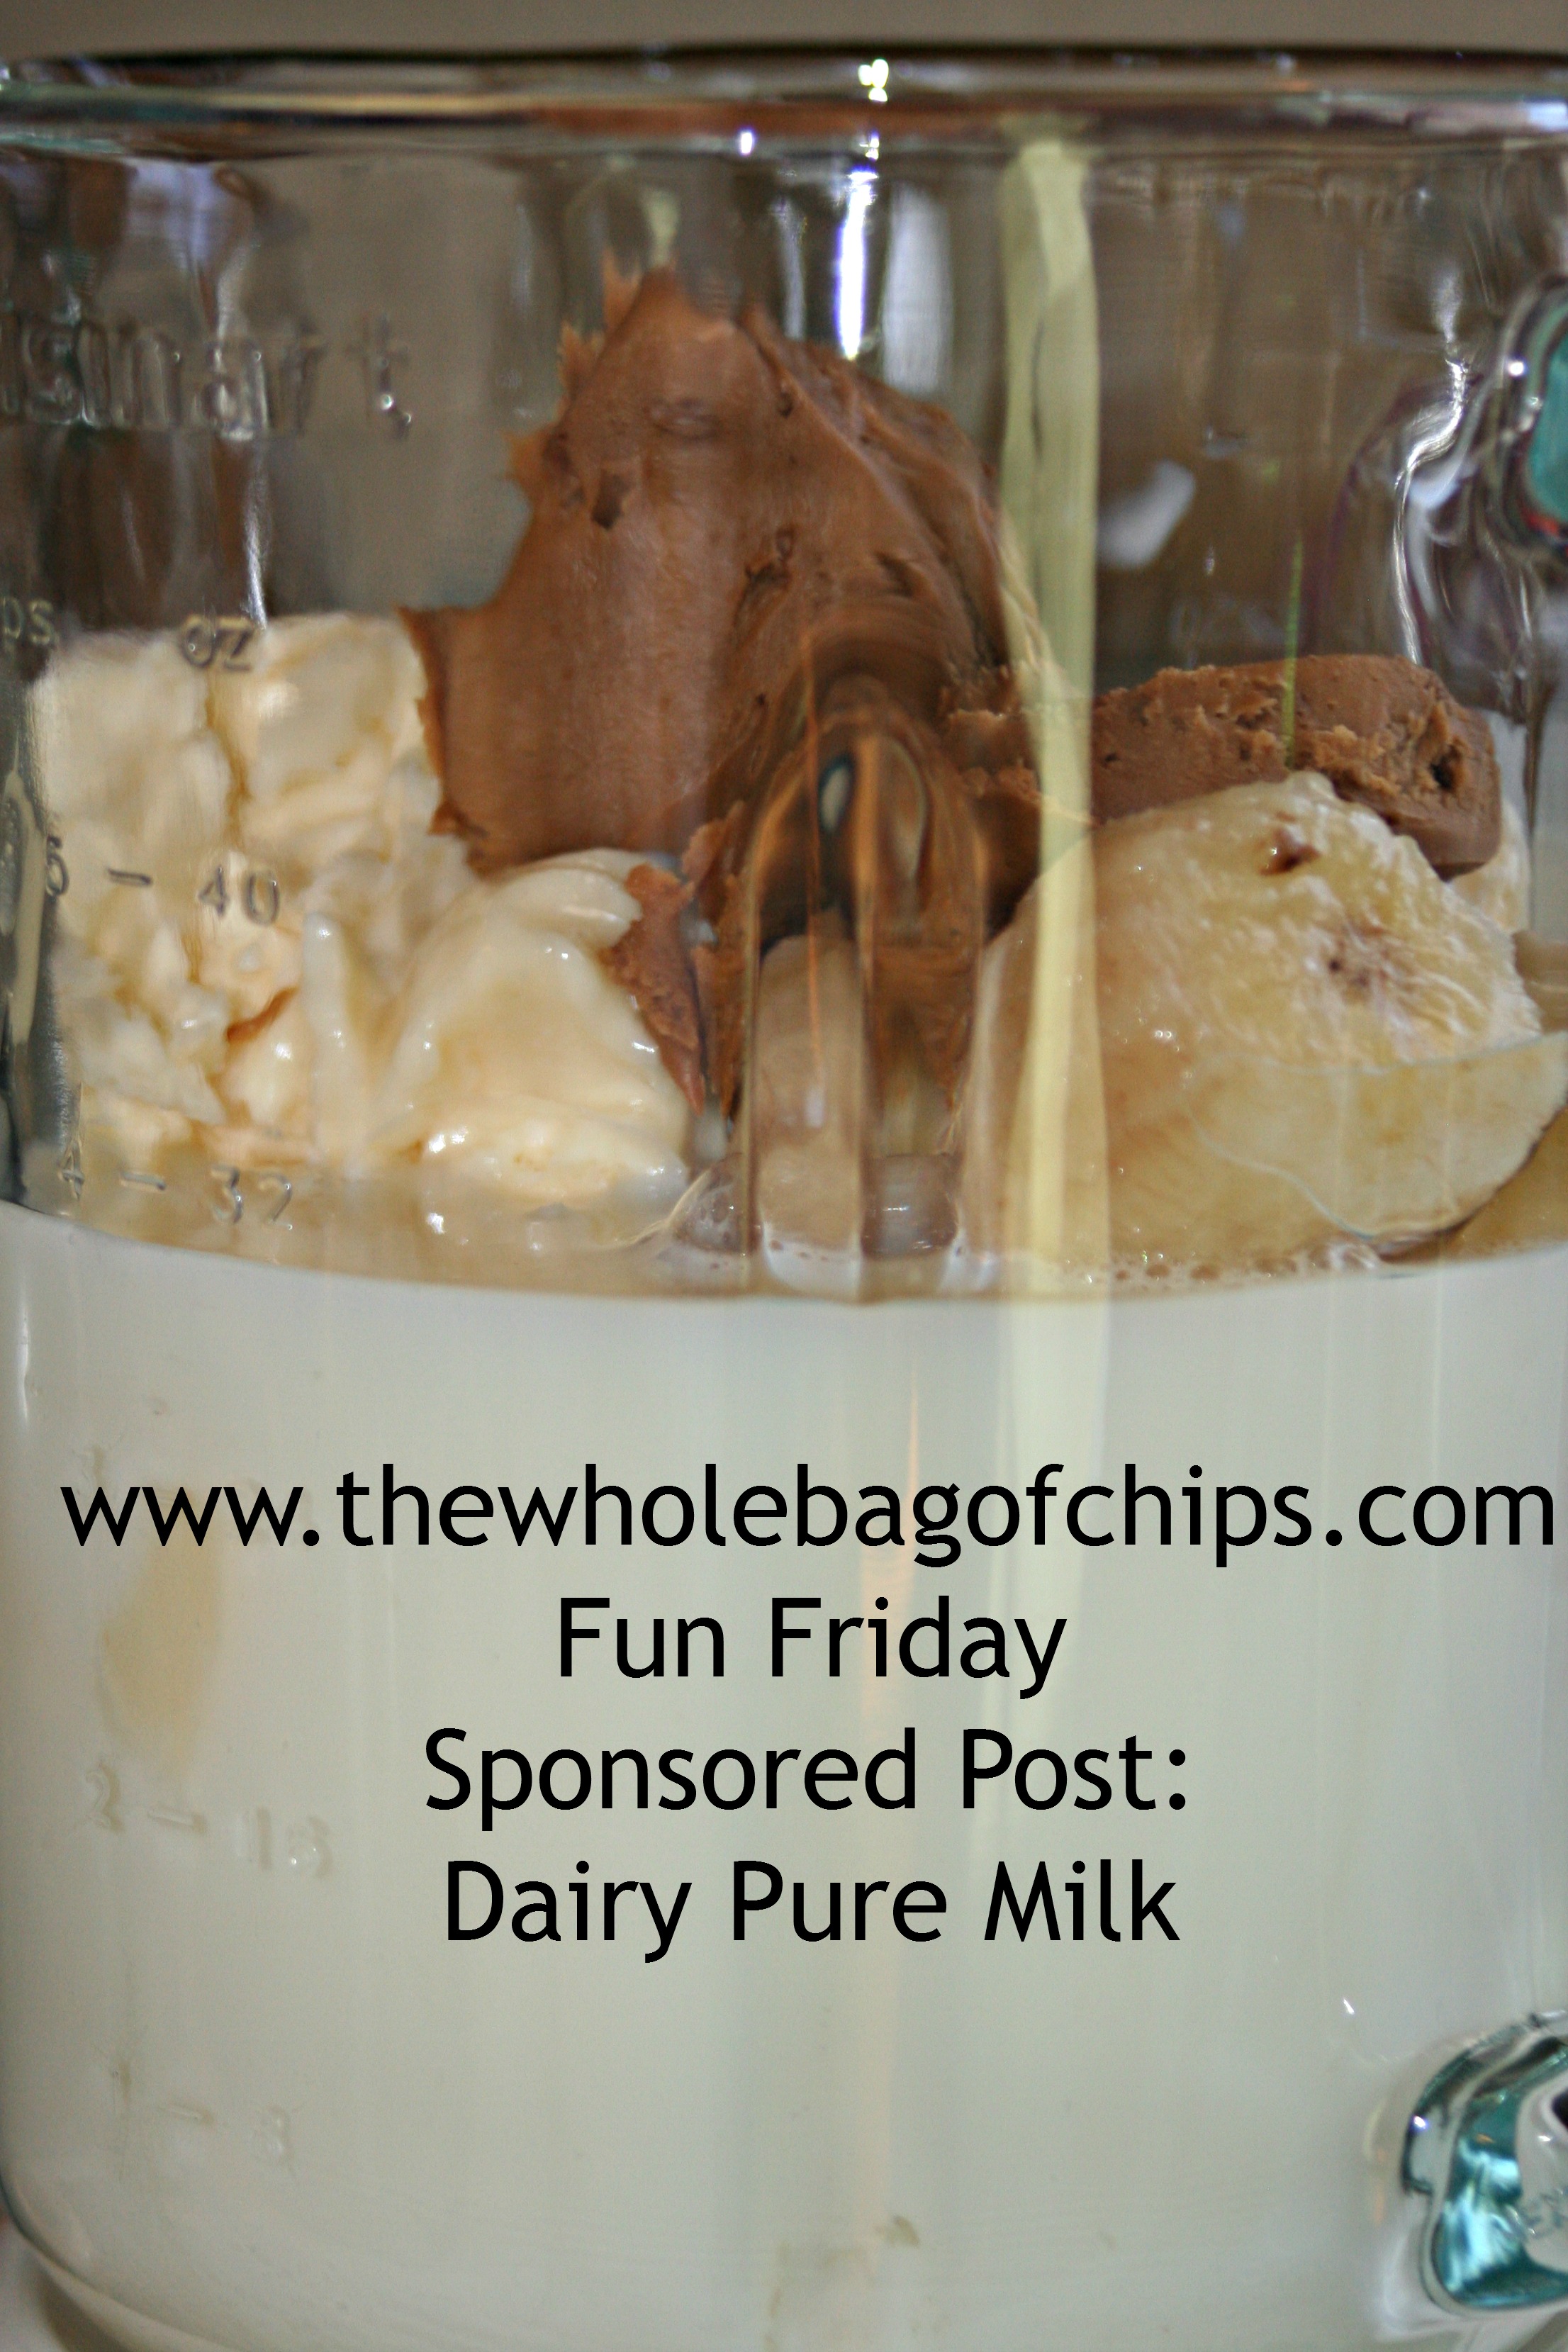
Now…for my recipe! I often post smoothie recipes for my Fun Friday posts, and since it’s Friday, I thought a new smoothie recipe would pair well with my Dairy Pure Milk! I recently received a gift from my friend Amy: a jar of crunchy cookie butter!! She knew that I’d given up my favorite hazelnut spread for Lent, and she thought this delicious crunchy cookie butter would help me through the 40 days. She’s right! The jar is almost empty! I’ve been eating it with a spoon, but I thought I’d try it, along with the milk, in a smoothie and it was a.m.a.z.i.n.g!!
Here’s the recipe that I created last week:

Throw it all in a blender and you’re ready to go!
COOKIE BUTTER & BANANA SMOOTHIE
32 oz. of milk (You can use your choice of skim, low fat or whole milk, We used skim.)
Two frozen bananas
1/4 to 1/2 cup crunchy cookie butter
Three scoops fat free vanilla frozen yogurt
Whipped cream (optional)
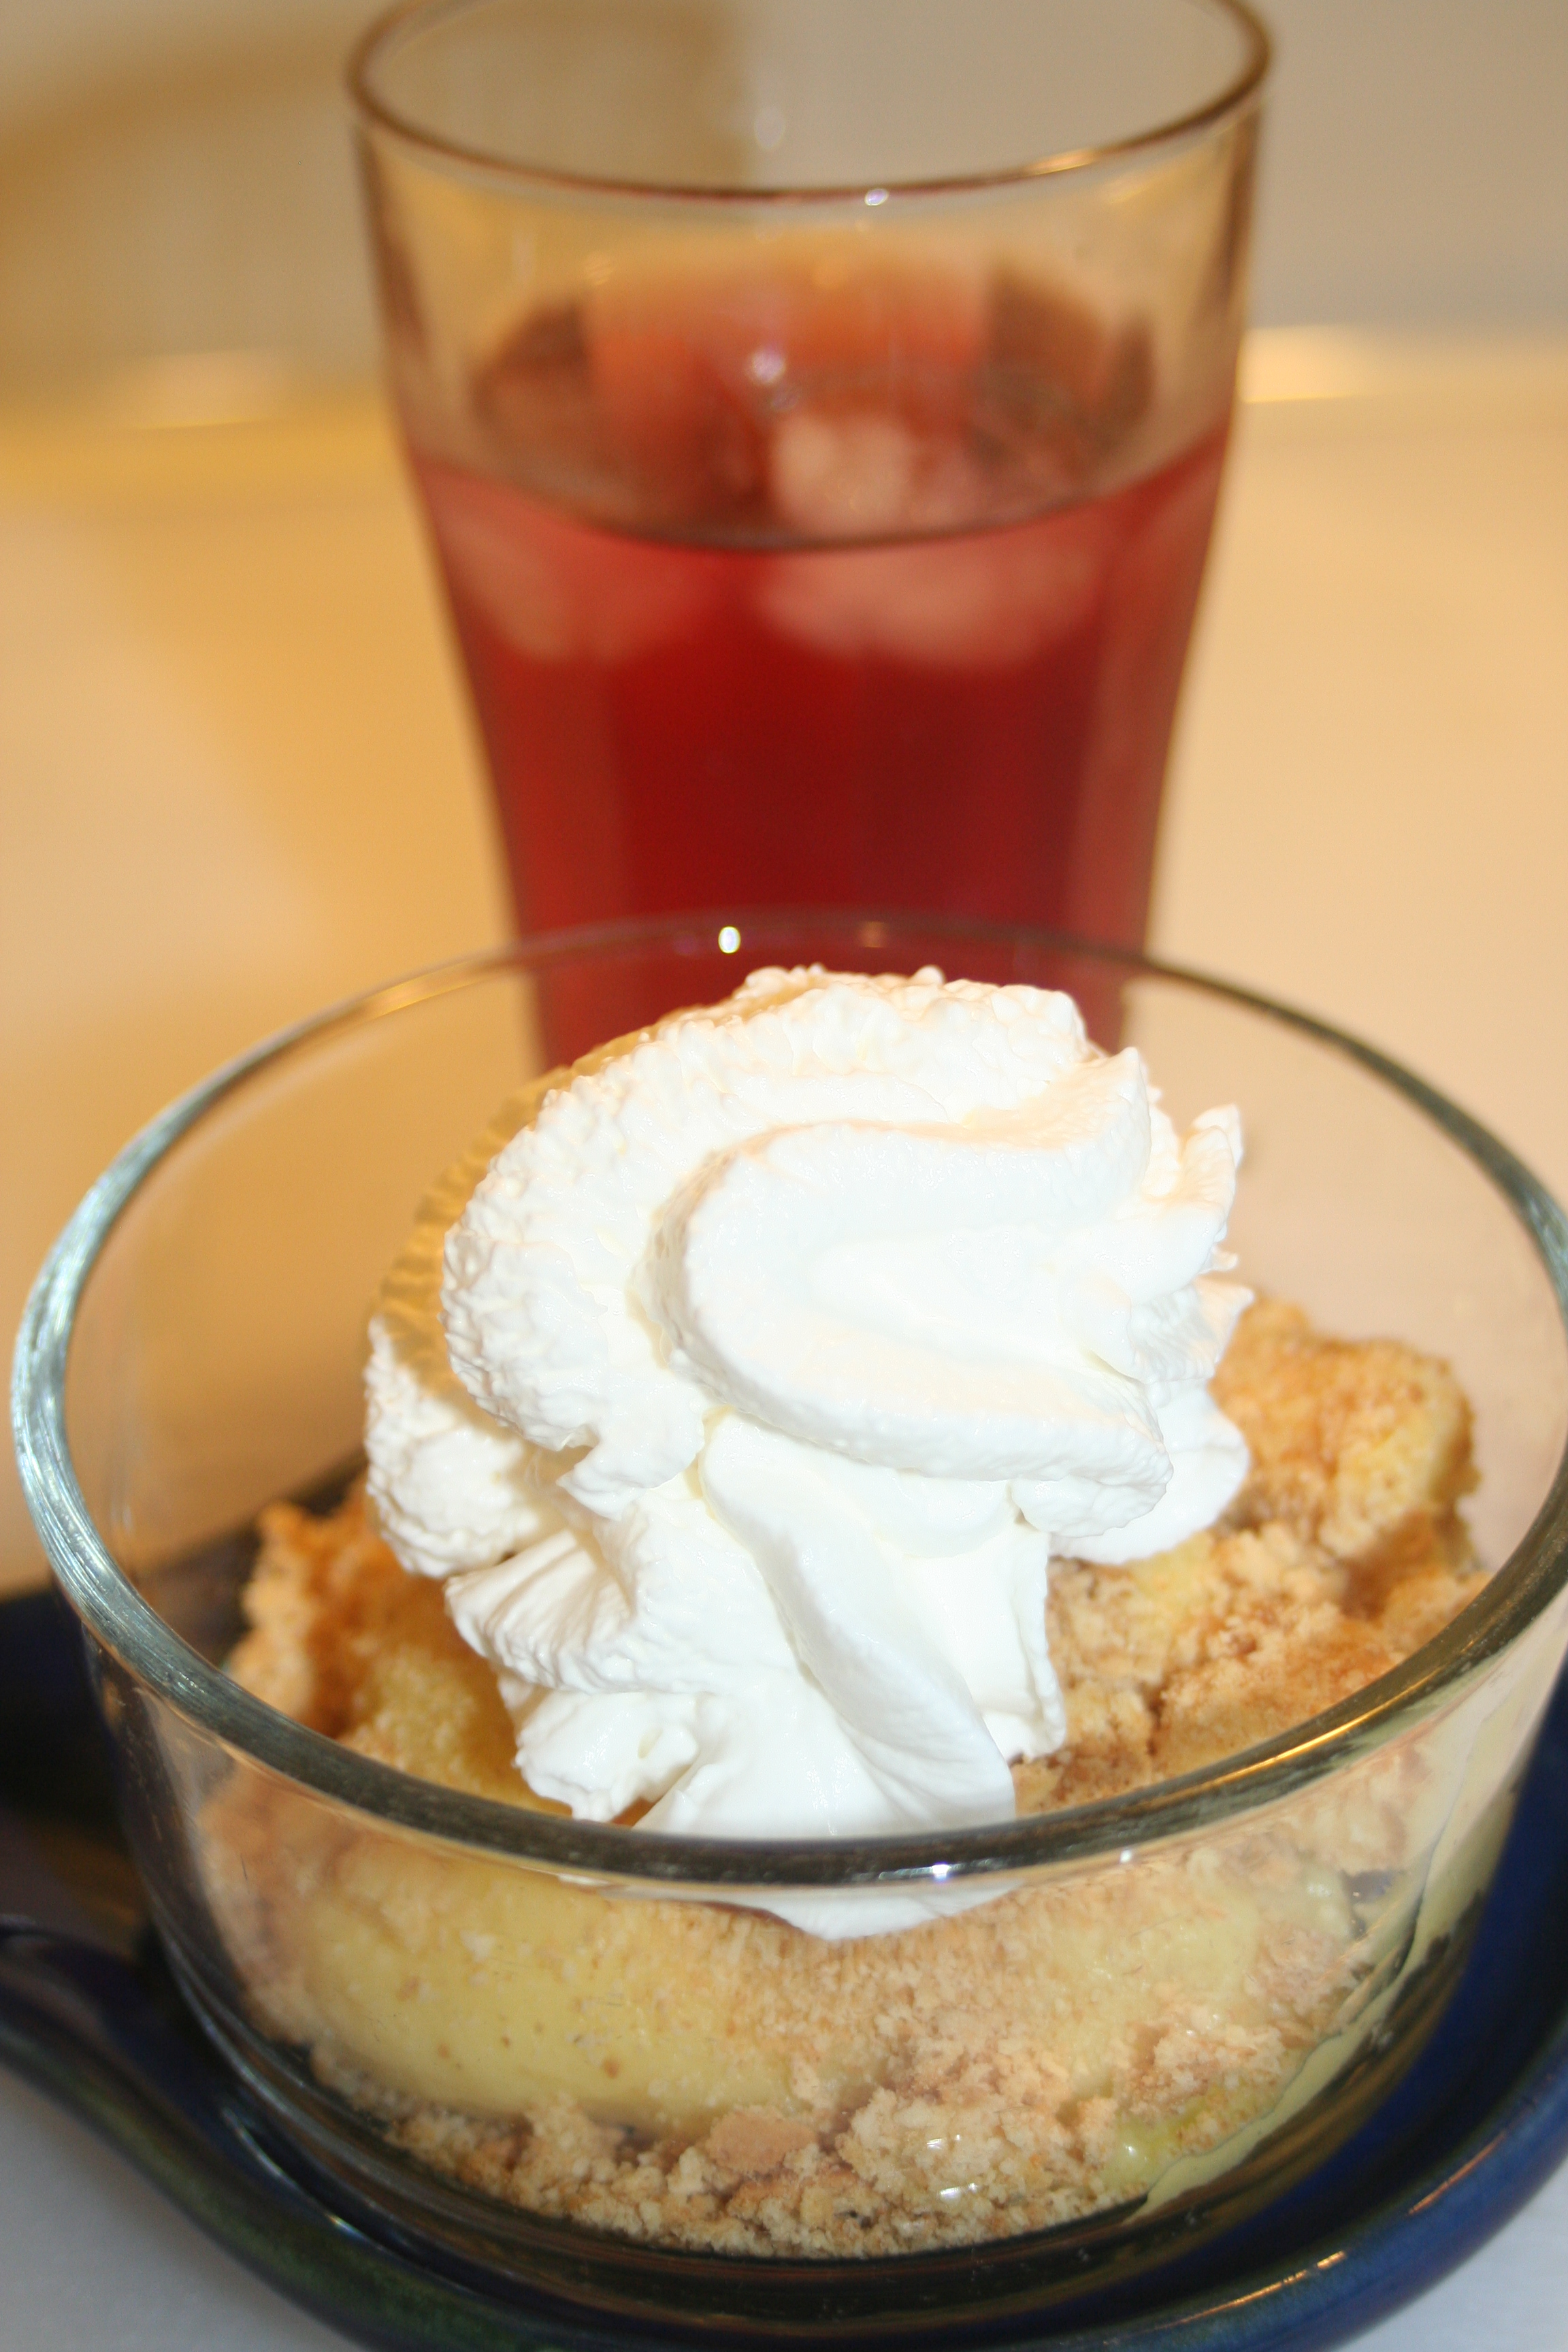
Place all your ingredients into your blender or smoothie maker and blend it up! So simple! You can choose to add a little whipped cream to your smoothie if you’d like!
And now….the moment you’ve been waiting for! The Dairy Pure milk GIVEAWAY!
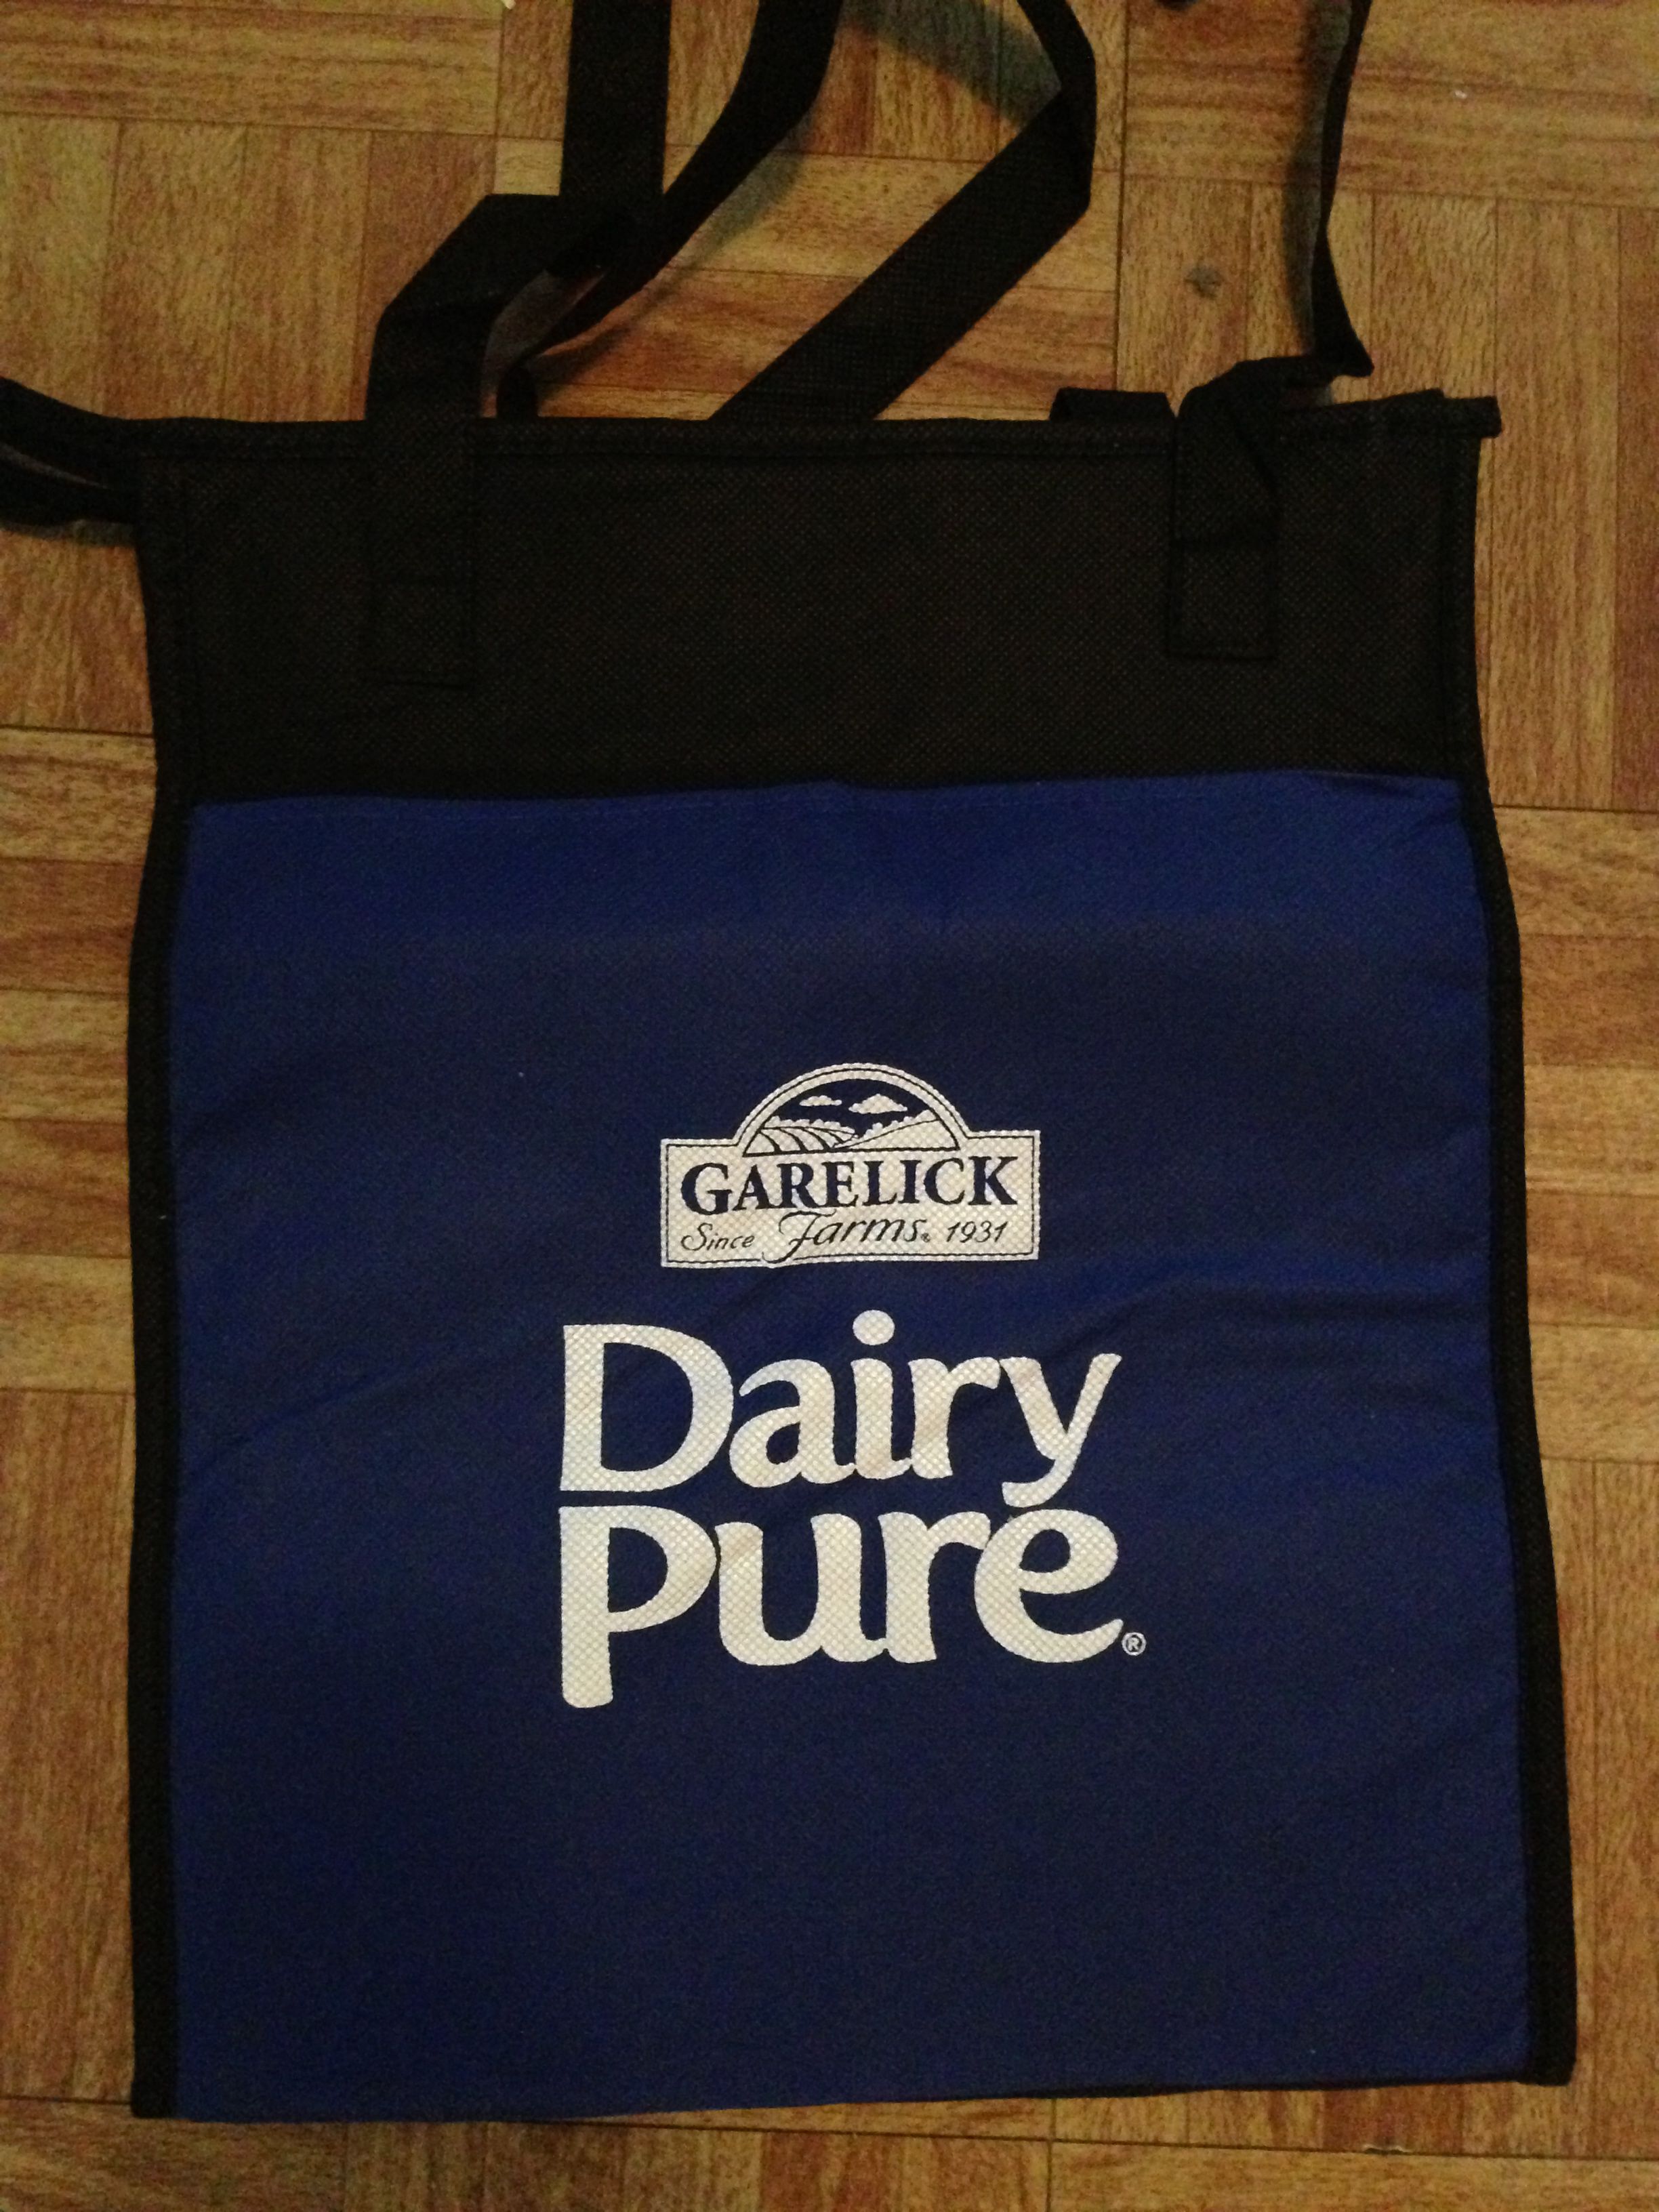
I know that if you’re like me, keeping your cold groceries cold between the store and home is important! Therefore, I’d love to give TWO READERS a special insulated, re-usable, handled shopping tote bag from Dairy Pure Milk! You can use it to keep all your cold foods cold when you’re en-route from store to home. Now you can shop for all of your smoothie ingredients: milk, fruits and frozen yogurts and keep them all cold so that when you get home and unpack, your ingredients will be ready for blending!

Do you want one? Leave a comment on my blog! What would *you* make with Dairy Pure Milk?
Here’s how to enter for a chance at the giveaway:
Leave me a comment here on my blog, telling me something yummy you would make with Dairy Pure milk!
That’s it! Easy peasy! I will take all of the responses and randomly draw two names for the totes. Be sure to check back so that you know if you’ve won!
I will run this giveaway for ONE WEEK, until Friday, April 4th, at which point I will announce the winners on the blog and on Facebook.
Good luck!!
**This is a sponsored post. I was compensated for this post.
However, all of the thoughts, and opinions I have expressed here are my own.**
Tags: crunchy cookie butter, Dairy Pure Milk, Garelick Farms, Giveaways, insulated tote, smoothies, Worry-Free Cap