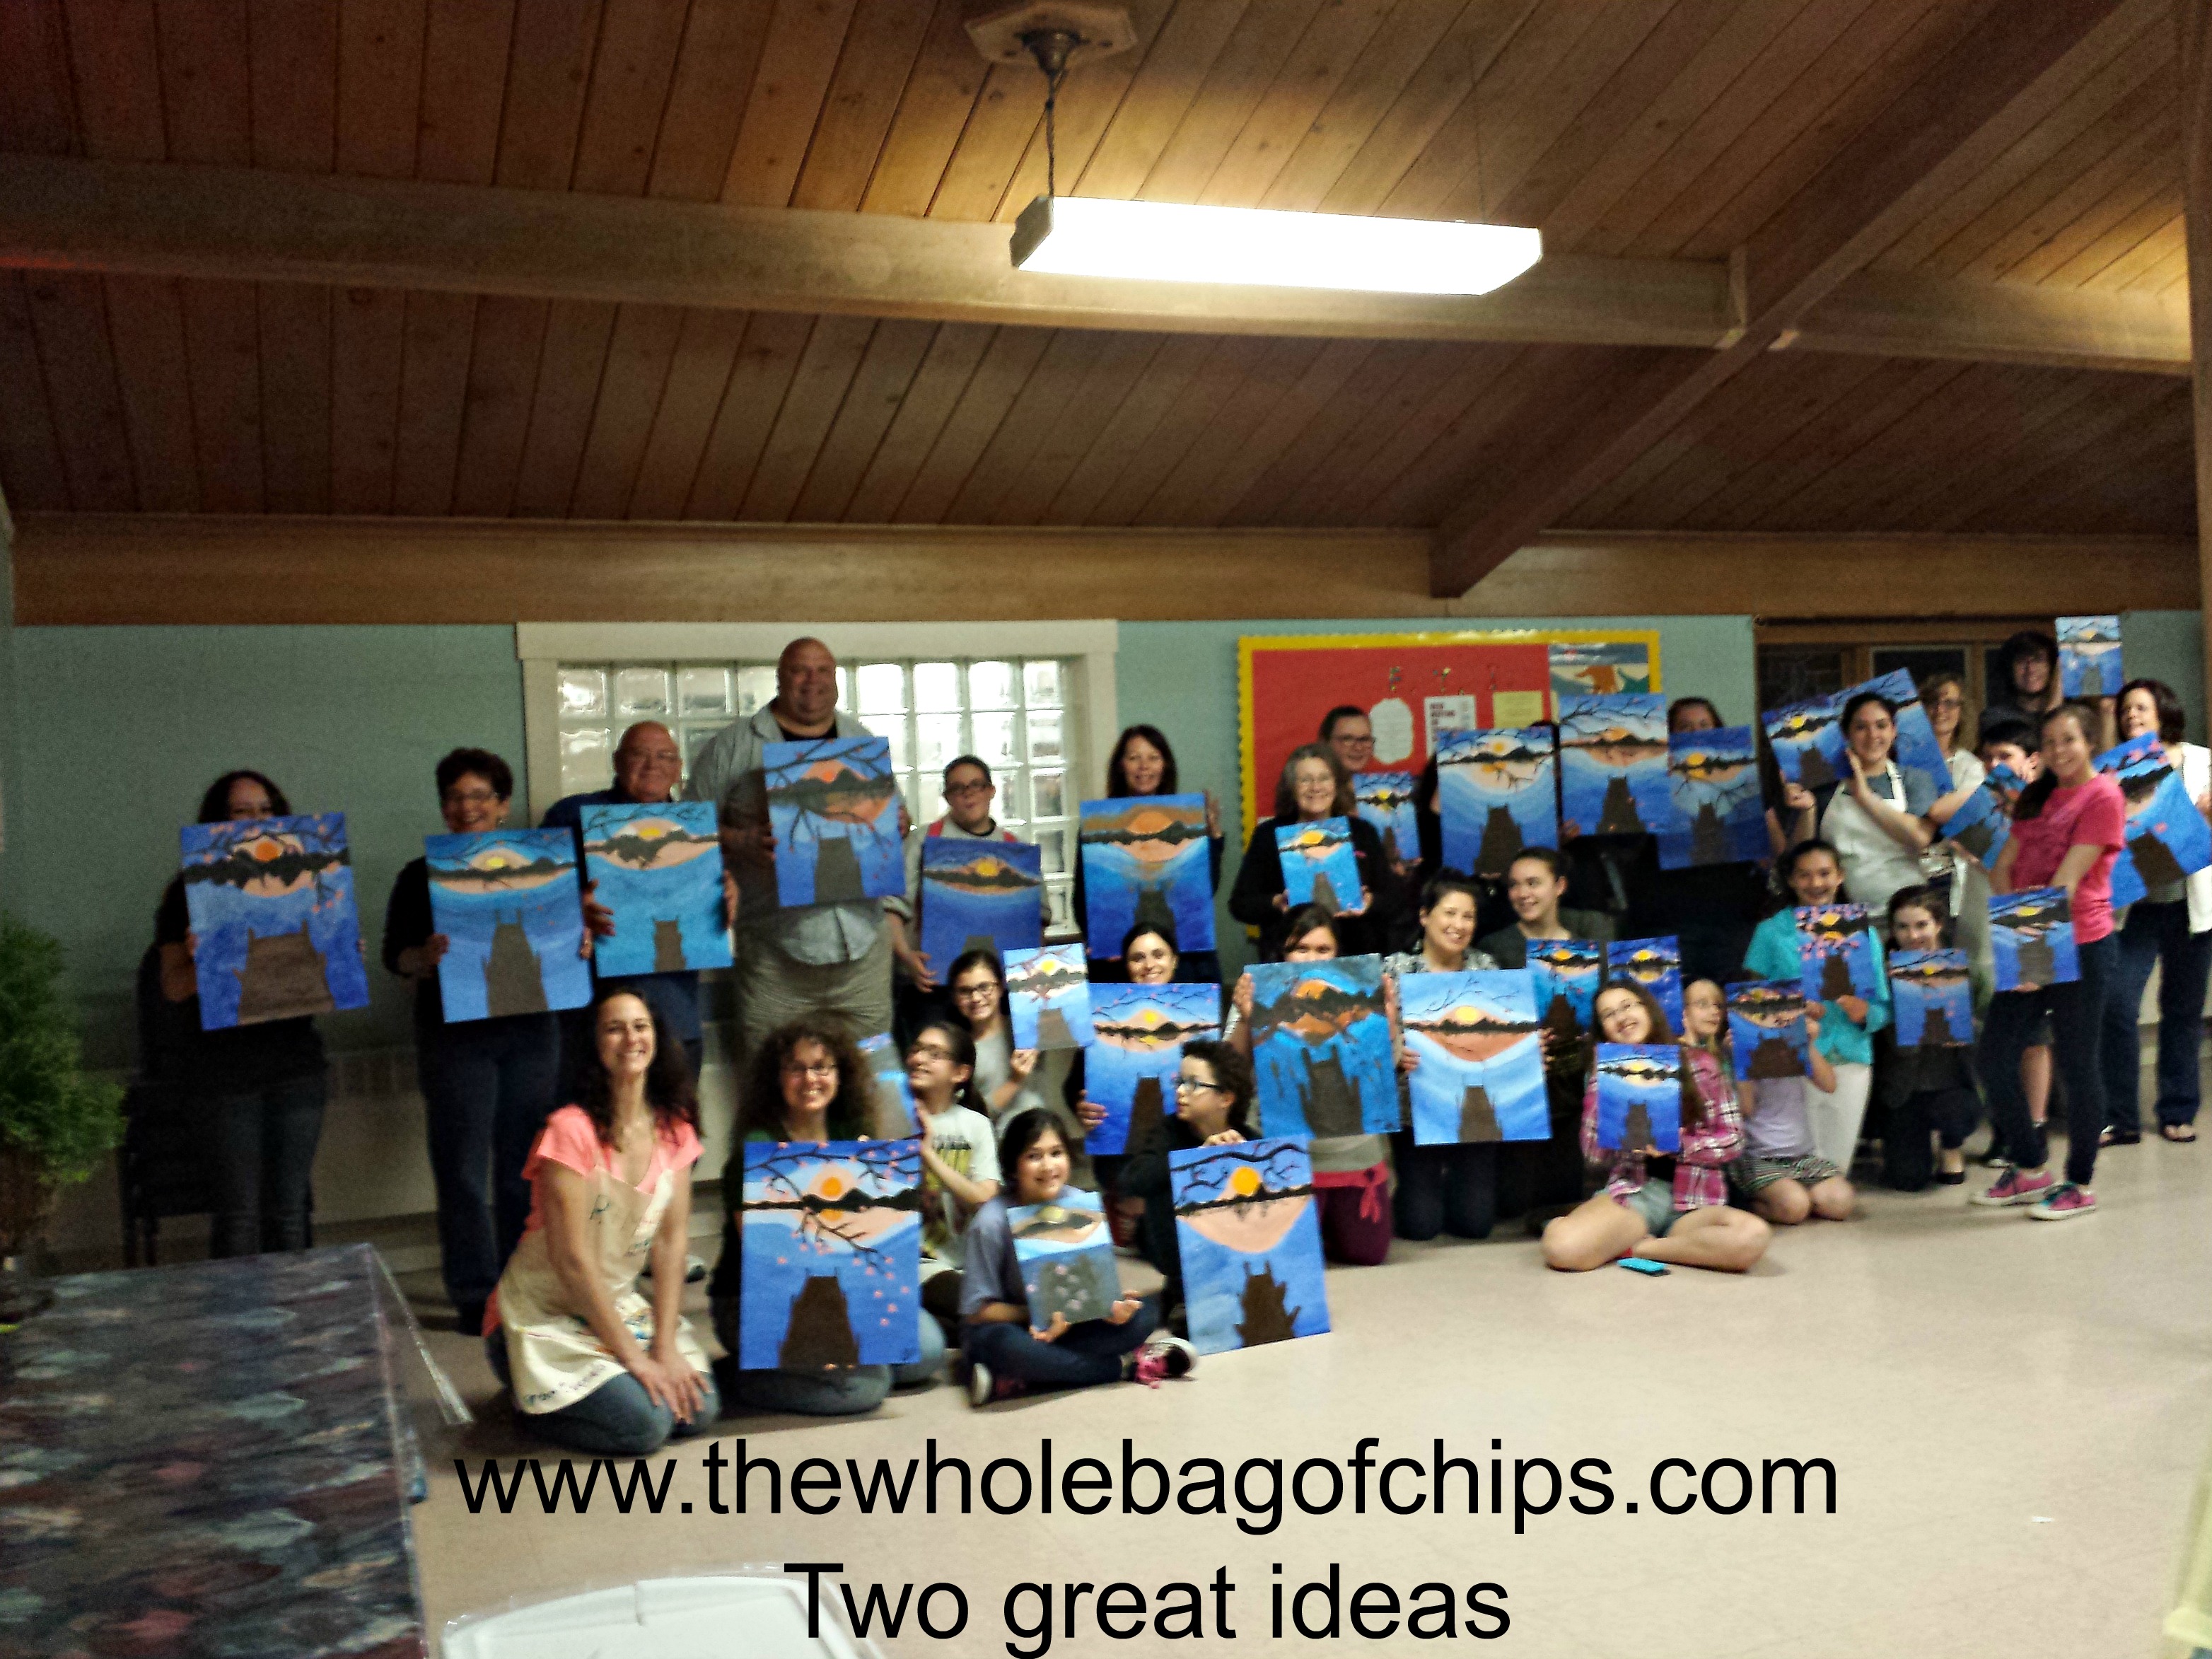
The finished products: each one just a little bit different.
Imagine that? It’s a Monday, I’ve got a post up, and I’m passing along not one great idea for you, but two!
You must be wondering what my ideas are!
Well, here’s the first one, with a little walk down memory lane along with it.
Years and years ago, when my husband and I were first married, we moved out of state for our first teaching jobs. In addition to our classroom jobs, we also took second jobs with the before and after school program in our community, which included the “vacation camps” that took place over the school vacation weeks. We needed the second jobs in order to make ends meet on the starting teacher salaries, but we were a young couple who didn’t yet have our own kids, so we had the time and we loved the activities with the kids we were in charge of. Through our jobs, we took the vacation camp kids and our regular classrooms of kids on field trips to the movies, to Ellis Island, roller skating/blading, and to our most favorite trip of all: The Philadelphia Zoo. Back then, we would lead these large groups of students through the zoo, or to the Statue of Liberty and Ellis Island, pointing out this or that, and I’d think in my head that one day we’d have kids of our own and be doing all of these fun things with them.
Jump ahead 20 years and three kids later, and my husband is one of the co-directors of our church’s Youth Group at St. David’s on the Hill. I am his behind-the-scenes Youth Group assistant. Our kids are in the Youth Group, and nowadays I often think back to that trip to the zoo or the movies, as we take the Youth Group kids, along with our own three, on a field trip or lead them in an activity, and I see that as far as we’ve come with marriage and family, we’re still doing what we love and sharing it with kids, just as we were when we were young(er). So much has changed, and yet not much has changed.
This past weekend, on Saturday night, we were lucky to have our artist friend Kristin, of R&M Studios, lead a “Paint and Pastry Night” at our church; an event and fundraiser sponsored by the Youth Group.
This leads me to the first great idea I’m sharing with you.
If your area is like ours, you’ve probably been seeing loads of opportunities for Paint and Vino events, where there’s wine and everyone paints a picture, guided by an artist. The events are lots of fun and the pictures are always beautiful, and people are often surprised at how relaxing it is to just sit and paint a picture for a couple of hours, especially when surrounded by your friends and/or family.
Being a Youth Group, we couldn’t host a paint and wine party because our event would have children in attendance, painting alongside the adults, but Don and Kristin came up with a “Paint and Pastry” theme instead. Everything would be the same as far as the socialization, fun and relaxation through art, but instead of wine, there would be coffee, lemonade and people could bring pastries to share.
I know what you’re thinking…what a fabulous idea!!!
Me too!
A Paint and Pastry Night…adults and kids together…a fun night out for all.
And it was really so much fun. We had about 40 people in attendance, ranging in age from our fourth-grade youth on up through the adults of the parish, all working side by side. There were two sizes of paintings to choose from, either 16×20 canvases or 9×12. The scene was a beautiful sunset scene over a pier, similar to what we see around these parts in the summertime, especially. Kristin led the artists through the steps of the painting process beautifully and it was amazing to see the blank, white canvases come alive, step by step, with each one just a little bit different in the end, than the ones on either side. Each person’s own touches, made their piece unique.

Seeing the adults and kids, side by side, and seeing the blank canvases come to life, was a wonderful way to spend our Saturday night together!

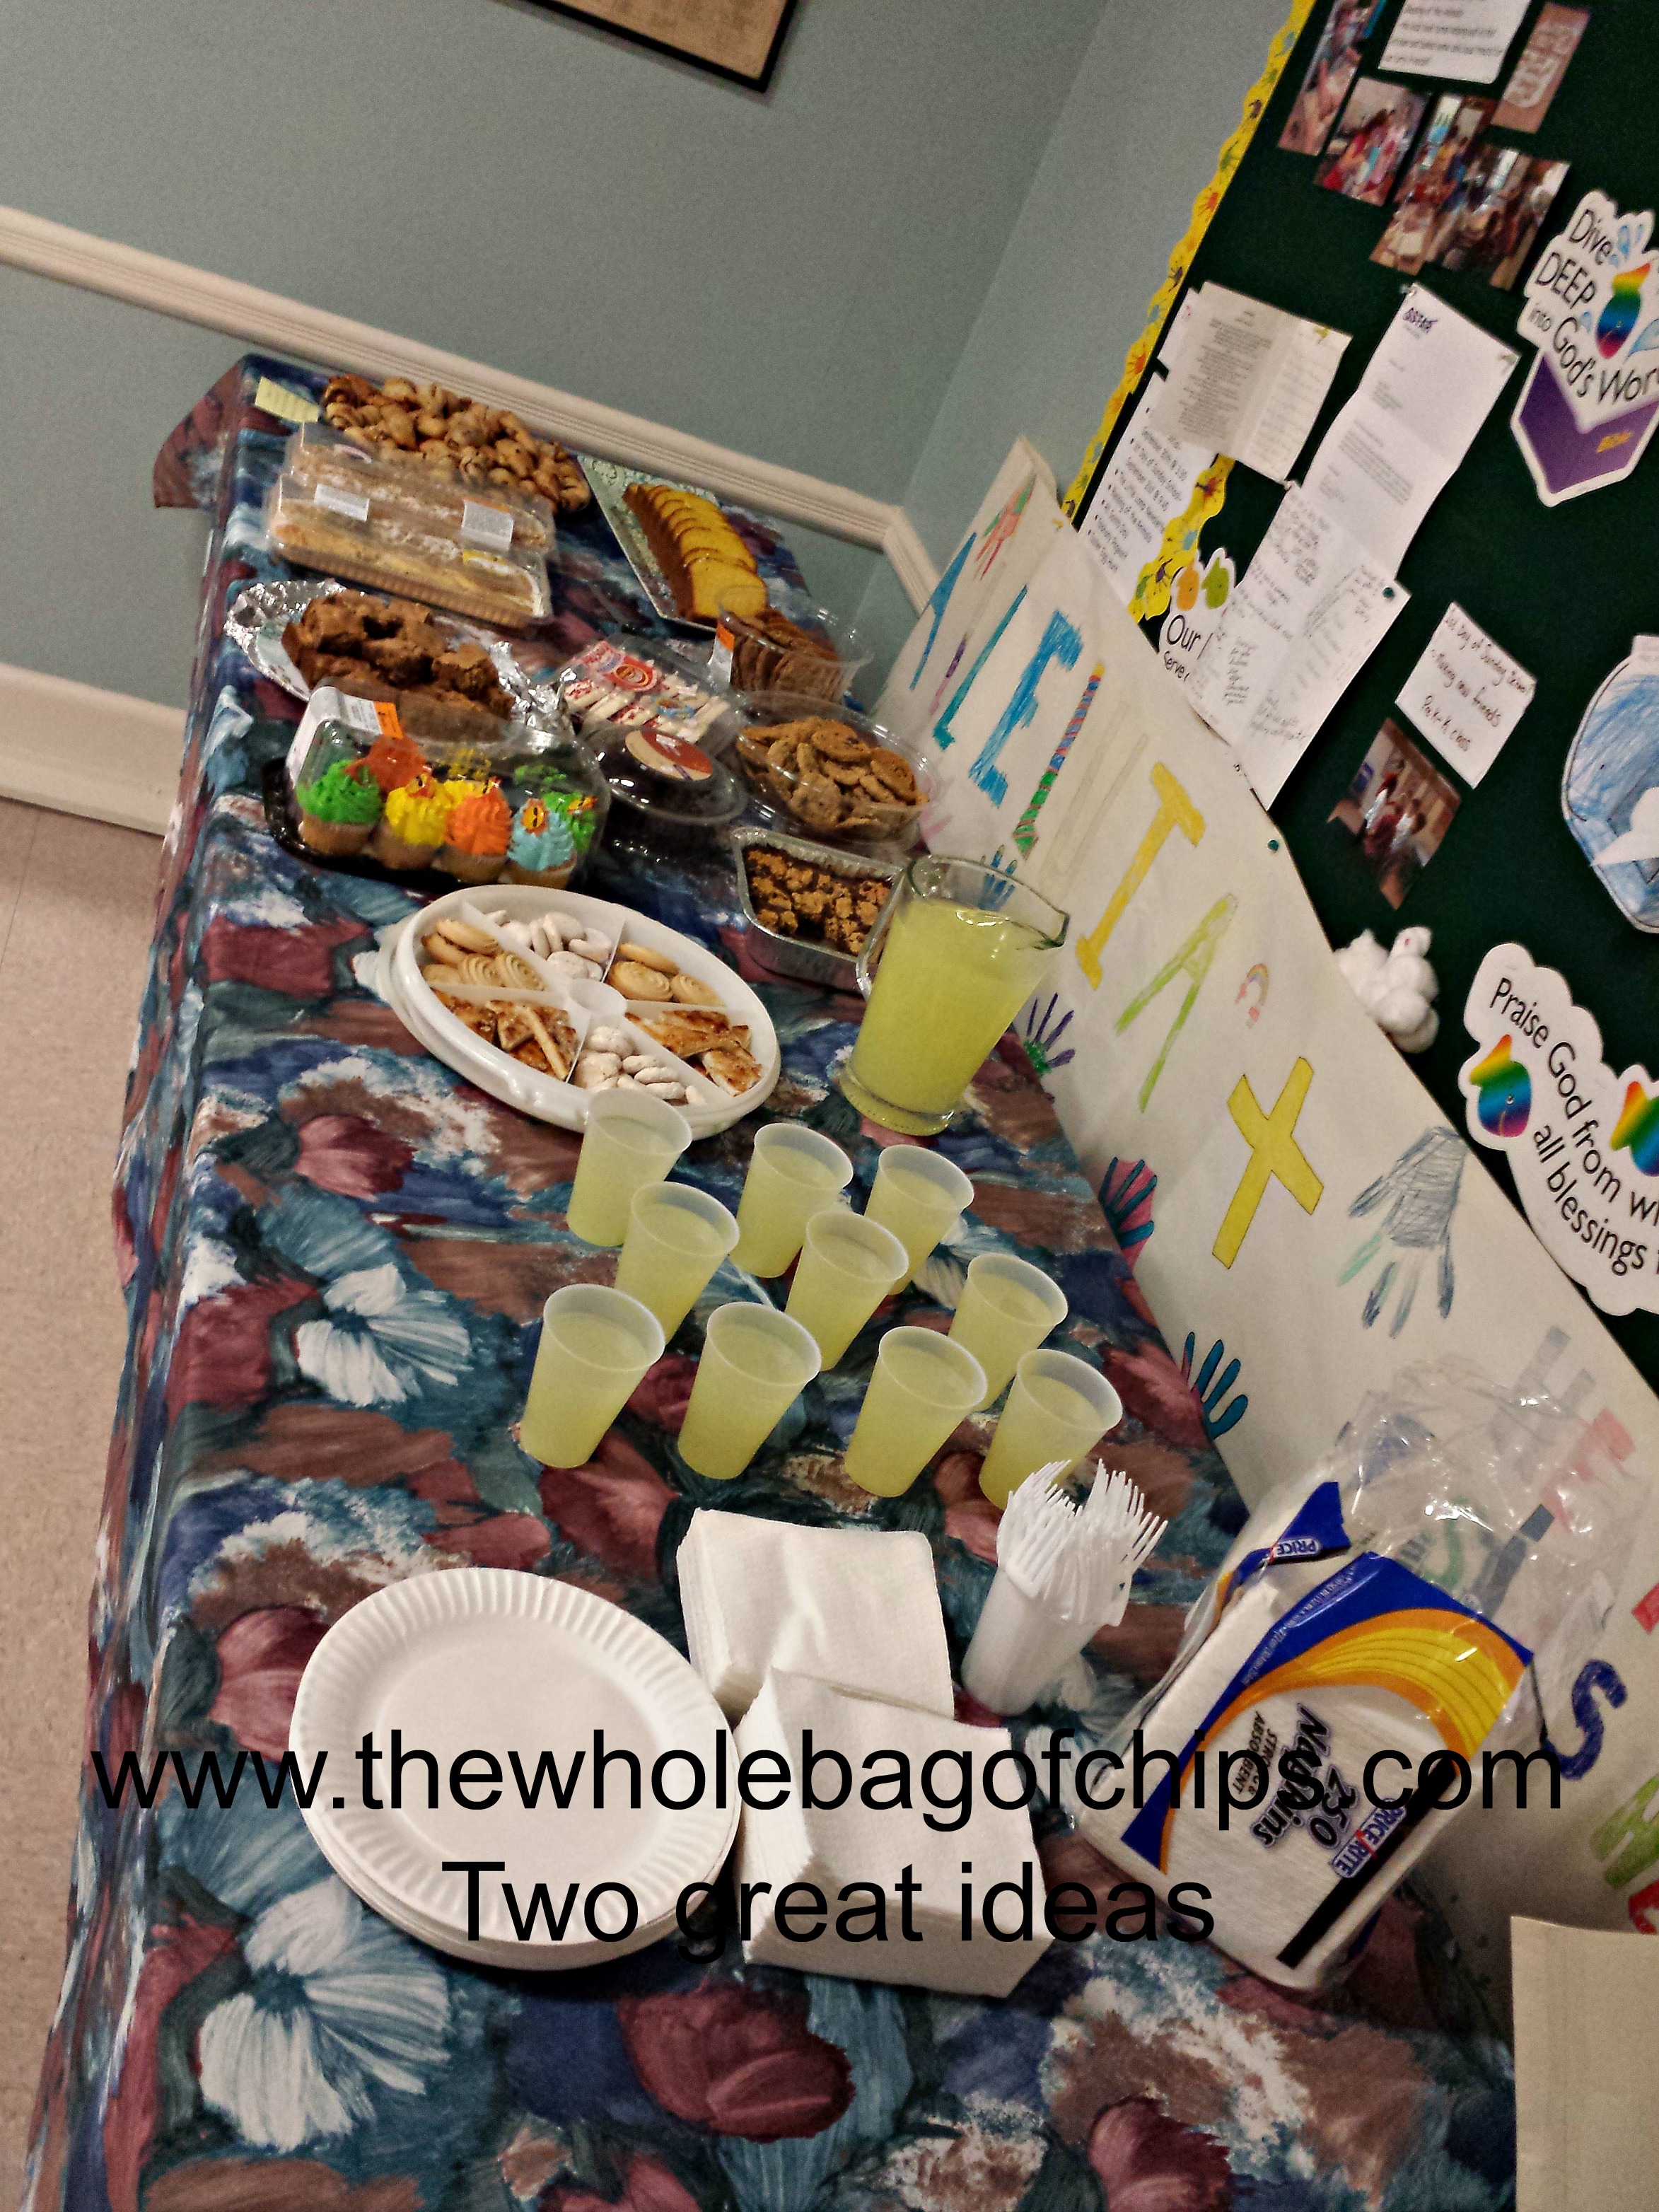
Imagine TWICE as many desserts as this!
There were *a ton* of desserts, and unfortunately I took my picture of the pastry table much too early in the evening, and it shows only HALF of what actually came in for desserts, but I am sure you can imagine the table twice as full as this!
And this leads me to my second great idea.
Last week, I shared with you the Nutella Crescents and I mentioned that I’d be making them for an upcoming event this past weekend.
Well this was the event!
As I considered what to make, I thought of cookies or brownies, and my husband suggested the Nutella Crescents because everyone loves them. My concern, however, was that each can of crescents only makes eight rolls. For everyone in a group that size to get one to try, I’d have to make many cans. I’d be spreading and rolling all day.
But then I had a great idea (my second for you today)….I cut each triangle in half to make smaller triangles, and filled them in just the same manner, just making smaller crescents. Using four cans of the crescent rolls, and two of my kids’ helping hands, they were able to bang out dozens of these delicious treats, and I have to say, everyone raved about them. They weren’t SO much smaller that they wouldn’t be enough. Rather, they were *just* enough that you could take one to enjoy and still have room on your plate for other treats.
In order to facilitate the prep of the crescents, I gave each of my two daughters a large cutting board and two cans of crescents. I put the large tub of Nutella in the middle, and gave them each the tools they needed: a serrated knife for cutting the crescents into smaller triangles, a spoon for scooping out the Nutella, and a butter knife for spreading it. As they completed them and put them onto their baking trays, I put a dab of butter onto each crescent and sprinkled the cinnamon and sugar on top.
Together we did them all in about an hour’s time and at the same time I was able to make a side dish for our dinner that night and muffins for breakfast the next morning, too. Had I been doing the job alone, I couldn’t have accomplished all of that at once.
So there are my two ideas for you: The Paint and Pastry event for a wonderful combined youth/adult event that can be rated “PG” and still be tons of fun for any group, and the halving of the crescent rolls in order to double the deliciousness of my Nutella Crescents from last week’s blog post!
I hope you have a wonderful Monday and a lovely week!
Tags: Nutella Crescents, Paint and Pastry, Paint and Vino, R&M Studios, St. David's On the Hill, Youth Group Events