Archive | healthy RSS feed for this section

Peanut Butter Pumpkin Muffins from Family Food on the Table

18 Nov
The combination of ingredients was what piqued my interest in this recipe.

The combination of ingredients was what piqued my interest in this recipe.

I don’t know about you, but I don’t get off my pumpkin kick until after Thanksgiving. I’m still all about pumpkin for a few more weeks, at least.

I’m finding that this school year, due to our scattered after school schedules, I’m doing a great deal more driving than I am baking in the afternoons and evenings. Whereas I used to be able to do a quick after school baked snack at the end of my work day, this year I can only do that a couple of times a week, if I’m lucky. This means that I haven’t had a lot of new and exciting recipes to try out and to share, and for that, I apologize!

On Monday however, a recipe came across my virtual desk and it definitely piqued my interest. I actually had to read the title a couple of times to make sure I was reading it correctly, as I wasn’t sure I’d seen this combination of ingredients in the past. It’s not that it was anything crazy, it’s just that it wasn’t something I think I’d paired together in the past.

It meant that I just had to try it, just to see how it was.


Batter looked good, that's always a good sign!

Batter looked good, that’s always a good sign!

The recipe was for Peanut Butter Pumpkin Muffins, and it was from Family Food on the Table and it said chocolate chips were optional. To me, chocolate chips are almost never optional, but I liked all of the ingredients that were listed and I had them all, except for the white-wheat flour. I had white, I had wheat. I did not have white-wheat, so I decided to try using half white and half wheat instead. Otherwise, the recipe seemed perfect for an after school snack/late night snack/breakfast for our whole family; well at least for almost all of them. I forgot that one of them doesn’t like very much with peanut butter. She ended up having something else for her snack instead.

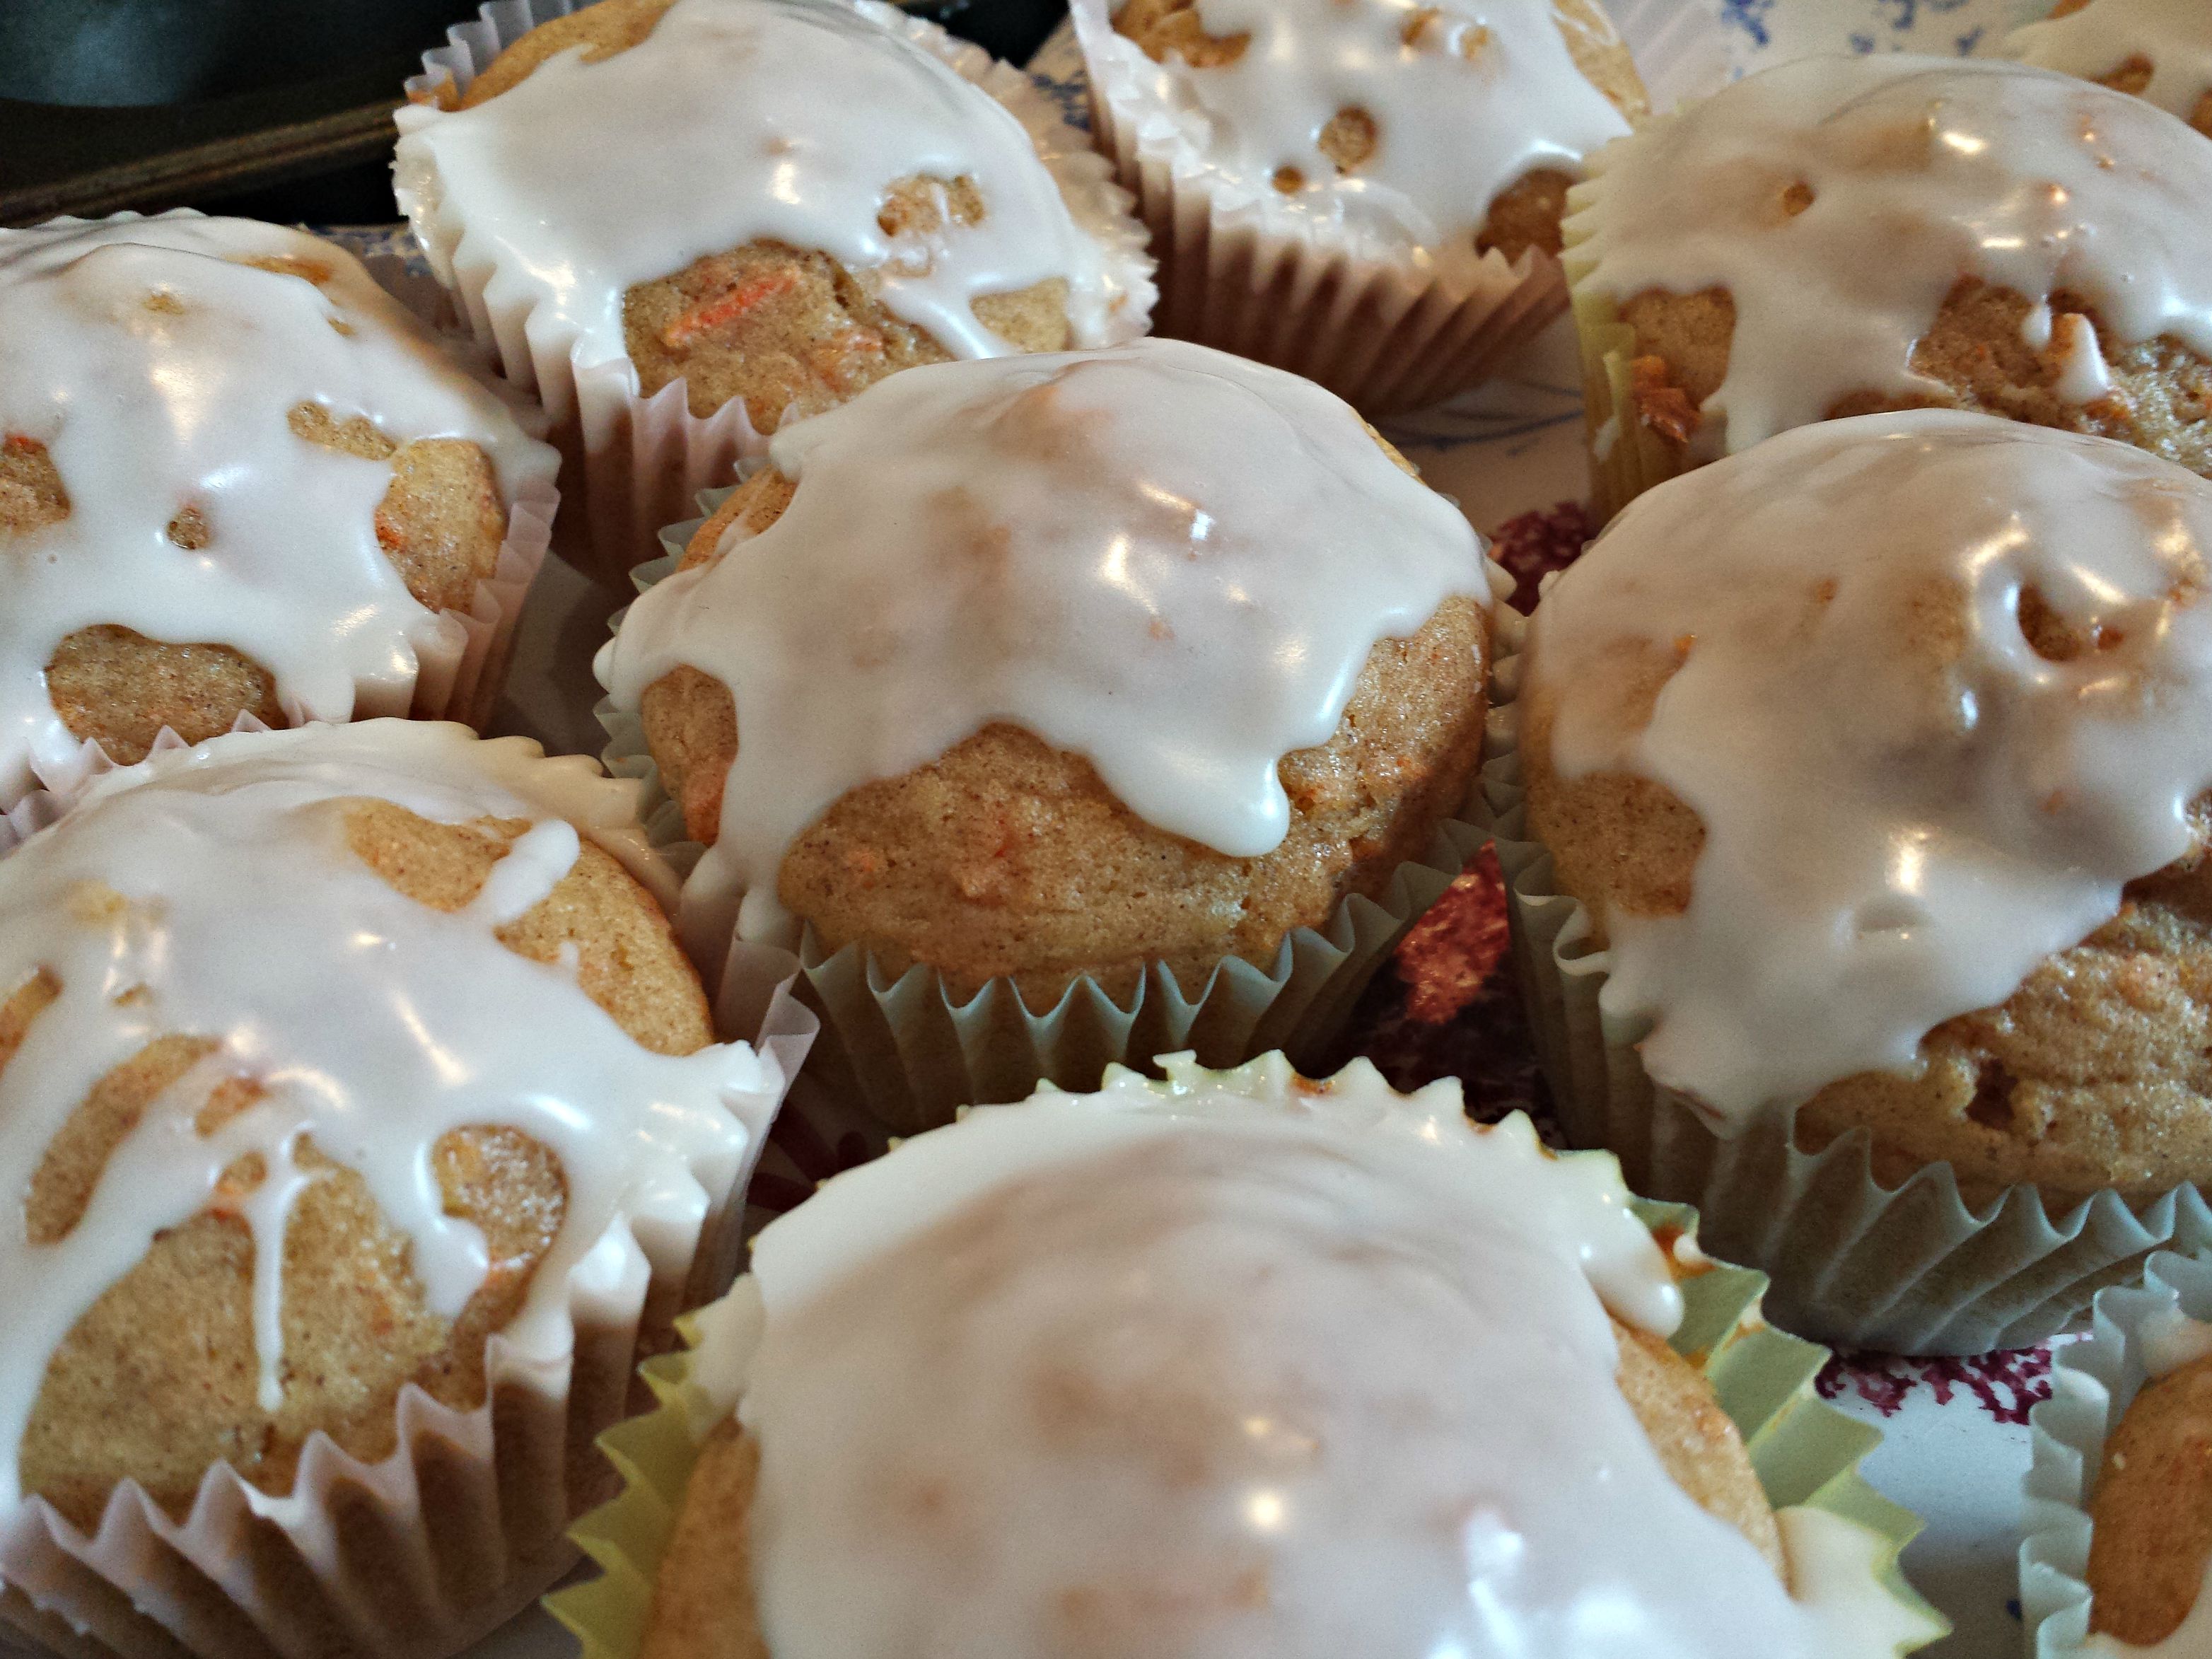
These came together quickly and easily. The prep time was estimated to be about ten minutes, and that was pretty on-target. The cook time was 18-22 minutes. A few of mine were a little soft on top, and probably could’ve cooked a little longer than the 18 that I did, but everyone was starving by the time I finished working and started baking, and everyone gets home so early now that I rushed them out, not checking each one as thoroughly as I should have.

However, despite my feeling a bit rushed, these muffins were delicious! They were hearty and healthy and deemed a keeper by all but my one non-peanut butter lover. I also noticed that there were several options listed at the end, including the option to substitute various types of nut butters such as almond butter to keep them peanut free. It also said that they were tasty with a little extra spread of peanut butter on them when eaten. One of my daughters did that, and she did say they were delicious that way too!

So if you’re as curious as I am as to the combination of peanut better and pumpkin and chocolate chips, I suggest you give these tasty muffins a try! Head on over to Family Food on the Table and check out this recipe and all their others too! Or maybe, you eat pumpkin, peanut butter and chocolate chips together all the time, and in that case, you most definitely want to head on over and check this recipe out!

Enjoy and have a great rest of your week!

Carrot Cake Muffins

24 Sep
Breakfast, snack or dessert? All of the above!

Breakfast, snack or dessert? All of the above!

Good morning!

My blogging schedule is so off this school year, but I’m getting posts in whenever I can for you, and I know you’ll think this one was definitely worth the wait!

Today’s is one that’s been on my editorial calendar since the spring when a friend of mine shared photos of these Carrot Cake Muffins on Facebook. I asked her for the recipe right away and she sent me this one from Allrecipes.com, a favorite site of mine when looking for new recipes.

I knew right away my kids would like these, especially if I added a little icing made with confectioner’s sugar. I mean really, what’s not to love??

My favorite thing about them is that I’m sneaking in a little bit of vegetables that normally they might not all eat. I have since made these multiple times. One afternoon I only had time to make the muffins, not the icing, and left that recipe out for my oldest to do on her own at home. It worked out perfectly.

I love anything that can double or triple in its job, and these muffins do just that. They can be a breakfast, an after school or late night snack, or even a dessert. Although we’ve always had them with the icing, I’m sure they’d be delicious without it also. Most times when I’ve made this in the afternoon, I bag up the leftovers into bags of two muffins each, and that’s a breakfast or a lunchbox snack for the next day too.

You can click here for the muffin recipe from Allrecipes.com, and below is the Powdered Sugar Icing recipe that we use each time.

Powdered Sugar Icing (taken from the Better Homes and Gardens New Cookbook tenth edition, copyright 1989)

1 cup sifted powdered sugar

1/4 teaspoon vanilla

Milk or orange juice (We usually do milk.)

Mix powdered sugar, vanilla and 1 tablespoon milk or juice. Stir in milk or juice, one teaspoon at a time, till of drizzling consistency.

Makes 1/2 cup or enough to drizzle over one 10-inch tube cake.

Let cake stand two hours before slicing.  (We do let our muffins cool first, but not for two hours.)


What’s for Dinner Wednesday: Creamy Chicken Quinoa and Broccoli Casserole

8 Apr
This was a nice change from traditional casseroles, thanks to Pinch of Yum!

This was a nice change from traditional casseroles, thanks to Pinch of Yum!

We have been loving the addition of quinoa to our menu planning ever since Caroline and I had it at the Kids’ State Dinner in 2012 as one of the menu items at our White House luncheon. We’ve used it in all kinds of dishes, and we’ve made the White House menu item the most.

However, recently I tried it in a casserole, thanks to the website PinchofYum.com. Her Creamy Chicken Quinoa and Broccoli Casserole came across my virtual desk at one point and I decided to give it a try.

I’m so glad I did!

The recipe was delicious and it was a great deviation from some of our regular casserole dishes.

We had all of the ingredients, including the bacon. She said in her recipe that any type of cheese would work, so we used shredded cheddar.

I hope you’ll give Pinch of Yum’s recipe a try! I have it below, and I’ve linked to her site above also. I encourage you to check out the nutrition information and cooking notes that she’s included in her recipe write up. It will give you some tips on how to cook quinoa as well as some cook time information.

PINCH OF YUM
CREAMY CHICKEN QUINOA AND BROCCOLI CASSEROLE

Ingredients
  • 2 cups reduced sodium chicken broth
  • 1 cup milk (I used 2%)
  • 1 teaspoon poultry seasoning
  • ½ cup flour
  • 2 cups water, divided
  • 1 cup uncooked quinoa, rinsed
  • ¼ cup cooked, crumbled bacon (optional… sort of)
  • 1 pound boneless skinless chicken breasts
  • 2 teaspoons seasoning (like Emeril’s Essence or any basic blend you like)
  • ¼ cup shredded Gruyere cheese (any kind will work)
    Instructions
    1. Sauce: Preheat the oven to 400 degrees and generously grease a 9×13 baking dish (seriously, be generous because it really really sticks to the sides). Bring the chicken broth and ½ cup milk to a low boil in a saucepan. Whisk the other ½ cup milk with the poultry seasoning and flour; add the mixture to the boiling liquid and whisk until a smooth creamy sauce forms.
    2. Assembly: In a large bowl, mix the sauce from step one, one cup water, quinoa, and bacon and stir to combine. Pour the mixture into the prepared baking dish. Slice the chicken breasts into thin strips and lay the chicken breasts strips over the top of the quinoa mixture. Sprinkle with the seasoning. Bake uncovered for 30 minutes.
    3. Broccoli: While the casserole is in the oven, place the broccoli in boiling water for 1 minute until it turns bright green and then run under cold water. Set aside.
    4. Bake: Remove the casserole from the oven, check the mixture by stirring it around in the pan, and if needed, bake for an additional 10-15 minutes to get the right consistency. When the quinoa and chicken are cooked and the sauce is thickened, add the broccoli and a little bit of water (up to one cup) until the consistency is creamy and smooth and you can stir it up easily in the pan. Top with the cheese and bake for 5 minutes, or just long enough to melt the cheese.

What’s for Dinner Wednesday: Chickpea and Tomato Salad with Fresh Basil by Green Lite Bites

25 Mar
A great side dish for your dinner or a light lunch idea.

A great side dish for your dinner or for a light and tasty lunch.

I’ve become addicted to Pinterest.

I’m probably the last person on earth to become addicted because for a long time, even though I knew it was there, I didn’t go on it very often.

I’m on it every day now.

If I’m sitting somewhere waiting, I click on the app on my phone and I just scroll and pin, scroll and pin.

I’ve found many wonderful ideas for many wonderful things, many of which I’ll probably never have the opportunity to try out. But, I’ve pinned them for future reference, just.in.case.

One such pin that I scrolled past actually did come to fruition, and it was a delicious success, so I thought I’d share it with you today for my WFDW post even though it’s not just for dinner.

This recipe for Chickpea and Tomato Salad with Fresh Basil came my way via the Green Lite Bites site, and I appreciate them sharing it because it’s a simple recipe with fresh ingredients, and I will definitely be making it again in the future.

Interestingly enough, on the day I saw this pin on Pinterest, I actually had a can of chick peas sitting on my kitchen counter. I’m not sure who put them there or why, or what the original intention for them was, but they’d been there a while and I’d been thinking of roasting them one afternoon for a snack, since I hadn’t done that in a while.

Additionally, we’d been babysitting my parents’ plants while they were away and one of them was a fresh Basil plant that they’d left us and told us to feel free to use it if we wanted to. So, I had fresh Basil, which I never do, I had chickpeas, which I often don’t, and I had tomatoes, which I always do. I had everything I needed for this recipe.

I also had two cucumbers that needed to be used, so I decided when making this recipe, to add one in as well.

This was going to be on our menu for lunch during the work and school week, so I decided to give my morning a break by making it ahead of time and putting it in the fridge overnight. I also felt that the flavors would have a good amount of time to blend together and everything would be perfectly chilled by morning.

Four out of five of us were having this for our lunches. For two of my daughters, having just this in a bowl was plenty, along with some pita bread cut into triangles on the side. For my husband, we opted to put this salad onto a bed of lettuce, (as I’ve shown here) with the same side of pita bread. There was just enough left for me to have a little bowl on the side with my lunch that day too.

Everyone loved their lunches and it was just enough for everyone’s desired portion sizes. I loved having my morning “off” from making all four lunches from scratch and I loved coming home to my own lunch partially decided for me, and waiting to be eaten. I don’t love lunches to begin with and I hate deciding what to have. This was a nice treat for us all.

The recipe is quick, can be modified to add in or take out ingredients based on your own tastes and what you have on hand. You could throw in some fresh mozzarella cheese balls (although that would make it a little less healthy if you did) and it’d be just as delicious.

Here is the recipe just as it’s shown on the Green Lite Bites site. I hope you’ll pay her site a visit, as there’s lots of other healthy options to try!

CHICKPEA AND TOMATO SALAD WITH FRESH BASIL

  • 1 can chickpeas, drained and rinsed
  • About 1 pint grape tomatoes, halved
  • 25 large basil leaves, chopped
  • 3 cloves of garlic, minced
  • 1 tbsp red wine vinegar
  • 1 tbsp apple cider vinegar
  • 2 tsp olive oil
  • 1/2 tbsp honey (10g)
  • pinch of salt

Toss all ingredients together and chill for at least 20 minutes, allowing all the flavors to merge.