Archive | Eating on a budget RSS feed for this section

What’s for Dinner Wednesday: Garlic Roasted Kale

14 May
This made a nice change for us as a side dish with dinner.

This made a nice change for us as a side dish with dinner.

A while back I posted the recipe from our visit to the White House for the 2012 Kid’s State Dinner for Kale Chips. That visit was our first experience with kale chips, but it was not our last. My kids love them and it makes a great after school snack for sure.

Recently, however, I received an email for a variation of kale chips. This recipe was for Garlic Roasted Kale from the site My Recipes.com, and I thought I’d give it a try. The things that attracted me to this recipe were the fact that it included garlic, which I love, and it also included kosher salt, which I enjoy the flavor of as well.

I gave it a try one afternoon and the kids absolutely loved it. I decided to try it again most recently as a side dish for our dinner, instead of our usual broccoli or green beans or salad. As my kids were walking through the kitchen, they each asked what I was making and each time they were so excited when I said kale. I had to just shake my head in amazement. I don’t think I ever imagined I’d get three cheers for kale. Ever.

Below is the recipe from My Recipes.com for Garlic Roasted Kale. The only thing I skipped in this recipe was the vinegar at the end because I did not think the kids would like it, although I was pretty sure I would. The rest I did as was called for.

INGREDIENTS

  • 3 1/2 teaspoons extra-virgin olive oil$
  • 1/4 teaspoon kosher salt
  • 1 garlic clove, thinly sliced
  • 10 ounces kale, stems removed and chopped$
  • 1 teaspoon sherry vinegar
  • DIRECTIONS
    1. Arrange oven racks in center and lower third of oven. Preheat oven to 425°. Place a large jelly-roll pan in oven for 5 minutes.
    2. Combine first 4 ingredients in a large bowl; toss to coat. Place kale mixture on hot pan, spreading with a silicone spatula to separate leaves. Bake at 425° for 7 minutes. Stir kale. Bake an additional 5 minutes or until edges of leaves are crisp and kale is tender.
    3. Place kale in a large bowl. Drizzle with vinegar; toss to combine. Serve immediately.


Fun Friday: Raisin Bran Muffins

9 May
Another great muffin recipe!

Another great muffin recipe!

Some people are ever-searching for the next great chocolate chip cookie recipe or the best-ever brownie recipe.

Not me.

I’m all about muffins. I’m always searching for another great muffin recipe to try out.

Each time I find one, I get excited because each and every muffin recipe is completely different from the last.

It’s been a while since I’ve posted one,  I’ve really tried to hold off, but today I just had to post a new one.

This was sent to me by my friend Gina, and it was a huge hit here at our house. I liked it because I love raisin bran muffins in general, I love the sweetness of cooked raisins, and because it makes a lot of muffins. One of the reasons I hunt down so many muffin recipes is because I often use them as after school snacks one day and breakfast the next. This recipe made enough that it was perfect for that endeavor.

The recipe originally hails from Pinch of Yum, according to the page I printed out with the recipe on it and the author is listed as Angela Oldenburger. She recommends using some of the batter as needed at first and saving the extra in the fridge to cook in a ramekin one serving at a time, at a later date. If you choose to do that, you would microwave the batter for one minute in the ramekin. I did not do that, I made all of mine at once. They go too quickly here!

I am putting this very easy recipe below. I hope you’ll try it and I hope you’ll pay a visit to Pinch of Yum and see all the deliciousness over there!

RAISIN BRAN MUFFINS

INGREDIENTS

1/2 cup of oil

1 cup of sugar

2 eggs

2 cups of buttermilk (sub one cup of milk and one cup of plain yogurt) ***I used 2 tablespoons of white vinegar and enough milk added to that to make 2 cups.***

Fast, easy and yielding a large amount of muffins, this was the perfect recipe for me!

Fast, easy and yielding a large amount of muffins, this was the perfect recipe for me!

4 cups Raisin Bran cereal

2 cups flour

2 tsp. baking soda

1 tsp salt

DIRECTIONS

1 Mix in order and bake in muffin tin at 400 degrees for 12-20 minutes, depending on pan size. Let cool at least ten minutes. Top with butter and honey.

2. Save leftover batter in the refrigerator. For individual servings, scoop into ramekin/mug and microwave for one minute.

What’s for Dinner Wednesday: Egg and Sausage Casserole

30 Apr
This was a great last minute save for our dinner a few weeks back!

This was a great last minute save for our dinner a few weeks back!

Ever have one of those nights where you’ve counted on leftovers for dinner but yet when you open the fridge, there aren’t any?

Yup. It really stinks when that happens, doesn’t it?

We must’ve had a very hungry week the week prior to our spring break because when we made our menu for the week, knowing we’d be going away for the break week, we tried hard to use what we had and we worked in leftovers on the menu for a particularly busy night where we’d have to eat and run. But, we did an extra good job of using what we had because when I looked, I realized I needed a new plan for dinner that night.

Coincidentally, because I get so many meal ideas and recipes in my inbox each day, one happened to catch my eye and spark my interest for dinner that night. It was an egg and sausage casserole which was supposed to be cooked in the slow cooker, most likely for an Easter brunch type of meal, but it gave me an idea for my last minute Wednesday-before-the-chorus- concert-and-dance-class night type of meal instead.

I began looking on the internet and Pinterest for egg casserole ideas. I wanted to make a good-sized one so that I could also use it for the remaining week’s breakfasts and lunches too. I am a big fan of the “Cook Once, Eat Twice” philosophy.

The recipe I came up with was well-received by my family and I even served it with an English Muffin bread, which I made in the bread maker while I was gone for the afternoon. I did not need to slow cook my casserole, so I baked it in the oven instead. It was a perfect meal.

Here is the recipe I somewhat created, based on all the recipes I saw that day.

EGG AND SAUSAGE CASSEROLE

INGREDIENTS

Olive oil

12 package cooked sausage (I used a combination of cut up low fat turkey sausage links (8) and what I had left of my Jimmy Dean low fat Turkey sausage crumbles.)

14 eggs beaten

1/2 cup milk

1 small onion, chopped

Several small potatoes, chopped into bite sized pieces (I used six potatoes, I could’ve done with five. Six was just a bit much, even for a large casserole.)

1-2 cups shredded cheddar cheese (we use low fat)

DIRECTIONS

I precooked my potatoes and my onions and sausage in olive oil on the stove top first. I put them into two cast iron skillets since I had such a large amount, and cooked them before putting them in the bottom of my casserole dish. I poured my eggs on top of them once in the dish, and topped with the shredded cheese.

I baked my casserole for one hour at 350 degrees. Be sure to check it by putting a knife through. The casserole looks done about halfway before it is done. Halfway through, I covered it with foil because the top was golden brown but the inside was still loose.


Resolutions and Recipes: Sweet and Sour Beef and Broccoli

9 Apr

ORIGINALLY POSTED JANUARY 13, 2012: Earlier this month, when I talked about grocery shopping on a budget, one of the staples that I mentioned buying pretty regularly was stew meat. I have two recipes that I use most regularly when making something with stew meat (and I NEVER make stew, I don’t like it.) Recently though, I was looking for something new and different to make with the beef. I did a search of Allrecipes.com and I found one. The recipe called for cooking the stew meat through, throwing in broccoli and onions and adding a teriyaki sauce to it while it simmers and everything cooks through. I figured I’d try it out since I almost always have broccoli on hand and I had an onion. So, I went on Allrecipes.com again and found a teriyaki sauce recipe.

The end result, a one-dish meal (I love one-dish meals) that got all thumbs up all around and looked like this:

Sweet and Sour Beef and Broccoli Teriyaki

I love a meal that you can make in just one pan. Easy to cook, serve and clean up.

Below is the recipe for the sauce as I found it on Allrecipes.com.

Restaurant Style Teriyaki Sauce

INGREDIENTS

1/4 cup soy sauce

1 cup water

1/2 tsp. grd. ginger

1/4 tsp. garlic powder

5 Tbl. packed brown sugar

1-2 Tbl. honey

2 Tbl. cornstarch

1/4 c. cold water

DIRECTIONS

1) Mix soy sauce, one cup water, ginger, garlic powder, brown sugar and honey in small sauce pan.

2) Mix cornstarch and 1/4 cup cold water together in a measuring cup.

3) Add the cornstarch and water to the pan of sauce.
Heat to desired thickness, add water to thin.

I served this on a bed of brown rice.

ENJOY!

Fun Friday: Dump Cake for April Fools Day or any day!

4 Apr
This was a quick and easy dessert!

This was a quick and easy dessert!

In a recent What’s for Dinner Wednesday post, I mentioned that the stir fry recipe I was trying out reminded me of a cake recipe I’d once heard of called Dump Cake, because like that cake recipe, the stir fry recipe was one where you just dumped a whole bunch of ingredients in and cooked them.

That reference in my post got me thinking about Dump Cake recipes. I couldn’t remember having had one myself and I wasn’t even sure where I’d heard about Dump Cake, but I knew I had somehow, from somewhere. So of course I turned to Google and searched the term Dump Cake to see what kinds of recipes would come up and to see if Dump Cake was something I’d like to try making. As I looked, I found that they varied slightly in the types of ingredients that could go in them. Some had canned fruits, some had fresh. Some had butter: one stick or two, and some had a can of soda. They all used a yellow cake mix and all called for an optional addition of chopped walnuts.

I decided to find one somewhere in the middle. I had a can of crushed pineapple already and a yellow cake mix. I did not want to go the soda route, so I knew I’d be using butter (we use I Can’t Believe It’s Not Butter), but I didn’t want to use a lot. Ultimately, I chose a recipe that used a can of crushed pineapple, a can of cherry pie filling, one stick of butter and a cake mix. I did not choose to use the walnuts.

The recipe I chose was from Allrecipes.com, and it claimed to be “as easy as dumping ingredients in a pan,” and it sure was. There were enough steps for everyone to have a turn helping to make the cake. We were using this as part of this year’s April Fools Day dinner, our first ever, and the girls and I were in cahoots, creating a fun meal for their dad. Part of the fun was having a “cake” for dinner and this Dump Cake for dessert.

The “cake” for dinner was going to be heart-shaped and as it turned out, our Dump Cake turned pink, so it was a very funny meal to be eating in April.

The recipe, as it appears on Allrecipes.com is below. It truly is as easy as they say, and it was really tasty too! We had ours with a simple squirt of whipped cream, but I’m sure it’d be delicious with ice cream on top too. I’m also sure that any variety of fresh fruits would be good as well. The only thing I was unsure of was whether or not to spray my pan with non-stick spray, and I opted to do so, rather than risk the cake not coming out of the dish.

Next time you’re looking for a fun cake to make, remember my April Fools Dinner and try a Dump Cake!

DUMP CAKE BY ALLRECIPES.COM

A few ingredients were all we needed!

A few ingredients were all we needed!

INGREDIENTS

 Original recipe makes 1 – 9×13 inch cake

  • 1 (21 ounce) can cherry pie filling
  • 1 (15 ounce) can crushed pineapple
  • 1 (18.25 ounce) package yellow cake mix
  • 8 ounces chopped walnuts
  • 1/2 cup butter

DIRECTIONS

  1. In a 9×13 inch pan mix cherries and pineapple. Sprinkle dry cake mix over pineapple, and cherry mixture stir until just combined. Then sprinkle walnuts over top. Drizzle top with melted butter or margarine.
  2. Bake in a 350 degree F (175 degree C) oven for 35 or 40 minutes or until golden brown. 

    "Cake" for dinner and Dump Cake for dessert for April Fools Day!

    “Cake” for dinner and Dump Cake for dessert for April Fools Day!

What’s for Dinner Wednesday: An April Fools Day Dinner!

2 Apr
Not for pranks, but just for fun, an April Fools Day Dinner

Not for pranks, but just for fun, an April Fools Day Dinner!

If you’re a fan of The Whole Bag of Chips, you know from reading over the years that I incorporate creativity into our meals whenever the opportunity exists, whether it’s green smoothies for St. Patrick’s Day or creating a special cake for a sleepover birthday party. I always try to make things fun whenever I can.

But I don’t love April Fools Day and I never commemorate it in any way at home. In general I don’t love pranks, especially when they’re mean, but last year specifically, we had a terrible April Fools Day, with a funeral in the morning and a wake in the evening. It had been such a sad day all around, and yesterday I was thinking back to that day and all that took place throughout, and I was thinking of those two families one year later in their own lives, as well.

As sad a day as it was last year, I decided that I’d do something fun this year. For the first time ever, I’d acknowledge April Fool’s Day with some mealtime antics.

For once, we didn’t have to be anywhere before or after dinner and it was a beautiful day outside. I clicked over to Pinterest, and I searched for April Fools Day Dinners. There was certainly plenty to choose from! I quickly assessed what was offered and thought about what I wanted to do and what I didn’t want to do. I didn’t want to have candy or dessert for dinner, so that ruled out all of the neat ideas for making things that looked like dinner, using candy. As cool as that sounded, I wanted dinner to be dinner. I saw lots of ideas for using meatloaf and mashed potatoes for cupcakes and cakes, which I thought would have been perfect, had I not just made Shepherd’s Pie last week, and a whole lot of it, enough for leftovers a couple of times. We were meatloaf and mashed potato’d out, but it’s something I’d consider for another year.

I finally found something I could pull off: an April Fools Cake recipe that looked like a cake but was actually similar to a pizza. It was from Taste of Home, and it called for using a bundt pan, of which I only have a heart-shaped one, but I thought that’d add to the fun. At first I thought I’d do this to surprise the kids, but then I decided that time-wise that wouldn’t work out very well since I’d have to do it while they were all here. I opted instead, to let them in on the fun and give them all a job to do in creating our “cake” for dinner and they could in turn, surprise their dad when he got home from work. The months of March and April are pretty insane for an elementary principal, with lots of dinner-less late nights, and I thought this would brighten his day as well as give the kids something fun to do.

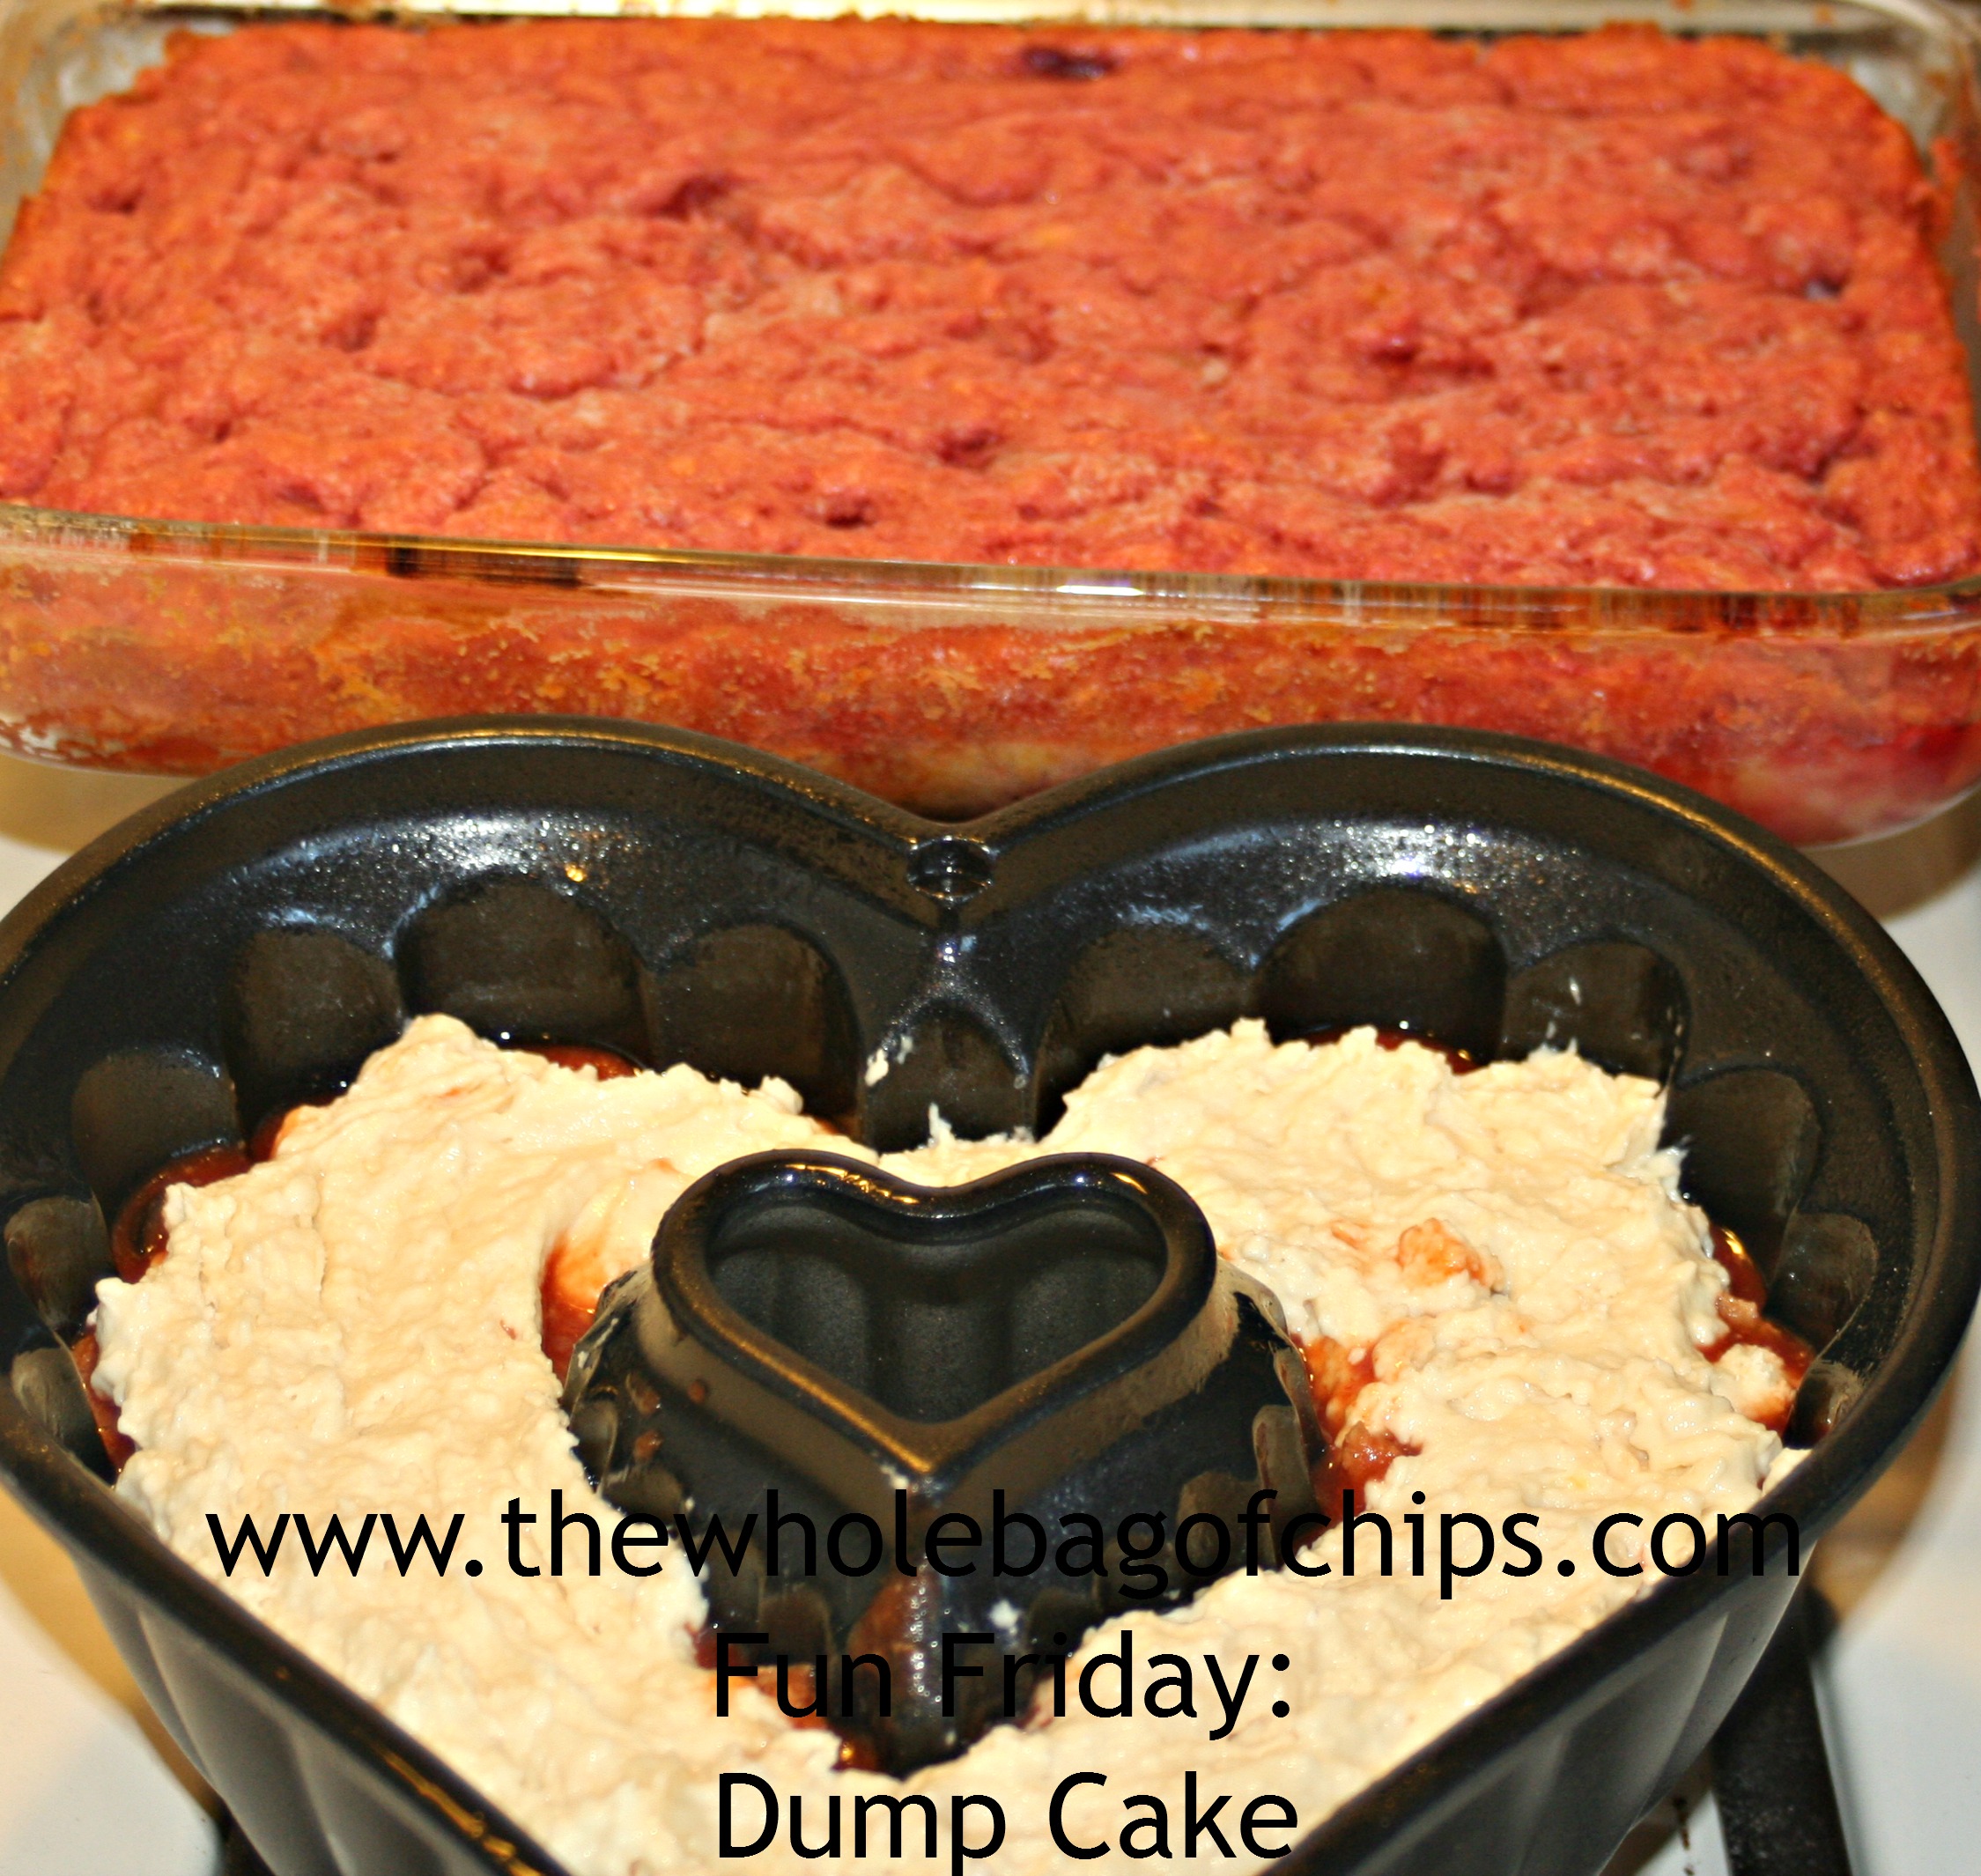
I also decided to make “Dump Cake” for dessert so that they could then say we were having cake for dinner and cake for dessert. I had them help out with that also, but that’s a post for this week’s Fun Friday! You’ll have to check back in a few days to see that post!

The recipe was an easy one and I had to modify it to use what I had at home because I didn’t want to go out to pick anything up or spend any additional money on ingredients. Their recipe called for a Bisquick type of mix, which I had here. It called for three cups, and when I measured what was left in my box it was *exactly* three cups. That was pretty great. It called for sausage and pepperoni in the “pizza” type of filling but I opted to use meatballs instead, since everyone likes them. I also threw in olives. It called for slices of mozzarella cheese for the “frosting,” which I did not have. I had shredded instead. I decided we’d be “drizzling icing” instead of frosting our cake. It worked out fine.

Overall, this was a fun recipe for April Fools Day dinner. I don’t know that it’s something I’d incorporate into our regular menus throughout the year, as we regularly make some kickin’ real pizzas that I like much better. But, it was fun, and the kids liked surprising their dad, and he liked playing up the surprise as well. He enjoyed the meal. We followed dinner by a long walk outside until after dark, and came in for our Dump Cake dessert, which was really just a perfect day to replace my memories from last year. Now next year when I look back on April Fools Day, it won’t have such a dark shadow in my mind. Instead, I’ll remember this day, which was much, much better. No sadness or pranks, thankfully, but some great, great family memories.

And I’ll take that ANY day of the year.

Below is the Taste of Home recipe as they have it on their site, with all of my modifications in italics. Their recipe served as my inspiration, but I adapted it to suit our needs quite a bit. Next year, when April 1 rolls around you might want to give it a try too!

APRIL FOOLS CAKE BY TASTE OF HOME

Ingredients

  • 1 jar (14 ounces) pizza sauce
  • 1/2 pound Johnsonville® Mild Ground Italian Sausage, cooked and crumbled  *I used meatballs and olives*
  • 1 package (8 ounces) sliced pepperoni *I skipped this*
  • 3 cups biscuit/baking mix
  • 3/4 cup milk
  • 2 eggs
  • 2 tablespoons butter, melted *I used I Can’t Believe It’s Not Butter*
  • 1 teaspoon garlic salt *I had to make my own with garlic powder and salt*
  • 5 to 6 slices mozzarella cheese *I used shredded mozzarella for icing instead of frosting*

Directions

  • In a bowl, combine the pizza sauce, sausage and pepperoni; set aside.
  • In another bowl, combine the biscuit mix, milk, eggs, butter and
  • garlic salt. Spread half of the batter on the bottom and up the
  • sides of a greased 10-in. fluted tube pan. Spoon meat mixture over
  • batter; cover with remaining batter.
  • Bake at 375° for 35-40 minutes or until browned and a toothpick
  • comes out clean. Invert onto a baking sheet. Arrange cheese over
  • cake. Return to the oven for 5 minutes or until cheese is melted.
  • Using two large metal spatulas, transfer cake to a serving platter;
  • serve immediately. Yield: 8 servings.


What’s for Dinner Wednesday: Simple Shrimp and Chicken Stir Fry

26 Mar
I loved the flavor in this stir fry!

I loved the flavor in this stir fry!

You might think to yourself that if you’ve had one stir fry, you’ve had them all. How different could they possibly be?

I think it depends on what your ingredients are. There are so many different flavors out there, whether it’s the sauces you throw in or the ingredients and vegetables that you include.

Recently I had so many veggies left in my fridge that I didn’t want to go to waste, I decided to do a stir fry. I wanted to try a new one though, just to see what was out there. I also knew that besides the veggies I wanted to utilize, I also wanted the stir fry to include both chicken and shrimp, since I have kids who like one or the other, but not both.

I Googled “shrimp and chicken stir fry” and chose this one from http://hipfoodiemom.com and I really loved it! I had everything the recipe called for except mushrooms and snap peas, but I also had zucchini so I threw that in instead. It seemed reminiscent to me of a “Dump Cake” recipe I once read, where you literally just dump all the ingredients in together. That’s what I love about stir fry recipes, you can really throw in a lot of different things.

I think that the difference between this recipe and some of the ones I’ve tried in the past are the sesame oil and the balsamic vinegar. Those are new to any recipe I’ve tried before.

Here is the recipe as Hip Foodie Mom has it on her site. I hope you’ll pay her a visit!

It was the unique combination of sauces that made this recipe so good!

It was the unique combination of sauces that made this recipe so good!

Author: Hip Foodie Mom

Recipe type: Main
Serves: 4-6
Ingredients
  • 2 tablespoons olive oil
  • 1-2 cups broccoli, cut into florets
  • 1 package mushrooms, sliced
  • 2 to 3 carrots, cut
  • 1 bell pepper (red or yellow), chopped
  • 1-2 cups sugar snap peas, chopped
  • 1 cup onion, diced
  • salt and pepper
  • about 1 tablespoon sesame oil
  • about 1 pound shrimp (fresh or frozen, but if frozen, make sure it’s completely thawed)
  • 2 cups rotisserie chicken; chopped
  • ¼ cup low sodium soy sauce
  • 1-2 teaspoons of balsamic vinegar
  • Serve with brown rice
Instructions
  1. Get all your veggies prepped: washed and chopped. And cut up your rotisserie chicken.
  2. Heat the olive oil in a large skillet or wok over high heat. After a minute or 2, throw in all of your vegetables and allow them to cook until just tender, for about 2 minutes. Stirring occasionally. After 2 minutes, reduce the heat to medium-high and cook your vegetables or another 3 minutes or so. Season with a little salt and pepper.
  3. Add the shrimp and chicken. Drizzle the sesame oil, add the low sodium soy sauce and a splash or 2 of balsamic vinegar. Taste and add more soy sauce or balsamic vinegar if needed. Cook for another 5 minutes or so. Serve over brown rice.


What’s for Dinner Wednesday: Taco Pizza

19 Mar
This was a fabulous addition to our ever-growing list of gourmet pizzas!

This was a fabulous addition to our ever-growing list of gourmet pizzas!

A couple of weeks back, I had a typical Facebook messaging exchange with my friend Gina. It consisted of the usual commiserating about the fact that neither of us knew what to make for dinner that week. I happened to mention that I did have taco meat already cooked up and frozen, but that I didn’t necessarily want to have tacos again.

Her suggestion: Taco Pizza.

“Ohhhh…..I said, I like that idea!”

Lucky for us, there’s a bakery right down the street that sells fresh dough

If you love Tacos, you'll love trying out Gina's Taco Pizza!

If you love Tacos, you’ll love trying out Gina’s Taco Pizza!

by the pound, 24 hours a day for just a little over a dollar a bag.

That’s right, 24 hours a day. If I wanted to go at midnight to get a bag of dough, slice of pizza or a cookie, I could. I don’t, but it’s nice to know the option is there.

So last week I got my dough (during daylight hours) at the bakery and came home to get ready for our pizza dinner. We had a regular work day combined with a pre-dinner meeting and Dance for one of the girls. Pizza for dinner was the perfect answer to our need for quick, easy and delicious.

I’d actually gotten three bags of dough. We were having a ham and pineapple pizza, a meatball, cheese and sauce pizza, and our newest addition: Taco Pizza, thanks to Gina.

Coincidentally, we were also having furniture delivered the next morning between the hours of 6:30 am and 9:30 am in time for us to be out the door for work and school, but right smack-dab in the middle of lunch preparations. Having pizza for dinner the night before would allow me to bag up slices of whatever flavors anyone wanted for lunch the next day, after dinner.

Easy-peasy. It took a lot of advanced planning to make the night and next morning go off without a hitch, but it was healthier than ordering take-out that night or school lunch the next day, and much tastier too!

For this pizza, the only thing I’d do differently the next time, is crush up my tortilla chips and bake them right in there with the meat, underneath the cheese. This first time that we tried out the recipe, we crushed them up and added them on top. I found them hard to eat, but in our Taco Bake recipe we put them right inside, and I think I’d enjoy them more that way on the pizza than on top.

Otherwise, this is so easy!

Spread out your pizza dough, add your taco meat on top, and throw on some crushed tortilla chips if you’d like to, before adding your cheese. We used cheddar cheese on ours because of the nature of the pizza, rather than mozzarella.

Once your pizza is cooked, it’s up to you what toppings you’d like to add, anything you’d normally add to a taco.

Here are some suggestions:

Sour cream

Avocado

Olives

Tomatoes

Lettuce

Fun Friday: Dreaming of the gardening days

14 Mar
I love seeing their kids out in the garden, exploring the things we're growing.

I love seeing their kids out in the garden, exploring the things we’re growing.

I don’t know about you, but I totally have spring fever! We’ve had a cold and snowy winter, and although I have loved those days too, I’m ready to move on. We’ve had some warm days mixed in with our end-of-winter weather this past week and it’s given us a taste of what’s coming.

Spring is right around the corner!

I truly believe that having all four seasons is a blessing, and it allows us to love and appreciate each season for its differences. To me, there’s nothing like seeing those first buds of spring as they’re starting to make their way through the ground. Seeing the leaves on the trees sprouting and feeling the sunshine and warm wind on your face is exciting to me after the winter days.

As I’ve run my errands over the past week, I’ve started to see it: signs of spring inside too…packets of seeds, seed starter kits, grass fertilizers and outdoor patio furniture. It makes my heart skip a beat when I go past the aisle, thinking of those days being upon us so soon.

This week, a friend posted an article on Facebook called “Advice for eating well on a tight budget from a mom who’s been there.” It’s about a woman who is helping those on public assistance learn how to use fresh, home-grown fruits and vegetables to supplement what they get for public assistance and to enhance their eating habits. The woman herself had been on public assistance as a mom of seven and had always tried to utilize things she could grow, in order to help nourish her family. I thought it was a great article and great to see someone who’s “been there,” giving back.

One year we "accidentally" grew pumpkins, and these were our three Halloween pumpkins that year; first time we'd ever grown our own.

One year we “accidentally” grew pumpkins, and these were our three Halloween pumpkins that year; first time we’d ever grown our own.

Although we have never been on public assistance, we have always had a pretty tight budget and we’ve always had a summer garden which helps us stay below budget on our food spending during the summer months. We grow mostly vegetables, but one year we were able to grow pumpkins, and that’s a fruit! I love seeing the kids take on roles with the garden, helping to plan it, clean it up, plant it, water it, and then to watch them run out every day to see what’s grown and what’s ready to pick. One of my all-time favorite photos from years ago is a picture of two of my daughters out in the garden in their Halloween and dress-up costumes, picking tomatoes off the plants. We had one Minnie Mouse and one Cinderella, outside, in the garden, picking veggies and it was so funny to see; but such a special memory for me as well.

There is absolutely nothing in the world like fresh, garden vegetables in my opinion, and when you’ve grown them yourself, that makes them exponentially better! I love cooking and baking with the things they’ve planted and picked and I love telling them, “This is from our garden!”

A pack of seeds is not expensive and the amount it yields is far more than what you put out financially for the seeds. As soon as last year’s garden was done, I already had a list on the fridge of our successes, so that we wouldn’t forget to plant them again this coming year. The list is still there, and it’s ready to go.

I love to see the kids eating the veggies they've picked, right off the vine, all summer long.

I love to see the kids eating the veggies they’ve picked, right off the vine, all summer long.

I think it’s important too, to make sure that our kids have an understanding of where their food comes from, that it’s not just from the grocery store. I think it’s important that they understand about nutrition and local produce as well. I like to see them eating their snap peas right off the plant outside or eating their cherry tomatoes as they pick them. I like them to know that they can grow their own food, and that you don’t need a lot of space to do it. We don’t have a huge house or a huge yard but we have a really good-sized garden and it teaches them that it doesn’t take much of anything other than hard work, to grow their own food.

So as winter comes to a close, and spring begins, I’m already dreaming of our gardening days. Spring Fever has hit hard, and I can’t wait to start picking out seeds and planning out what we’ll plant, pick and cook all summer long. Take a look at the article above, and think about how you too, can add home-grown fruits and vegetables to your summer menu!

It doesn't take a lot of space to have a garden, and lots can be done in containers if you don't have a yard at all.

It doesn’t take a lot of space to have a garden, and lots can be done in containers if you don’t have a yard at all.


Fun Friday: War Cake

7 Mar
I love when books contain recipes that go along with the story. This was a great one!

I love when books contain recipes that go along with the story. This was a great one!

My kids and I are huge readers, and when it comes to history, all five of us, my husband included, are big fans. We all love to cook and bake, so when my daughter found a historical fiction book about the life and times of a girl during World War II, she was excited to read it.

“My Secret War: The World War II Diary of Madeline Beck” is part of the Dear America series of books.

At the end of the book there was a recipe for War Cake, something that was spoken about throughout the story.

She was so excited! We had to make it.

I looked at the ingredients and we had them all. Well, we had almost all of them. The recipe called for walnuts and I don’t love them so we don’t often have them here.

I came up with a great substitution though: chocolate chips! Everything goes well with chocolate chips.

This was an excellent book and the recipe inside was a bonus!

This was an excellent book and the recipe inside was a bonus!

We decided that on Sunday afternoon this would be a great recipe for her to make. Looking at it further, I realized that it was ultimately pretty healthy too, as far as cakes and desserts go.

Due to the fact that ingredients were hard to come by during World War II, this cake is made with brown sugar rather than white, no eggs, no milk, and only a little butter. My daughter learned in the story that white sugar was used to make gunpowder during the war and therefore, was almost impossible to come by. Although the character in the story is fiction, the events are based on true historical events during WWII and are based on the author, Mary Pope Osborne’s own parents’ experiences as well. Mary Pope Osborne is also the author of the popular Magic Treehouse series of books.

I know that my daughter will be returning this book to the library this weekend during our weekly Saturday visit and she’ll be on the lookout for another Dear America story to read, since she devoured this one.

Almost literally.

Until then, here’s the recipe for Mary Pope Osborne’s War Cake.

Enjoy!

War Cake

By Mary Pope Osborne

INGREDIENTS

1 cup brown sugar

1 cup water

1 cup raisins

2 T. margarine (I used I Can’t Believe It’s Not Butter)

1 tsp. cinnamon

1/2 tsp. ground cloves

1 and 1/2 cups flour

1/2 tsp. salt

1/2 tsp. baking powder

1/2 tsp. baking soda

1/2 c. chopped walnuts (I used chocolate chips instead)

DIRECTIONS

Preheat the oven to 350 degrees. Grease and flour an 8×4″ baking pan (we used 8×8).

Place the brown sugar, water, raisins, margarine, cinnamon, and cloves in a heavy-bottomed saucepan and bring to a boil.

Turn down heat and cook gently for 5 minutes.

Remove from heat and let cool until mixture is lukewarm.

Sift together flour, salt, baking powder and baking soda.

Add flour mixture to the cooled sugar mixture, beating until the batter is smooth.

Stir in the walnuts (or if desired, chocolate chips).

Spread evenly in the baking pan and bake for 25-30 minutes or until a toothpick inserted in the middle comes out clean.

Let cool in the pan 10 minutes, then turn onto a rack to cool completely.