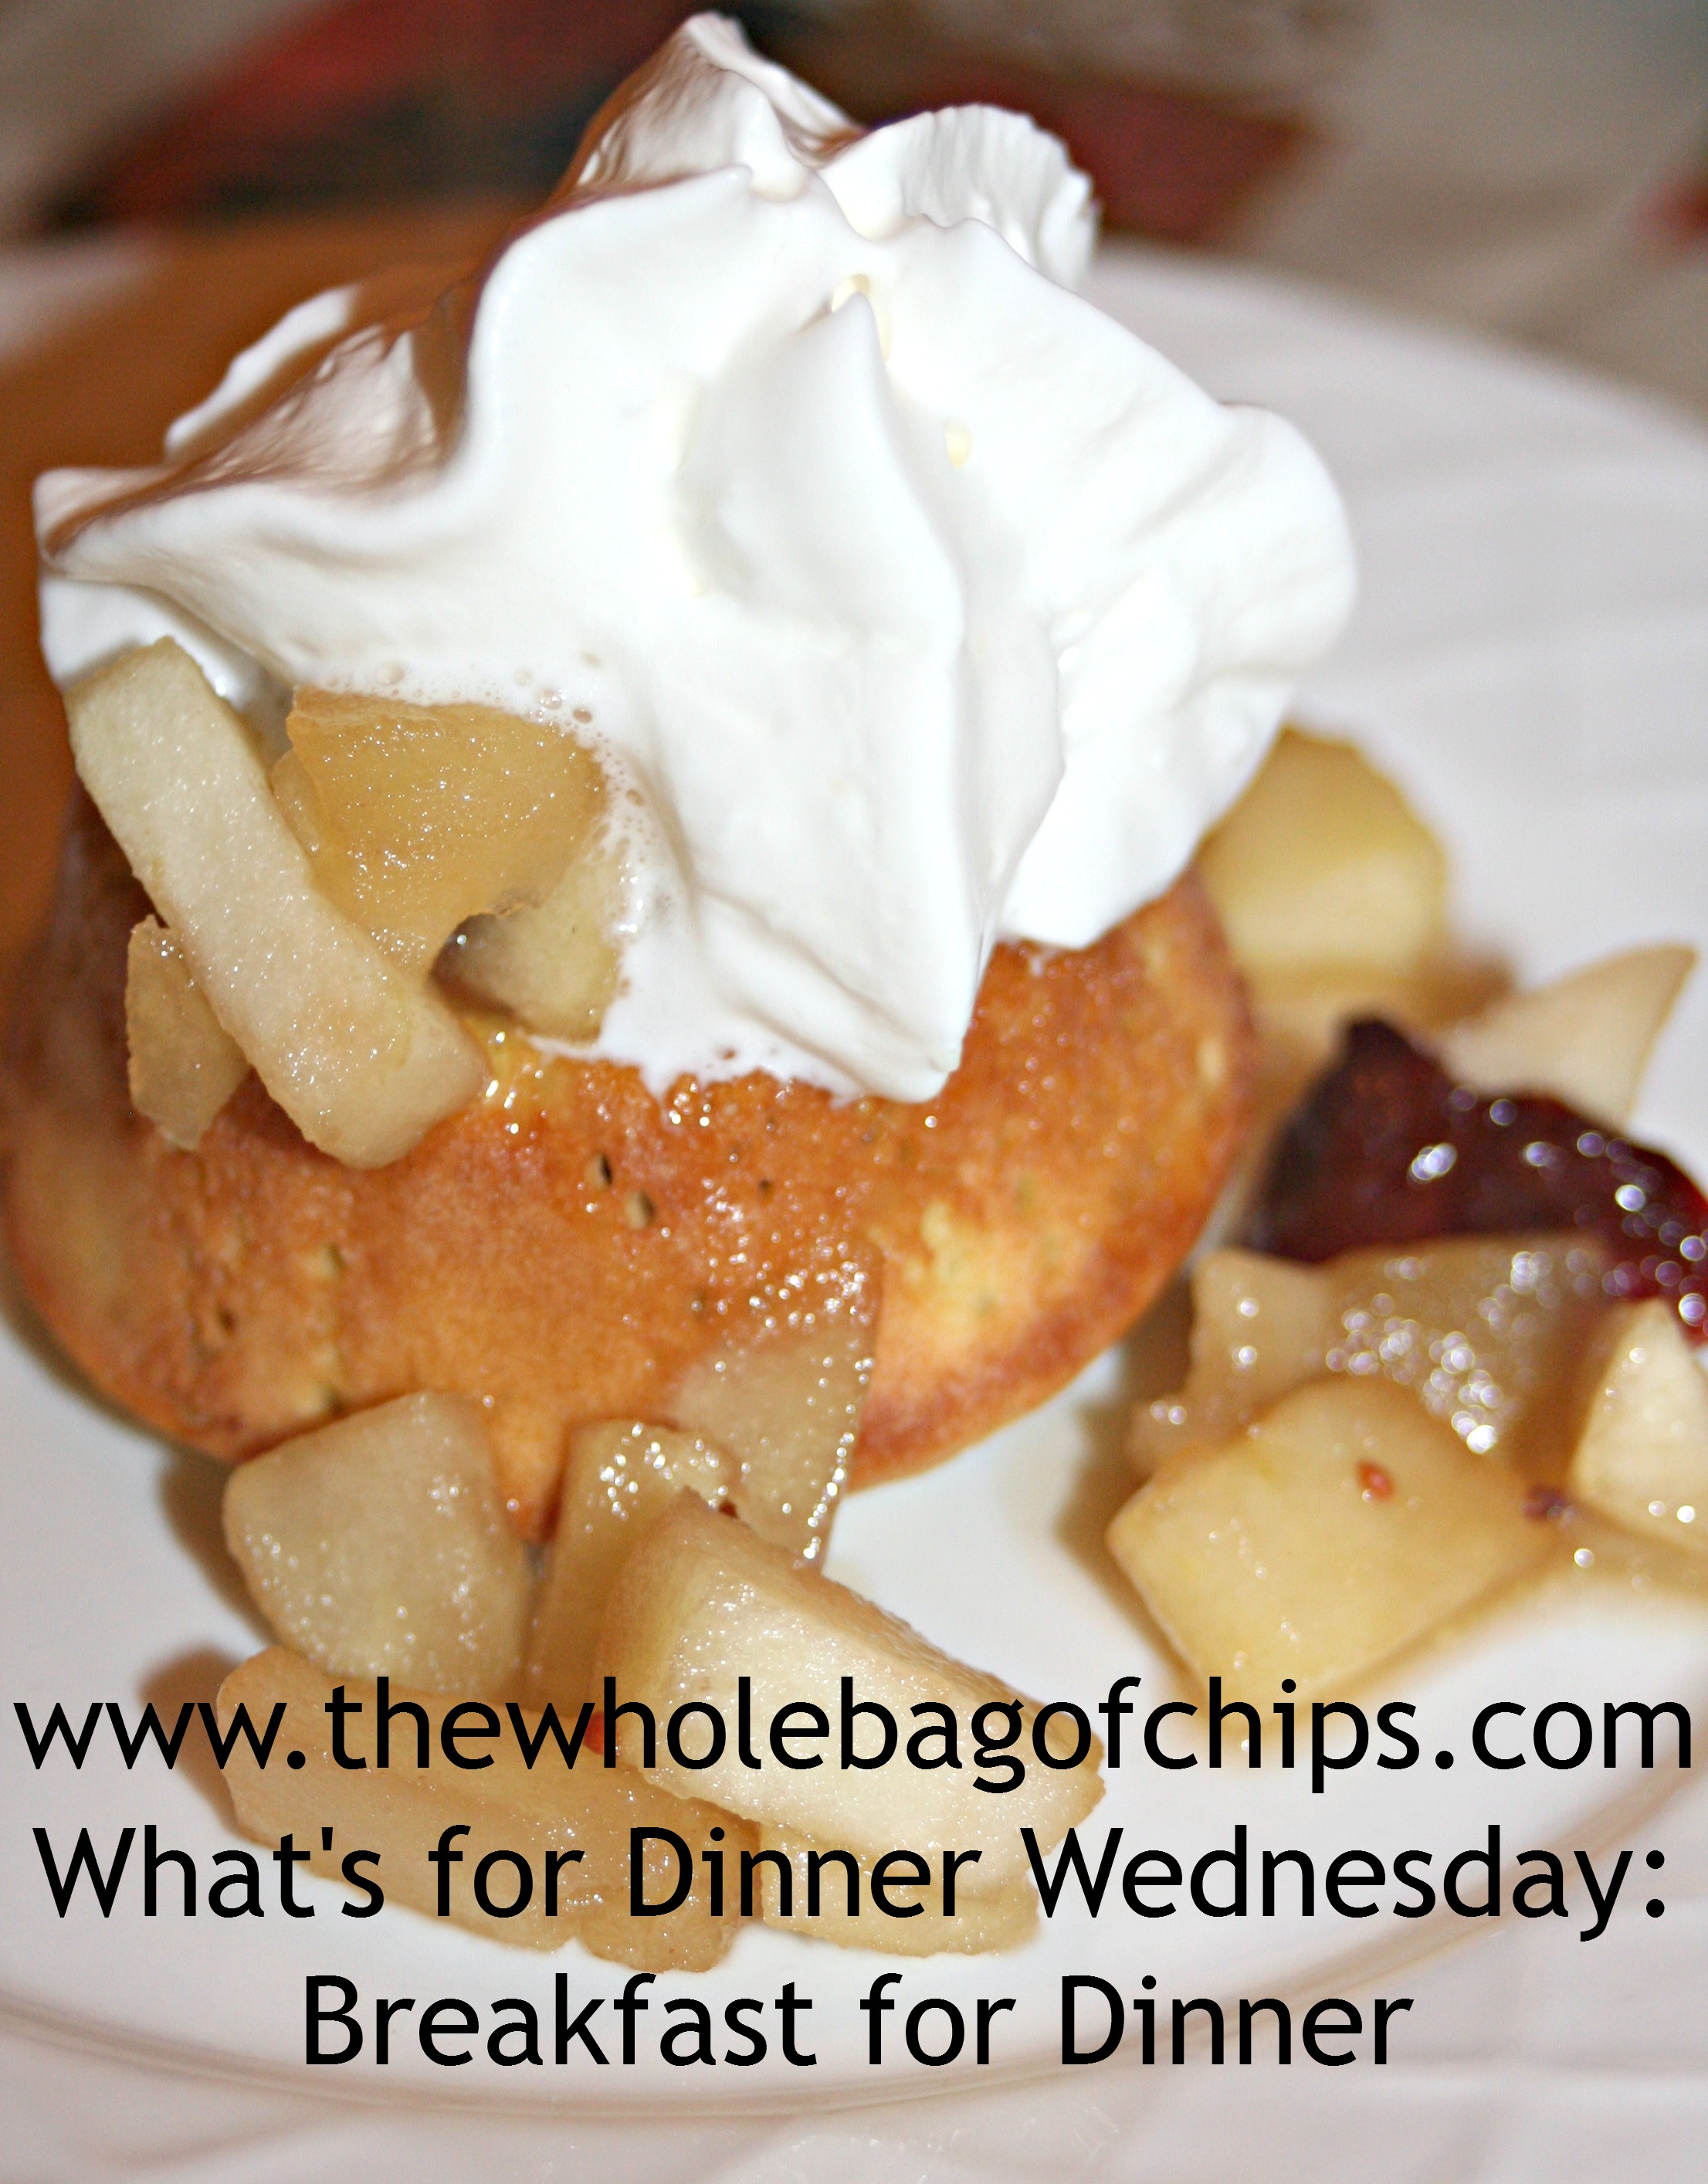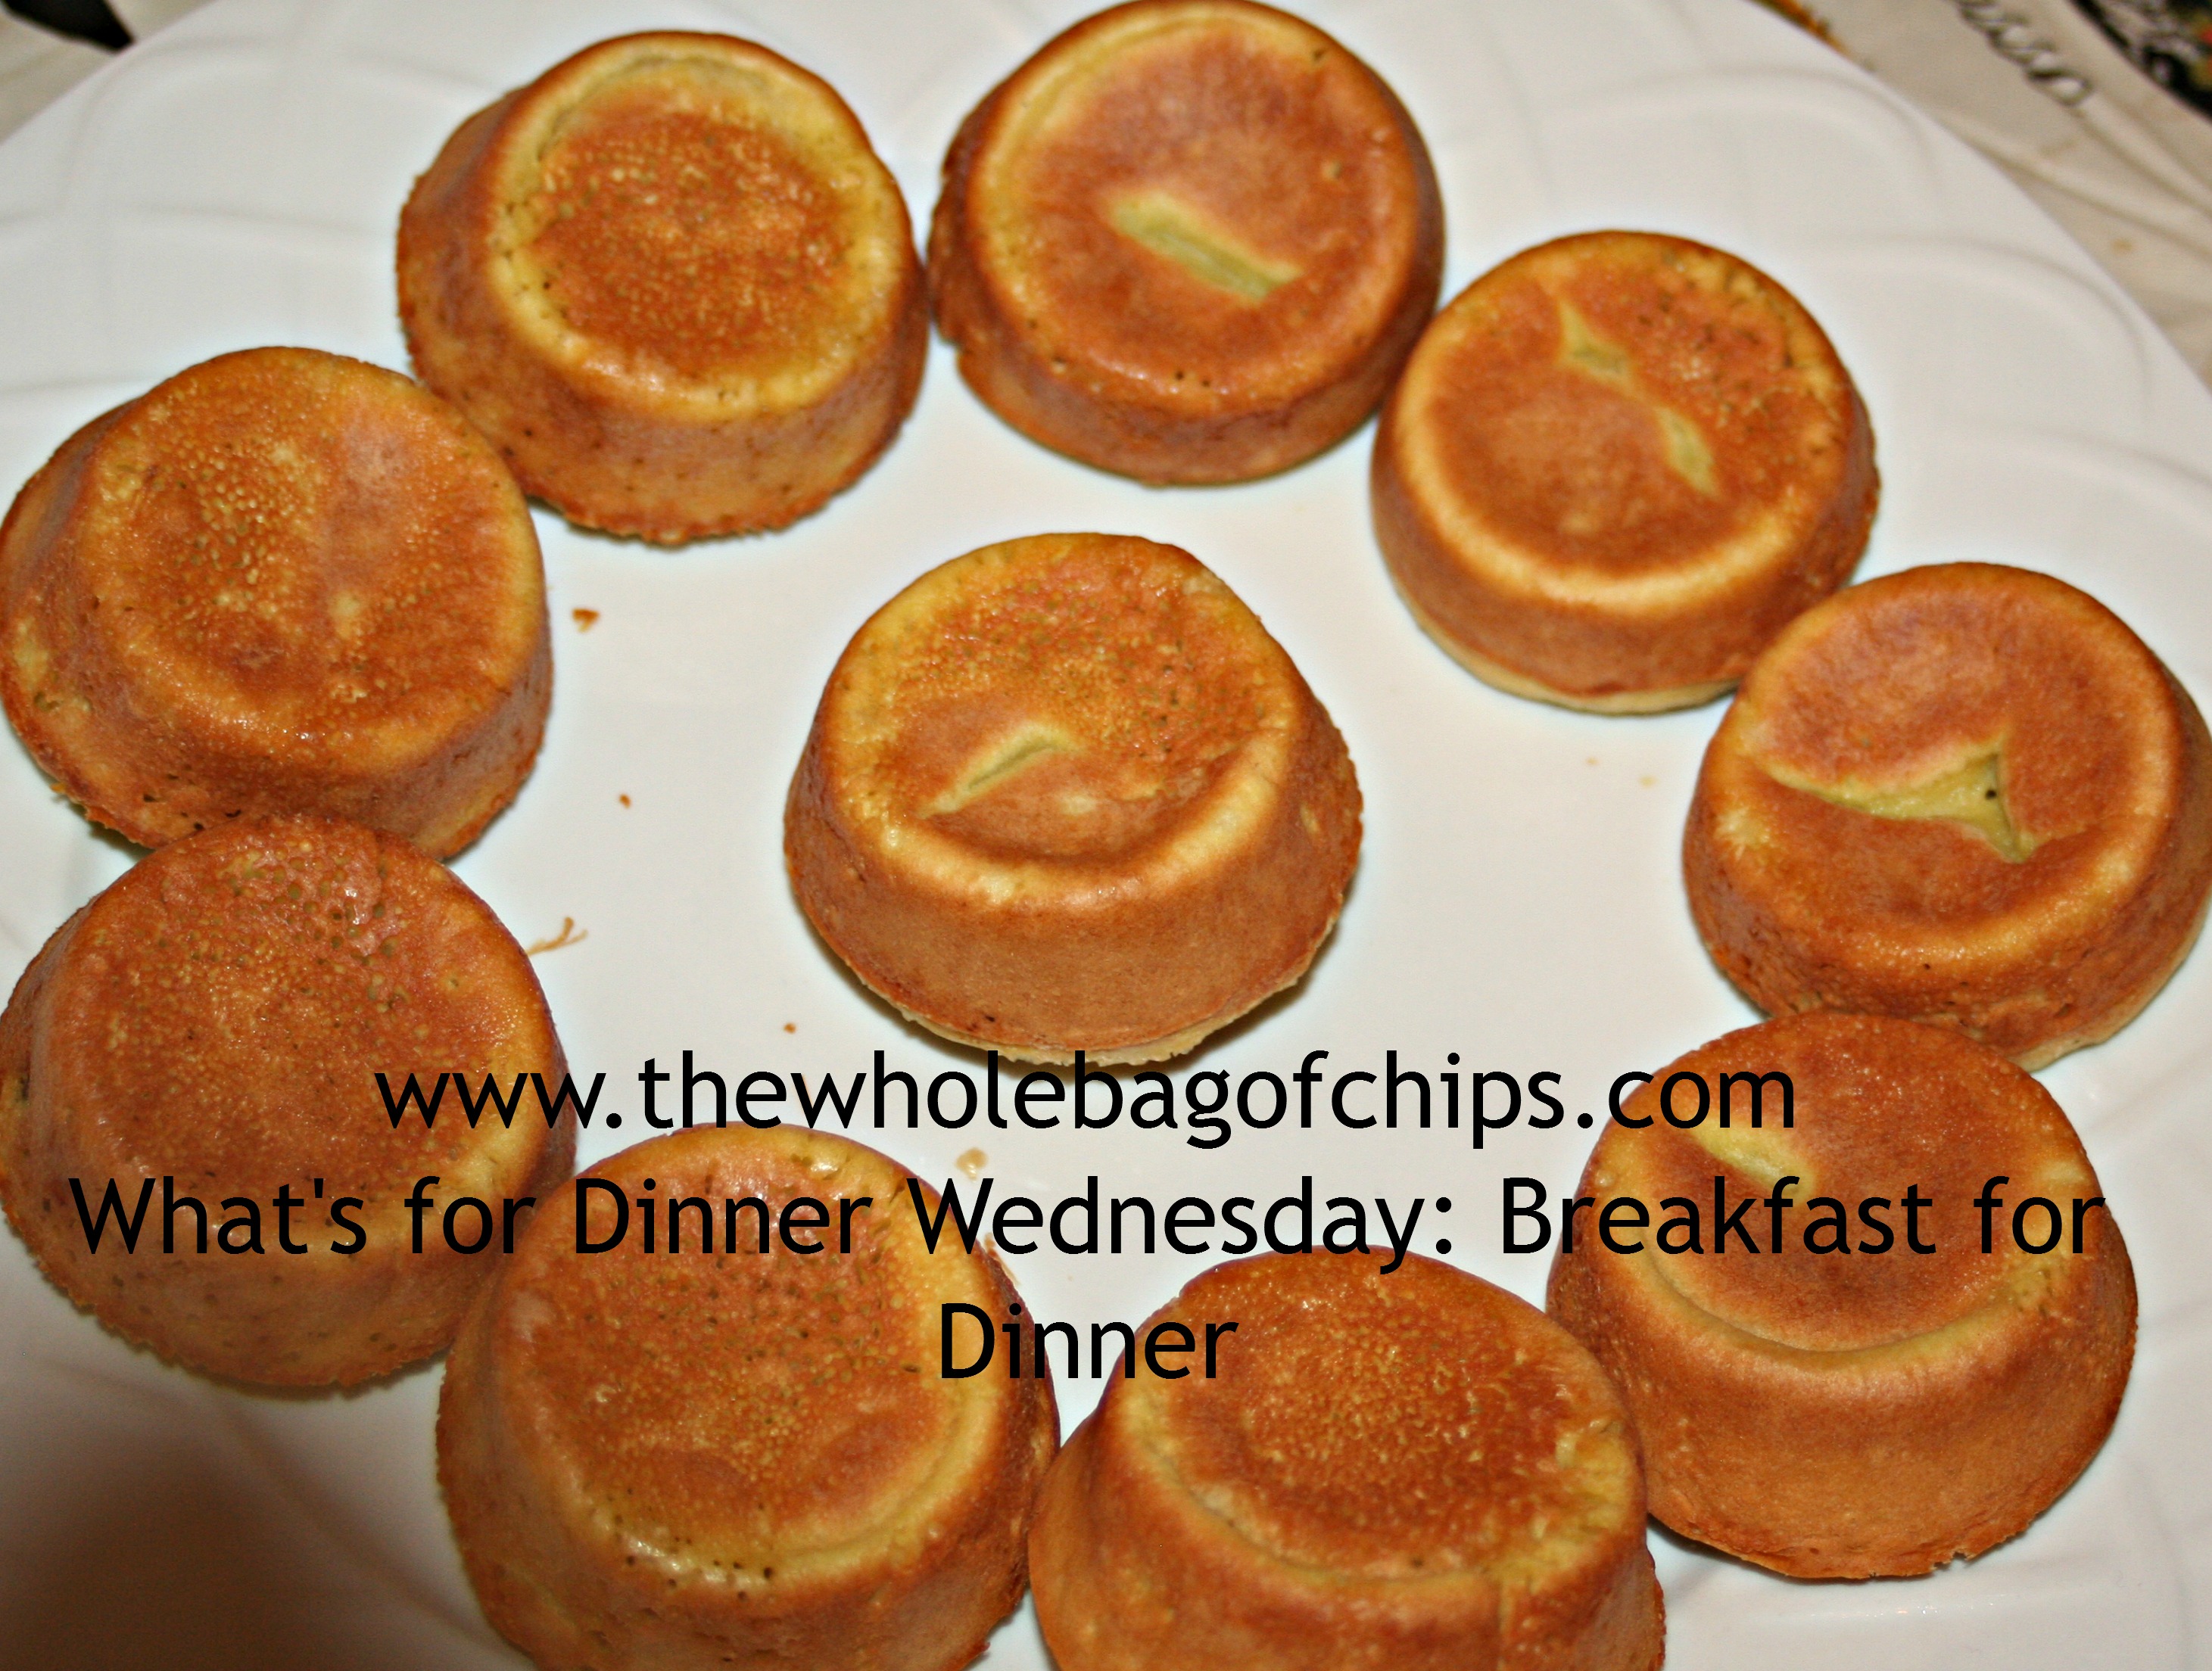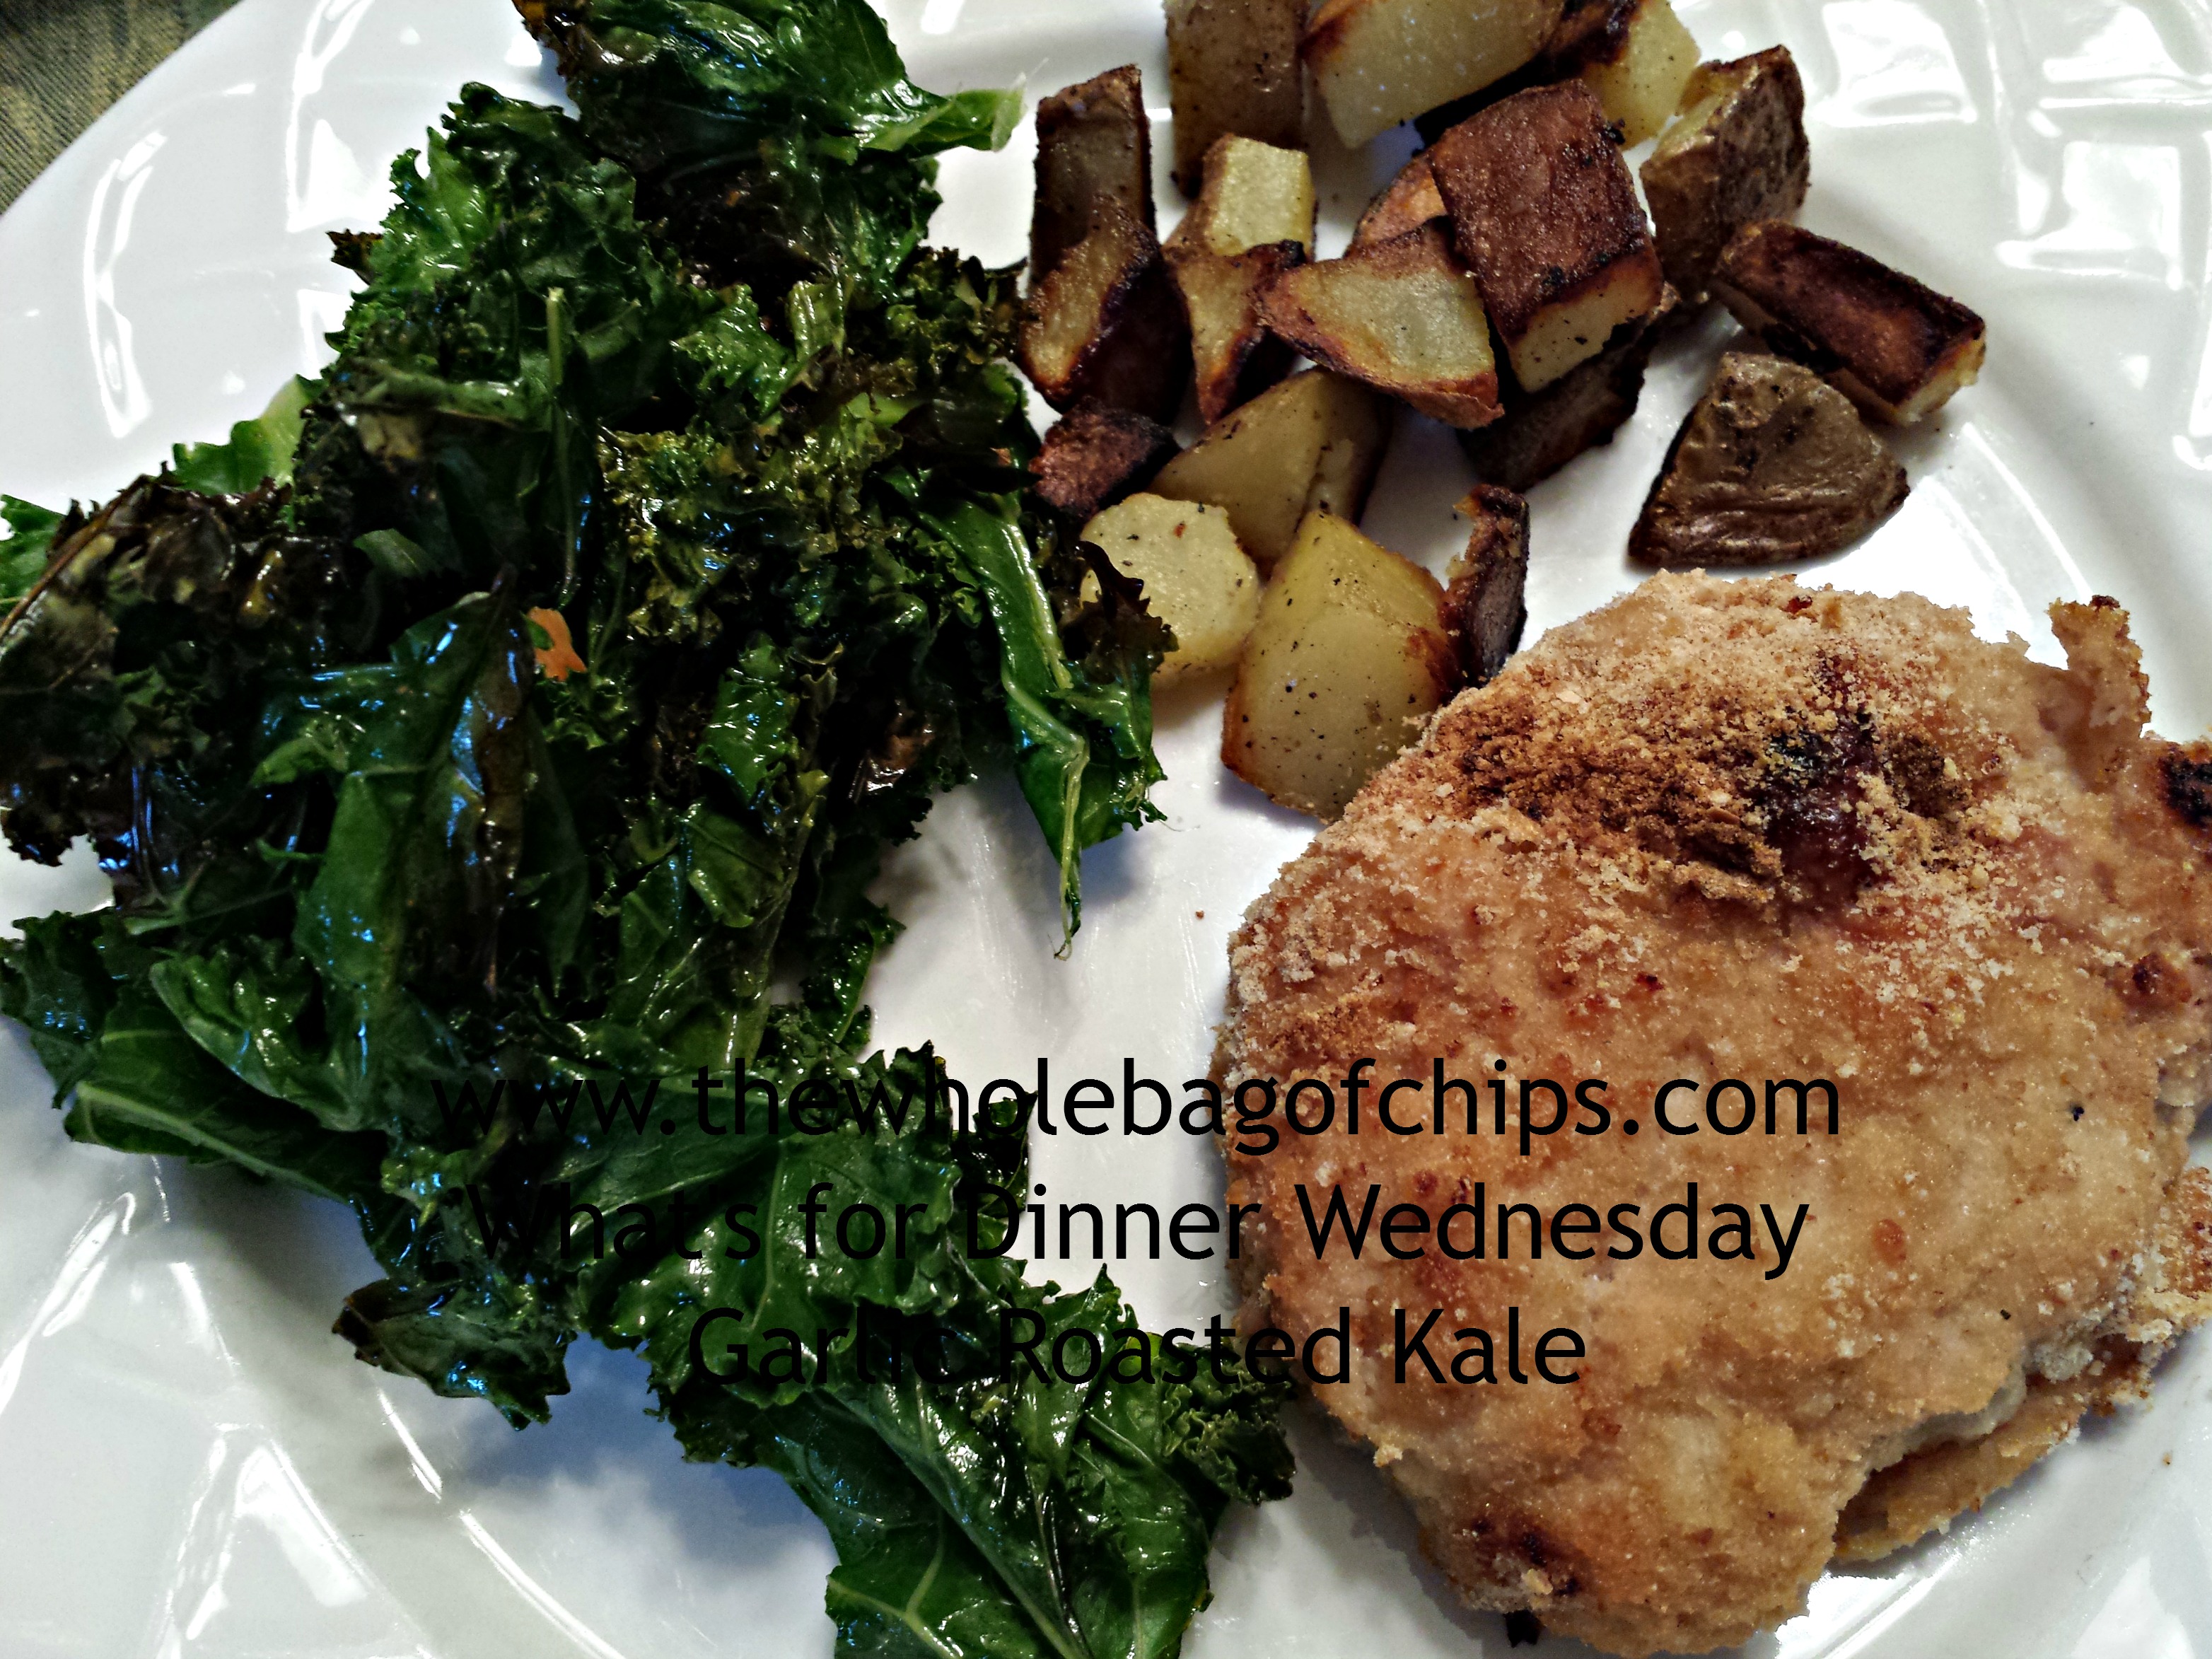
This made a nice change for us as a side dish with dinner.
A while back I posted the recipe from our visit to the White House for the 2012 Kid’s State Dinner for Kale Chips. That visit was our first experience with kale chips, but it was not our last. My kids love them and it makes a great after school snack for sure.
Recently, however, I received an email for a variation of kale chips. This recipe was for Garlic Roasted Kale from the site My Recipes.com, and I thought I’d give it a try. The things that attracted me to this recipe were the fact that it included garlic, which I love, and it also included kosher salt, which I enjoy the flavor of as well.
I gave it a try one afternoon and the kids absolutely loved it. I decided to try it again most recently as a side dish for our dinner, instead of our usual broccoli or green beans or salad. As my kids were walking through the kitchen, they each asked what I was making and each time they were so excited when I said kale. I had to just shake my head in amazement. I don’t think I ever imagined I’d get three cheers for kale. Ever.
Below is the recipe from My Recipes.com for Garlic Roasted Kale. The only thing I skipped in this recipe was the vinegar at the end because I did not think the kids would like it, although I was pretty sure I would. The rest I did as was called for.
INGREDIENTS
- 3 1/2 teaspoons extra-virgin olive oil$
- 1/4 teaspoon kosher salt
- 1 garlic clove, thinly sliced
- 10 ounces kale, stems removed and chopped$
- 1 teaspoon sherry vinegar
- DIRECTIONS
-
- Arrange oven racks in center and lower third of oven. Preheat oven to 425°. Place a large jelly-roll pan in oven for 5 minutes.
- Combine first 4 ingredients in a large bowl; toss to coat. Place kale mixture on hot pan, spreading with a silicone spatula to separate leaves. Bake at 425° for 7 minutes. Stir kale. Bake an additional 5 minutes or until edges of leaves are crisp and kale is tender.
- Place kale in a large bowl. Drizzle with vinegar; toss to combine. Serve immediately.