Until the other night, I had never had brussel sprouts.
Ewwww….brussel sprouts!!!
Isn’t that what everyone always says? When people want to come up with the grossest vegetable to make you eat, isn’t it always brussel sprouts?
I guess I’d always just taken their word for it because in my whole life I had never had a brussel sprout until two nights ago. I think I just always assumed they’d be gross because everyone says so. It wasn’t until recently when someone said, “They’re just like baby cabbages,” did I realize that I might actually like them, as I like cabbage.
I took the next step: I bought some at Aldi’s.
Then I forgot I had them until my daughter was home sick, watching Cupcake Wars on TV and one of the challenges was to incorporate brussel sprouts into the recipe.
GASP!
“I have those in the fridge,” I said to Elizabeth.
We decided to give them a try. I looked up recipes and came up with this one for roasted brussel sprouts. Sounded basic, easy, and delicious.
Don came home from work that night and said, “I was talking to someone at work about how to cook brussel sprouts, and she said we should roast them with salt, pepper and olive oil.”
Well that was funny, same recipe I’d come up with.
So we tried them.
I loved them.
I was the only one.
Don liked them, Liz could take or leave them, and Caroline and Alex didn’t like them at all.
Bummer.
However, because I loved them I am posting the recipe. I had the leftovers again, the very next night.
I’d love to know though, how do you cook your brussel sprouts if you are someone who makes them? Please share any good recipes or tips with me.
And, a couple of things to note: Don parboiled them in the microwave first, just to jump-start the cooking. And, he also sprinkled garlic on them before roasting, along with the salt and pepper.

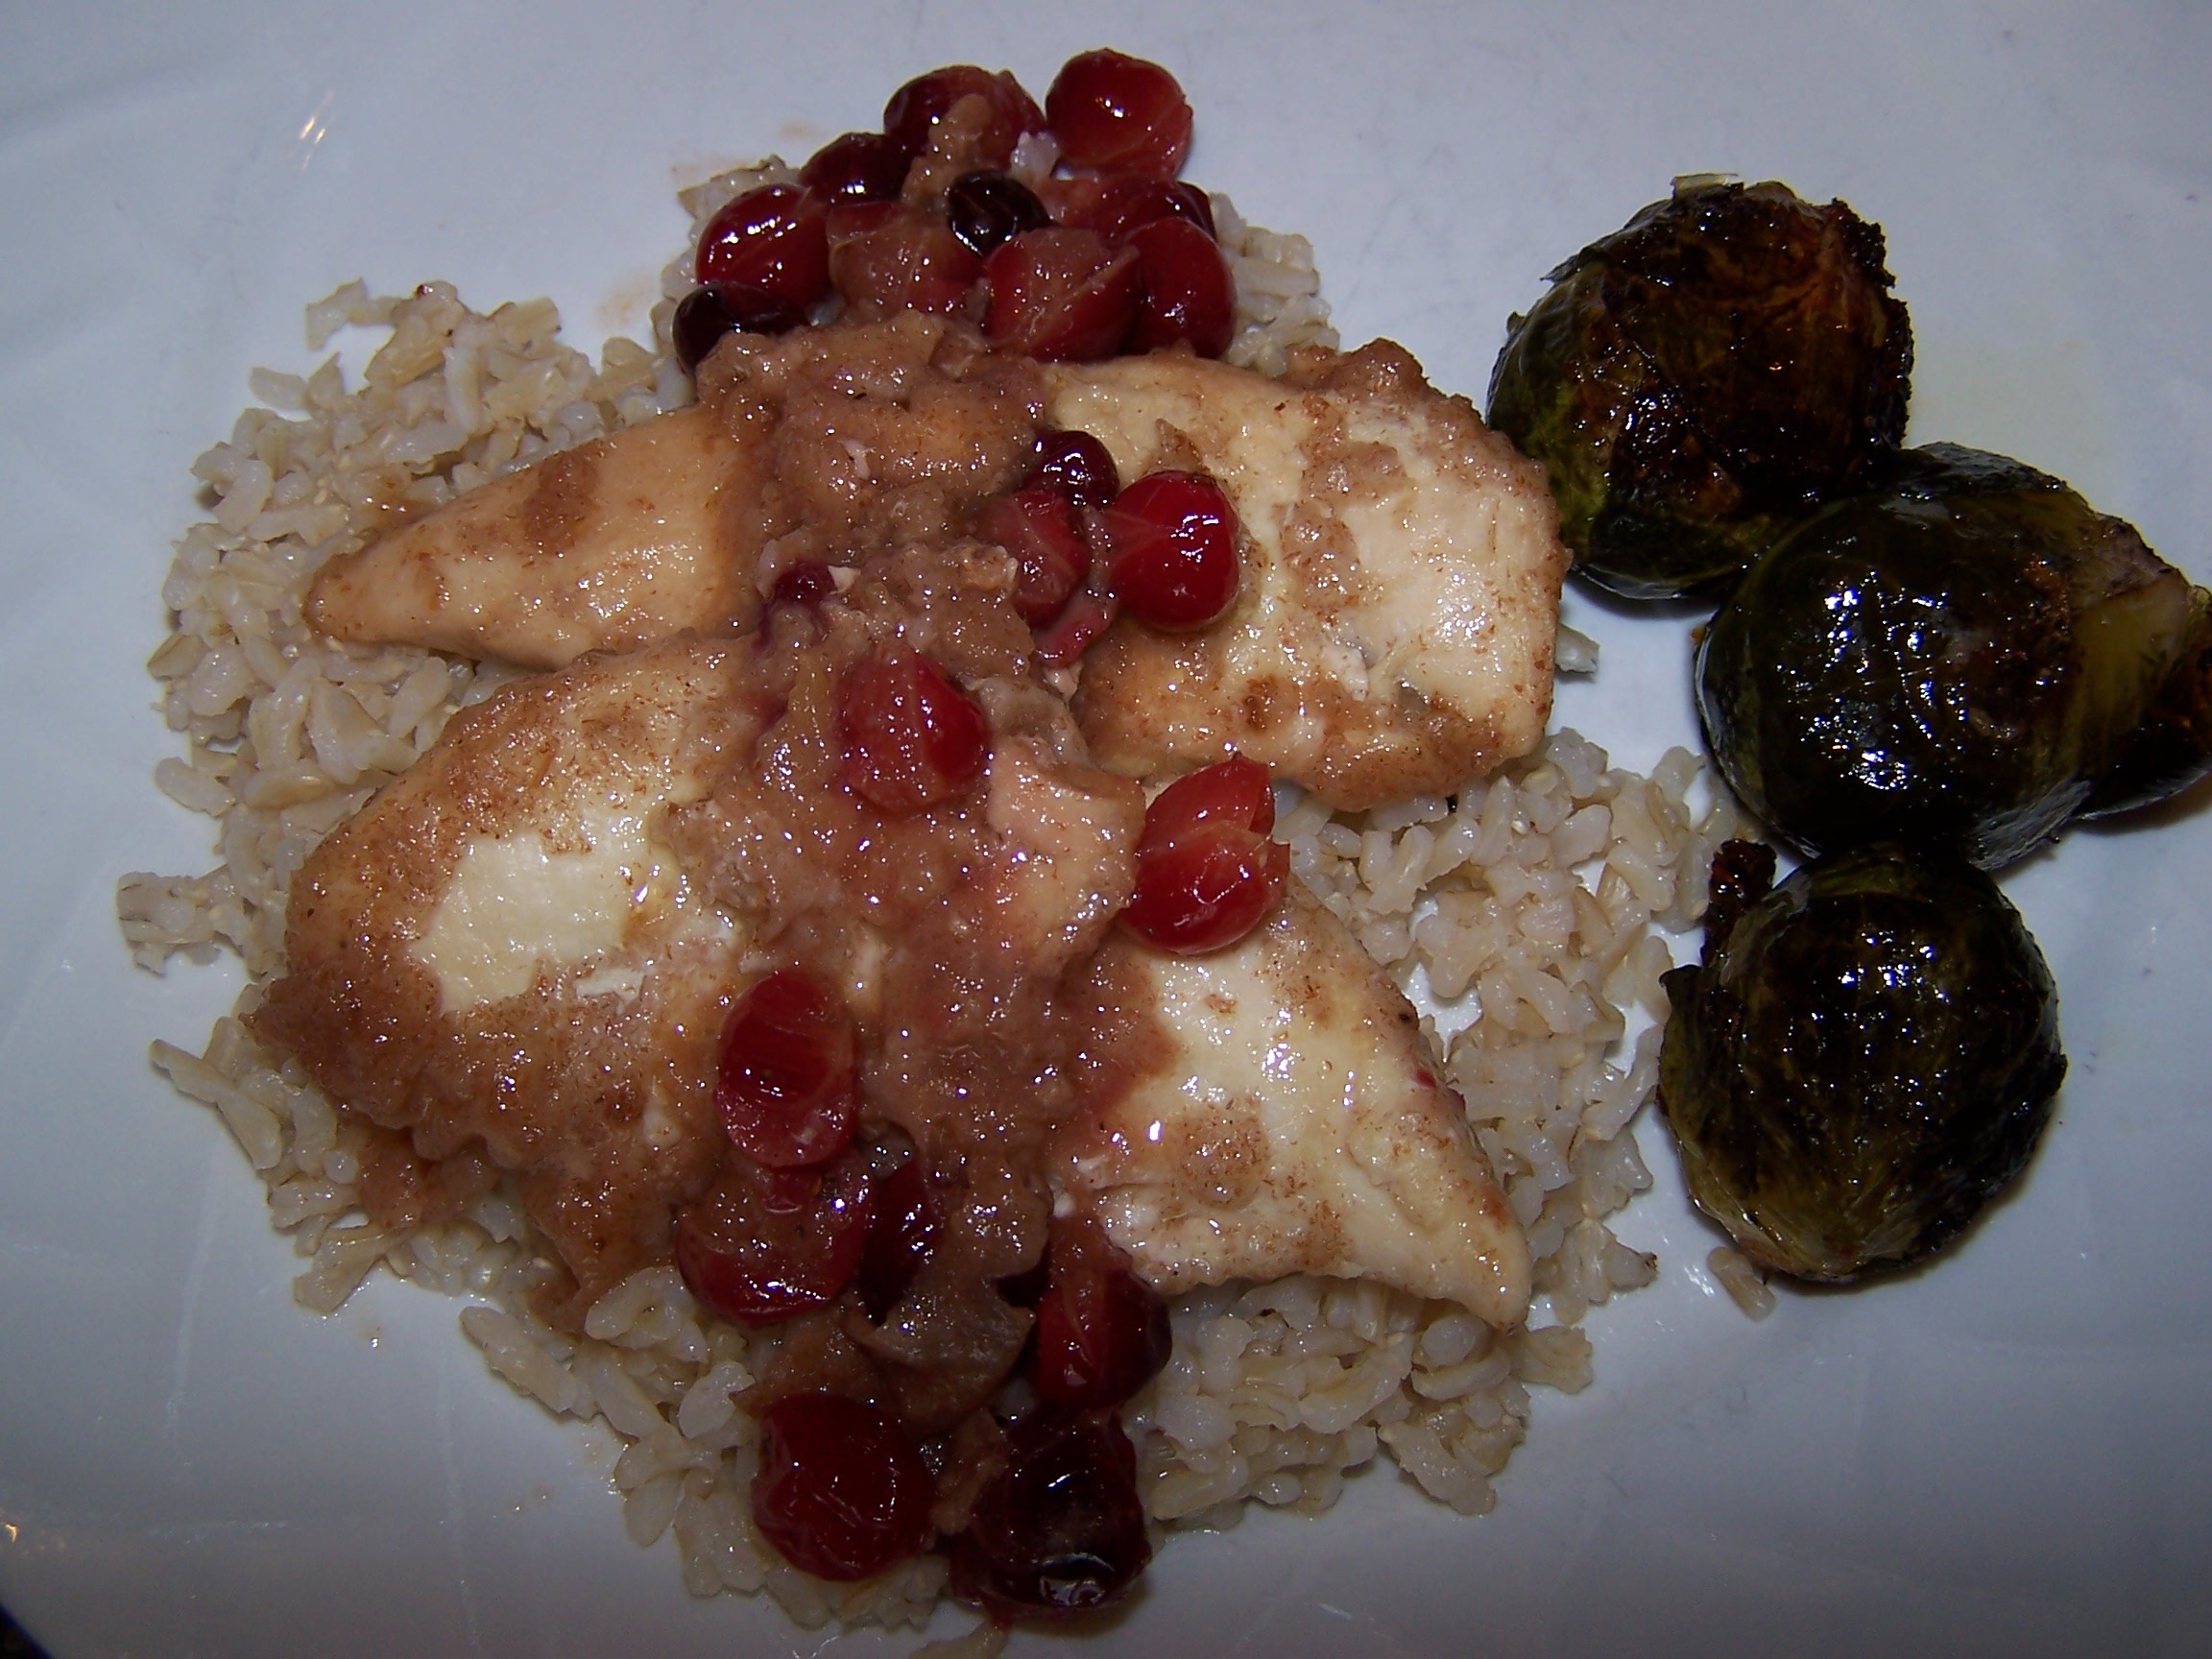
They do look just like little baby cabbages.
ROASTED BRUSSEL SPROUTS from AllRecipes.com
Ingredients
Directions
- Preheat oven to 400 degrees F (205 degrees C).
- Place trimmed Brussels sprouts, olive oil, kosher salt, and pepper in a large resealable plastic bag. Seal tightly, and shake to coat. Pour onto a baking sheet, and place on center oven rack.
- Roast in the preheated oven for 30 to 45 minutes, shaking pan every 5 to 7 minutes for even browning. Reduce heat when necessary to prevent burning. Brussels sprouts should be darkest brown, almost black, when done. Adjust seasoning with kosher salt, if necessary. Serve immediately.