Fun Friday: Dump Cake for April Fools Day or any day!

4 Apr
This was a quick and easy dessert!

This was a quick and easy dessert!

In a recent What’s for Dinner Wednesday post, I mentioned that the stir fry recipe I was trying out reminded me of a cake recipe I’d once heard of called Dump Cake, because like that cake recipe, the stir fry recipe was one where you just dumped a whole bunch of ingredients in and cooked them.

That reference in my post got me thinking about Dump Cake recipes. I couldn’t remember having had one myself and I wasn’t even sure where I’d heard about Dump Cake, but I knew I had somehow, from somewhere. So of course I turned to Google and searched the term Dump Cake to see what kinds of recipes would come up and to see if Dump Cake was something I’d like to try making. As I looked, I found that they varied slightly in the types of ingredients that could go in them. Some had canned fruits, some had fresh. Some had butter: one stick or two, and some had a can of soda. They all used a yellow cake mix and all called for an optional addition of chopped walnuts.

I decided to find one somewhere in the middle. I had a can of crushed pineapple already and a yellow cake mix. I did not want to go the soda route, so I knew I’d be using butter (we use I Can’t Believe It’s Not Butter), but I didn’t want to use a lot. Ultimately, I chose a recipe that used a can of crushed pineapple, a can of cherry pie filling, one stick of butter and a cake mix. I did not choose to use the walnuts.

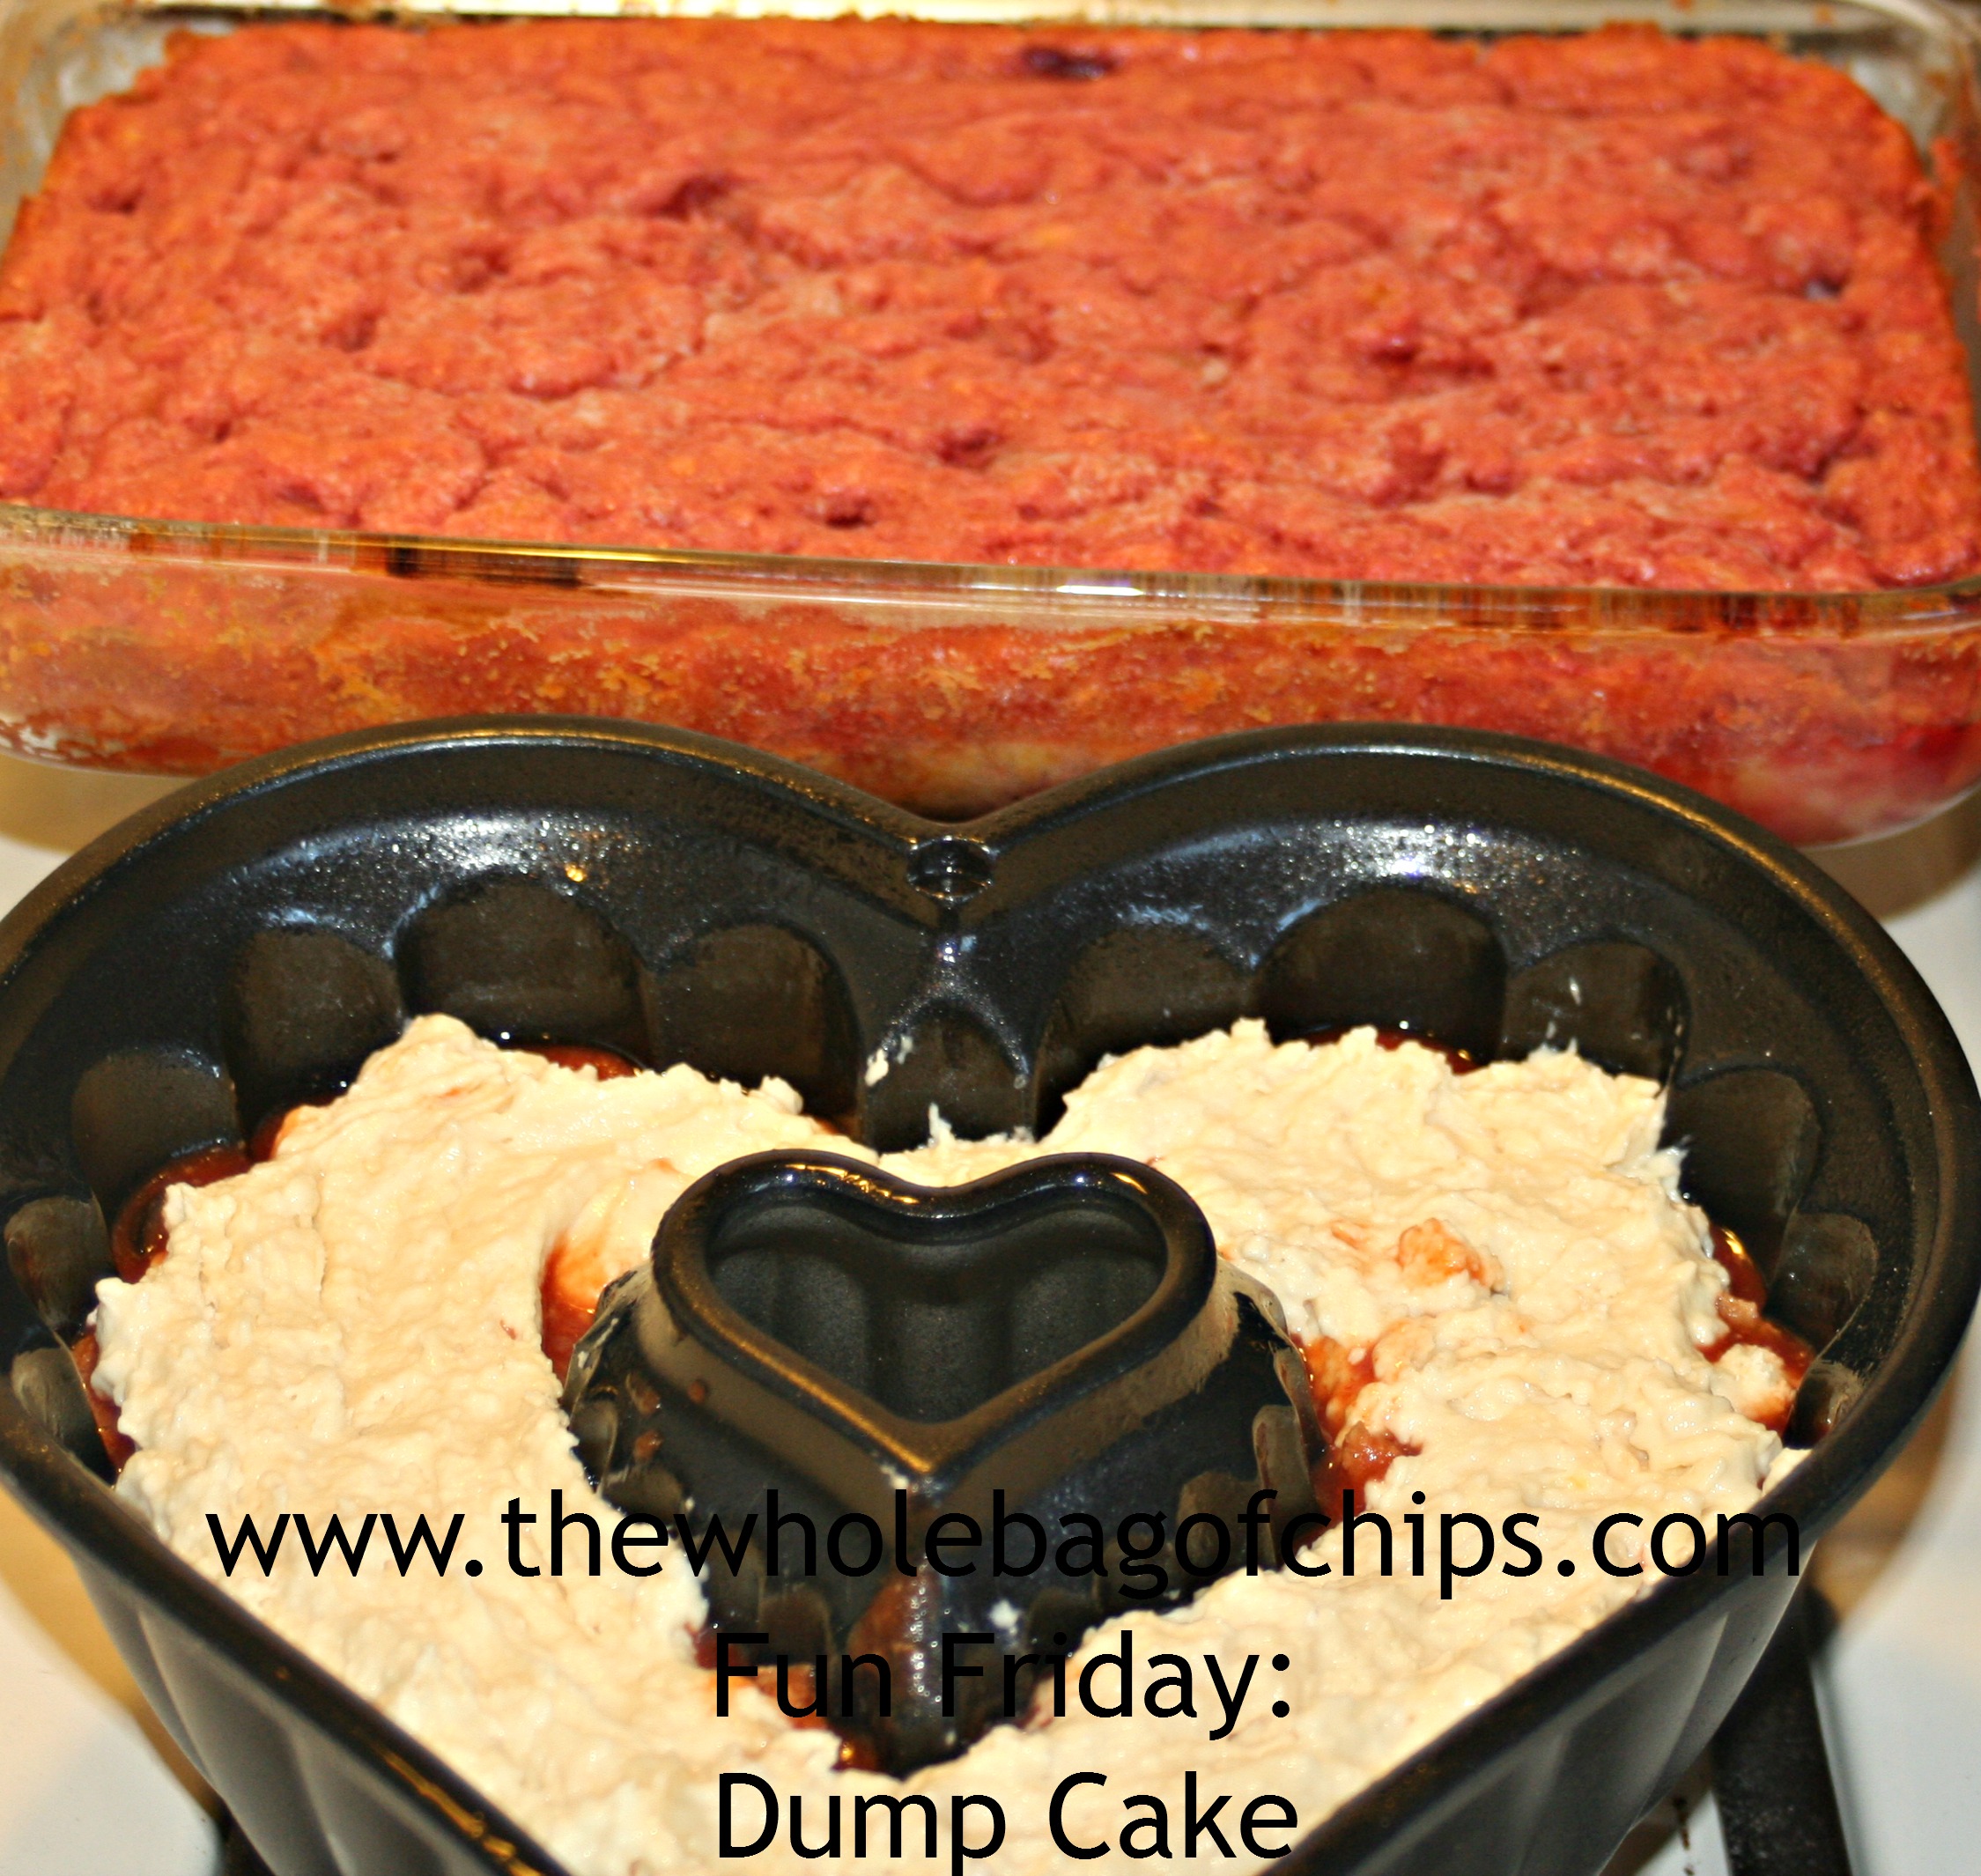
The recipe I chose was from Allrecipes.com, and it claimed to be “as easy as dumping ingredients in a pan,” and it sure was. There were enough steps for everyone to have a turn helping to make the cake. We were using this as part of this year’s April Fools Day dinner, our first ever, and the girls and I were in cahoots, creating a fun meal for their dad. Part of the fun was having a “cake” for dinner and this Dump Cake for dessert.

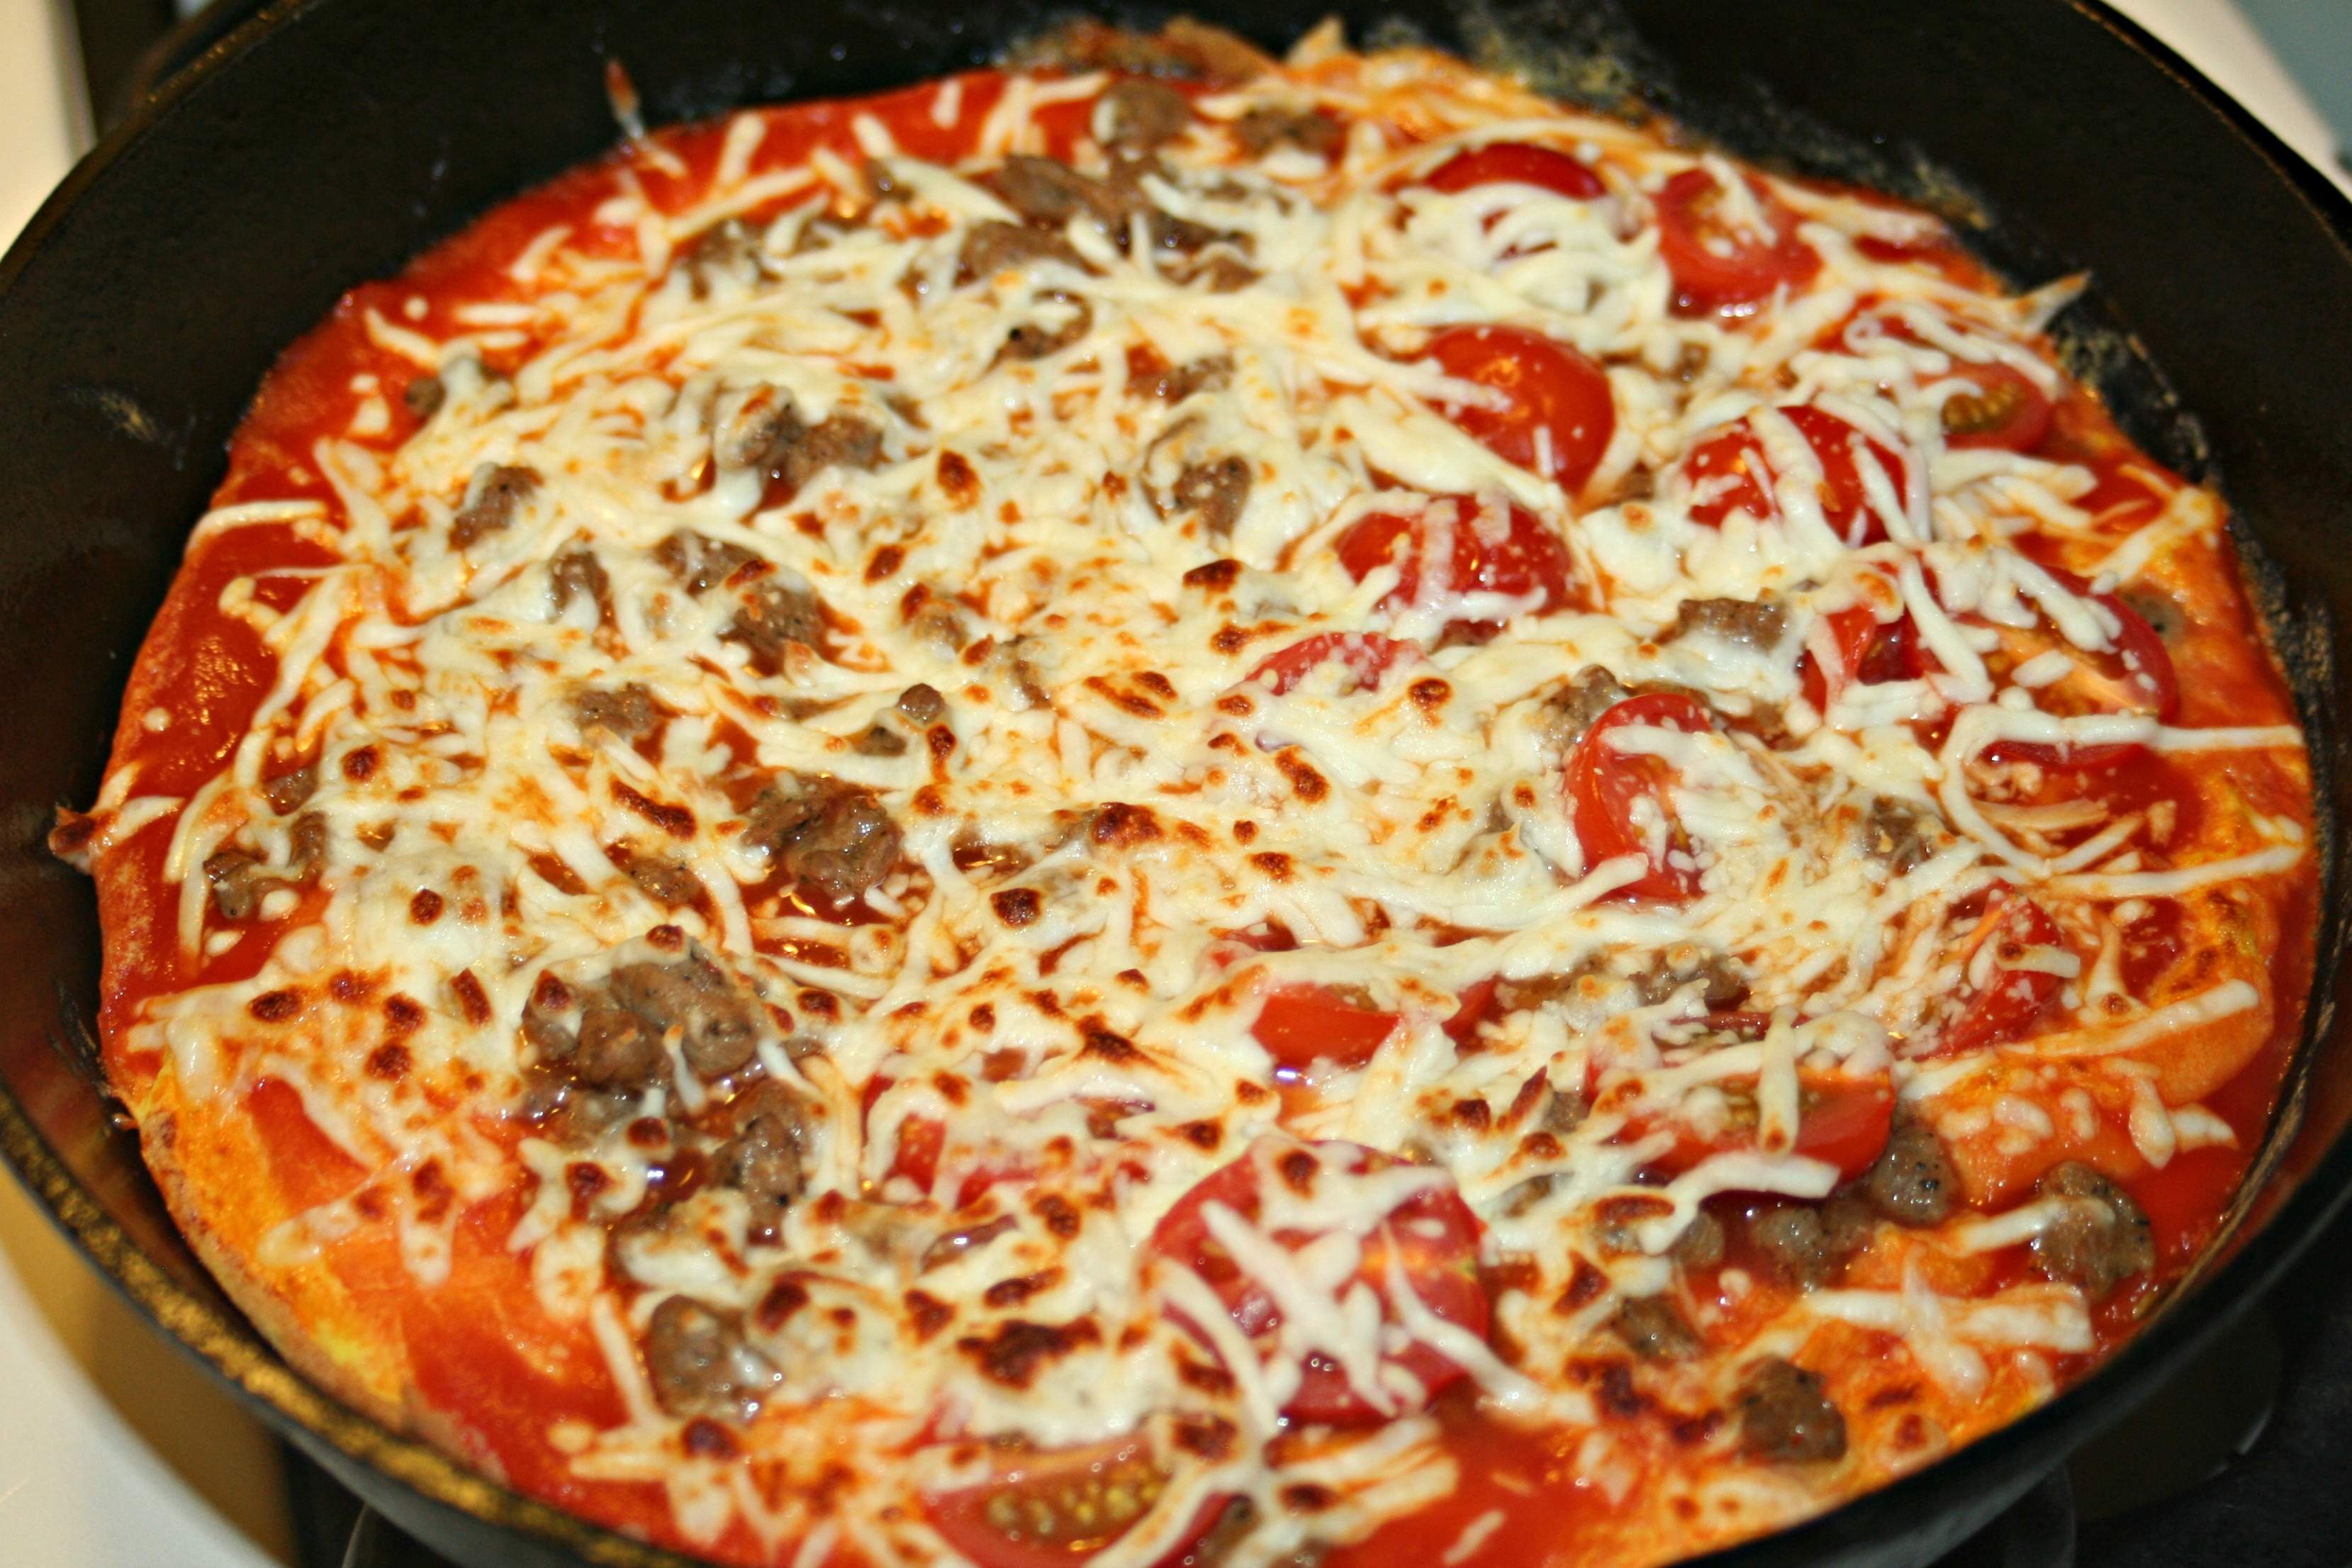
The “cake” for dinner was going to be heart-shaped and as it turned out, our Dump Cake turned pink, so it was a very funny meal to be eating in April.

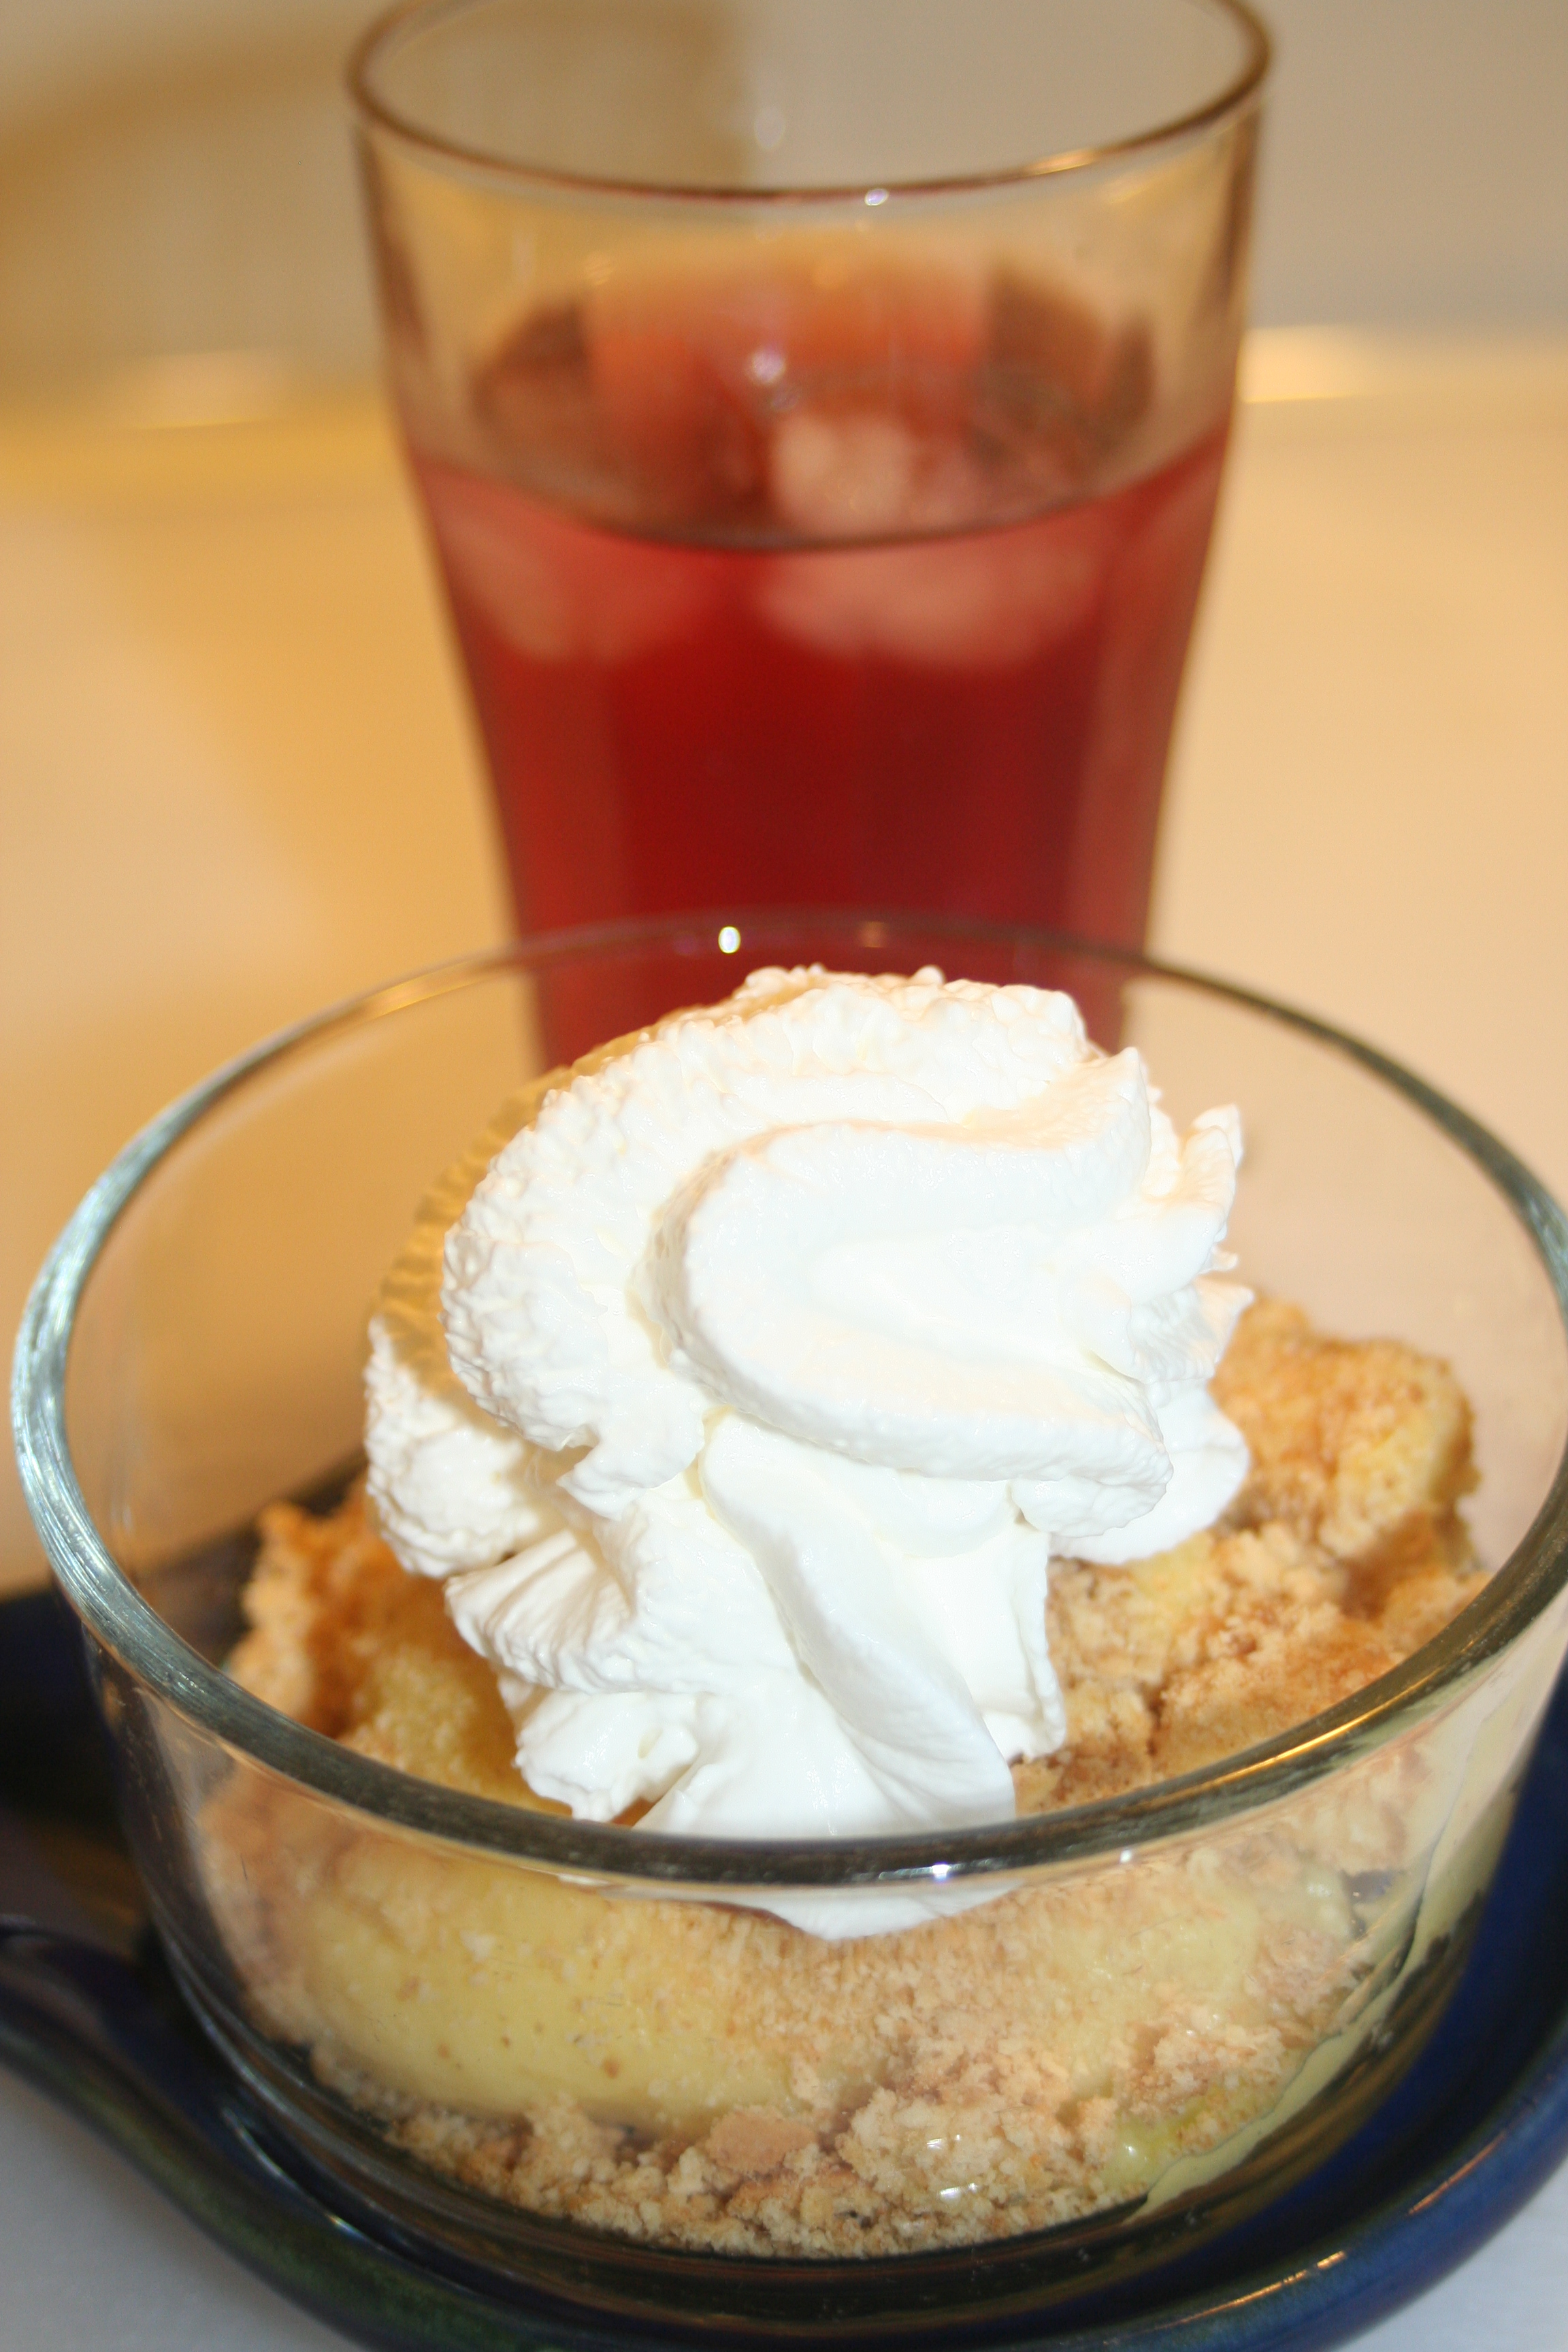
The recipe, as it appears on Allrecipes.com is below. It truly is as easy as they say, and it was really tasty too! We had ours with a simple squirt of whipped cream, but I’m sure it’d be delicious with ice cream on top too. I’m also sure that any variety of fresh fruits would be good as well. The only thing I was unsure of was whether or not to spray my pan with non-stick spray, and I opted to do so, rather than risk the cake not coming out of the dish.

Next time you’re looking for a fun cake to make, remember my April Fools Dinner and try a Dump Cake!

DUMP CAKE BY ALLRECIPES.COM

A few ingredients were all we needed!

A few ingredients were all we needed!

INGREDIENTS

 Original recipe makes 1 – 9×13 inch cake

  • 1 (21 ounce) can cherry pie filling
  • 1 (15 ounce) can crushed pineapple
  • 1 (18.25 ounce) package yellow cake mix
  • 8 ounces chopped walnuts
  • 1/2 cup butter

DIRECTIONS

  1. In a 9×13 inch pan mix cherries and pineapple. Sprinkle dry cake mix over pineapple, and cherry mixture stir until just combined. Then sprinkle walnuts over top. Drizzle top with melted butter or margarine.
  2. Bake in a 350 degree F (175 degree C) oven for 35 or 40 minutes or until golden brown. 

    "Cake" for dinner and Dump Cake for dessert for April Fools Day!

    “Cake” for dinner and Dump Cake for dessert for April Fools Day!

What’s for Dinner Wednesday: An April Fools Day Dinner!

2 Apr
Not for pranks, but just for fun, an April Fools Day Dinner

Not for pranks, but just for fun, an April Fools Day Dinner!

If you’re a fan of The Whole Bag of Chips, you know from reading over the years that I incorporate creativity into our meals whenever the opportunity exists, whether it’s green smoothies for St. Patrick’s Day or creating a special cake for a sleepover birthday party. I always try to make things fun whenever I can.

But I don’t love April Fools Day and I never commemorate it in any way at home. In general I don’t love pranks, especially when they’re mean, but last year specifically, we had a terrible April Fools Day, with a funeral in the morning and a wake in the evening. It had been such a sad day all around, and yesterday I was thinking back to that day and all that took place throughout, and I was thinking of those two families one year later in their own lives, as well.

As sad a day as it was last year, I decided that I’d do something fun this year. For the first time ever, I’d acknowledge April Fool’s Day with some mealtime antics.

For once, we didn’t have to be anywhere before or after dinner and it was a beautiful day outside. I clicked over to Pinterest, and I searched for April Fools Day Dinners. There was certainly plenty to choose from! I quickly assessed what was offered and thought about what I wanted to do and what I didn’t want to do. I didn’t want to have candy or dessert for dinner, so that ruled out all of the neat ideas for making things that looked like dinner, using candy. As cool as that sounded, I wanted dinner to be dinner. I saw lots of ideas for using meatloaf and mashed potatoes for cupcakes and cakes, which I thought would have been perfect, had I not just made Shepherd’s Pie last week, and a whole lot of it, enough for leftovers a couple of times. We were meatloaf and mashed potato’d out, but it’s something I’d consider for another year.

I finally found something I could pull off: an April Fools Cake recipe that looked like a cake but was actually similar to a pizza. It was from Taste of Home, and it called for using a bundt pan, of which I only have a heart-shaped one, but I thought that’d add to the fun. At first I thought I’d do this to surprise the kids, but then I decided that time-wise that wouldn’t work out very well since I’d have to do it while they were all here. I opted instead, to let them in on the fun and give them all a job to do in creating our “cake” for dinner and they could in turn, surprise their dad when he got home from work. The months of March and April are pretty insane for an elementary principal, with lots of dinner-less late nights, and I thought this would brighten his day as well as give the kids something fun to do.

I also decided to make “Dump Cake” for dessert so that they could then say we were having cake for dinner and cake for dessert. I had them help out with that also, but that’s a post for this week’s Fun Friday! You’ll have to check back in a few days to see that post!

The recipe was an easy one and I had to modify it to use what I had at home because I didn’t want to go out to pick anything up or spend any additional money on ingredients. Their recipe called for a Bisquick type of mix, which I had here. It called for three cups, and when I measured what was left in my box it was *exactly* three cups. That was pretty great. It called for sausage and pepperoni in the “pizza” type of filling but I opted to use meatballs instead, since everyone likes them. I also threw in olives. It called for slices of mozzarella cheese for the “frosting,” which I did not have. I had shredded instead. I decided we’d be “drizzling icing” instead of frosting our cake. It worked out fine.

Overall, this was a fun recipe for April Fools Day dinner. I don’t know that it’s something I’d incorporate into our regular menus throughout the year, as we regularly make some kickin’ real pizzas that I like much better. But, it was fun, and the kids liked surprising their dad, and he liked playing up the surprise as well. He enjoyed the meal. We followed dinner by a long walk outside until after dark, and came in for our Dump Cake dessert, which was really just a perfect day to replace my memories from last year. Now next year when I look back on April Fools Day, it won’t have such a dark shadow in my mind. Instead, I’ll remember this day, which was much, much better. No sadness or pranks, thankfully, but some great, great family memories.

And I’ll take that ANY day of the year.

Below is the Taste of Home recipe as they have it on their site, with all of my modifications in italics. Their recipe served as my inspiration, but I adapted it to suit our needs quite a bit. Next year, when April 1 rolls around you might want to give it a try too!

APRIL FOOLS CAKE BY TASTE OF HOME

Ingredients

  • 1 jar (14 ounces) pizza sauce
  • 1/2 pound Johnsonville® Mild Ground Italian Sausage, cooked and crumbled  *I used meatballs and olives*
  • 1 package (8 ounces) sliced pepperoni *I skipped this*
  • 3 cups biscuit/baking mix
  • 3/4 cup milk
  • 2 eggs
  • 2 tablespoons butter, melted *I used I Can’t Believe It’s Not Butter*
  • 1 teaspoon garlic salt *I had to make my own with garlic powder and salt*
  • 5 to 6 slices mozzarella cheese *I used shredded mozzarella for icing instead of frosting*

Directions

  • In a bowl, combine the pizza sauce, sausage and pepperoni; set aside.
  • In another bowl, combine the biscuit mix, milk, eggs, butter and
  • garlic salt. Spread half of the batter on the bottom and up the
  • sides of a greased 10-in. fluted tube pan. Spoon meat mixture over
  • batter; cover with remaining batter.
  • Bake at 375° for 35-40 minutes or until browned and a toothpick
  • comes out clean. Invert onto a baking sheet. Arrange cheese over
  • cake. Return to the oven for 5 minutes or until cheese is melted.
  • Using two large metal spatulas, transfer cake to a serving platter;
  • serve immediately. Yield: 8 servings.


Visit my newest post for SheKnows and Mott’s!

1 Apr
My first of two posts for Motts is up!

My first of two posts for Motts is up!

I’m excited to announce that I have a new post up on SheKnows.com!

The post is for Mott’s juices and I hope you’ll check it out!

You can view the post by visiting this link.

In the post I will talk about the after school snack I made and served with Mott’s juice. Having all the right tools and ingredients on hand made it easy to make this after school snack!

You will also be able to view this post on the See My Sponsored Posts page.

Enjoy!

Monday Musings: Make mountains out of molehills

31 Mar
So true!

So true!

Good friends of ours recently had a baby. As we are friends on Facebook as well as in real life, it’s been an amazing, heart-warming experience to watch their daily postings of experiences and photos as they journey through their baby’s first days and weeks.

Yesterday however, our friend posted this page from a book, which when I clicked through to the photo, attributed it to  “William Martin – from “The Parents Tao Te Ching.”

When I read what the page said, I immediately wrote and told her I loved it, but the words stayed with me all day.

As parents who are now more than a decade into this journey, these words really resonated with me. I have always found that making a big deal out of the  little things in life not only taught our kids an appreciation for those small things, but also gave us a new appreciation for them. Additionally, it made those things seem extraordinary and we always joked that in many senses of the word, we did in fact, make mountains out of molehills.

And, as this page in the book says, the extraordinary things do in fact, take care of themselves, for as often as we’ve made a big deal out of enjoying small things, we’ve had some pretty big things happen as well.

I look at our summer vacation months as a perfect example. When people say to us, “Oh do you have big plans for summer,” or something like that, I always say “No, nothing much,” but I clarify that the time goes by and the days fill up and before we know it the summer has passed. I look at our Summer Timeline as an illustration of just how many exciting events do fill our summer, but yet they’re simple pleasures, things like packing up homemade dinners to eat on the beach, bike rides nearby, night time walks through our neighborhood with flashlights, lemonade stands in our driveway that cause a traffic jam in the street, or visits to free events and happenings that take place throughout the summer. None of the things we do are generally costly or “exciting” at first glance, but they are priceless in experience and prove to be memorable for our family. They provide us with together-time, first and foremost, but they also provide us with an appreciation for the little things around us. And at the end of the summer, our timeline is full, wrapped around two walls of our living and dining room and we love nothing more than to look back on those days as fall begins.

Our February vacation week is another perfect example. We generally plan nothing that week other than the yearly eye exams or dentist appointments. But yet, by Friday, we’ve had a full week with a playdate here or there, a family dinner out maybe, or a movie. A good friend said to me this year, “You guys really know how to fill up a week!” And she’s right, leaving our week as a blank canvas really let us fill it with whatever came our way with no expectations to reach for. Nothing big, nothing expensive, and yet everything was fun, (other than the dentist,) but at the end it was hard to decide which thing we’d done had been the most fun of all.

Yesterday in church, part of our priest’s sermon included a challenge to us, to think about the lenses through which we view the world, and as part of his talk, he spoke about thinking of how we’re viewing the little things and making sure we don’t miss those little things as life goes by.

I hope that as our friends continue on their journey as a new family of three, that they too, get a new appreciation all of the little things in life as they show their little one life through their lenses. I hope that they too will enjoy making mountains out of molehills for their daughter as she grows. I know that it’s been a valuable practice for us as parents and I know that our kids have a true appreciation for the little things in life as well.

It’s like the age-old saying, “Sometimes it’s the little things in life that make all the difference.” It’s true. It’s the little things that are the most priceless of all.


Sponsored Post: Dairy Pure Milk with a Worry-Free Flip Cap Recipe and Giveaway!

28 Mar
Have you seen it yet? Dairy Pure Milk has a great new flip cap!

Have you seen it yet? Dairy Pure Milk has a great new Worry-Free flip cap!

Do you ever have one of those “Why didn’t I think of that,” moments when you see something new on TV? I know I do!

I recently had one of those moments when I saw the television commercial for Dairy Pure’s new “Worry-Free” flip cap. I can’t tell you how many times our milk caps have gotten lost, accidentally thrown in the trash, or gone flying on to the floor upon being opened. In the past, I’ve had to put plastic wrap over our milk cover with an elastic band or use an old cover, or put all the milk into a pitcher, all to solve our milk cap problems.

Clearly, I’m not the only one whose household has had these types of milk cap worries, because Dairy Pure Milk recently introduced their new Worry-Free flip cap, which now keeps the cap ON the milk, where it’s supposed to be.

You can say it, I know you want to: “Why didn’t *I* think of that?”

Exactly.

Since we’re big smoothie people, especially now that the warmer weather is coming, I was excited to try out Dairy Pure milk and the great new worry-free cap, for a new smoothie recipe, which I’ll share below. I also enjoy using locally produced products and Dairy Pure is made by Garelick Farms in Franklin, Massachusetts, which is the town where both my husband I used to work.

Five important points!

Five important points!

When I tried out the Dairy Pure Milk, I made note of their Five Point Purity Checklist, which states the following:

*Our Farmers pledge NO artificial growth hormones

*We test our milk for antibiotics

*Continuously quality tested to ensure purity

*Only from cows fed a nutritious diet

*Cold-shipped fresh from your trusted dairy within hours

Those five points are all important, and I was pleased to know that Garelick takes those things seriously.

But it’s the cap….I love that cap! My days of plastic wrap, elastic bands and pitchers are a gone with the Worry-Free cap.

Before I share my smoothie recipe with you, I wanted to also pass along the Dairy Pure Recipe page in case you’d like to find even more recipe inspiration using Dairy Pure Milk!

And remember: Be sure to read to the end of this blog post, as I’ll be putting my instructions there for a Dairy Pure special giveaway!

Dairy Pure Milk with a Worry-Free cap is an excellent choice for your own smoothie concoctions!

Dairy Pure Milk with a Worry-Free cap is an excellent choice for your own smoothie concoctions!

Now…for my recipe! I often post smoothie recipes for my Fun Friday posts, and since it’s Friday, I thought a new smoothie recipe would pair well with my Dairy Pure Milk! I recently received a gift from my friend Amy: a jar of crunchy cookie butter!! She knew that I’d given up my favorite hazelnut spread for Lent, and she thought this delicious crunchy cookie butter would help me through the 40 days. She’s right! The jar is almost empty! I’ve been eating it with a spoon, but I thought I’d try it, along with the milk, in a smoothie and it was a.m.a.z.i.n.g!!

Here’s the recipe that I created last week:

Throw it all in a blender and you're ready to go!

Throw it all in a blender and you’re ready to go!

COOKIE BUTTER & BANANA SMOOTHIE

32 oz. of milk (You can use your choice of skim, low fat or whole milk, We used skim.)

Two frozen bananas

1/4 to 1/2 cup crunchy cookie butter

Three scoops fat free vanilla frozen yogurt

Whipped cream (optional)

Place all your ingredients into your blender or smoothie maker and blend it up! So simple! You can choose to add a little whipped cream to your smoothie if you’d like!

And now….the moment you’ve been waiting for! The Dairy Pure milk GIVEAWAY!
I know that if you’re like me, keeping your cold groceries cold between the store and home is important! Therefore, I’d love to give TWO READERS a special insulated, re-usable, handled shopping tote bag from Dairy Pure Milk! You can use it to keep all your cold foods cold when you’re en-route from store to home. Now you can shop for all of your smoothie ingredients: milk, fruits and frozen yogurts and keep them all cold so that when you get home and unpack, your ingredients will be ready for blending!

Do you want one? Leave a comment on my blog! What would *you* make with Dairy Pure Milk?

Do you want one? Leave a comment on my blog! What would *you* make with Dairy Pure Milk?

Here’s how to enter for a chance at the giveaway:

Leave me a comment here on my blog, telling me something yummy you would make with Dairy Pure milk!

That’s it! Easy peasy! I will take all of the responses and randomly draw two names for the totes. Be sure to check back so that you know if you’ve won!

I will run this giveaway for ONE WEEK, until Friday, April 4th, at which point I will announce the winners on the blog and on Facebook.

Good luck!!


 **This is a sponsored post. I was compensated for this post.

However, all of the thoughts, and opinions I have expressed here are my own.**


What’s for Dinner Wednesday: Simple Shrimp and Chicken Stir Fry

26 Mar
I loved the flavor in this stir fry!

I loved the flavor in this stir fry!

You might think to yourself that if you’ve had one stir fry, you’ve had them all. How different could they possibly be?

I think it depends on what your ingredients are. There are so many different flavors out there, whether it’s the sauces you throw in or the ingredients and vegetables that you include.

Recently I had so many veggies left in my fridge that I didn’t want to go to waste, I decided to do a stir fry. I wanted to try a new one though, just to see what was out there. I also knew that besides the veggies I wanted to utilize, I also wanted the stir fry to include both chicken and shrimp, since I have kids who like one or the other, but not both.

I Googled “shrimp and chicken stir fry” and chose this one from http://hipfoodiemom.com and I really loved it! I had everything the recipe called for except mushrooms and snap peas, but I also had zucchini so I threw that in instead. It seemed reminiscent to me of a “Dump Cake” recipe I once read, where you literally just dump all the ingredients in together. That’s what I love about stir fry recipes, you can really throw in a lot of different things.

I think that the difference between this recipe and some of the ones I’ve tried in the past are the sesame oil and the balsamic vinegar. Those are new to any recipe I’ve tried before.

Here is the recipe as Hip Foodie Mom has it on her site. I hope you’ll pay her a visit!

It was the unique combination of sauces that made this recipe so good!

It was the unique combination of sauces that made this recipe so good!

Author: Hip Foodie Mom

Recipe type: Main
Serves: 4-6
Ingredients
  • 2 tablespoons olive oil
  • 1-2 cups broccoli, cut into florets
  • 1 package mushrooms, sliced
  • 2 to 3 carrots, cut
  • 1 bell pepper (red or yellow), chopped
  • 1-2 cups sugar snap peas, chopped
  • 1 cup onion, diced
  • salt and pepper
  • about 1 tablespoon sesame oil
  • about 1 pound shrimp (fresh or frozen, but if frozen, make sure it’s completely thawed)
  • 2 cups rotisserie chicken; chopped
  • ¼ cup low sodium soy sauce
  • 1-2 teaspoons of balsamic vinegar
  • Serve with brown rice
Instructions
  1. Get all your veggies prepped: washed and chopped. And cut up your rotisserie chicken.
  2. Heat the olive oil in a large skillet or wok over high heat. After a minute or 2, throw in all of your vegetables and allow them to cook until just tender, for about 2 minutes. Stirring occasionally. After 2 minutes, reduce the heat to medium-high and cook your vegetables or another 3 minutes or so. Season with a little salt and pepper.
  3. Add the shrimp and chicken. Drizzle the sesame oil, add the low sodium soy sauce and a splash or 2 of balsamic vinegar. Taste and add more soy sauce or balsamic vinegar if needed. Cook for another 5 minutes or so. Serve over brown rice.


What’s for Dinner Wednesday: Taco Pizza

19 Mar
This was a fabulous addition to our ever-growing list of gourmet pizzas!

This was a fabulous addition to our ever-growing list of gourmet pizzas!

A couple of weeks back, I had a typical Facebook messaging exchange with my friend Gina. It consisted of the usual commiserating about the fact that neither of us knew what to make for dinner that week. I happened to mention that I did have taco meat already cooked up and frozen, but that I didn’t necessarily want to have tacos again.

Her suggestion: Taco Pizza.

“Ohhhh…..I said, I like that idea!”

Lucky for us, there’s a bakery right down the street that sells fresh dough

If you love Tacos, you'll love trying out Gina's Taco Pizza!

If you love Tacos, you’ll love trying out Gina’s Taco Pizza!

by the pound, 24 hours a day for just a little over a dollar a bag.

That’s right, 24 hours a day. If I wanted to go at midnight to get a bag of dough, slice of pizza or a cookie, I could. I don’t, but it’s nice to know the option is there.

So last week I got my dough (during daylight hours) at the bakery and came home to get ready for our pizza dinner. We had a regular work day combined with a pre-dinner meeting and Dance for one of the girls. Pizza for dinner was the perfect answer to our need for quick, easy and delicious.

I’d actually gotten three bags of dough. We were having a ham and pineapple pizza, a meatball, cheese and sauce pizza, and our newest addition: Taco Pizza, thanks to Gina.

Coincidentally, we were also having furniture delivered the next morning between the hours of 6:30 am and 9:30 am in time for us to be out the door for work and school, but right smack-dab in the middle of lunch preparations. Having pizza for dinner the night before would allow me to bag up slices of whatever flavors anyone wanted for lunch the next day, after dinner.

Easy-peasy. It took a lot of advanced planning to make the night and next morning go off without a hitch, but it was healthier than ordering take-out that night or school lunch the next day, and much tastier too!

For this pizza, the only thing I’d do differently the next time, is crush up my tortilla chips and bake them right in there with the meat, underneath the cheese. This first time that we tried out the recipe, we crushed them up and added them on top. I found them hard to eat, but in our Taco Bake recipe we put them right inside, and I think I’d enjoy them more that way on the pizza than on top.

Otherwise, this is so easy!

Spread out your pizza dough, add your taco meat on top, and throw on some crushed tortilla chips if you’d like to, before adding your cheese. We used cheddar cheese on ours because of the nature of the pizza, rather than mozzarella.

Once your pizza is cooked, it’s up to you what toppings you’d like to add, anything you’d normally add to a taco.

Here are some suggestions:

Sour cream

Avocado

Olives

Tomatoes

Lettuce

New sponsored post for Jimmy Dean Sausage crumbles

16 Mar
Be sure to check out my newest post for Jimmy Dean!

Be sure to check out my newest post for Jimmy Dean!

I’m excited to share that my second post for Jimmy Dean Sausage Crumbles is now live on SheKnows.com! I hope you’ll check it out by clicking on this link.

Since completing the posts for Jimmy Dean, we’ve been finding all kinds of great ways to incorporate them into our recipes. We’ve used them in eggs and pasta, among other things. They’re a very versatile and convenient ingredient and I like to have them on hand.

Enjoy my post at SheKnows, and give Jimmy Dean sausage crumbles a try!

Fun Friday: Dreaming of the gardening days

14 Mar
I love seeing their kids out in the garden, exploring the things we're growing.

I love seeing their kids out in the garden, exploring the things we’re growing.

I don’t know about you, but I totally have spring fever! We’ve had a cold and snowy winter, and although I have loved those days too, I’m ready to move on. We’ve had some warm days mixed in with our end-of-winter weather this past week and it’s given us a taste of what’s coming.

Spring is right around the corner!

I truly believe that having all four seasons is a blessing, and it allows us to love and appreciate each season for its differences. To me, there’s nothing like seeing those first buds of spring as they’re starting to make their way through the ground. Seeing the leaves on the trees sprouting and feeling the sunshine and warm wind on your face is exciting to me after the winter days.

As I’ve run my errands over the past week, I’ve started to see it: signs of spring inside too…packets of seeds, seed starter kits, grass fertilizers and outdoor patio furniture. It makes my heart skip a beat when I go past the aisle, thinking of those days being upon us so soon.

This week, a friend posted an article on Facebook called “Advice for eating well on a tight budget from a mom who’s been there.” It’s about a woman who is helping those on public assistance learn how to use fresh, home-grown fruits and vegetables to supplement what they get for public assistance and to enhance their eating habits. The woman herself had been on public assistance as a mom of seven and had always tried to utilize things she could grow, in order to help nourish her family. I thought it was a great article and great to see someone who’s “been there,” giving back.

One year we "accidentally" grew pumpkins, and these were our three Halloween pumpkins that year; first time we'd ever grown our own.

One year we “accidentally” grew pumpkins, and these were our three Halloween pumpkins that year; first time we’d ever grown our own.

Although we have never been on public assistance, we have always had a pretty tight budget and we’ve always had a summer garden which helps us stay below budget on our food spending during the summer months. We grow mostly vegetables, but one year we were able to grow pumpkins, and that’s a fruit! I love seeing the kids take on roles with the garden, helping to plan it, clean it up, plant it, water it, and then to watch them run out every day to see what’s grown and what’s ready to pick. One of my all-time favorite photos from years ago is a picture of two of my daughters out in the garden in their Halloween and dress-up costumes, picking tomatoes off the plants. We had one Minnie Mouse and one Cinderella, outside, in the garden, picking veggies and it was so funny to see; but such a special memory for me as well.

There is absolutely nothing in the world like fresh, garden vegetables in my opinion, and when you’ve grown them yourself, that makes them exponentially better! I love cooking and baking with the things they’ve planted and picked and I love telling them, “This is from our garden!”

A pack of seeds is not expensive and the amount it yields is far more than what you put out financially for the seeds. As soon as last year’s garden was done, I already had a list on the fridge of our successes, so that we wouldn’t forget to plant them again this coming year. The list is still there, and it’s ready to go.

I love to see the kids eating the veggies they've picked, right off the vine, all summer long.

I love to see the kids eating the veggies they’ve picked, right off the vine, all summer long.

I think it’s important too, to make sure that our kids have an understanding of where their food comes from, that it’s not just from the grocery store. I think it’s important that they understand about nutrition and local produce as well. I like to see them eating their snap peas right off the plant outside or eating their cherry tomatoes as they pick them. I like them to know that they can grow their own food, and that you don’t need a lot of space to do it. We don’t have a huge house or a huge yard but we have a really good-sized garden and it teaches them that it doesn’t take much of anything other than hard work, to grow their own food.

So as winter comes to a close, and spring begins, I’m already dreaming of our gardening days. Spring Fever has hit hard, and I can’t wait to start picking out seeds and planning out what we’ll plant, pick and cook all summer long. Take a look at the article above, and think about how you too, can add home-grown fruits and vegetables to your summer menu!

It doesn't take a lot of space to have a garden, and lots can be done in containers if you don't have a yard at all.

It doesn’t take a lot of space to have a garden, and lots can be done in containers if you don’t have a yard at all.


What’s for Dinner Wednesday: Ham and Spinach Puff Pancake

12 Mar
A dish from my past! Delicious memories!

A dish from my past! Delicious memories!

Every so often I come across a recipe that reminds me of my childhood because it’s a recipe from my mom and I grew up eating it. Today’s recipe is one of those. I came across it when I was looking for a different recipe. It’s another one that although I grew up eating it, my kids had never had it, meaning it’s been “that long” since I’ve made it.

I like this recipe because it’s adaptable. You can fill the center of the pancake as is, or you can add in or take out ingredients or change them all together to suit your needs. We were out of mushrooms this time around so we didn’t use them even though the recipe calls for them. There are lots of combinations that would be great in the center of this pancake and it’s great for a variety of taste buds!

I love kitchen science. The kids' eyes pop when they see how big this rises in the oven.

I love kitchen science. The kids’ eyes pop when they see how big this rises in the oven.

This recipe is a little long, but I encourage you to give it a try anyway. It’s a fun recipe to watch bake in the oven because it puffs up quite a bit and it’s neat to show the kids the difference before and after. We had it for dinner, but it’d also be great for a brunch or even for a breakfast dish.

Enjoy!

HAM AND SPINACH PUFF PANCAKE
INGREDIENTS
PANCAKE:
1/4 cup butter (I used I Can’t Believe It’s Not Butter)

2/3 cup flour

3/4 cup milk (I used Skim)

2 eggs

1/2 tsp. salt

We filled our puff pancake with ham and spinach. What would you put in yours?

We filled our puff pancake with ham and spinach. What would you put in yours?

FILLING:

3 tsp. butter

2 cups (8 oz) sliced fresh mushrooms (this time around I didn’t have any so they’re not pictured)

1/2 lb. cooked and cubed to 1/2″ ham

10 oz. package chopped, frozen spinach thawed and well drained

1 1/2 cups (6 oz) shredded cheddar cheese ( I used very little cheese due to our dietary restrictions, and this time I used reduced fat provolone cheese.)

DIRECTIONS

Heat oven to 400 degrees.

In a 9″ glass pie plate melt 1/4 cup of butter in oven  (2-4 minutes).

Simple ingredients make this pancake easy to prepare.

Simple ingredients make this pancake easy to prepare.

In large bowl combine milk, flour, eggs and salt.

Using wire whisk or rotary beater, beat until smooth (2-3 minutes).

Pour batter onto pie plate. Bake 20-25 minutes or until golden brown.

Meanwhile, in 10″ skillet, melt 3 tsp. butter. Stir in mushrooms, cook over medium heat, stirring occasionally until mushrooms are soft (5-7 minutes).

Stir in ham and spinach. Continue cooking until heated (3-4 minutes).

Stir in one cup of cheese.

Spoon filling into center of hot pancake.

Sprinkle with 1/2 cup of cheese. Heat until melted and serve.