Archive | Dinner RSS feed for this section

What’s for Dinner Wednesday: Two weeks of meals and the importance of eating together

14 Jan
Ready for another two weeks of dinners?

Ready for another two weeks of dinners?

Now that we’re back into our regular routines, we’re back to meal planning for the weeks ahead.

Over the holiday and vacation weeks we were eating out of the house so often, either at other people’s houses or at restaurants, that we had absolutely no meal plan at all, and practically nothing to even make a meal with. Once we got back into the routine, we had to sit down and start our preparations again.

One thing I had done over the vacation weeks however, was to keep a running list of the things the kids were asking for during the two weeks. When someone said, “Can we have Shepherd’s Pie for dinner tonight?” during those two weeks, for example, even though I’d have to say no because we were scheduled to eat wherever for whatever event, I’d go and write it down. Making our meal plan is tough because we have to come up with two full weeks of meals. Having a list of favorite requests made it that much easier the next week when we sat down. And, it was kind of nice that first week back to school (which felt as long as five weeks in a row, rather than just one), to announce at dinnertime whose special request produced that night’s dinner.

It’s also been nice to see the kids checking out the menu we post in the kitchen each week, looking forward to the dinner of choice for that night or a future night, especially when it’s something they requested. It makes me feel good to know that they like the routine of knowing what’s for dinner, and that even better, they look forward to certain nights of the week, just because it’s their favorite meal of the week. Our menus are nothing fancy, our meals are straightforward and our lists are posted on whatever piece of paper we have handy, and we cross off as we go, but it’s a routine we’ve established and it makes us all feel good….less stress, somewhat excited for dinner, and looking forward to eating together each night. That’s all good, and I’m glad we’re continuing to stay true to this routine of ours. I hope that in doing so, we ‘re creating good, healthy eating habits and family foundations for our family as we go so that once our kids are on their own, raising their own families,they’ve got a great foundation so that they can eat well and eat together.

I recently saw an article in the Washington Post about the importance of eating together as a family, and its many benefits. It definitely confirmed for us all that we already knew and believed about eating together as a family. If you’d like to read it, click here. We work incredibly hard to keep our schedules and meals consistent so that we can eat together as often as humanly possible, and although we’ve always seen the benefits, which far outweigh the effort it takes to pull it off, it’s nice to have our efforts validated every once in a while too! The article is well worth the read.

In the meantime, here’s two weeks of meals for you to get you started. I’ve even linked to a few of the recipes for you so that you don’t have to search the blog for them:

Sunday: Roasted Chicken Dinner

Monday: Shepherd’s Pie

Tuesday: Pulled pork sandwiches (crock pot meal)

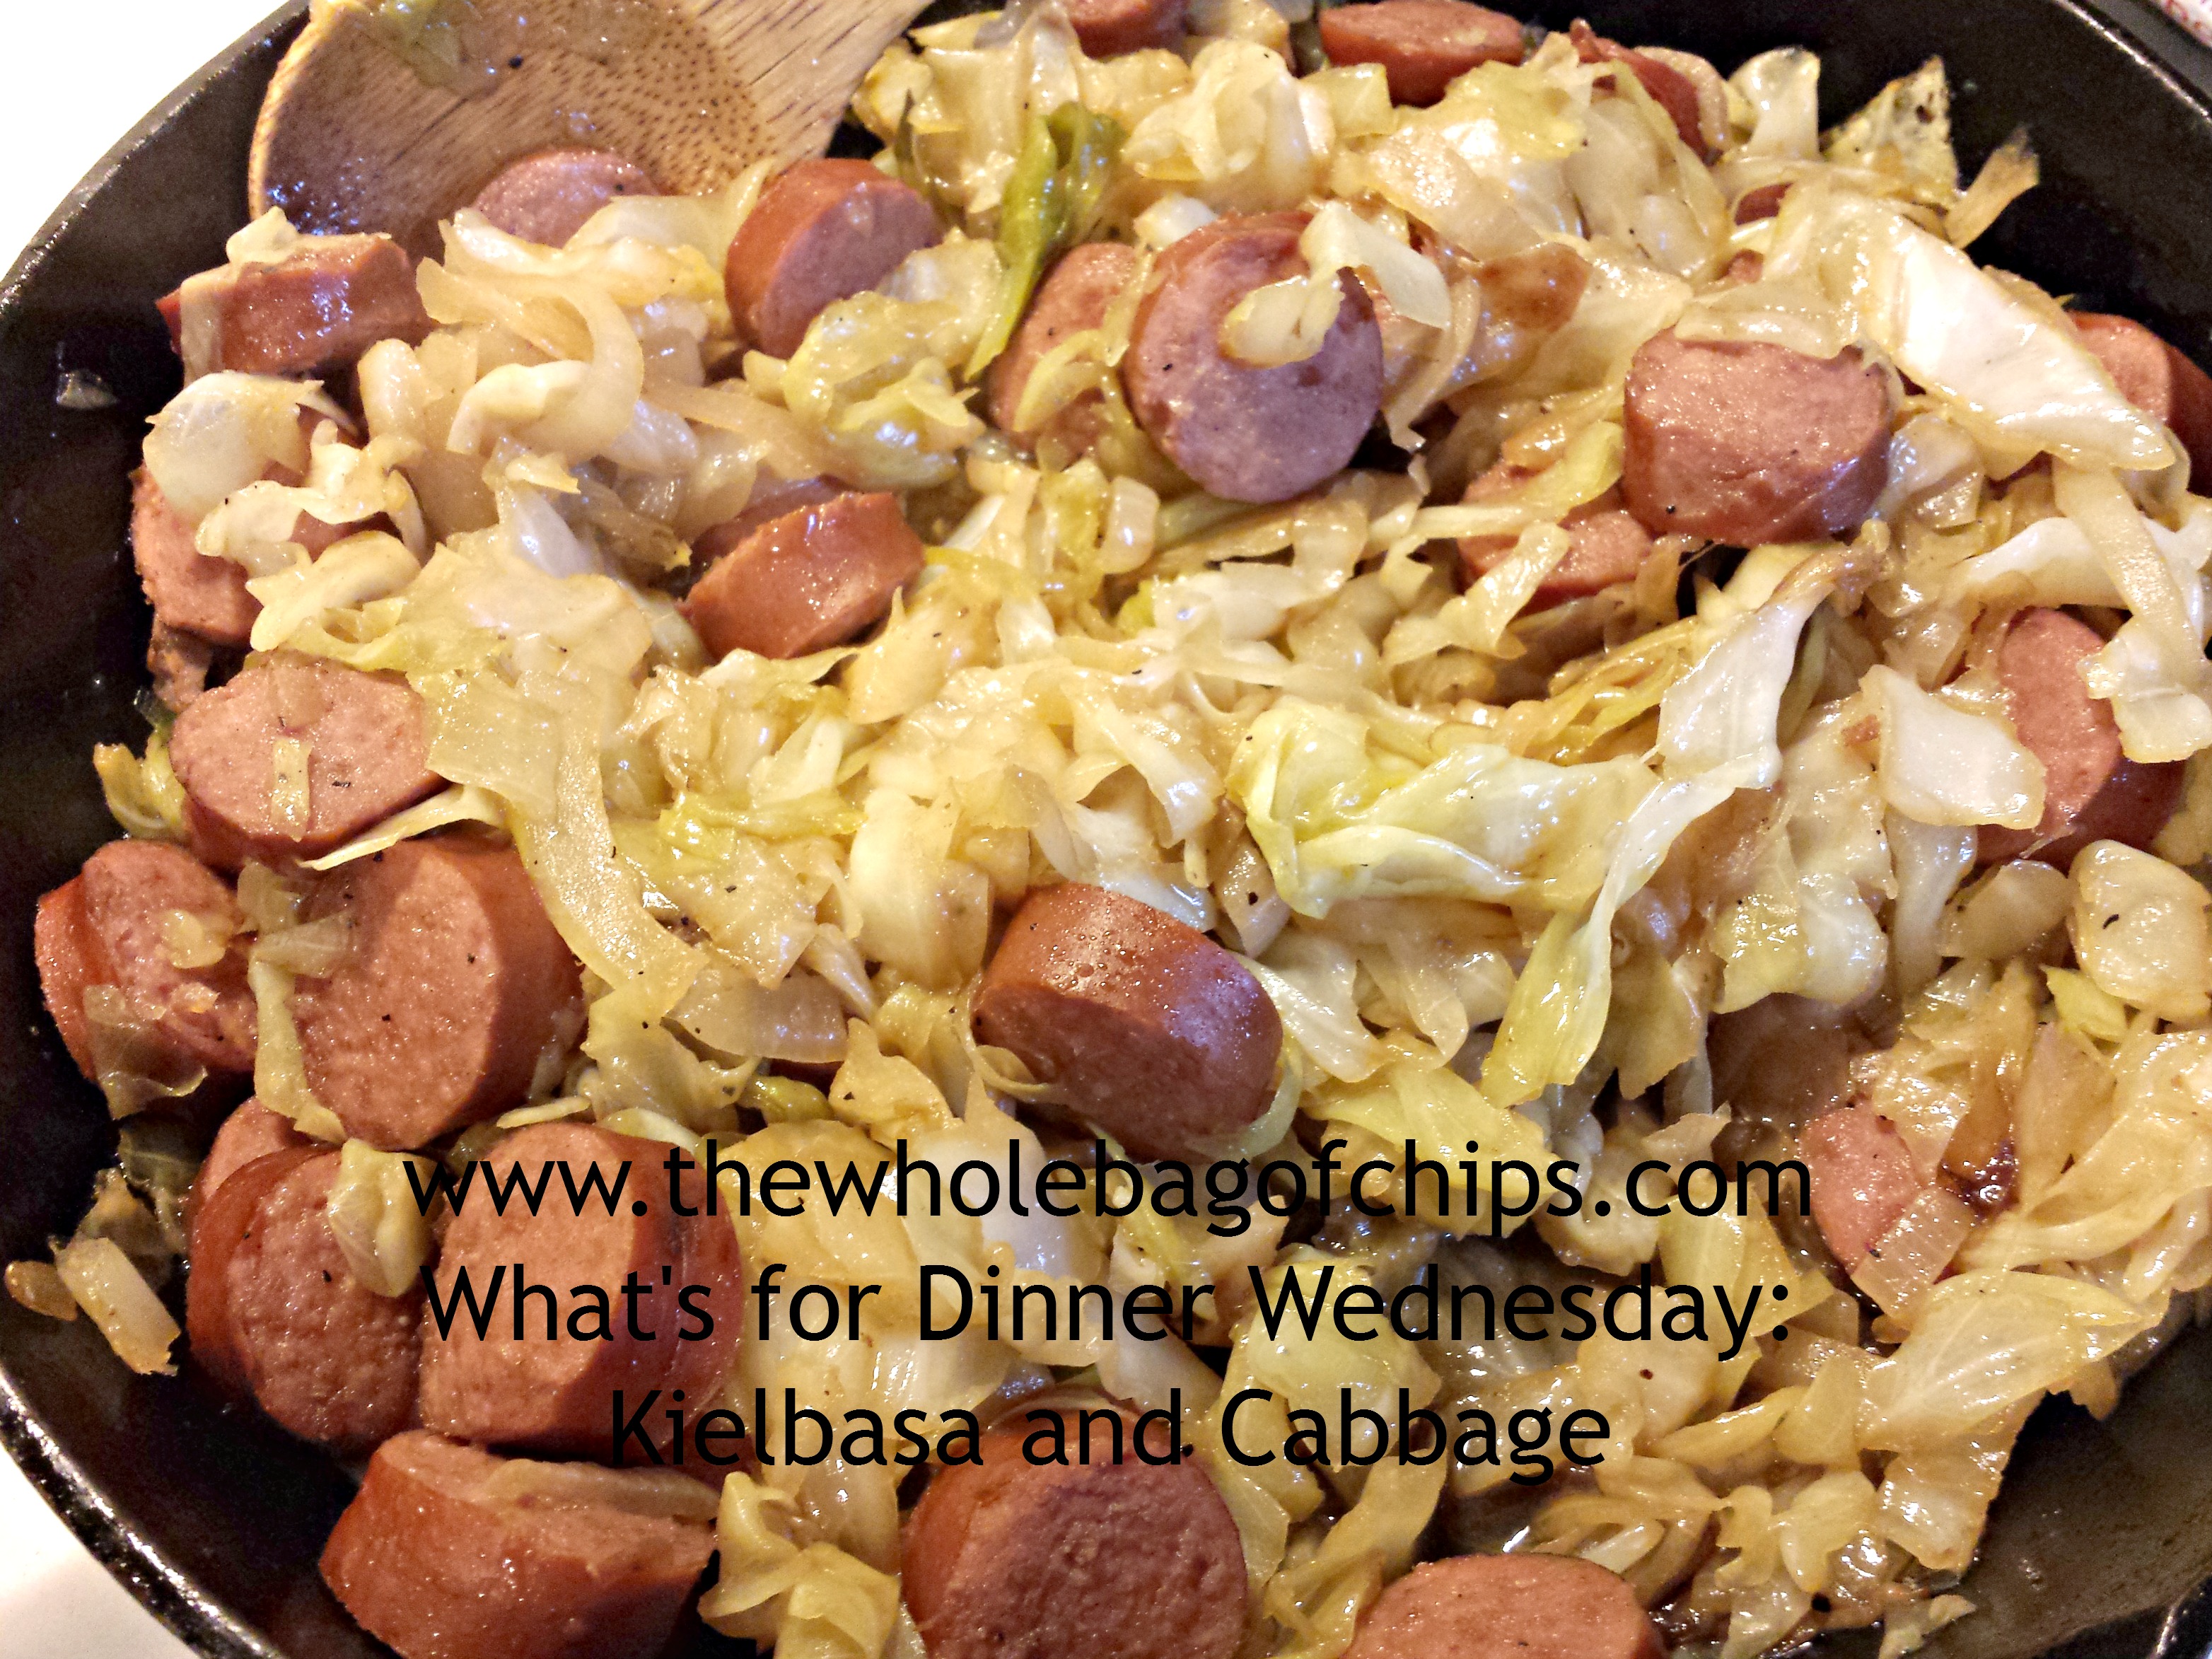
Wednesday: Spaghetti tacos with meat sauce (could be eaten without taco shells or with)

Thursday: Paninis (we used the bbq pork leftovers in the paninis, SO delicious)

Friday: Homemade pizzas (we made three different kinds but here’s just one kind we’ve made before)

Saturday: leftovers

Sunday: Chili

Monday: Ravioli (some of us had butternut squash ravioli given to us by a friend, others of us had cheese ravioli)

Tuesday: Garlic chicken and wine

Wednesday: Chicken Pot Pie

Thursday: Fish Tacos

Friday: Breakfast for dinner

Saturday: Hamburgers and hot dogs

Sunday: Lasagna


What’s for Christmas dinner: Make ahead twice baked potatoes

17 Dec
Christmas Dinner: pork chop with homemade applesauce, green beans, twice baked potatoes, butternut squash

Today’s post is all about the potatoes.

ORIGINALLY POSTED DECEMBER 28, 2011

Yesterday I wrote the first part of my post about our Christmas dinner, which is a great meal for any occasion:  roasted pork chops, homemade applesauce, Twice-Baked Potatoes, sauteed green beans and butternut squash.

At the end of the post I promised that I’d be sharing the make-ahead process that Don uses for the Twice-Baked Potatoes, which also provides you with a ready-made appetizer: potato skins.

To begin, you need baking potatoes. I get mine at Aldi’s. They sell the perfect sized and shaped potatoes in a big bag so that you don’t have to hand pick every single one. I buy two bags of them.

Early in the day on Christmas Eve, they go in the oven to be baked just as you would for any baked potato. Don bakes them at 400 degrees for one hour.

After that, they cool on top of the stove for two hours.

Potato skins

You want to take off the tops, but leave enough potato on them to make a hearty potato skin appetizer. You don’t want just skin.

At that time, Don cuts the top skin off of the potatoes, putting the tops in a serving dish to be used as Potato Skins for the next day and leaving the bottoms on the tray to be used for the Twice Baked Potatoes.

potato shells

You don’t want to scrape right down to the skin, leave enough flesh on the skin for a sturdy shell.

The next step is to scoop all of the potato flesh out of the skins, and into a mixing bowl.

making mashed potatoes for twice baked potoatoes

Next, you make mashed potatoes.

Next, you make the filling. We use butter, milk or half and half, salt, pepper and cheddar cheese, mashing the mixture just as you would for mashed potatoes.

Then, you fill the potato skins back up again. They should be slightly more full than they were before because of the added cheese, milk and butter.

Wrap the entire tray with saran wrap and refrigerate overnight.

On Christmas morning, when it’s time to cook, take your potatoes out. Let them sit on the counter for about 20 minutes to bring the temperature up a bit. Bake them in the oven 350 degrees for 40 minutes.  Sprinkle cheddar cheese on top of each one, and broil for a few minutes until brown and crispy. Eat and Enjoy!

Twice Baked Potatoes

Good enough to eat!

Additionally, to make your potato skins appetizer, you use the tops of the skins from the day before, sprinkling them with any toppings you’d like. We use cheddar cheese and bacon bits. Broil them for a few minutes in the oven before serving. We serve with a side of sour cream.

Hanukkah is coming! Here’s a complete meal and craft for you!

10 Dec
Menorah clip art

Happy Hanukkah!

ORIGINALLY POSTED DECEMBER 17, 2011

We are not Jewish, but over the years we have been blessed to know many Jewish friends. When we were first married, we moved to New Jersey. Some of the first people we met there were our friends Max and Jamie, an Italian-Jewish-African American couple whose passion for good food and good times matched our own. They gave us the following brisket recipe in 1996 and we’ve been making it ever since and I think of them fondly every time we do. Accompanying the brisket recipe is a recipe for Latkes, a potato pancake, which we actually make frequently throughout the year because we love them so much. And of course, this post contains a coordinating craft to go along with it. It’s truly the whole package for you!

Max and Jamie sent this recipe to us in 1998 after we had moved back to New England. It’s not perfectly measured out, a lot of winging it, but it’s worth it! I do not have a photograph of this meal because I have not made it since I started this blog in September but I promise that the next time we make it, I will take and post photos.

HANUKKAH BRISKET

INGREDIENTS

One brisket

one medium to large onion

several carrots

a few cans of tomato sauce

DIRECTIONS

1) First chop the onion and cook it a bit in a big pot with a bit of oil (vegetable, corn, canola, whatever)

2) Put the brisket in the pot with the onion and brown it on both sides.

3) Add one can of water for each can of tomato sauce until the brisket is covered. The number of cans varies depending on the size of the can. Let the brisket cook in the liquid for one hour.

4) After about 45 minutes add the carrots (cut into medium sized pieces) to the pot. (Jamie wrote: I usually add about 3-4 carrots. You don’t want to add too many or the sauce will take on too much of a carrot flavor.)

5) After the hour is up, take the brisket out of the pot and slice it. Either with or against the grain works fine, whatever you prefer.

6) Put the brisket back into the pot and cook for another half hour.

************************************************************************************************************

mmmmm…latkes!

LATKES

Elizabeth actually brought this recipe home from second grade in 2010 and I enjoy using it, it’s an easy one, although we’ve used several others in the past.

INGREDIENTS

3 large potatoes, grated

1 small onion, grated

2 beaten eggs

2 tablespoons flour

1 teaspoon salt

pinch of pepper

DIRECTIONS

Mix all ingredients in a bowl.

Heat half a cup of oil in a frying pan.

Drop a tablespoonful of the potato mixture in the pan.

Fry until the pancake is brown and crispy on the edges.

Turn and fry on the other side.

Drain the latkes on a paper towel.

Some people enjoy sour cream with their potato pancakes, others enjoy applesauce with theirs. I am an applesauce girl all the way, and I’m including my super-simple homemade applesauce recipe below, but see which you prefer!

***************************************************************************************************************

Homemade Applesauce

Homemade applesauce makes a perfect topping for latkes!

HOMEMADE APPLESAUCE

There are so many homemade applesauce recipes out there, and I’ve used a few of them, including a great crockpot recipe which makes a huge amount. But, for a meal like this, I’d use my usual go-to recipe that I of course, learned from my mom when we were growing up.

INGREDIENTS

1 three pound bag of apples (like Cortland or Macintosh) peeled and sliced

1 cinnamon stick

1/2 cup water

THAT’S IT!!

DIRECTIONS

Peel them, slice them, throw them in the pan, dump in the water and cinnamon stick.

Wait til it boils, which happens quickly, and then simmer for 20 minutes. Mash them and eat!

***************************************************************************************************************

Menorah Craft for Hanukkah

Here are the handprint Menorahs my girls made with Caroline last weekend

HANUKKAH CRAFT FOR KIDS

Caroline recently decided to do this craft with her sisters after she saw it in a Highlights magazine. I thought it was so cute and perfect to post with today’s recipes. It’s super easy and her sisters really enjoyed it. They also went online and looked up what real menorahs looked like, while doing their own version of them.

For this craft you need:

one sheet of white paper

two hands for hand prints

one ink pad (I recommend water based ink)

one sheet of yellow construction paper for flames

scissors and glue sticks

What’s for Dinner Wednesday: Two weeks of meals

12 Nov
Ready for another two weeks of dinners?

Ready for another two weeks of dinners?

It’s been a little while since I’ve posted our two weeks of meals menu, and I always get great feedback from readers when I do. Therefore, I’m sharing our current menu plan with you today. Hopefully it will provide you with some dinner ideas and inspiration.

If you’re a new reader, this is how we generally try to plan out our grocery shopping every two weeks on pay day. We create a two week menu and try to stick as closely as we can to it. It almost never stays 100% on track, so we almost always have some carryover for the next two weeks of meals.

We have found that this is the best way for us to stick to a budget and to always have a (relatively) healthy, homemade meal for our family to eat together every night. It doesn’t always work out perfectly, but it’s better for us than not planning at all.

Week 1:

Sunday: Corned beef, cabbage, potatoes, carrots

Monday: Tacos  *This lends itself well to taco salad or seven layer dip with chips for lunches the next day. This time around it was the dip, last time we had them, I did taco salads.

Tuesday: Lasagna

Wednesday: Pork chops and applesauce (homemade)

Thursday: Choice of hot dogs, hamburgers or chicken burgers

Friday: Pot luck dinner at Girl Scouts

Saturday: BBQ Ribs

Week 2:

Sunday: Dinner at friends’

Monday: Shepherd’s Pie (this was a ‘cook once, eat twice’ extra Shepherd’s Pie frozen from a previous month)

Tuesday: American Chopped Suey pasta bake

Wednesday: Lemon Basil Meatballs and egg noodles (this is from the make ahead meals Pampered Chef party that I attended in September)

Thursday: Dinner out, Girl Scouts are touring a local eatery, so we’ll be eating there afterwards

Friday: Pizza

What’s for Dinner Wednesday: Soup for everyone

5 Nov
Three soups that are quick, easy and can all be done simultaneously.

Three soups that are quick, easy and can all be done simultaneously.

Earlier in the school year I did quite a bit of food preparation ahead of time, making and freezing foods for future use. One thing I’d wanted to do but hadn’t had time to do, was make and freeze some soup.

Recently when I had one child home sick for an extended amount of time, I had an afternoon where I’d have a couple of hours to make some soup. The only question was, what kind of soup? Everyone has a favorite. I love cream of broccoli and creamy cauliflower soup, as does my oldest daughter, who happened to be the one home sick. But, my other daughters and my husband, they love the cream of tomato soup that I’ve been making lately and my middle daughter in particular had been asking for it quite often.

When I thought about the recipes though, they were all pretty similar. Other than the actual vegetable for each soup, namely broccoli, cauliflower and tomato, the base ingredients and instructions were all pretty similar: onion and chicken broth. The tomato soup had a few extra spices thrown in, and the broccoli soup had celery added in and some milk and flour at the end, but ultimately I realized that I could actually make all three at the same time, almost like an assembly line: cut up all the onion, divide it into the soup pots, cut up each veggie and add them in, and then simmer. If any additional steps or ingredients were needed, it wasn’t all that hard to do. Nothing was complicated, expensive or time-consuming. In an hour I’d be done. The tomato soup has an option to put in tortellini and shrimp at the end, but this time around I was doing it without those last two ingredients mostly because that is what had been requested.

Just like that...three soups, done and everyone's taste buds were happy!!

Just like that…three soups, done and everyone’s taste buds were happy!!

Although I cried a lot of tears cutting up all those onions, overall it was a great experiment and all went off as planned. I had enough soup for whoever wanted whatever kind they wanted over the next couple of days, and then using quart-sized bags, I froze the rest. We already had a cold, rainy Sunday afternoon where a few of us had soup for lunch from the freezer, and there’s still more for whenever we need it, whether it’s for an after school snack, a lunch or a dinner where someone doesn’t like what’s on the regular night’s menu.

Since these soups have already been featured on my blog, I’m putting the links below so that you can refer to them if you’d like to make any or all of them for yourself. The weather here is starting to cool down and it will be nice to have some soups for the upcoming chilly days and nights ahead!

Here are the links for you.

If you’d like to make the Cream of Broccoli Soup, click here.

If you’d like to make the Creamy Cauliflower Soup, click here.

If you’d like to make the Creamy Tomato Soup, click here.

Enjoy!

What’s for Dinner Wednesday: Baked Sweet and Sour Chicken from Six Sisters’ Stuff

22 Oct
Definitely, definitely a keeper! Thanks Six Sisters Stuff!

Definitely, definitely a keeper! Thanks Six Sisters’ Stuff!

We eat a lot of chicken. It’s a meat most of the five of us enjoy, most of the time.

I’m being very diplomatic in that statement, because not everyone likes all of it all the time.

That said, I’m constantly on the lookout for some variety in our chicken recipes. We do breaded chicken, we do chicken with mushrooms, we bake it, we saute it, but I’m just always searching.

Recently I found a great one. It looked delicious and it did not disappoint. Almost all five of us loved it.

Almost.

There’s always one….

This recipe is from the blog Six Sisters’ Stuff, and I’m pretty sure I’ve made some of their other “Stuff” before, and shared it here. When I made this recipe, I knew for sure I had to share it here. It was amazing! The recipe is for baked sweet and sour chicken and in the description they said it was just like Chinese take out.

And it was.

I served it with a side of my Light Vegetable Fried Rice, to which I now always add a dash of sesame oil, and it was a perfect combination.

You’ll definitely want to give this recipe a try, and soon! It’s easy, there’s not a ton of ingredients, and it’s delicious.

Here’s the recipe exactly as it appears on Six Sisters’ Stuff, I did not change a thing, other than using chicken tenderloins instead of breasts.

Baked Sweet and Sour Chicken Recipe from Six Sisters’ Stuff
Ingredients:
Chicken:

3-4 boneless, skinless chicken breasts
Salt and pepper to taste
1 1/2 cup cornstarch
3 eggs, beaten
1/4 cup canola oil

Sweet and Sour Sauce:
1 cup granulated sugar
4 tablespoons ketchup
1/4 cup white vinegar
1/4 cup apple cider vinegar
1 tablespoon low sodium soy sauce
1 teaspoon garlic salt

Directions:
Preheat oven to 325 degrees.  Cut chicken breasts into bite-sized pieces and season with salt and pepper.  Place cornstarch and beaten eggs in separate bowls.  Dip chicken into cornstarch then coat in egg mixture.  Heat canola oil in a large skillet over medium-high heat and cook chicken until browned.  Place the chicken in a 9 x 13 greased baking dish.  In a medium sized mixing bowl, whisk together sugar, ketchup, vinegars, soy sauce and garlic salt.  Pour over chicken and bake for one hour.

What’s for Dinner Wednesday: Healthy Shrimp Scampi

15 Oct
This was a great alternative scampi recipe for our family!

This was a great alternative scampi recipe for our family!

I know I say it all the time, but I just love all the recipes that come across my Facebook page every day. I’ve gotten so many great ideas just by my daily scrolling. Today’s recipe is one such recipe.

The only down side is I can’t remember who shared it! I know it was on Facebook though and it says it was from the Prego & Mommy Facebook Page. That’s not a page I follow, so someone definitely shared it and it appeared in my feed.

The thing that appealed to me about this particular recipe for Shrimp Scampi was that it specifically stated that it did not use any butter. We have issues with butter here, and anything too buttery makes some of us sick. I substitute with “I Can’t Believe it’s Not Butter” pretty often, but when I saw that this recipe had no butter at all, I decided to give it a try.

I’m glad I did! It got thumbs up from all who tried it! I’d definitely make it again. The thing I liked about it too, was that you could make it as lemony as you wanted it to be (or not to be) by adding additional lemon at the end.

I followed the recipe just as it read, other than one change to the type of shrimp I used which is noted below, and I served it with wide egg noodles. Anyone who didn’t want the shrimp could have plain pasta if they so desired. There was just enough left at the end of the night that I could have it for lunch the next day, too! I love it when that happens.

Here’s the recipe just as I copied it:

Easy & Healthy Shrimp….No Butter (uses chicken broth, white wine, lemon juice)
Ingredients
4 tsp olive oil
1 1/4 pounds med raw shrimp, peeled and deveined (tails left on)  **I used a bag of frozen shrimp and I removed the tails before cooking.***
6-8 garlic cloves, minced
1/2 cup low sodium chicken broth
1/2 cup dry white wine
1/4 cup fresh lemon juice
1/4 cup + 1 T minced parsley
1/4 tsp salt
1/4 tsp freshly ground pepper
4 lemon wedges
Preparation
In a large nonstick skillet, heat the oil. Saute the shrimp until just pink, about 2-3 minutes. Add the garlic and cook stirring constantly, about 30 seconds. With a slotted spoon transfer the shrimp to a platter and keep them warm.
In the skillet, combine the broth, wine, lemon juice, 1/4 cup of the parsley, the salt and pepper; and bring it to a boil. Boil uncovered, until the sauce is reduced by half.
Spoon the sauce over the shrimp. Serve garnished with the lemon wedges and sprinkled with the remaining tablespoon of parsley. Enjoy!

Monday Musings: Watching it all fall into place

29 Sep
Our goal is always a simple one: to put our family first and have no regrets.

Our goal is always a simple one: to put our family first and have no regrets.

Someone posted this picture on Facebook a few weeks back, and I loved it then, so I saved it. It spoke to me in that it seemed to describe how we as parents try to live our lives. Like most parents, we put our children first and the decisions we make focus strictly on what’s best for them and for the way that we wish to mold them and the foundations we wish to give them.

We know that this time is limited and that it’s important. They’re only “ours” for a short time before we must set them free, off into the world to make their way, making life’s choices using all the tools we’ve given them in their tool-kits. As parents, we’ve taught them the importance of eating together around the table and talking things out. We’ve taught them how to solve problems and come out stronger in the end, how to do more on less, how to be frugal, how to appreciate the little things in life as well as what we believe the big things in life should be. We’ve passed on our strong morals and values and we’ve taught them to think of others before themselves.

And now, as our oldest has transitioned into the next phase of her life: high school, we’re watching it all fall into place. We’re watching all of our hard work, time and effort pay off.  As parents of a high school student, it’s our time now to step back a bit and watch our daughter use the tools in her tool-kit that we’ve helped her to stock over the years while we continue to help her fill it for the future.

It’s an amazing time, and yet it emphasizes the above quote to us even more. Our time with her in this capacity is short and we not only see the “light at the end of the tunnel,” but we actually see the end of the tunnel, we see our window of time together in this way, closing. As much as it saddens us to see her growing up, it thrills us to see her growing, maturing and becoming a confident, kind adult, the type of person we hoped we were raising and setting forth into the world.

It’s fulfilling to watch her make good choices (so far), to appreciate the things we’ve taught her to appreciate, to remember the talks around the dinner table and in the early after school hours as she makes some hard decisions, and to see her make good, solid, split decisions that put the needs of others before her own.

It’s nice to see it all coming together, to see the person we’ve molded, the foundation we’ve built coming into her own. We’re far from finished teaching her and our other children, that we know; our job’s not done, but it’s so nice to see the fruits of our labor coming to be and to see that it’s been worth all of the sacrifice, the time, effort and hard work that we’ve put into being parents, into raising and teaching our kids over anything else.

As the quote above says so well, we’ve found that time to be precious and to be a privilege, and we’re pleased to see that during this time of their lives, it’s precious and a privilege to our children as well, that they still look to us for the consistent advice and encouragement they’ve always relied on us for, and they still want to do the things together that we’ve always done as a family. They need us more now, as they’re getting older, than ever before.

It’ll be over in a blink and our nest will then be empty, but we’ll be able to be proud as we watch the adults we’ve raised from birth go into the world.

What’s for Dinner Wednesday: Back by popular demand…two weeks of menu planning

24 Sep
Ready for another two weeks of dinners?

Ready for another two weeks of dinners?

Two weeks ago, for my What’s for Dinner Wednesday post, I shared with you our two week menu plan for the following two weeks. The post was very well received. I had so many people come up to me in person, thanking me for taking the time to share some menu ideas and inspiring them to create their own menus or inspiring them to try something new. Therefore, I thought I’d share again this week since it’s a new two-week cycle here at our house.

Meal planning at our house can happen at any time that we have about a half hour or so. We adults get our calendars out, figure out what nights we’re in, out, busy and not, and we start our planning. This time we spent about 45 minutes on a Saturday morning when all of our kids were out of the house at the same time. From there, I went right to the store(s) I needed in order to get everything for our menu “in stock.” I don’t love having to do lots of trips during the week to pick things up because I always see lots of things I “need” while I’m there. However, I won’t lie, those weeks do happen here, and when they do, we just deal with it as it comes. Not every week will work out so perfectly.

For the most part, we were able to stick to our menu for the whole two weeks prior, but there were a few switcharoos, and for those, we either skipped something all together or we saved it for this two-week cycle, so you may seem some repeats. And in general, there may just be some repeats because those choices work well for our family; they’re fast or they’re something everyone likes, or something like that.

I also had the pleasure of taking part in my friend Marica’s Dinners Done meal making and freezing party on Saturday night, so I had four meals automatically prepped and frozen that I could add to this menu plan. She’s a great Pampered Chef consultant, and if you’re local and you’d like to participate or host one of her Dinners Done meal prep events, please contact me and I’ll connect you to her. There are several menu options to choose from and you can either prep ahead ten meals or four. I chose to do four, and I am excited to try them out over the next couple of weeks!

Saturday: Hamburgers and hot dogs..easy peasy and we had a late afternoon ice cream social at church, so we didn’t want a big dinner. Technically ice cream *was* dinner.

Sunday: Wonton Lasagnas I had been craving these! We hadn’t had them since the winter and early spring months and they were a new find last year. They were a hit and we have enough leftover for another whole meal. If we don’t use the meal this first week, we’ll freeze them for the future.

Monday: Homemade chicken soup and homemade bread in the bread machine (coincidentally, three out of five of us were feeling under the weather on this night, and the soup was a perfect menu choice for us.)

This meal was tasty and a good way to combine a lot of things I had on hand.

Tuesday: Kielbasa with cabbage and noodles

Wednesday: Grilled chicken

Thursday: Meatballs in lemon basil sauce (from our make ahead meal party)

Friday: Pizza (olive/cheese, meatball/cheese, ham and pineapple) Friday nights are busy for us and this is a quick and easy meal. It’s also one of the only times we let them chill out and eat pizza in front of the TV, as a treat.

Saturday: Quesadillas

Sunday: Shepherd’s Pie (the meat for this is something I prepped ahead before school started.)

Monday: BBQ pork sliders (these are another meal from my make ahead meal party.)

Tuesday: open for any leftovers

Wednesday: Nicoise Salad (we didn’t eat this last time around so we moved it onto the menu this time around.)

Thursday: Breakfast for dinner: Fritatas we make many different kinds, but here’s one similar to a recent meal we had.

Friday: Crockpot lasagna (another make ahead meal from our party.)

Saturday: Company for dinner!

Sunday: Turkey tenderloin aka a mini-Thanksgiving dinner!

What’s for Dinner Wednesday: Quick and Easy Sesame Chicken

17 Sep
This new recipe was definitely a keeper!!

This new recipe was definitely a keeper!!

My kids and I are professional mall food court stalkers. I seriously think we could make an entire meal of circling a food court at lunchtime and tasting the samples being given out. Chinese, Japanese, Indian, Sushi, Subway, Philly Cheese Steaks, you name it, I am pretty sure we’ve sampled it.

Not to mention, that I am seemingly the BEST mom ever for saying “Yes!” when they ask if we can go find samples in the food court. Seriously, if that’s all it takes, I’m golden. You’d think I’d said, “Yes, we’re going to DISNEY!” instead of allowing them to go eat a piece of chicken on a toothpick.

Anyway, I tell you all this because so often when we go food court sample stalking, we come across a Sesame Chicken at one of the Asian restaurants. I absolutely love Sesame Chicken. I’ve often fallen for the sample ploy at the food courts and caved into getting lunch there, all because of the Sesame Chicken.

My friend Paula recently sent me a recipe from E-D Does It for Quick and Easy Sesame Chicken, and it was just that: quick, and easy! Delicious too! If you’re a Sesame Chicken fan like me, then look no further than the E-D Does It recipe! I’ve linked to it just above, and copied it for you below.

Quick & Easy Sesame Chicken
Ingredients

For the chicken
4 medium chicken breasts (diced)
1 egg
2 tbsp corn starch
2 tbsp rapeseed oil (or vegetable oil) *I used canola*
Salt & Pepper (to season)

For the sauce
5 tbsp soy sauce
4 tbsp sesame seeds
3 tbsp cider vinegar
3 tbsp brown sugar
2 tbsp corn starch
2 tbsp water
1 tbsp rapeseed oil
4 cloves of garlic (chopped very finely)
80g of cooked rice per person

Method
1. In a large bowl, beat the egg. Add the corn starch to the egg and beat until well combined. Season well with salt and pepper.
2. Heat the rapeseed oil in the pan until very hot. Add the chicken to the egg mixture, stirring until all of the chicken is well coated. Now add the chicken to the hot oil. Stir occasionally and continue to cook until golden brown and the chicken is cooked through.
3. Meanwhile make the sauce by adding the soy sauce, sesame seeds, vinegar, brown sugar, cornstarch, water and oil together with the garlic.
4. Once the chicken is cooked, turn down the pan slightly and add the sauce mixture. Cook for 1-2 minutes or until the sauce thickens and then remove from the heat.
5. Serve over a bed of rice and garnish with basil leaves.