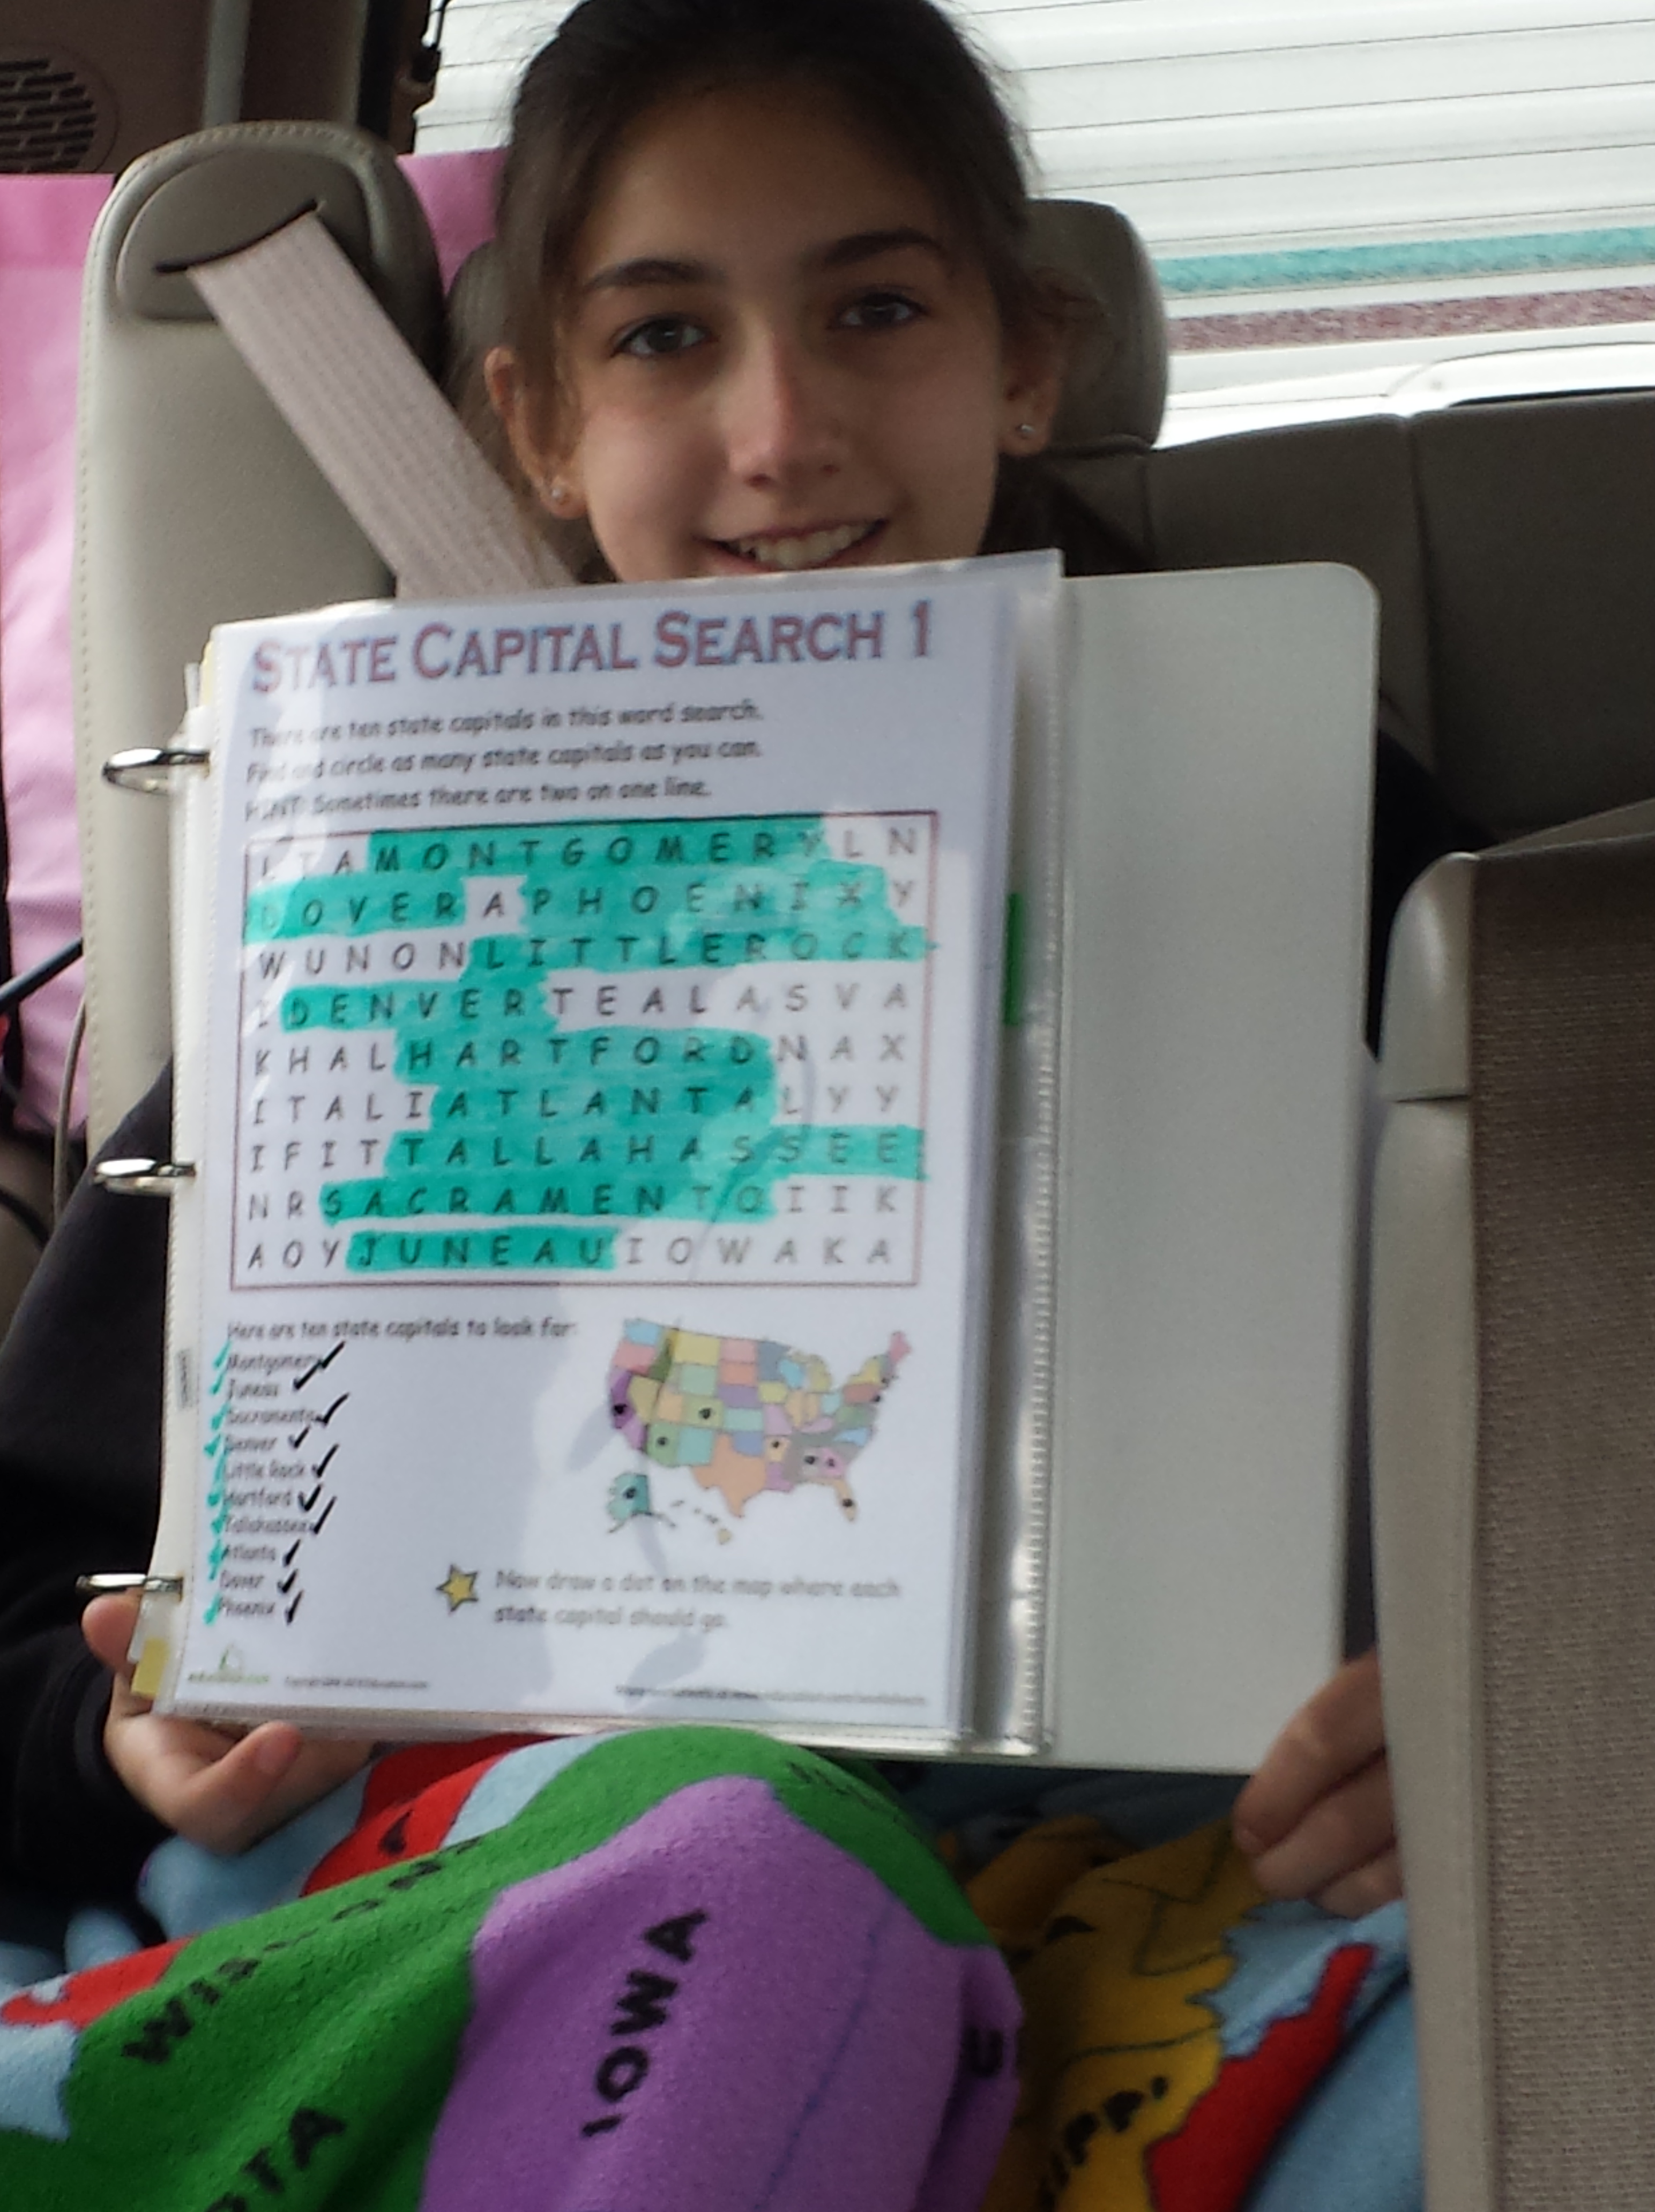
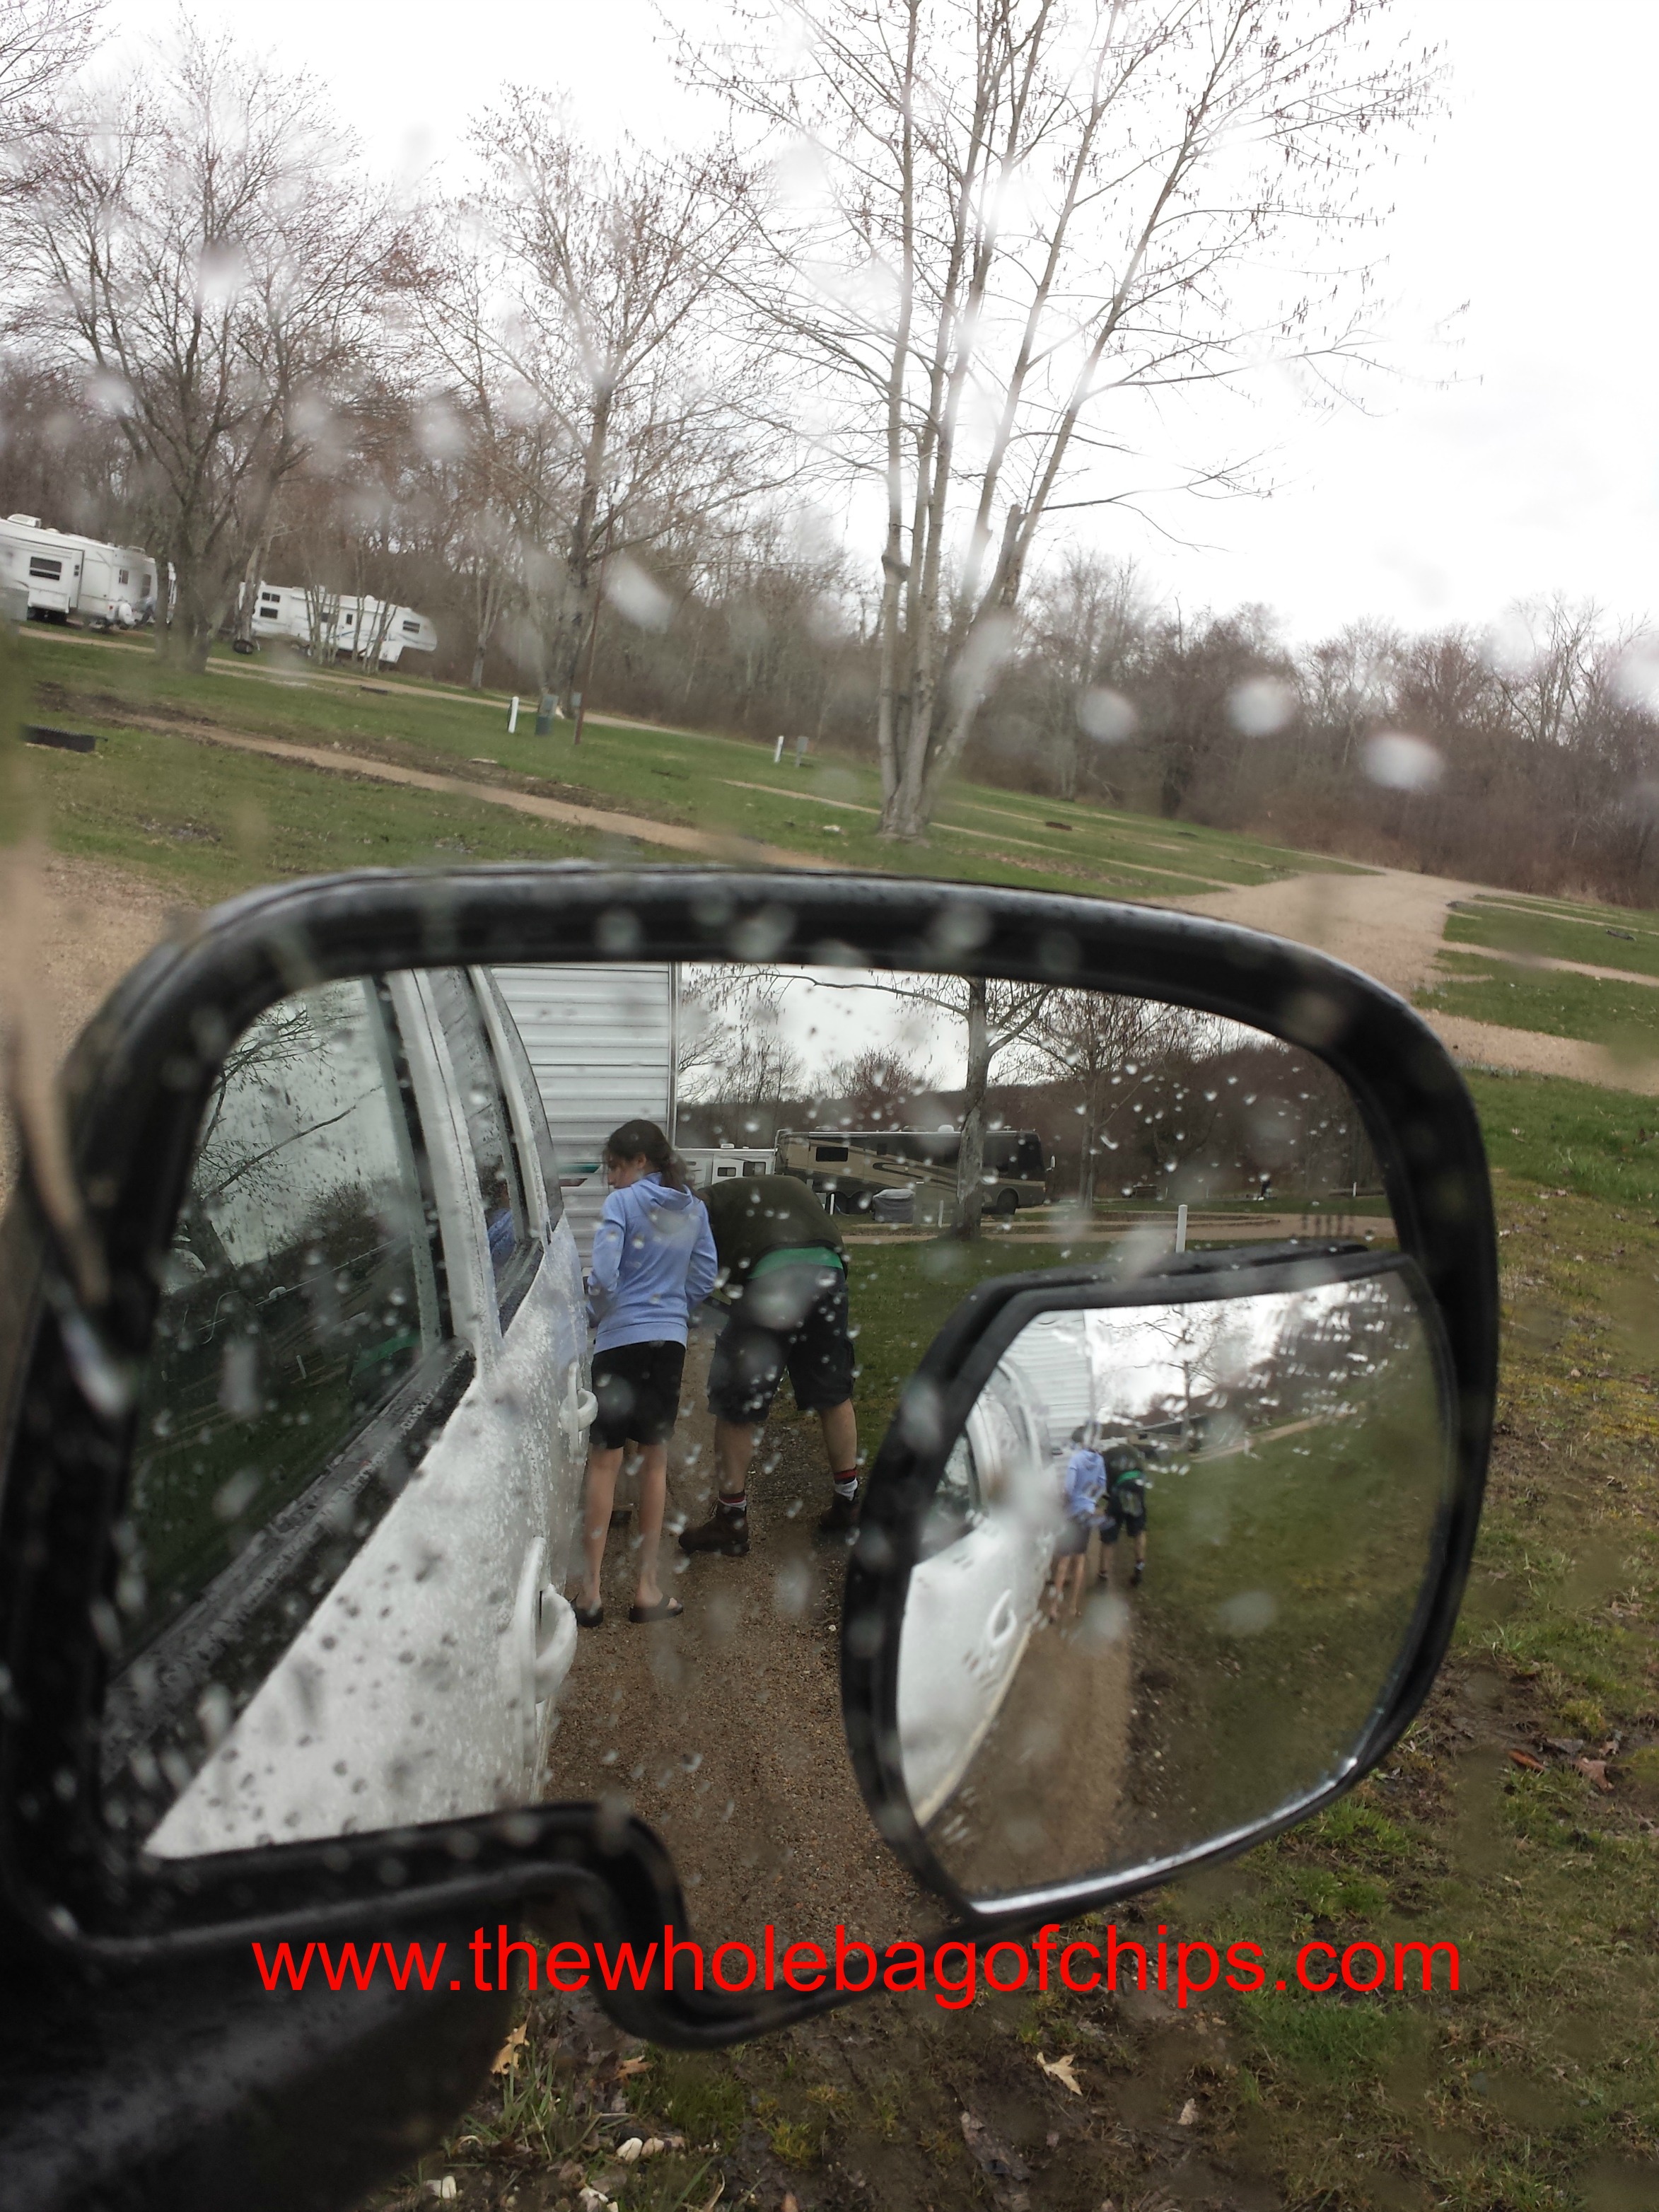
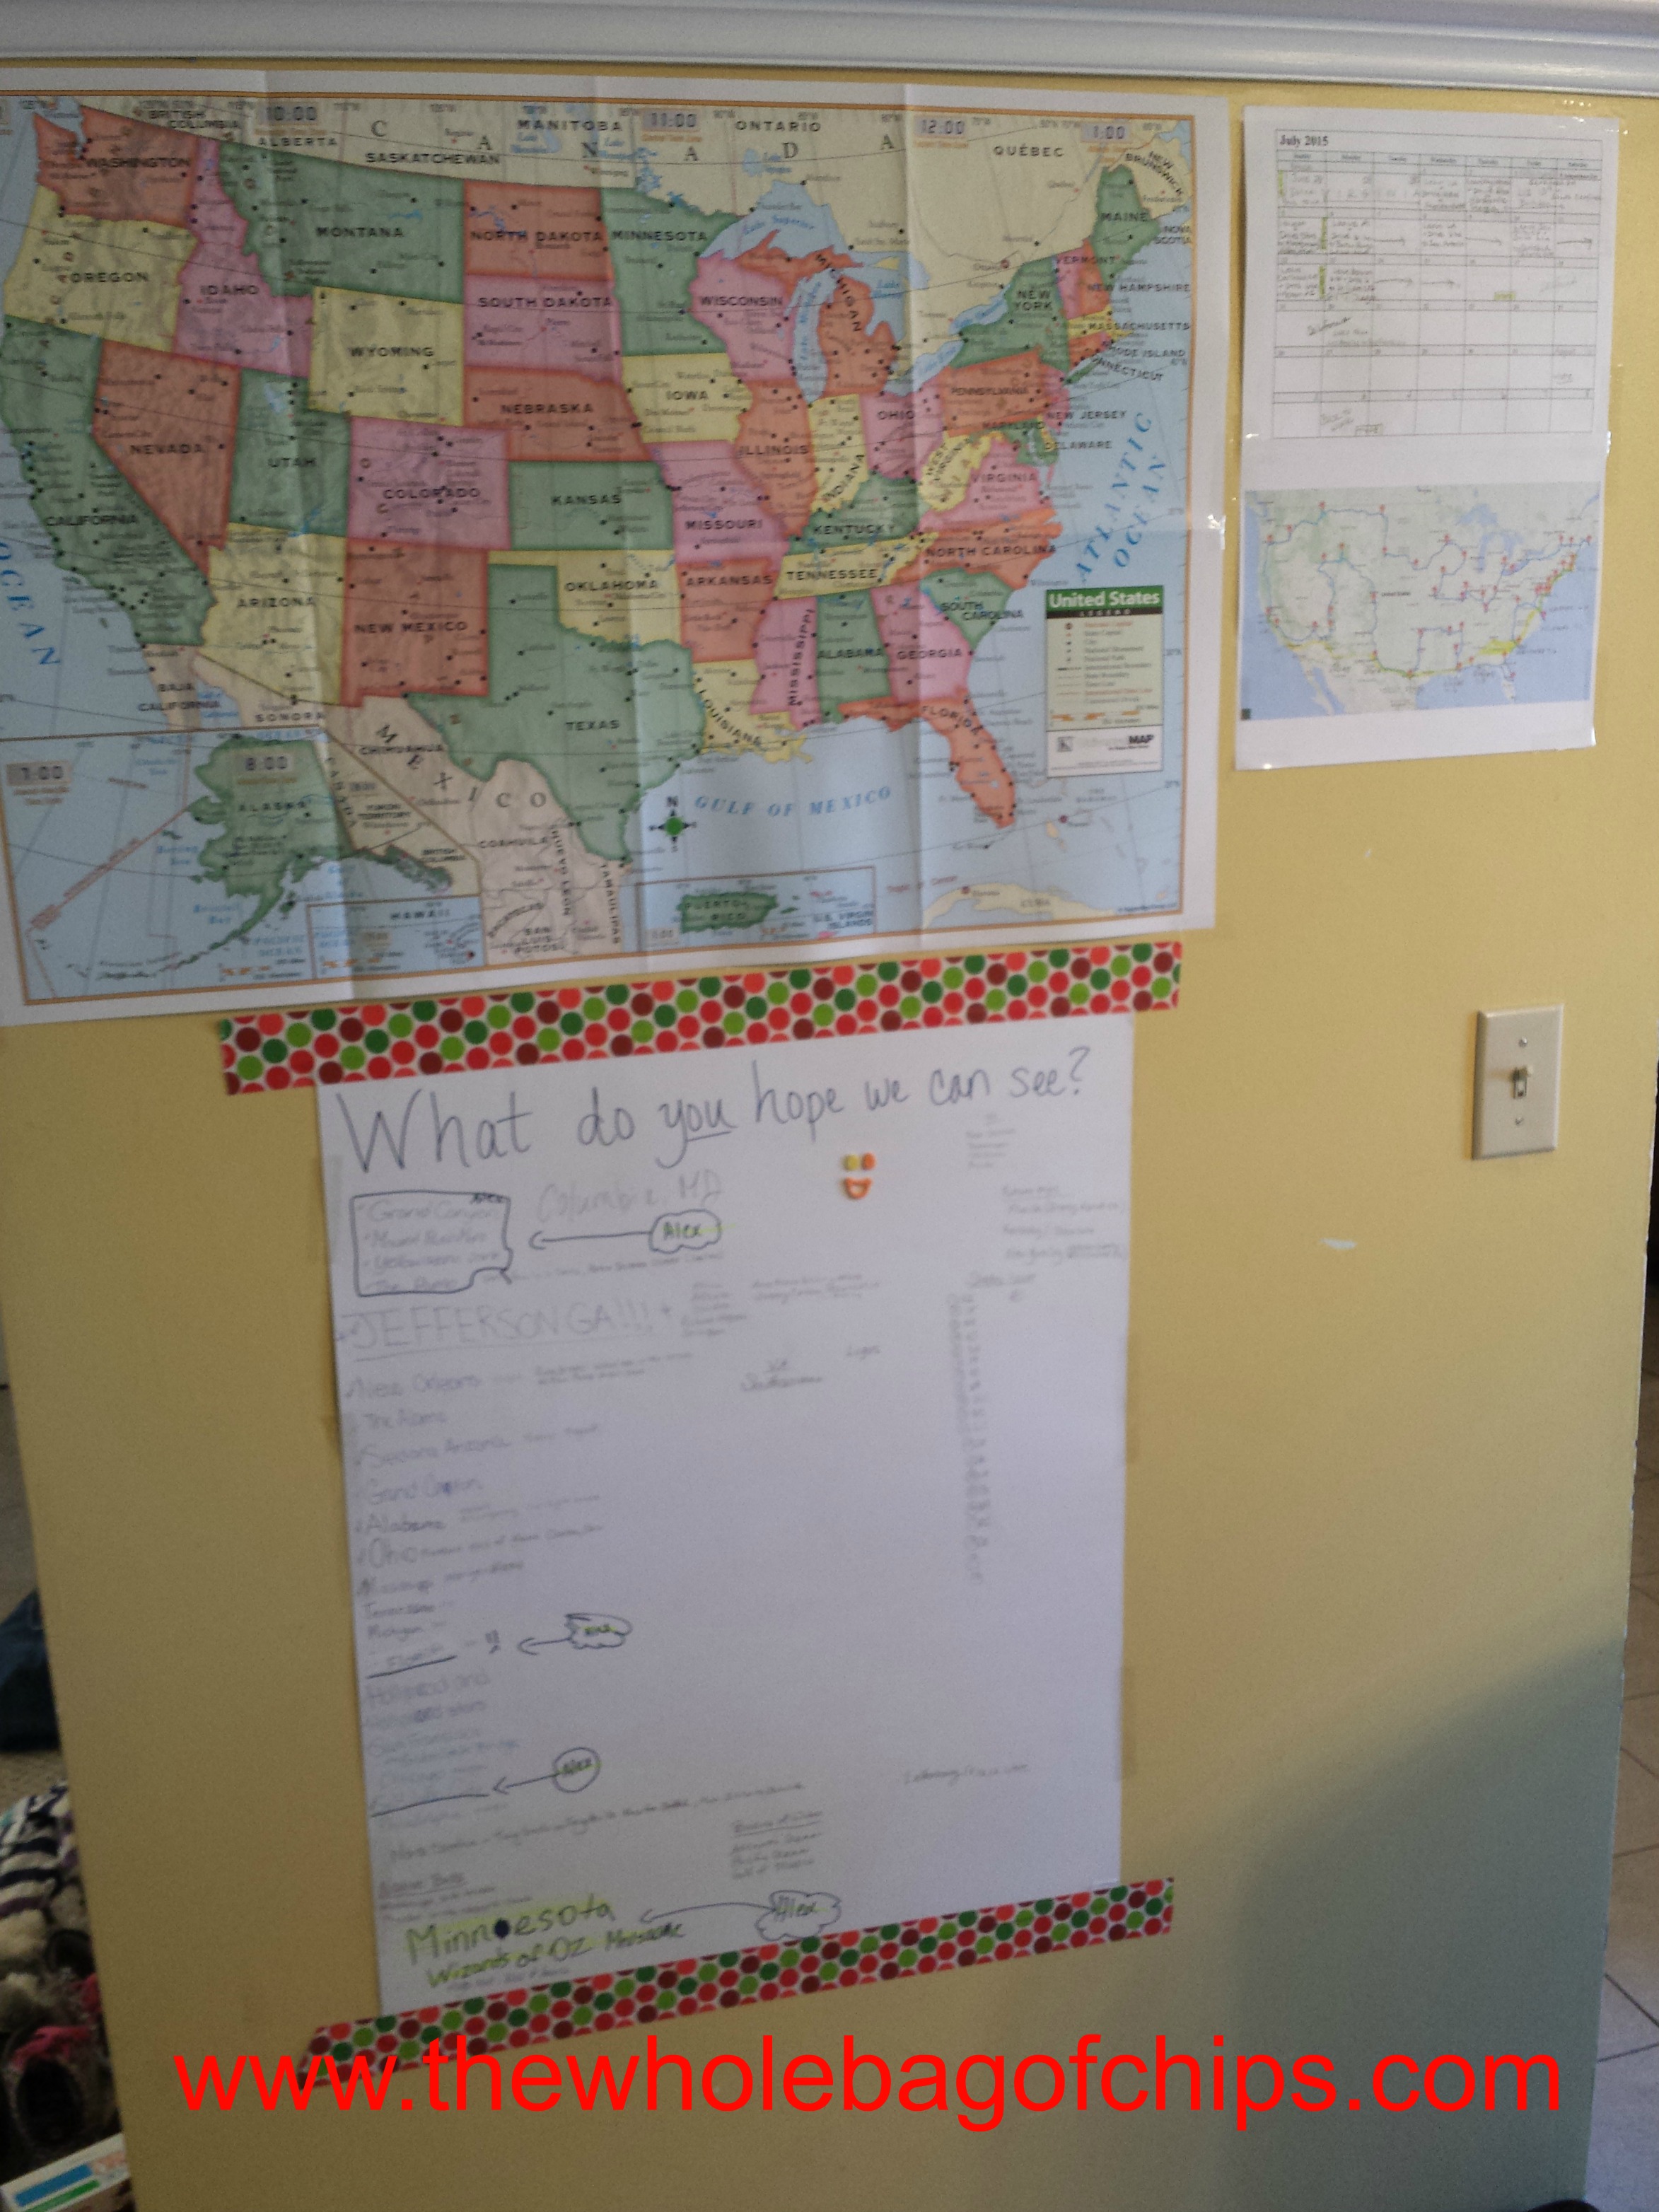
Inside the house we were all planning our trip, using a dining room wall for a visual view of the country while outside, the camper was getting a makeover.
Now that we had the camper, we had some work to do. We had set a goal for ourselves to take it out one time for one night only, during our spring break, assuming we’d have it in time, which we did. After figuring out the towing equipment needed for it, and with the help of a good friend with years of camper experience under his belt, we took the camper home one week prior to the date we wanted to take it out over the break week. We didn’t have much time, but we didn’t want to lose the opportunity to take it out for a trial run while we had the chance, just to see how everything worked inside and out, and to establish our routines and space allocations on the inside: what would go where, how would we set it all up; things like that. As the spring months approached, we would soon run out of free time. Our spring peaks with craziness before it evens out at the end of June, and our calendar opens up for our summer.
We had just two months until our cross-country trip.
We had cleaning to do, first and foremost. Although the camper was in great shape and very well-maintained, it still needed a once-over before we stayed overnight in it. Nothing crazy, but it had to be done, nonetheless.
Next up though, and the most exciting part for the girls and me: redecorating. We had visions of ripping out the old curtains and blinds, recovering couches and dinette benches, and having a totally Pinterest-worthy camper in no time flat. The kids all sew and all love art and design, and our wheels were turning.
We had to really control ourselves. Prioritize. Set budgets, decide wants and needs, set a timeline and then go from there.
We had also accumulated a lot of “stuff,” putting it aside in the garage and basement for in-case-we-ever-get-a-camper. We first had to go through all of that and take stock of what we had and what we needed to buy. We set a budget so that we could get the most important things first, and then slowly absorb the costs of the rest of it after that.
In the meantime, I started many lists: lists of things that had to go into the bathroom, lists of things for the medicine cabinet, lists of things for the dog, lists of things that had to go into the kitchen, and lists of our most-used pantry items that we’d want to have on hand right off the bat. As I found things at home or purchased them here and there, I’d check them off the list and put them aside.

I started organizing. Everything had to have a spot or we’d run out of room.
Because I’m a couponer, I had a good stockpile of toiletries already, many which had been free or close to it, and before we even found the camper, I’d started a bin of shampoo, body wash, soap, toothpaste, and things like that. I wouldn’t have to buy any of those things for the summer at all. We had plenty.
I also found many duplicate pantry items on my storage shelves, and many other big items. We had plenty of pots and pans and plastic storage containers. I grabbed a few must-haves right out of the house kitchen: we had two colanders, two eight-cup measuring containers, an extra liquid measuring cup and two extra sets of measuring spoons and dry measuring cups. We even had an extra set of shower curtain rings from an old bathroom design years ago. Other than that, we’d take our own coffee pot with us, our own griddle and our own cast iron pans and then bring them home when we were done. We didn’t want two of anything that wasn’t absolutely necessary, at least for now.
Then the fun began. I hit all the inexpensive stores first: Dollar Tree, Five Below, Walmart and Christmas Tree Shop. At the dollar store I chose my color scheme (blue and green) which would go with the existing blue and green colors in the camper. The existing curtains would come down eventually, but in reality I knew the wall border and wall colors would most likely stay up, so rather than working against it, I worked with it. I got some fun blue and green dishes, a set of ten for the five of us and potential guests. I got two matching buckets to store them in so that we could carry them right out of the camper to an outdoor table when eating outside. I got matching platters, serving bowls, cereal bowls, and tumblers for drinking. I also got matching dish cloths and a drying mat. We had lots of cooking utensils but between Five Below and Christmas Tree Shop I got the few things I still needed, and two sets of silverware, which gave us enough for eight people. We also had plastic silverware on hand for an in case we actually did have ten of us eating at once.

Inexpensive suspenders worked just as well as expensive RV sheets would have.
We needed sheets and mattress pads, but we had three sleeping bags already which could be used as comforters, and we had an extra comforter set already for our bed. We picked up four sets of suspenders, utilizing them for a trick we saw on YouTube for attaching them to the fitted sheet under the mattress in order to keep regular sheets from popping off the slightly-different sized RV mattresses. RV sheets were very expensive and we didn’t see them as a priority when we could get cheap suspenders instead.
Our master bed actually lifts up for under-bed storage and we decided that would be best for storing the bedding that our oldest would use on the open up couch at night, but be putting away when we moved or closed up the couch. We bought four laundry baskets and used the empty bin I’d been storing toiletries in and put them all under the bed for laundry and the bedding and for a few extra blankets.
I bought a single panel curtain in a bright lime green and one afternoon when Don was gone, Elizabeth and I got a screw driver and unscrewed the nasty curtain that closed off their bunk room, ripped it out of the wall, and put up a spring rod with the lime green curtain. Their sheets coordinated nicely with the curtain and really brightened up the space. When I bought it, I knew the curtain was too long, but I chose to hem it and add in a couple of roomy storage pockets by sewing it right up the middle. Light items could be stored in it: sleep socks, sleep masks, a paperback book and book light, things like that. We bought a matching green stool that folds up and stores flat, but could be used for climbing into and out of the top bunk.

Bright colors and the kids’ art helped to brighten up our space.
Our shower needed a shower curtain so we chose to bring the blue and green theme right into bathroom since the door is often open. We hung blue hooks off the back of the door; ten hooks for towels or sweatshirts or whatever needed to be hung.

Command strips and hooks could be used to hang and store virtually anything.
I bought a jumbo pack of Command hooks that could be used for anything that needed to be hung up. We went through a few right off the bat, hanging pot holders on the wall and even a spot for holding all the sunglasses, each pair resting in a hook on the wall. In a camper, there is very little storage space and very little tabletop space, and you therefore want to utilize as much free space as you can, so hooks are a great thing to have.
We stocked up on lots of little storage baskets and bins since you don’t want things to be moving around when you’re driving the camper from place to place. I had some bins at home as well, so we utilized what we had and got a few extras as well. Our cleaning supplies used on a daily basis could go in one bucket and stored right in the sink when we moved from place to place. Extra supplies of all types could go in other buckets and placed in closets or under sinks.
I made sure we had pens, pencils, scissors, tape, superglue, a shopping list, and anything else I could think of for office supplies. They all stored nicely in a kitchen drawer with the drawer. We grabbed aluminum foil, plastic wrap and Ziploc bags in two sizes in our travels, and stored them in another drawer, trying to think of all the go-to items we commonly need in the kitchen.
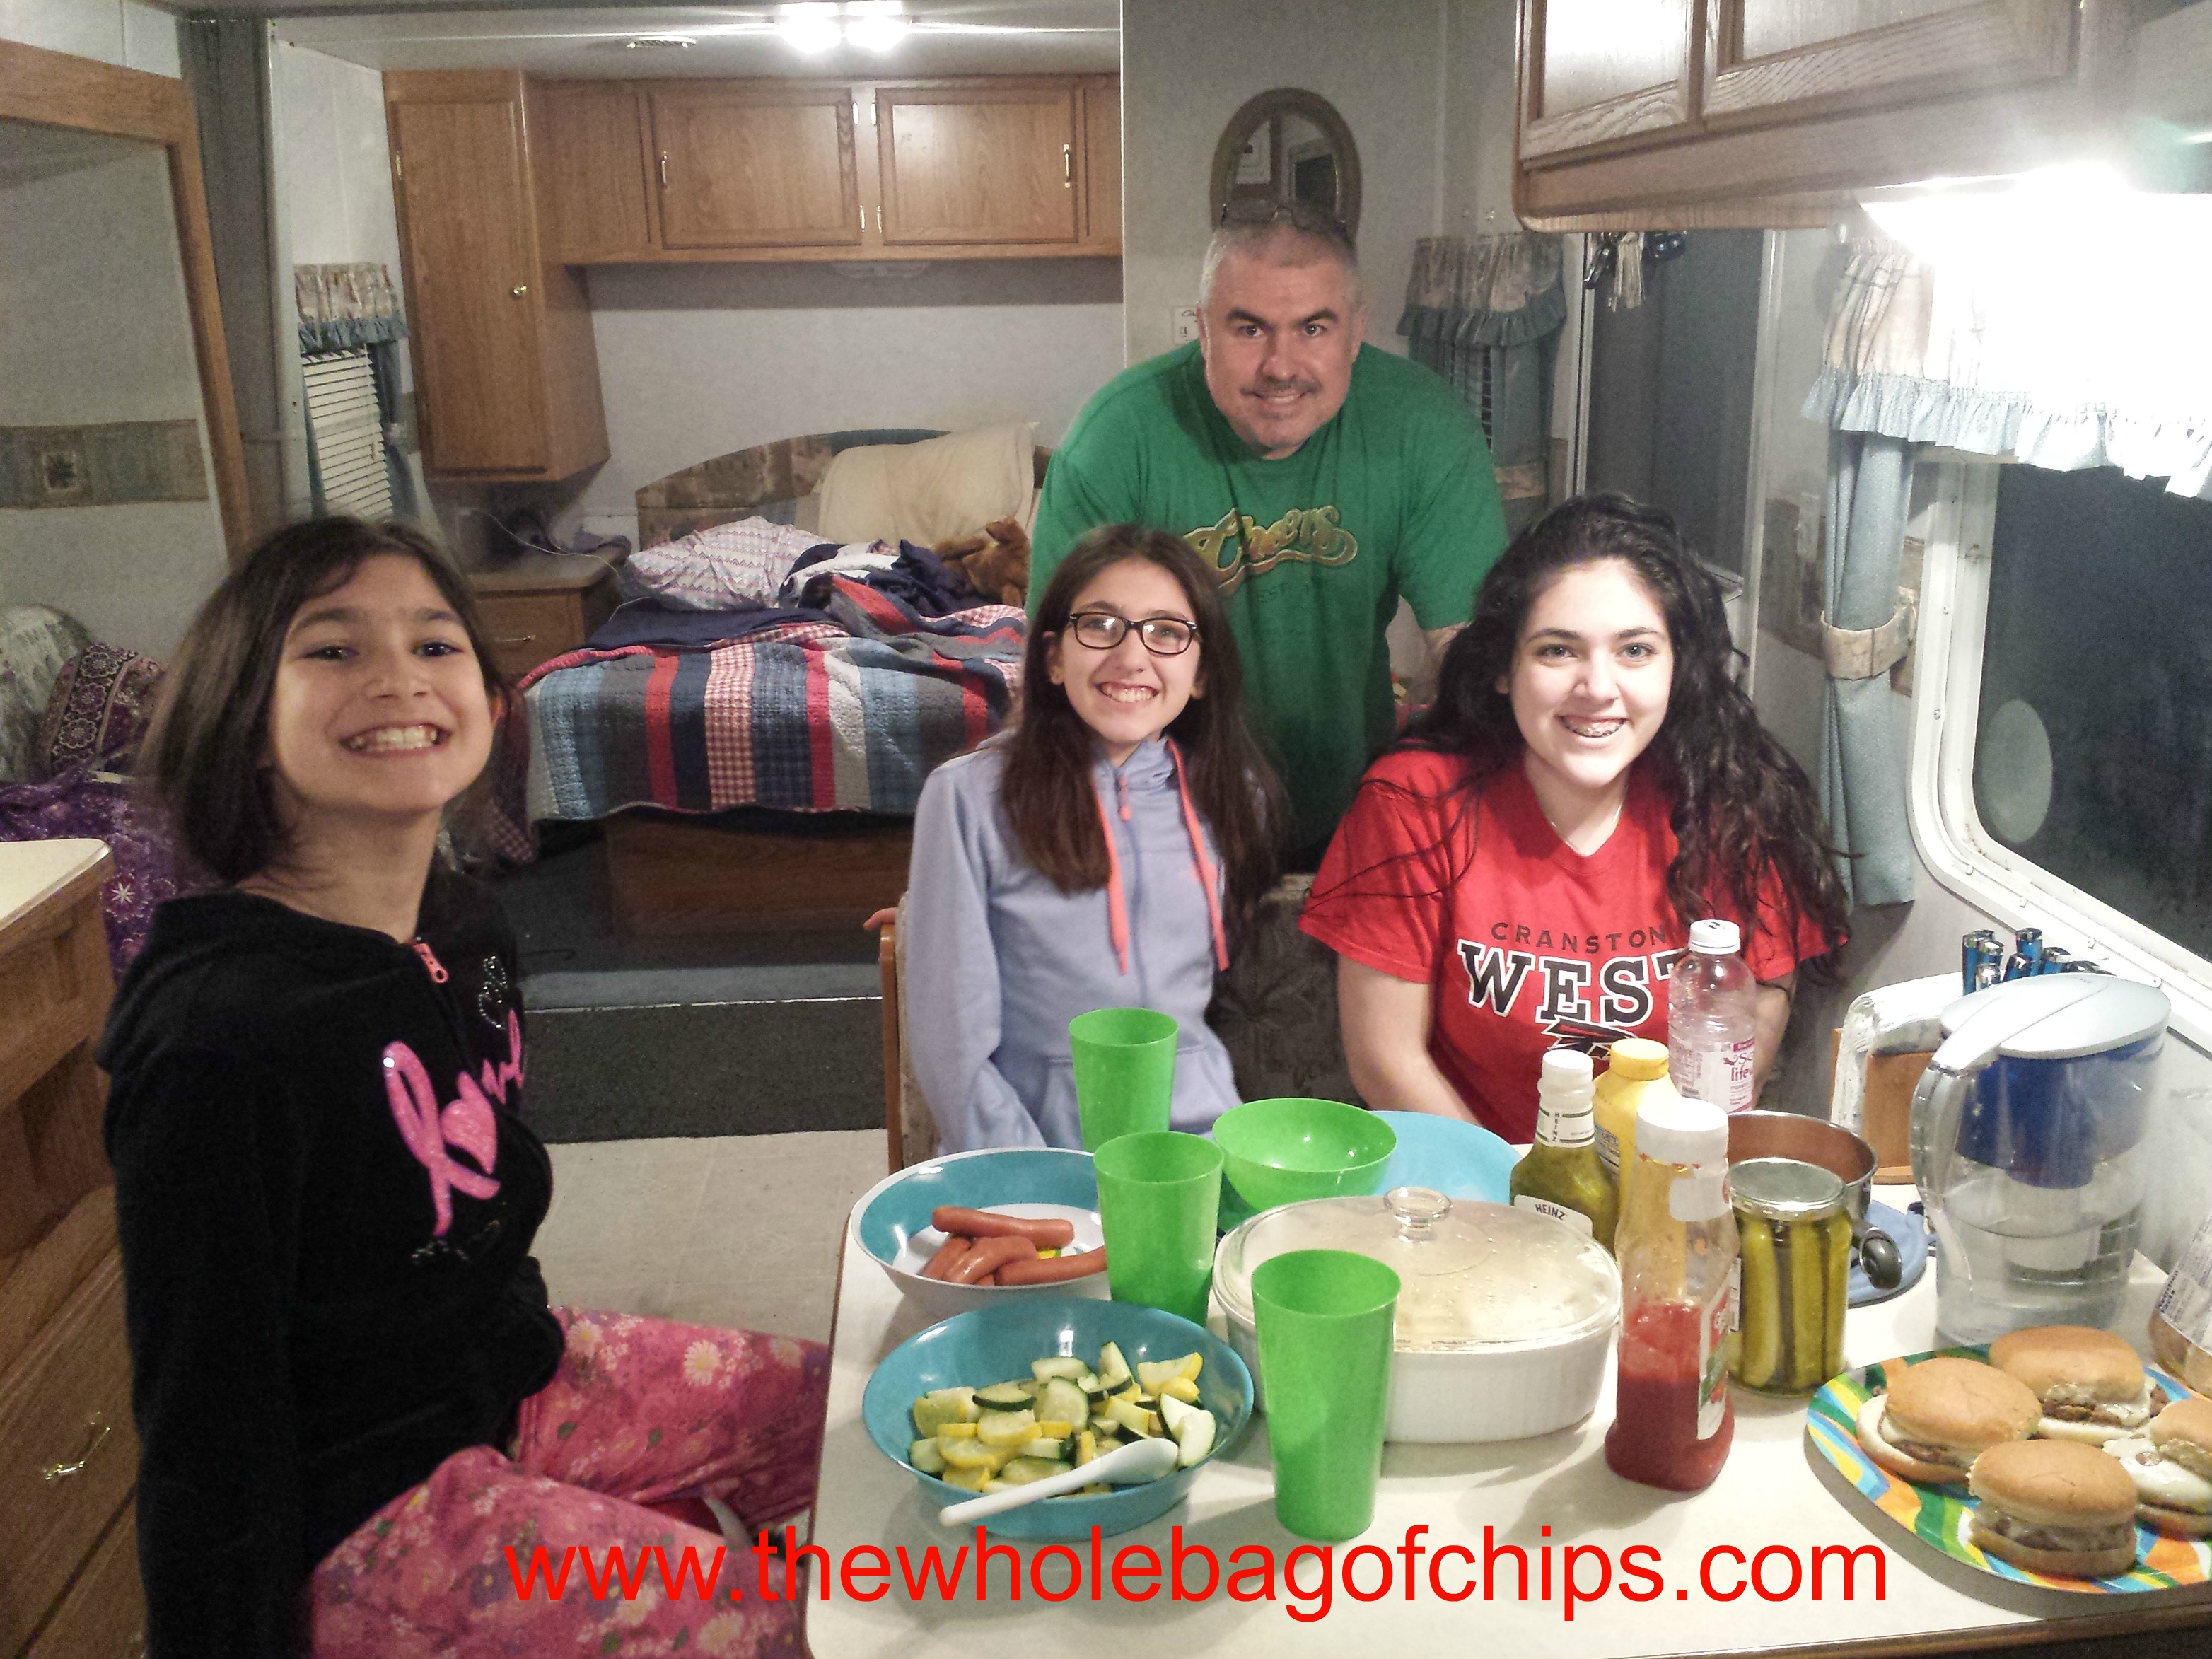
Before we knew it, we were stocked up, cleaned up and redecorated as much as we would be. We were ready for our first trip.
We couldn’t wait!
Tags: cross country adventure 2015, decorating an RV, Family Road Trip, rv redo
 My organizing initially started as a little, yellow two pocket folder that I kept on top of my microwave for about a year. Any time I saw something that I wanted to keep aside for the trip, I stuck it in the folder. Pretty soon though, when we got into the nitty gritty of the trip planning, I outgrew my two pocket folder. I needed some serious organization to make this trip go off without a hitch.
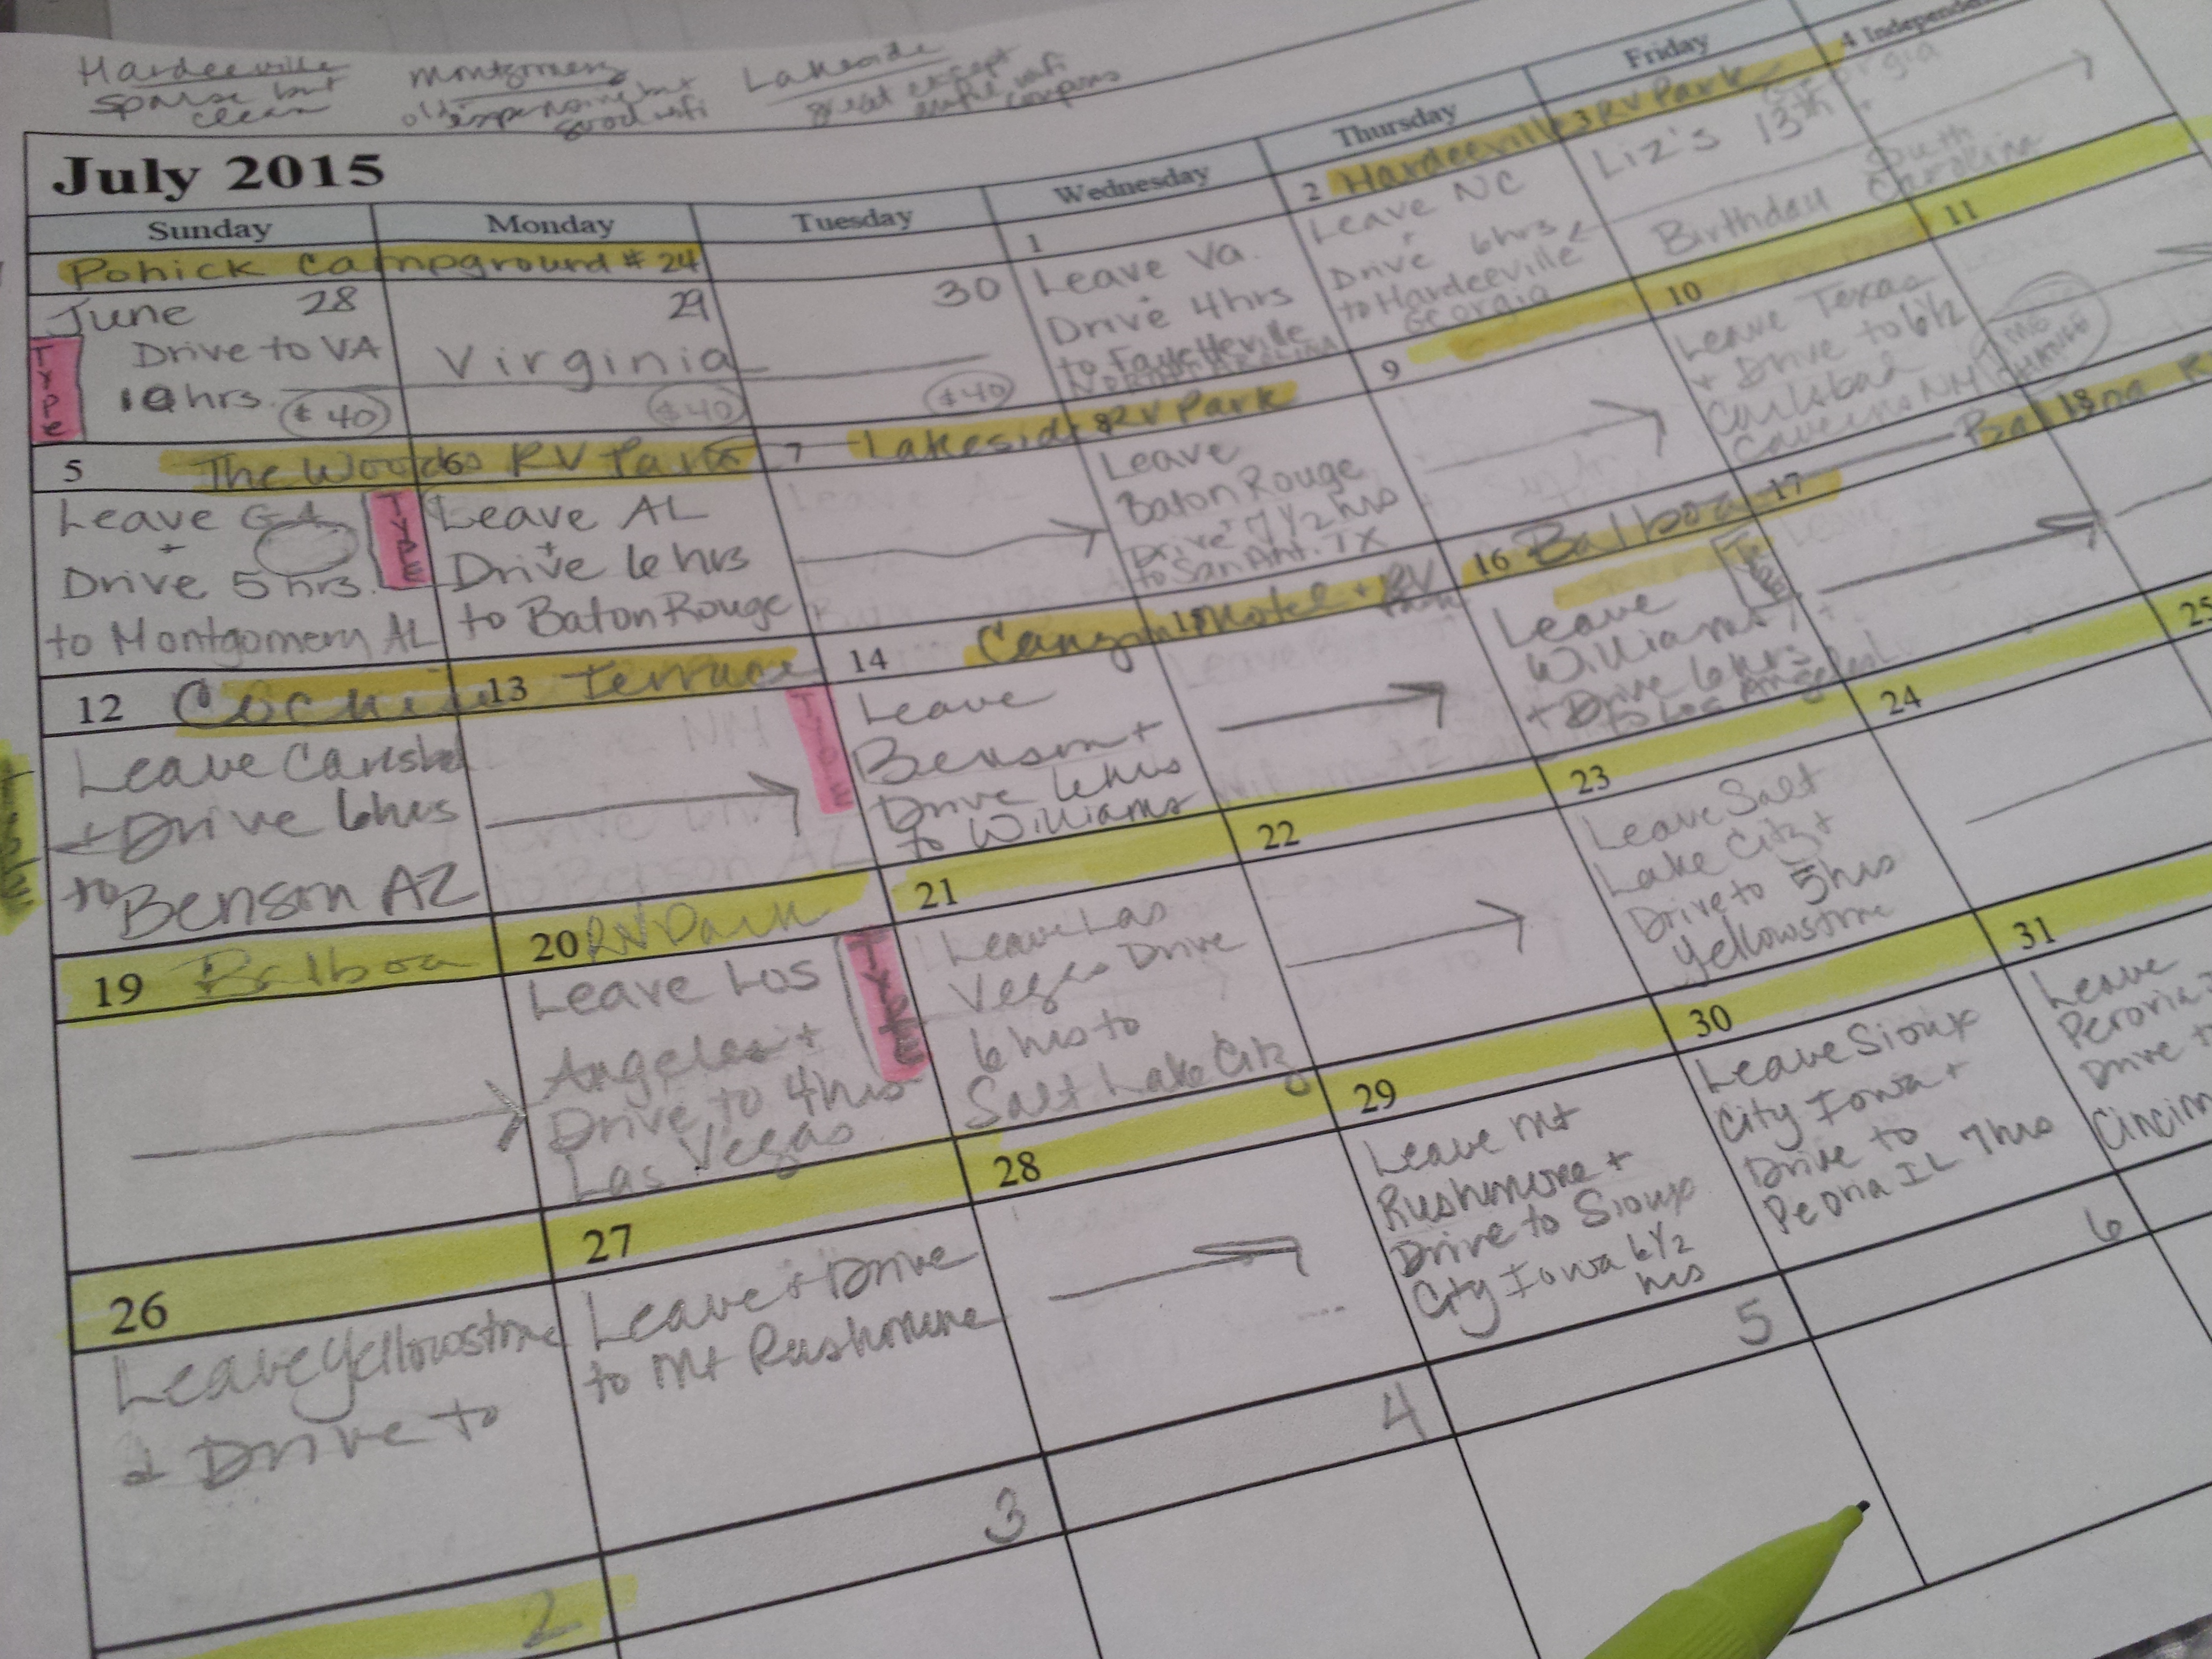 My very first one has our calendar in it. It shows when we’re pulling into and out of each state and where we are staying. It was on our dining room wall for months as we planned, and before we left I slid it into a page protector and put the giant wall map into the front binder pocket along with a smaller road atlas that I got at the dollar store that shows major highways in every state.
 As people who’d done this trip before or had visited various places we were going to sent me their tips and tricks, I printed them out and put them into a page protector. I have one friend’s blog of her family’s cross country trip printed and in there.