Tag Archives: Family Road Trip

#crosscountryadventure2015: Packing tips and tricks for organization

10 Jul

How to pack five people for five weeks into a small space?

That is something that many people have asked me and it was the question I faced as the primary organizer of at least my kids and myself over the past three months. Anytime I had a chance, I was on Pinterest looking for tips and tricks, and keeping my eyes open as I ran my normal errands, looking for anything that might jump out at me as a means of efficiently accomplishing this task.

A few things that really worked well for us are the following:

image

One shoe organizer was used by cutting it into separate rows and stapling it around my bed.

1) Shoe organizers: These were one of my best bets for our packing ease and they’re very affordable at less than $10 each. We had one closet that was a decent size and all three girls were going to be packed into that one closet for the five weeks; clothes and shoes. I hung the first one in the closet for them and all shoes, slippers and flip flops were going into it except running sneakers which are too bulky and would sit on top of the dog’s crate in the entryway.

The second shoe holder I cut into strips, and utilizing a trick I saw on Pinterest and my new best friend, the staple gun, I stapled the strips of shoe holder all around my bed onto the fake wooden frame and I stapled one extra one to the wall near the entrance to the bedroom. This gave us lots of extra shoe storage space. I took a wide variety of flip flop shoes, sneakers and slippers and anything of the kids’ that didn’t fit into theirs could go into an extra space in ours.

image

The shoe holder on the inside of the bathroom door is a lifesaver.

The third one I hung in the bathroom, making sure it was the kind that had a netted pocket for each of the pockets, rather than plastic (I found these at Walmart) since some of thing things being stored in here would be wet, like toothbrushes. Into these 24 pockets went toothpaste, toothbrushes, hair brushes, hair accessories, makeup sponges, makeup remover, hair gel, face cloths (rolled), razors, dental floss and the like.

image

You can hang anything with Command Hooks and strips.

2) Command Hooks, strips and a Staple Gun: I seriously could’ve bought stock in Command strips and hooks. I bought them in multiple styles and sizes. I hung all the artwork up with the strips and stapled the posters to the walls and ceiling above the bunks. I used extra hooks to make hooks in our bedroom for hooded sweatshirts and used one to store a casual dress for each of us girls as a just in case outfit. I hung our clock in the kitchen with a command hook and I used them to hold all our sunglasses. You can Command hook or strip absolutely anything.

image

These have worked out so well, as long as we keep them neat inside. It's been an easy way to pack everything needed for the five weeks.

3) Bins with drawers: These were one of my favorite purchases, and the best-of-all reason is that by using my Savings Catcher Reward dollars at Walmart, I got one whole set of three drawers for free. I had nearly $18 in rewards and the drawers were $17.88 each. I bought two sets so that each girl would have two drawers to themselves and everything would have to fit in those two drawers. My favorite thing of all was my idea to laminate two photos of each kid and use double-sided tape to stick them on. This way at one glance any of us could see whose drawers were whose, and the kids loved the personalization.

image

Each of the girls and I have a bag for socks, underwear and bathing suits. The girls have a ribbon in the favorite color tied to each of theirs so we know at a glance whose is whose.

4) Lingerie bags: As I pondered how to organize four sets of socks, underwear and bathing suits that were similar in look and size, I happened to think of the white mesh lingerie bags that one might use to hand wash delicates. I knew they were approximately $1 each, so one day I went to Walmart and bought 12 of them; four for each of us girls. I put ribbons through the loop of each, using my kids’ favorite colors, which are thankfully three different colors. At any given time any of us could see whose bag was whose. Into the bags the girls and I put socks in one, underwear in another and bathing suits into another. Those bags all went into one drawer along with pajamas and the other drawer contained rolled shorts, shirts and tank tops. With that, all three girls were packed.

5) Plastic baskets: These were great for storing anything and everything. With a moving vehicle you need everything contained and secured as much as possible. Inexpensive plastic baskets can be put anywhere for travel: under the sink, into the cabinet, and even in the sinks and tub.

6) Laundry baskets: I mentioned in a previous post that we were able to use the underneath of our master bed for storage. We bought four laundry baskets and used a bin we already had. Into the baskets we stored extra sets of sheets, extra blankets, and one whole bin of cold weather clothes: sweatpants, leggings, and heavy sweatshirts in case we encountered any cold nights, which we did, on our very first night out. It was cold and rainy and everyone wanted something warm and cozy to sleep in.

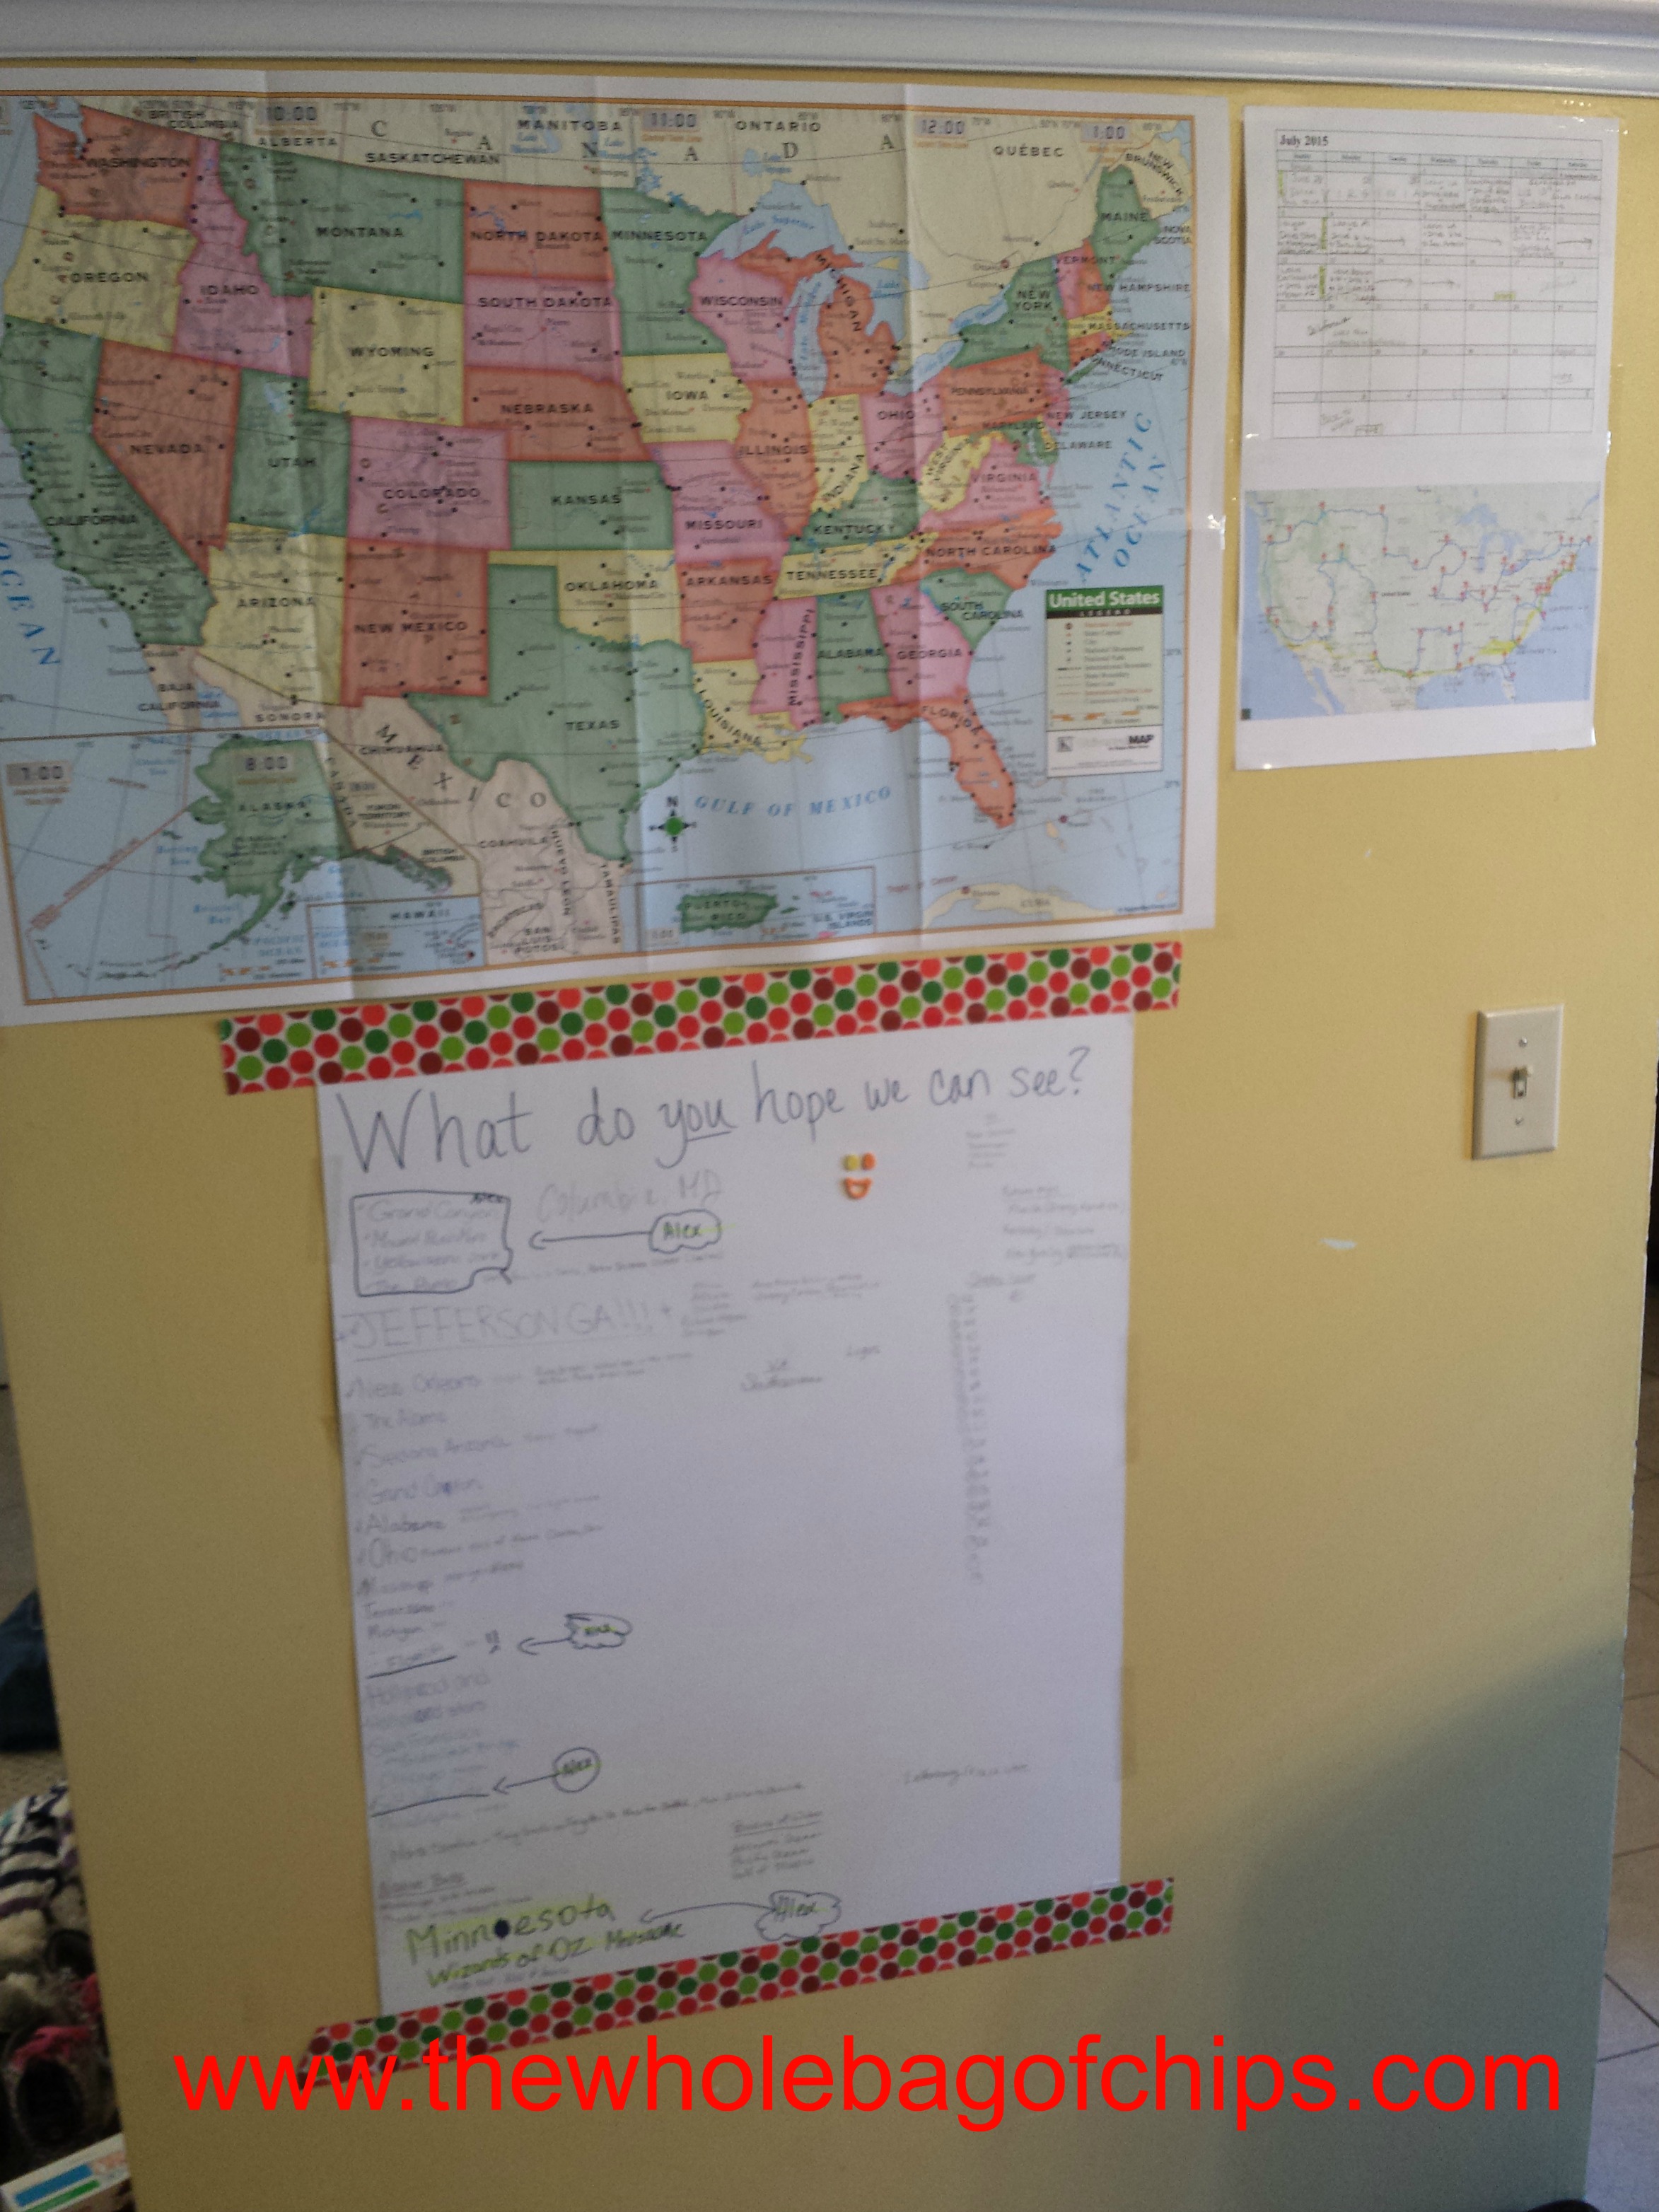
7) Reusable grocery bags: These were great for pre-loading of the car and camper. I tried to organize like things together and put them into bags which I’d line up near the stairs for the truck or the camper. I had bags of snacks for the truck, library books, DVDs, electronics, my work bag, and a bag in which I organized all the trip related paperwork, booklets and my binder. I also used one for my daughter’s Which Way USA magazines which were took with us because we had one for just about every state we’d be visiting. On the day in which we actually loaded up all the drawers for the girls, we used the bags to carry out all the rolled up laundry so we could transfer it right into the drawers. I also used one to store my three mesh bags, which I kept on my nightstand.

image

Meant for use in a kitchen, these stacking shelves have worked well for my small closet space.

8) Wire kitchen stackable shelving: One day when we were in Walmart, I happened to be in the kitchen section and noticed that they sold white wire stacking shelves, similar to my stacking cooling racks that I use when I bake. Our master bedroom had two cabinets that were long, deep and narrow that were our primary closet space and I was hoping to avoid a giant jumbled mess of clothes that would include pretty much everything I needed to bring with me. The closets also narrowed at the top, so they weren’t the same size inside from top to bottom. The kitchen stackable shelves were exactly what I needed. I could store clothes under them, on them and in front of them. I’d have to move things around to get to what I wanted at times, but it was my best option that I could find.

9) Drawstring backpacks: I must’ve packed at least five or six extra of these, not counting the ones that I kept my kids’ travel binders in (those are in another post altogether). I wasn’t sure what I’d need them for, but I knew they packed easily and I’ve already used them a bunch of times. I have used one for treks into town to go sightseeing for the day, carrying sun lotions, the kids’ change purses for their gift shop shopping, and a bottle of water, for example. I also have used them to go back and forth to the public showers at the campgrounds, carrying razors, shampoo, conditioner and soap; wet things that I didn’t want to mix in with my changes of clothes in the bigger beach bag type of bag I was carrying towels and clothes in. The bags are perfect size for the kids to carry as well.

Everyone has to have their own system and know what works well for them when packing for a trip like this, but the most important thing is just to have a system, whatever it is. Know how you’re storing things, where you’re storing things, and make sure everything has a place before you pull out of Dodge on that first day. You’ll want your space to be neat and organized, and easily re-done each time you’re ready to move to a new place.

#crosscountryadventure2015: An early start and a taste of the south

8 Jul
image

My friend Gina made us a gorgeous full sized map of the country so that we can mark all the places we've stayed on this trip.

Greetings to you from Louisiana this beautiful Wednesday! We are heading out of Louisiana and towards Texas today as we make our way west. We are now into week two of our adventure, and I’m so excited to share my recap of week one with you in this Cranston Herald article that is in today’s paper.

Have a wonderful week, and stay tuned for more blog posts in between this week’s article and next week’s about planning and preparing for our adventure!

#crosscountryadventure2015: Not rain, sleet, snow or hail….

7 Jul
Nothing like getting the camper unhooked in raw, rainy weather.

Nothing like getting the camper unhooked in raw, rainy weather.

Not rain, snow, sleet or hail….

I love spring break. The weather is warm and spring-like with bright skies and cool breezes, as the green buds on the trees glow in the sunlight and the flowers are in bloom.

Unless you’re planning a first-ever-in-your-new-camper camping trip.

In which case it rains for two days straight, followed by colder than normal temperatures in which you experience torrential downpours, high winds reminiscent of the Wizard of Oz, and snow, sleet, hail and rain.

In April.

Specifically the tail end of April.

According to my husband, there’s truly nothing like the experience of backing a camper into a campsite for the first time, other than doing it in the midst of torrential downpours, and getting tire-spinning-need-four-wheel-drive-to-get-out stuck in the mud.

Other than pulling it out in the midst of a hailstorm the next day.

I seriously expected the world to suddenly turn to black and white and a witch to ride by on her bicycle any moment.

It was that crazy.

But, we did it. Or more specifically, HE did it.

We’d put off our first trip at the start of the week because of the two days of rain and high winds. The weather was so crazy that an entire tree in our neighborhood ripped out of the ground and fell across the roof of an empty house, so it seemed like we’d made a good decision in pushing it back a day or so, but as we looked at the extended forecast it seemed like it was now or never. The weather wasn’t going to improve a whole lot and if we didn’t go now, we weren’t going to get to go at all. We were losing our week.

So we made a reservation for one night at a campground in Mystic CT., just a little under an hour from home. It was just far enough to be able to be away but yet close enough that if anything happened or we forgot something super important, we weren’t that far away.

The first time hooking it all up to leave took some time, but we loaded in and went straight from our house to our kids’ elementary school where Don practiced backing up without hitting the school building, over and over again.

After four or five successful back-ins, we were good to go and we headed to Mystic. One wrong turn courtesy of the campsite’s directions and we were suddenly driving our truck and the 30 foot camper right through the center of little historic Mystic, Connecticut. Not really what we’d intended, but it was a quick and dirty tour of Mystic Seaport and the surrounding area for the kids. People were opening car doors left and right, crossing streets without looking, and there was even a historic drawbridge thrown in there for good measure.

The kids wanted to stay longer. Apparently our white-knuckled pass through wasn’t good enough.

We promised them we’d take them back there another day, in a regular car, not in a caravan as long as our house.

We were thankful that campfire cooking wasn't our only option.

We were thankful that campfire cooking wasn’t our only option.

Other than the crazy weather, the overnight itself was thankfully uneventful, and we had a lot of fun. We had a slight issue with figuring out how to light the camper’s pilot light, which proved to be stressful at first, but once we got it, the problem was solved. The dog adjusted just fine, and was surprisingly well behaved, after having been out in the camper with us all week long as we’d done our prep work and clean-up. We had thought of our meals ahead of time: turkey burgers and turkey hot dogs, sautéed zucchini and squash, potato salad and baked beans for dinner that first night, and pancakes with sausage for breakfast that next day. I had a basket of boxes chips, crackers and cookies as snacks and a big bag of cereal on hand, just in case anyone got up early before breakfast and got hungry. That happens at home pretty regularly, so I tried to think of everyone’s eating habits and address them ahead of time.

Because of the rain, we couldn’t really go out, but we were somewhat exhausted anyway, so we were happy to stay in. The kids hung out all together in one bed, watching an old show on one of their tablets, and we hung out, tinkering around the camper. I had brought about a dozen hand-painted canvases with me that the three of them had completed in an art class. The work was so beautiful and I’d hoped to be able to use some of it to decorate the camper, making it more of our own space. Our regular house isn’t large, and there’s not a ton of display space there either, so between the two spaces, I hoped to showcase their talents and brighten up the camper at the same time. Many of the pieces would work very well with the color scheme we had chosen. I also wanted the kids to choose some pieces for their “rooms” so that they could personalize their own spaces, especially our oldest, as she was going to be sleeping in the common area. I wanted her to have a chance to make some of that space her own as well, just as they could the bunk house. I’d purchased two big packs of medium sized Command strips and they were great for adhering the artwork to the walls.

We all went to sleep at the same time and we were all up in plenty of time in the morning to get everything cleaned up and packed up and ready to go by check out. Other than the 32 degree temps and the hail, even that went well. We had snow flurries at home when it was time to back the camper back into the driveway, but all in all, we had a successful trip. We’d meant to work out any kinks, and we did. We experienced more types of weather in 24 hours than we ever would on the summer trip, but it was a trial-by-fire type of trip overall, the kind of thing you just can’t make up.

An adventure.

A fun memory and a good story for our kids to tell when they get older.

And really, isn’t that what it’s all about?

Adventure is all part of the fun!

Adventure is all part of the fun!

#crosscountryadventure2015: Things we didn’t know we didn’t know

6 Jul
Getting the camper home and into the driveway was just the beginning. There were lots of things we didn't know we needed.

Getting the camper home and into the driveway was just the beginning. There were lots of things we didn’t know we needed.

There is a line from a song in the movie “Pocahontas” that says, “You’ll learn the things you never knew you never knew.”

That line has run through my head continuously over the past three months as we have navigated through rv ownership. We came into this adventure not knowing a ton, but willing to learn and willing to listen to others who have been down this road many times. Each time we’d bump into someone new, they’d tell us something new we had to have.

To that end, there were some expenses we knew we’d have to deal with and some that we were unaware of. Nothing was unbearable, but there was some sticker-shock a couple of times.
Here’s a list of expenses we incurred before this trip, both known and unknown, for those of you considering your own adventures. These expenses are above and beyond the cost of the camper itself and the necessities we got for the inside of the camper when we decorated and stocked it:

1) Towing equipment: we knew our truck had a tow package on it, a tennis ball sized piece that we assumed fit into whatever would be on the actual camper. We didn’t realize we needed an additional weight distribution hitch kit. Cost: $150 on sale, with a coupon at Harbor Freight.
2) Brake controller: this is an additional means of controlling your brakes and the camper brakes from inside the car. Cost $100 self-installed.
3) Registration: we knew we had to register the camper. We didn’t know that to include tax, title and registration, it’d cost us as much as several weeks’ worth of groceries. Peanut butter and jelly for a month. Cost: $364
4) Getting the wheel bearings packed: we have a great mechanic who comes to our house and is extremely reasonable. When our neighbor drove by and called out his window, “Be sure to get your wheel bearings packed and your brakes checked,” we called our mechanic. Cost $127
5) Vin Check: Getting it checked wasn’t expensive, but getting the camper into the place where that had to be done was a little touch and go. Cost: $15
6) EZ Pass: A “must” for the roadtrip. We used our AAA membership to get it and it came loaded up with a starter amount of toll money on it. Cost: $50
7) Passport America Membership: Another “must” for the roadtrip. This membership gives you a network of campgrounds to stay at and a discount on their nightly rates. Cost: $44
8) Good Sam Membership: Another networking type of membership. The campsites that don’t accept Passport America often accept Good Sam. Cost: $25

#crosscountrytrip2015: Getting ready for our maiden voyage

3 Jul
Inside the house we were all planning our trip, using a dining room wall for a visual view of the country while outside, the camper was getting a makeover.

Inside the house we were all planning our trip, using a dining room wall for a visual view of the country while outside, the camper was getting a makeover.

Now that we had the camper, we had some work to do. We had set a goal for ourselves to take it out one time for one night only, during our spring break, assuming we’d have it in time, which we did. After figuring out the towing equipment needed for it, and with the help of a good friend with years of camper experience under his belt, we took the camper home one week prior to the date we wanted to take it out over the break week. We didn’t have much time, but we didn’t want to lose the opportunity to take it out for a trial run while we had the chance, just to see how everything worked inside and out, and to establish our routines and space allocations on the inside: what would go where, how would we set it all up; things like that. As the spring months approached, we would soon run out of free time. Our spring peaks with craziness before it evens out at the end of June, and our calendar opens up for our summer.

We had just two months until our cross-country trip.

We had cleaning to do, first and foremost. Although the camper was in great shape and very well-maintained, it still needed a once-over before we stayed overnight in it. Nothing crazy, but it had to be done, nonetheless.

Next up though, and the most exciting part for the girls and me: redecorating. We had visions of ripping out the old curtains and blinds, recovering couches and dinette benches, and having a totally Pinterest-worthy camper in no time flat. The kids all sew and all love art and design, and our wheels were turning.
We had to really control ourselves. Prioritize. Set budgets, decide wants and needs, set a timeline and then go from there.

We had also accumulated a lot of “stuff,” putting it aside in the garage and basement for in-case-we-ever-get-a-camper. We first had to go through all of that and take stock of what we had and what we needed to buy. We set a budget so that we could get the most important things first, and then slowly absorb the costs of the rest of it after that.

In the meantime, I started many lists: lists of things that had to go into the bathroom, lists of things for the medicine cabinet, lists of things for the dog, lists of things that had to go into the kitchen, and lists of our most-used pantry items that we’d want to have on hand right off the bat. As I found things at home or purchased them here and there, I’d check them off the list and put them aside.

I started organizing. Everything had to have a spot or we'd run out of room.

I started organizing. Everything had to have a spot or we’d run out of room.

Because I’m a couponer, I had a good stockpile of toiletries already, many which had been free or close to it, and before we even found the camper, I’d started a bin of shampoo, body wash, soap, toothpaste, and things like that. I wouldn’t have to buy any of those things for the summer at all. We had plenty.

I also found many duplicate pantry items on my storage shelves, and many other big items. We had plenty of pots and pans and plastic storage containers. I grabbed a few must-haves right out of the house kitchen: we had two colanders, two eight-cup measuring containers, an extra liquid measuring cup and two extra sets of measuring spoons and dry measuring cups. We even had an extra set of shower curtain rings from an old bathroom design years ago. Other than that, we’d take our own coffee pot with us, our own griddle and our own cast iron pans and then bring them home when we were done. We didn’t want two of anything that wasn’t absolutely necessary, at least for now.

Then the fun began. I hit all the inexpensive stores first: Dollar Tree, Five Below, Walmart and Christmas Tree Shop. At the dollar store I chose my color scheme (blue and green) which would go with the existing blue and green colors in the camper. The existing curtains would come down eventually, but in reality I knew the wall border and wall colors would most likely stay up, so rather than working against it, I worked with it. I got some fun blue and green dishes, a set of ten for the five of us and potential guests. I got two matching buckets to store them in so that we could carry them right out of the camper to an outdoor table when eating outside. I got matching platters, serving bowls, cereal bowls, and tumblers for drinking. I also got matching dish cloths and a drying mat. We had lots of cooking utensils but between Five Below and Christmas Tree Shop I got the few things I still needed, and two sets of silverware, which gave us enough for eight people. We also had plastic silverware on hand for an in case we actually did have ten of us eating at once.

Inexpensive suspenders worked just as well as expensive RV sheets would have.

Inexpensive suspenders worked just as well as expensive RV sheets would have.

We needed sheets and mattress pads, but we had three sleeping bags already which could be used as comforters, and we had an extra comforter set already for our bed. We picked up four sets of suspenders, utilizing them for a trick we saw on YouTube for attaching them to the fitted sheet under the mattress in order to keep regular sheets from popping off the slightly-different sized RV mattresses. RV sheets were very expensive and we didn’t see them as a priority when we could get cheap suspenders instead.

Our master bed actually lifts up for under-bed storage and we decided that would be best for storing the bedding that our oldest would use on the open up couch at night, but be putting away when we moved or closed up the couch. We bought four laundry baskets and used the empty bin I’d been storing toiletries in and put them all under the bed for laundry and the bedding and for a few extra blankets.

I bought a single panel curtain in a bright lime green and one afternoon when Don was gone, Elizabeth and I got a screw driver and unscrewed the nasty curtain that closed off their bunk room, ripped it out of the wall, and put up a spring rod with the lime green curtain. Their sheets coordinated nicely with the curtain and really brightened up the space. When I bought it, I knew the curtain was too long, but I chose to hem it and add in a couple of roomy storage pockets by sewing it right up the middle. Light items could be stored in it: sleep socks, sleep masks, a paperback book and book light, things like that. We bought a matching green stool that folds up and stores flat, but could be used for climbing into and out of the top bunk.

Bright colors and the kids' art helped to brighten up our space.

Bright colors and the kids’ art helped to brighten up our space.

Our shower needed a shower curtain so we chose to bring the blue and green theme right into bathroom since the door is often open. We hung blue hooks off the back of the door; ten hooks for towels or sweatshirts or whatever needed to be hung.

Command strips and hooks could be used to hang and store virtually anything.

Command strips and hooks could be used to hang and store virtually anything.

I bought a jumbo pack of Command hooks that could be used for anything that needed to be hung up. We went through a few right off the bat, hanging pot holders on the wall and even a spot for holding all the sunglasses, each pair resting in a hook on the wall. In a camper, there is very little storage space and very little tabletop space, and you therefore want to utilize as much free space as you can, so hooks are a great thing to have.

We stocked up on lots of little storage baskets and bins since you don’t want things to be moving around when you’re driving the camper from place to place. I had some bins at home as well, so we utilized what we had and got a few extras as well. Our cleaning supplies used on a daily basis could go in one bucket and stored right in the sink when we moved from place to place. Extra supplies of all types could go in other buckets and placed in closets or under sinks.

I made sure we had pens, pencils, scissors, tape, superglue, a shopping list, and anything else I could think of for office supplies. They all stored nicely in a kitchen drawer with the drawer. We grabbed aluminum foil, plastic wrap and Ziploc bags in two sizes in our travels, and stored them in another drawer, trying to think of all the go-to items we commonly need in the kitchen.

Before we knew it, we were stocked up, cleaned up and redecorated as much as we would be. We were ready for our first trip.

We couldn’t wait!

#crosscountryadventure2015: The back story

1 Jul

Today’s an exciting day! Our local newspaper has posted the first article chronicling our cross country adventure!

To read the article which tells about our journey before the journey, be sure to click on this link.

Each week The Cranston Herald will publish a new article about our adventures, but in between I will add additional posts to the blog as well. Be sure to follow along!

Watch for updates along the way!

Watch for updates along the way!

Fun Friday: We’re about to have a whole lot of fun!

26 Jun

For a little while I’ve been alluding to a little bit of a big secret. For those of you who know me well, you are already in the know, but for those of you who don’t, today’s post is a hint. Starting very soon, I’ll be taking my blog on the road! Be sure to watch for updates throughout the summer! If you haven’t already signed up to follow The Whole Bag of Chips by email, you’re going to want to right now!

You won’t want to miss a single post!

Watch for updates along the way!

Watch for updates along the way!